Introduction
Adding times in Google Sheets can be a useful skill for various tasks, such as calculating total work hours or tracking project durations. With its intuitive interface and powerful functions, Google Sheets makes it easy to perform these calculations efficiently.
Whether you’re a student, professional, or small business owner, understanding how to add times in Google Sheets can save you time and effort. In this guide, we will walk you through the step-by-step process of adding times in Google Sheets, from entering the values to formatting the cell as a time.
No matter your level of familiarity with Google Sheets, this guide will provide you with clear and concise instructions to help you master the art of adding times in no time. By the end of this tutorial, you’ll have the knowledge and confidence to perform time calculations with ease.
So, let’s dive in and explore the essential steps to add times in Google Sheets.
Step 1: Open Google Sheets
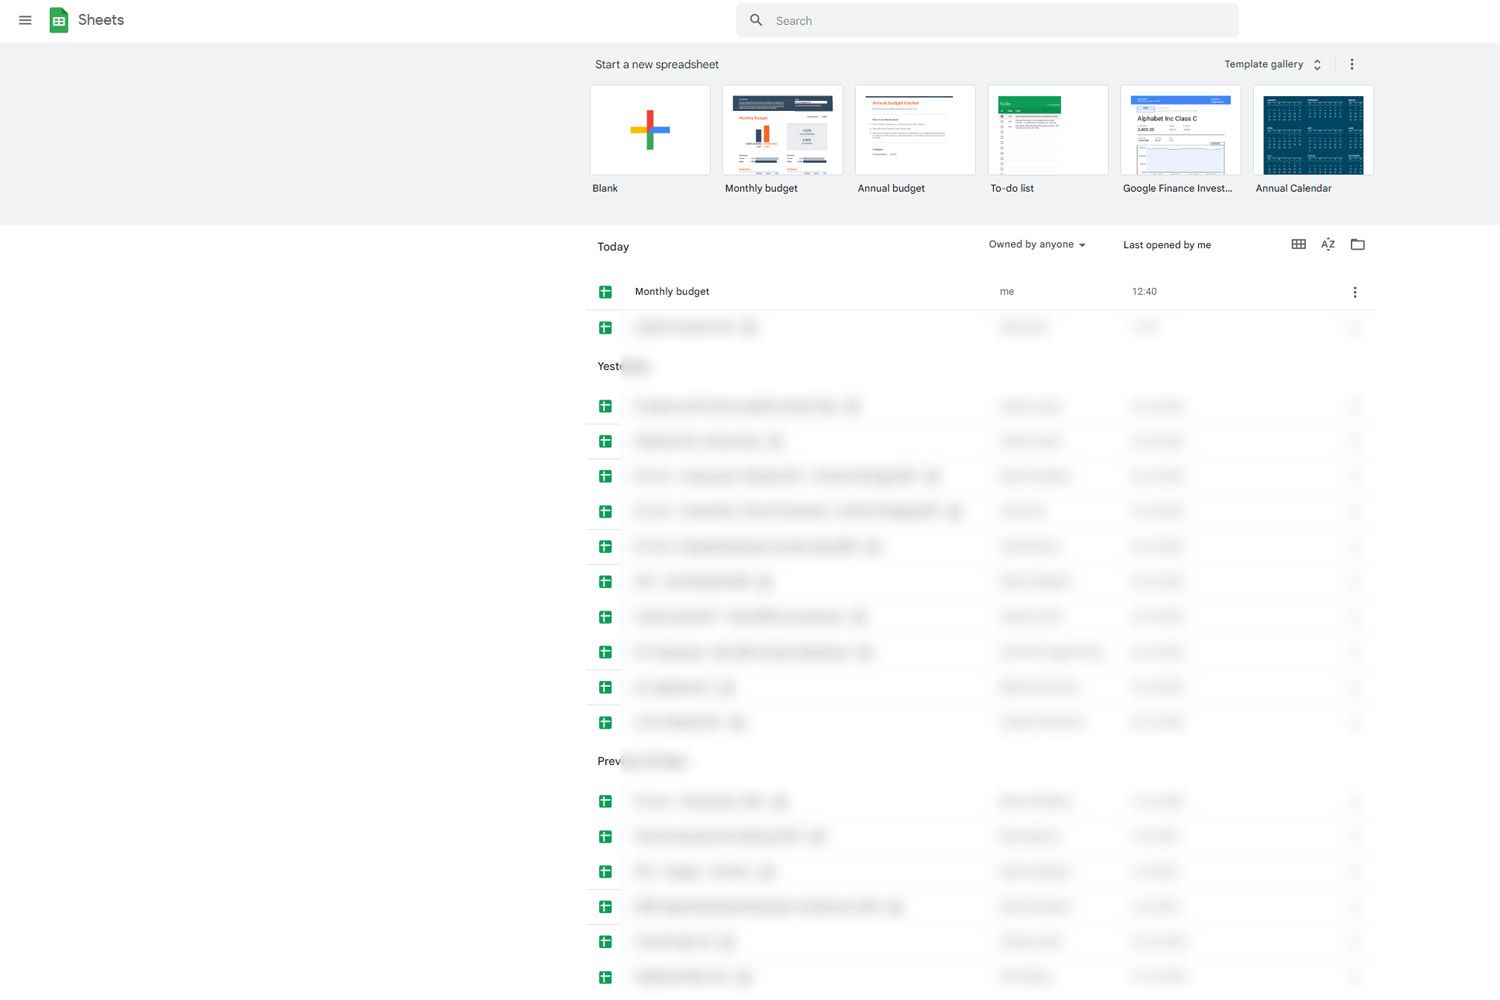
The first step to add times in Google Sheets is to open the Google Sheets application. You can do this by accessing the Google Sheets website (sheets.google.com) or by launching the Google Sheets app on your mobile device.
If you’re using a web browser, sign in to your Google account and navigate to the Google Sheets homepage. Look for the “Blank” or “Blank spreadsheet” option, and click on it to create a new sheet.
On the mobile app, open the Google Sheets app on your device. If you haven’t done so already, sign in with your Google account credentials. Once you’re logged in, tap on the “+” button to create a new sheet.
Once you have opened Google Sheets, you’ll be ready to proceed to the next step in adding times.
Next, let’s move on to step 2, where we will select the cell where we want to input our time values.
Step 2: Select the Cell
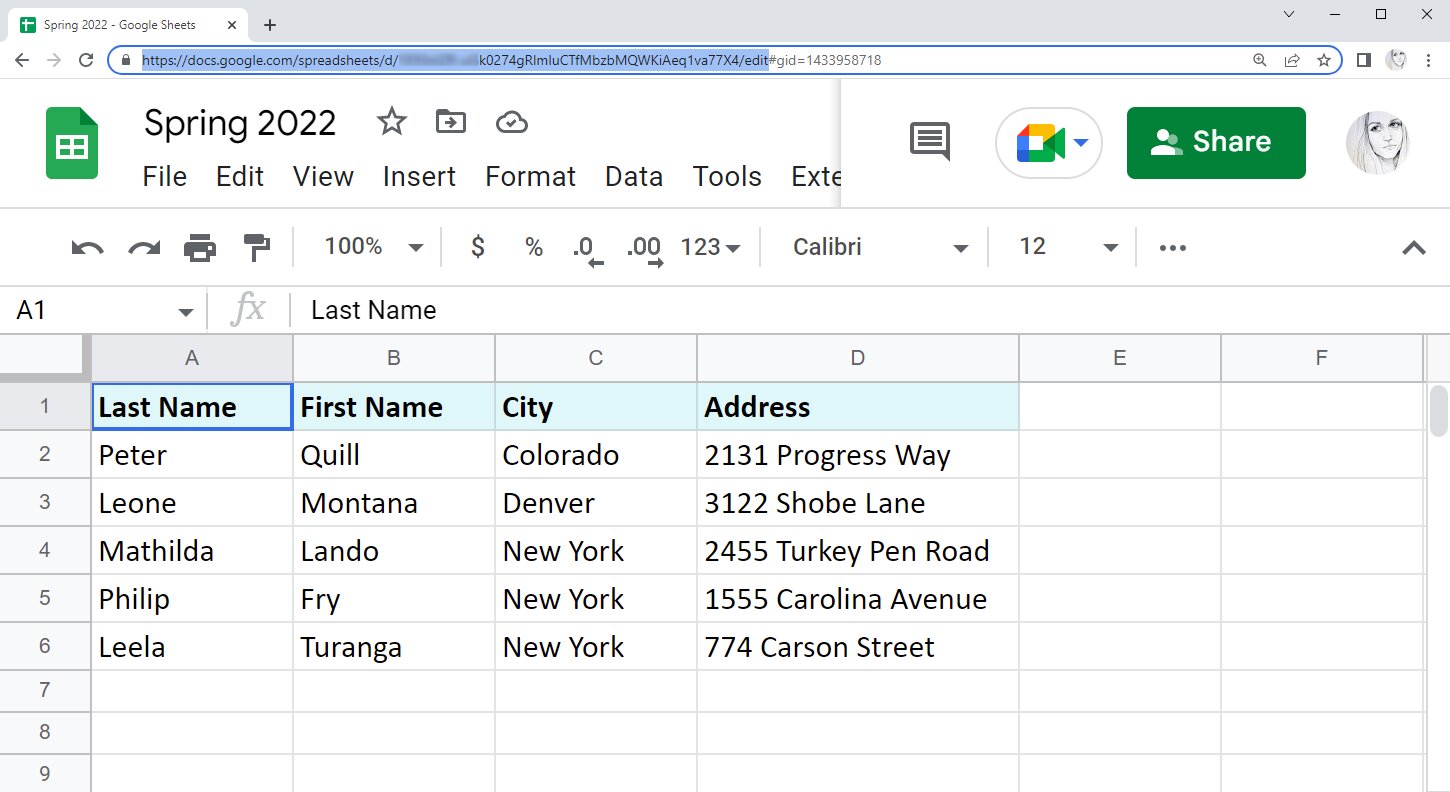
After opening Google Sheets, the next step in adding times is to select the cell where you want to enter your time values. The selected cell will be the location where the sum of the times will be displayed.
To select a cell, simply click on it with your mouse or tap on it if you’re using the Google Sheets app on your mobile device. The selected cell will be highlighted, indicating that it’s the active cell for inputting data.
It’s important to choose a cell that can accommodate the sum of your time values. If the selected cell is too narrow, the time value may appear truncated. Consider selecting a cell with sufficient width to display the entire result.
Additionally, you can select multiple cells if you wish to calculate the sum of multiple time values. Simply click and drag to select the desired range of cells. The sum of the times will be calculated and displayed in the cell at the top-left of the selected range.
Now that you have selected the cell, let’s move on to step 3, where we will enter the first time value.
Step 3: Enter the First Time Value
Once you have selected the cell where you want to display the sum of the time values, the next step is to enter the first time value. This is the starting point for calculating the total duration.
To enter the time value, simply click on the selected cell or tap on it if you’re using the Google Sheets app on your mobile device. Once the cell is activated for input, type in the time value in the desired format.
Google Sheets allows you to enter time values using different formats, such as hours and minutes or hours, minutes, and seconds. You can use a variety of time notations, including the 12-hour format (e.g., 1:30 PM) or the 24-hour format (e.g., 13:30).
If you’re entering time values that exceed 24 hours, you can include the day value along with the time value (e.g., 1d 5:30). This is particularly useful when calculating durations spanning multiple days.
After inputting the first time value, press Enter on your keyboard to confirm the entry. The cell will now display the entered time value.
Now that the first time value has been entered, let’s move on to step 4, where we will enter the second time value.
Step 4: Enter the Second Time Value
After entering the first time value in the selected cell, the next step is to enter the second time value. This value represents the duration you want to add to the initial time value.
Similar to step 3, click on the selected cell or tap on it if you’re using the Google Sheets app on your mobile device. Once the cell is activated for input, type in the second time value in the desired format.
You can use the same time format as before, whether that’s the 12-hour format (e.g., 2:45 PM) or the 24-hour format (e.g., 14:45). It’s important to ensure that the time values you enter are consistent in terms of formatting to ensure accurate calculations.
Remember, you can also include day values if the time duration spans multiple days. For example, if you’re adding a time value of 1 day and 6 hours, you can enter it as 1d 6:00.
Once you have entered the second time value, press Enter on your keyboard to confirm the entry. The cell will now display the entered time value.
Now that you have entered both time values, let’s move on to step 5, where we will use the SUM function to calculate the total time.
Step 5: Use the SUM Function
Using the SUM function in Google Sheets allows you to calculate the total time by adding the previously entered time values. It’s a powerful function that can handle adding multiple time values with ease.
To use the SUM function, click on the cell where you want to display the total time. This will activate the cell for input. Next, type in the formula “=SUM(” followed by the cell references of the time values you want to add.
For example, if the first time value is in cell A1 and the second time value is in cell B1, you would enter the formula as “=SUM(A1,B1)”. Alternatively, you can enter a range of cells like “=SUM(A1:B1)” if the time values are adjacent to each other.
After entering the formula, press Enter on your keyboard. Google Sheets will calculate the sum of the time values and display the total duration in the selected cell. The result will be in the correct time format, taking into account any day values or decimal portions of hours.
Now that you have used the SUM function to calculate the total time, let’s move on to step 6, where we will format the cell to display the time correctly.
Step 6: Format the Cell as a Time
After using the SUM function to calculate the total time, the next step is to format the cell to display the time correctly. By default, Google Sheets may display the result as a decimal number, but we can change it to a time format for better readability.
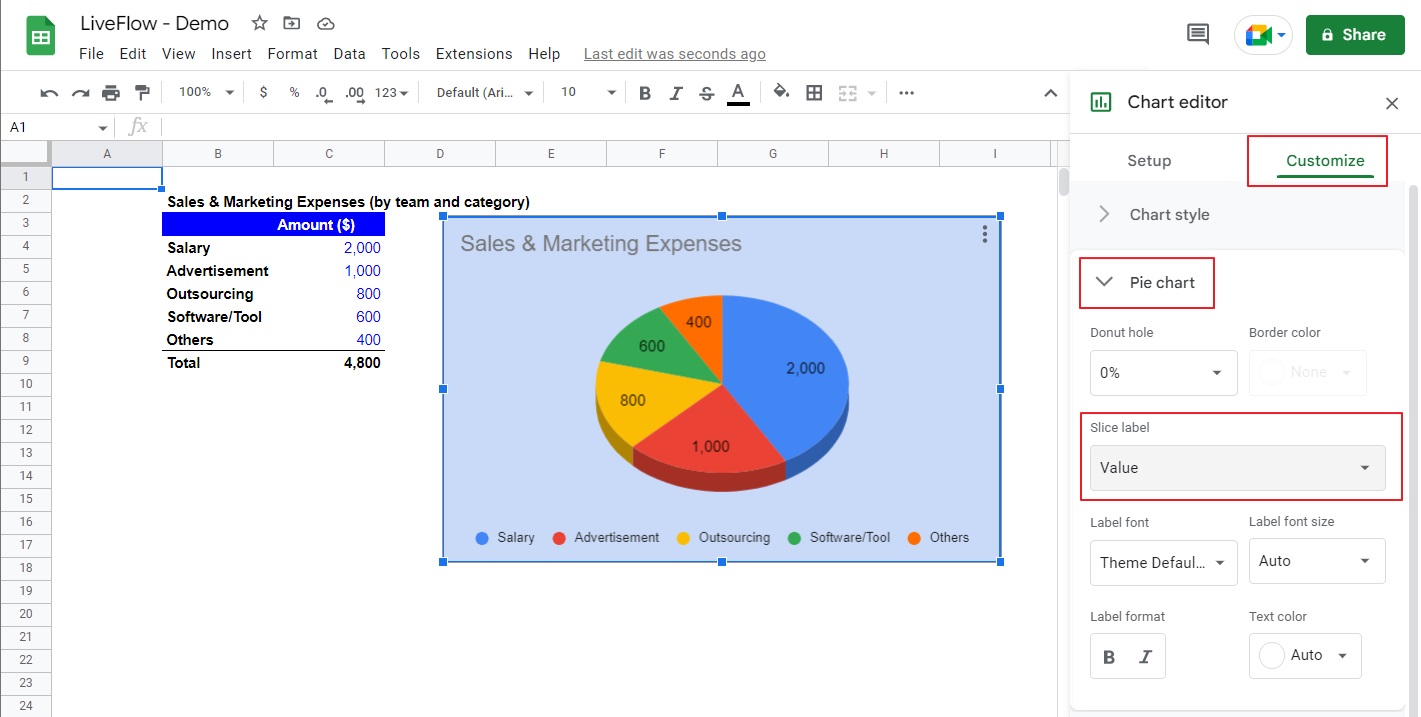
To format the cell as a time, select the cell that contains the sum of the time values. Right-click on the cell and choose “Format cells” from the context menu. Alternatively, you can click on “Format” in the top menu and select “Number” and then “Time”.
In the formatting options, choose the desired time format that suits your needs. You can select options like “12:00 PM” for a 12-hour format or “13:00” for a 24-hour format. Customize the time format further by selecting the number of decimal places or including AM/PM indications.
Once you have selected the desired time format, click “Apply” or “OK” to format the cell. The cell will now display the total time value in the chosen format, making it easier to interpret and understand.
You can repeat this step for any additional cells that contain time calculations to ensure consistent formatting throughout your Google Sheets document.
Now that you have formatted the cell as a time, the result will be displayed in a more intuitive and meaningful way. Next, we will explore step 7, where we will discuss using the 24-hour format for time calculations.
Step 7: Use 24-Hour Format
In addition to the 12-hour format, Google Sheets also provides the option to use the 24-hour format for time calculations. The 24-hour format, also known as military time, offers a clearer and more standardized representation of time.
To use the 24-hour format in Google Sheets, follow the same steps outlined in the previous sections to enter the time values and calculate the total time using the SUM function. Once you have the result in the cell, you can format it to display in the 24-hour format.
To format the cell as a 24-hour time, select the cell containing the sum of the time values and right-click on it. Choose “Format cells” from the context menu. Alternatively, click on “Format” in the top menu and select “Number” and then “More formats” and finally “More date and time formats”.
From the additional formatting options, choose the desired 24-hour time format. You can select options like “HH:MM” to display the hours and minutes in a 24-hour format without leading zeros. If you prefer to include leading zeros, you can select “HH:MM” format instead.
Once you have selected the 24-hour time format, click “Apply” or “OK” to format the cell. The cell will now display the total time value in the chosen 24-hour format.
Using the 24-hour format can be particularly beneficial when working with international clients or collaborating with individuals in different time zones.
Now that you know how to utilize the 24-hour format, you can easily calculate and display time values in a standardized and globally recognized format.
Next, let’s move on to step 8, where we will explore how to add multiple time values together.
Step 8: Add Multiple Time Values
In some cases, you may need to add more than two time values together in Google Sheets. Fortunately, the process remains the same as when adding two time values.
To add multiple time values, select the cell where you want to display the total time and use the SUM function. However, this time, instead of referencing just two cells, you can reference as many cells as you need.
For example, suppose you have time values in cells A1, B1, C1, and D1 that you want to add together. To calculate the total time, you would enter the formula “=SUM(A1:D1)” in the designated cell. This formula instructs Google Sheets to sum up the time values in cells A1, B1, C1, and D1.
Remember to adjust the range of cells in the formula according to your specific scenario. If your time values are not consecutive, you can separate them with commas within the SUM function. For instance, “=SUM(A1,C1,E1)” would add up the time values in cells A1, C1, and E1.
Once you have entered the formula, press Enter, and Google Sheets will calculate the total time by adding all the referenced time values. The result will be displayed in the selected cell, formatted according to the time format you specified.
By following this step, you can easily add multiple time values together to obtain a comprehensive total duration.
With this final step, you have completed all the necessary steps to add times in Google Sheets. By understanding the process of selecting cells, entering time values, using the SUM function, and formatting cells, you can confidently perform time calculations in your Google Sheets documents.
Now that you have mastered the art of adding times in Google Sheets, you can streamline your workflow, track project durations, and accurately calculate work hours.
Feel free to explore advanced functions and formatting options in Google Sheets to further enhance your time tracking capabilities and make the most out of this powerful productivity tool.
Conclusion
Adding times in Google Sheets is a valuable skill that can streamline your time tracking and calculation processes. By following the step-by-step instructions outlined in this guide, you can easily enter time values, use the SUM function to calculate total durations, and format the cells to display the times accurately.
Throughout this tutorial, you have learned how to open Google Sheets, select cells, enter time values, use the SUM function, format cells as times, and add multiple time values together. These skills will empower you to accurately track project durations, calculate work hours, and perform other time-related calculations efficiently.
Additionally, you discovered the option to use the 24-hour format for time calculations, allowing for standardized representations of time values. This can be particularly useful when collaborating with individuals in different time zones or working on international projects.
Now equipped with the knowledge and techniques to add times in Google Sheets, you can optimize your productivity and improve the accuracy of your time-related calculations. Take advantage of the powerful features in Google Sheets to streamline your workflow and stay on top of your time-management tasks.
So, open up Google Sheets, give it a try, and unlock the full potential of time calculations in your spreadsheets. With practice, you’ll become a master at adding times in no time!