Introduction
Google Sheets is a powerful and versatile tool for creating and managing spreadsheets online. Whether you’re planning a budget, organizing data, or collaborating with a team, Google Sheets offers a wide range of features and functionalities to help you achieve your goals.
Setting up a budget spreadsheet in Google Sheets allows you to track your income, expenses, and savings in one central location. With the ability to customize and automate calculations, format cells, and create charts, Google Sheets provides a user-friendly interface for managing and analyzing financial data.
Creating a budget spreadsheet in Google Sheets has several advantages over traditional methods of budgeting. Firstly, it eliminates the need for manual calculations and offers real-time updates, ensuring accuracy and efficiency. Additionally, as an online platform, Google Sheets enables you to access your budget from any device with an internet connection, making it convenient and accessible.
This article will guide you through the process of setting up a budget spreadsheet in Google Sheets. We will cover entering income and expenses, using formulas to calculate totals, formatting cells, applying conditional formatting, sorting and filtering data, creating charts and visuals, utilizing add-ons, and sharing and collaborating on spreadsheets.
With the knowledge and skills gained from this article, you will be equipped to effectively save time and effort by harnessing the full potential of Google Sheets for budgeting and financial management.
Setting up Google Sheets
Before diving into creating a budget spreadsheet, you’ll need to set up Google Sheets if you haven’t already. Here’s a step-by-step guide to get you started:
- Create a Google account: If you don’t have a Google account, head to Google Account Signup and follow the prompts to create one. This will give you access to Google Sheets and a host of other Google services.
- Access Google Sheets: Once you have a Google account, open a web browser and go to sheets.google.com. This will take you to the Google Sheets homepage.
- Create a new spreadsheet: On the Google Sheets homepage, click on the “Blank” or “Start a new spreadsheet” option to create a new blank spreadsheet. A new tab will open with your empty spreadsheet ready for customization.
- Name your spreadsheet: Give your spreadsheet a relevant and descriptive name by clicking on the “Untitled Spreadsheet” text at the top-left corner of the page. Enter a name that reflects the purpose of the spreadsheet, such as “Monthly Budget” or “Expense Tracker.”
Once you’ve completed these steps, you’re ready to start building your budget spreadsheet in Google Sheets. This setup process only needs to be done once, and you can access your spreadsheet anytime by visiting sheets.google.com and logging into your Google account.
Google Sheets also provides a mobile app for iOS and Android devices, allowing you to work on your budget spreadsheet on the go. Simply download the Google Sheets app from the respective app store, sign in with your Google account, and access your spreadsheet from your mobile device.
Setting up Google Sheets is quick and straightforward, providing you with a robust platform to create and manage your budget spreadsheet. Now, let’s move on to the next section and start building your budget in Google Sheets.
Creating a Budget Spreadsheet
Now that you’ve set up Google Sheets, it’s time to create your budget spreadsheet. Follow these steps to get started:
- Identify your budget categories: Start by determining the main categories for your budget. This could include income sources, fixed expenses (such as rent or mortgage), variable expenses (like groceries or entertainment), savings goals, and any other relevant spending categories. List these categories in the first column of your spreadsheet.
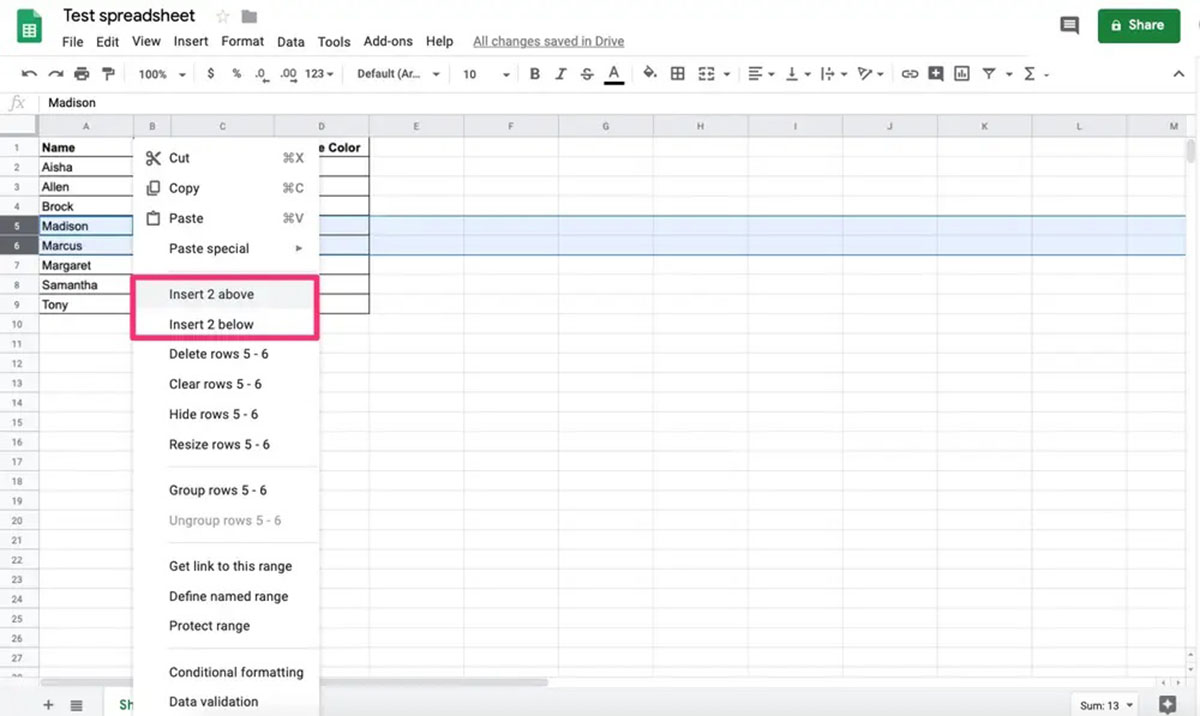
- Create column headers: In the second row of your spreadsheet, create column headers for each month, such as “January,” “February,” and so on. This will allow you to track your budget on a month-by-month basis.
- Enter subcategories: Under each main budget category, list subcategories to specify your expenses further. For example, under “Groceries,” you could include subcategories like “Produce,” “Meat/Dairy,” and “Snacks.” This will help you organize your expenses in a more detailed manner.
- Add a totals row: Include a row at the bottom of your spreadsheet where you can calculate the totals for each budget category and month. This will provide you with a summary of your income, expenses, and savings for easy reference.
Once you have set up the structure of your budget spreadsheet, you can start entering data. Begin by inputting your estimated income and expenses for each month, based on your previous records or projected amounts. Remember to input values as positive amounts for income and negative amounts for expenses to ensure accurate calculations.
As you progress through the month, update your actual income and expenses in the corresponding cells. This will allow you to track your spending against your budgeted amounts and make adjustments if necessary. Google Sheets’ automatic calculations will update your totals in real-time, providing you with a clear picture of your financial situation.
By creating a budget spreadsheet in Google Sheets, you have a centralized and customizable tool to track and monitor your finances effectively. It provides flexibility in organizing your budget, and the ability to make changes and updates as needed. This foundation sets the stage for effectively managing your income and expenses.
Now that you have created your budget spreadsheet, let’s move on to the next section and learn how to enter income and expenses accurately.
Entering Income and Expenses
Once you have set up your budget spreadsheet, it’s time to start entering your income and expenses. Follow these steps to accurately input and track your financial information:
- Income: Begin by entering your sources of income in the corresponding cells. This can include salary, freelance earnings, investments, or any other income streams. Input the amounts in the appropriate month and ensure they are recorded as positive numbers. As you receive income throughout the month, update the cells to reflect the actual amounts.
- Fixed expenses: Identify your fixed monthly expenses, such as rent or mortgage payments, utility bills, and loan payments. Input these amounts as negative numbers in the respective cells for each month. If your expenses vary from month to month, use an average amount or enter a range to provide some flexibility in your budget.
- Variable expenses: Next, list your variable expenses, such as groceries, transportation costs, entertainment, and any other discretionary spending. As with fixed expenses, input these amounts as negative numbers in the appropriate cells. Since variable expenses can fluctuate, it’s helpful to estimate an average monthly amount or set a maximum spending limit.
- Savings: If you have specific savings goals, create a separate category for savings in your budget spreadsheet. Dedicate a portion of your income to savings and input the amounts as negative numbers in the savings cells. Regularly update these cells as you contribute to your savings account throughout the month.
As you enter your income and expenses, Google Sheets will automatically calculate the totals for each month and update the totals row. This provides an instant overview of your financial situation and helps you stay on track with your budgeting goals.
It’s important to regularly update your budget spreadsheet with the actual amount of income and expenses as they occur. By doing so, you can easily compare your actual spending against your budgeted amounts and make any necessary adjustments to stay within your financial goals.
Entering income and expenses accurately in your budget spreadsheet is vital for effective financial management. It allows you to track your financial progress, identify areas of overspending, and make informed decisions about your money. With this foundation, let’s explore how to use formulas in Google Sheets to calculate totals automatically in the next section.
Using Formulas to Calculate Totals
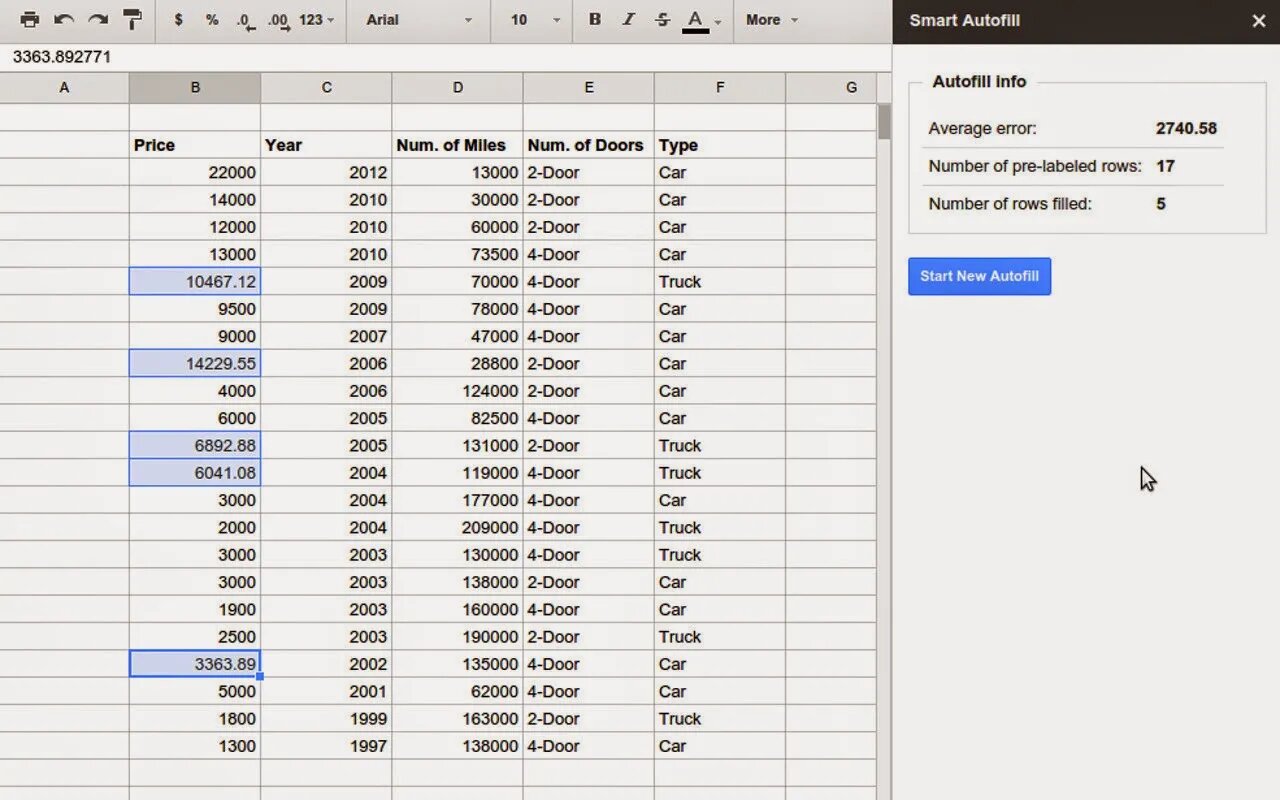
Google Sheets offers a powerful feature called formulas that can help you automatically calculate totals in your budget spreadsheet. By utilizing formulas, you can save time and ensure accurate calculations. Here are some commonly used formulas for calculating totals:
- SUM: The SUM formula allows you to add up a range of numbers. For example, to calculate the total income for a month, you can use the formula =SUM(B2:B12), where B2 is the first cell containing income and B12 is the last cell.
- AVERAGE: The AVERAGE formula calculates the average of a range of numbers. This can be useful for determining the average monthly expenses in a particular category. For instance, to find the average monthly grocery expenses, you can use the formula =AVERAGE(C2:C12), where C2 is the first cell containing grocery expenses and C12 is the last cell.
- IF: The IF formula allows you to set conditions for calculations. You can use this formula to compare values and perform calculations based on the results. For example, you can use the formula =IF(D2>D3, “Overspent”, “Within Budget”) to compare the actual expenses (cell D2) with the budgeted expenses (cell D3) and display a message accordingly.
- MIN and MAX: The MIN and MAX formulas help you find the minimum and maximum values within a range. This can be useful for tracking the lowest and highest monthly expenses within a category. For instance, you can use the formula =MIN(E2:E12) to find the minimum value of expenses and =MAX(E2:E12) to find the maximum value.
Using these formulas and others available in Google Sheets, you can automate calculations and have instant access to accurate totals in your budget spreadsheet. With formulas in place, you can easily update your income and expenses, and the totals will adjust accordingly.
Furthermore, Google Sheets allows you to copy and paste formulas to other cells, saving you time from manually entering them. Simply select the cell containing the formula, copy it, and paste it to the desired range of cells. The formulas will adjust automatically based on the new cell references.
By leveraging the power of formulas, you can streamline your budgeting process and have a clearer understanding of your financial situation. In the next section, we’ll explore formatting options in Google Sheets to enhance the visual presentation of your budget spreadsheet.
Formatting Cells and Applying Conditional Formatting
Formatting cells in your budget spreadsheet is not only aesthetically pleasing but also helps improve the readability and organization of your financial data. Google Sheets offers a wide range of formatting options to customize the appearance of your spreadsheet. Here are some key formatting techniques to consider:
- Numeric formatting: You can format cells to display numbers in specific formats, such as currency, percentage, or decimal places. This makes it easier to read and interpret your income and expense values. To apply numeric formatting, select the range of cells, right-click, choose “Format cells,” and select the desired format.
- Bold and italic: Use these formatting options to emphasize important labels or headings in your budget spreadsheet. Bold text can draw attention to key information, while italicized text can indicate notes or explanations.
- Conditional formatting: Conditional formatting allows you to apply formatting rules based on specific conditions. For example, you can set up conditional formatting to highlight cells with expenses that exceed a certain threshold or flag cells that contain budget variances. To apply conditional formatting, select the range of cells, click on “Format” in the toolbar, choose “Conditional formatting,” and define the conditions and formatting styles.
- Borders and shading: Adding borders and shading to cells or ranges can help distinguish different sections of your budget spreadsheet. Borders can separate rows and columns, while shading can be used to highlight specific areas or totals.
- Font styles and colors: Google Sheets allows you to customize font styles, sizes, and colors to enhance the readability of your spreadsheet. Experiment with different font combinations to find a style that suits your preferences and makes your budget spreadsheet visually appealing.
By applying these formatting techniques, your budget spreadsheet will become more visually appealing and easier to navigate. The use of conditional formatting, in particular, can help draw attention to important information and highlight any potential issues or discrepancies.
Remember to keep the formatting consistent throughout your budget spreadsheet to maintain a professional and organized appearance. Consistency in font styles, colors, and formatting choices will make it easier to read and interpret your financial data.
Now that you know how to format cells and apply conditional formatting in Google Sheets, let’s explore how to sort and filter data to further analyze your budget in the next section.
Sorting and Filtering Data
Sorting and filtering data in your budget spreadsheet can greatly enhance your ability to analyze and gain insights from your financial information. Google Sheets offers powerful tools to sort and filter data, allowing you to organize and view your budget in different ways. Here’s how you can sort and filter your data:
- Sorting data: Sorting data allows you to rearrange rows based on specific criteria, such as sorting expenses from highest to lowest or sorting income sources alphabetically. To sort your data in Google Sheets, highlight the range of cells you want to sort, click on “Data” in the toolbar, select “Sort range,” and choose the column you want to sort by.
- Filtering data: Filtering your data allows you to display only specific rows based on certain conditions. With filtering, you can focus on specific categories or periods of time in your budget spreadsheet. To apply a filter in Google Sheets, select the range of cells you want to filter, click on “Data” in the toolbar, select “Create a filter,” and use the filter drop-downs in each column to define your filtering criteria.
- Applying multiple filters: Google Sheets also allows you to apply multiple filters simultaneously, enabling you to refine your data even further. You can filter by multiple categories or set different conditions for different columns to get more precise results. Utilize the “Filter views” option under the “Data” menu to save multiple filter combinations for future use.
- Clearing filters: If you want to remove the applied filters and revert to the original view of your data, simply click on the filter icon in the filtered column header and select “Clear” to remove the filter.
Sorting and filtering data in your budget spreadsheet provides a dynamic way to analyze and explore your financial information. By sorting data, you can easily identify trends, prioritize expenses, or analyze income sources. Filtering data allows you to focus on specific categories or time periods, making it easier to evaluate specific aspects of your budget.
Experiment with different sorting and filtering options to better understand your spending patterns, identify opportunities for improvement, and make informed financial decisions based on your budget data.
Now that you know how to sort and filter data in Google Sheets, let’s move on to the next section and discover how to create charts and visuals to represent your budget in a visually appealing way.
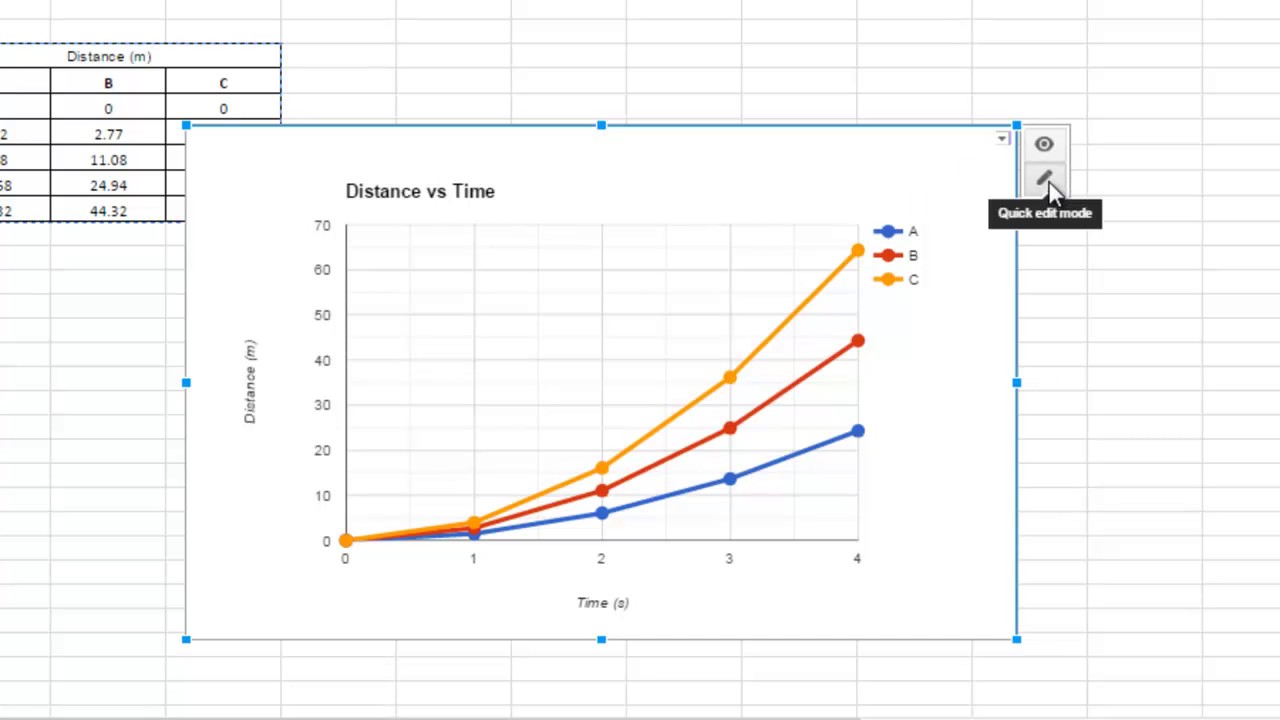
Creating Charts and Visuals
Creating charts and visuals in your budget spreadsheet can provide you with a visual representation of your financial data, making it easier to understand and interpret. Google Sheets offers a variety of chart types and customization options to help you present your budget information in a visually appealing way. Here’s how you can create charts and visuals in Google Sheets:
- Select the data: Highlight the range of cells that contain the data you want to include in your chart.
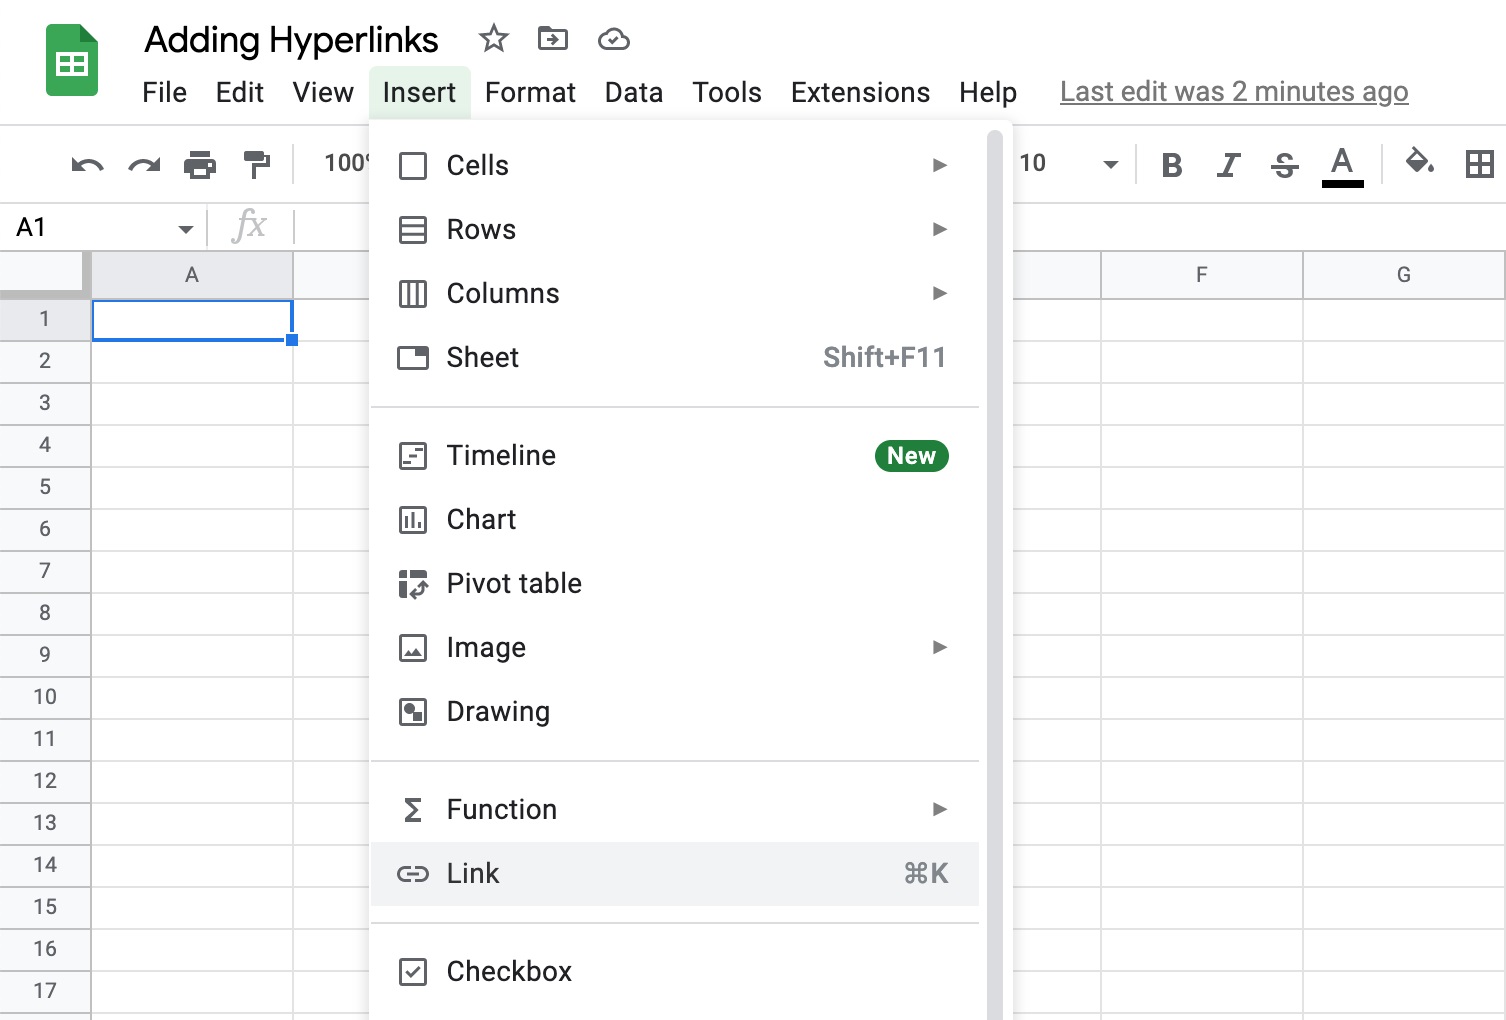
- Insert a chart: Click on “Insert” in the toolbar, select “Chart,” and choose the chart type that best represents your data. Google Sheets offers various chart types, including column, line, pie, bar, and more.
- Customize the chart: Once you’ve created the chart, you can customize it to suit your preferences. You can change the chart title, labels, colors, and other visual elements by clicking on the chart and using the customization options available in the toolbar.
- Move and resize the chart: To reposition the chart within your spreadsheet, click and drag it to the desired location. You can also resize the chart by clicking and dragging the corners.
- Update the chart automatically: If your budget data changes, the chart will automatically update to reflect those changes. Simply modify the values in your spreadsheet, and the chart will adjust accordingly.
Creating charts and visuals can help you visualize patterns, trends, and relationships within your budget data. Charts make it easier to identify areas of overspending, track progress towards financial goals, and communicate your budget information to others.
Experiment with different chart types to find the one that best represents your data. Consider using multiple charts to provide a comprehensive view of your budget. Additionally, you can copy and paste charts into other documents or presentations to showcase your budget information in a professional manner.
With the ability to create charts and visuals in Google Sheets, you can gain valuable insights from your budget data and effectively communicate your financial information to yourself and others.
Now that you know how to create charts and visuals, let’s explore how you can enhance the functionality of Google Sheets by utilizing add-ons in the next section.
Using Add-ons to Enhance Functionality
In addition to its built-in features, Google Sheets offers a wide range of add-ons that can further enhance its functionality and streamline your budgeting process. Add-ons are third-party extensions that can be installed in Google Sheets to provide additional features, automation, and customization options. Here’s how you can use add-ons to enhance your budget spreadsheet:
- Install add-ons: To access add-ons, click on “Add-ons” in the menu bar of your Google Sheets, select “Get add-ons,” and browse the available add-ons. Install the ones that align with your needs and interests.
- Explore add-on features: Each add-on offers unique features and functionalities. Some popular add-ons for budgeting include data importers, advanced formula builders, budget trackers, and expense report generators. Explore the individual documentation and tutorials provided by each add-on to learn more about how they can assist you in managing your budget more efficiently.
- Configure add-ons: Most add-ons require initial setup and configuration to work effectively with your budget spreadsheet. Follow the instructions provided by the add-on developer to configure the add-on settings according to your preferences.
- Utilize add-on automation: Many add-ons can automate repetitive tasks and data entry in your budget spreadsheet, saving you time and effort. For example, some add-ons can automatically import bank transactions, categorize expenses, or generate reports with a few clicks.
- Stay updated: Add-ons are often updated with new features and bug fixes. Make sure to keep your add-ons up to date by checking for updates in the “Add-ons” menu or allowing automatic updates.
Using add-ons is an excellent way to further customize Google Sheets to meet your specific budgeting needs. They can streamline your workflow, improve accuracy, and provide additional insights into your finances. However, it’s essential to review and research add-ons before installing them to ensure they come from trusted sources and align with your privacy and security preferences.
With the help of add-ons, you can tailor Google Sheets to suit your personal budgeting requirements and unlock additional functionality that enhances your overall budget management experience.
Now that you know how to use add-ons to enhance functionality, let’s move on to the next section to explore how you can share and collaborate on your budget spreadsheet with others.
Sharing and Collaborating on Spreadsheets
One of the key advantages of using Google Sheets for your budget spreadsheet is the ability to easily share and collaborate with others. Sharing your spreadsheet allows you to work together with family members, roommates, or colleagues in real-time, making it easier to track expenses, share financial information, and collaborate on budgeting goals. Here’s how you can share and collaborate on your budget spreadsheet:
- Share your spreadsheet: To share your budget spreadsheet, click on the “Share” button in the top-right corner of Google Sheets. Enter the email addresses of the individuals you want to collaborate with or share a link that grants access to anyone with the link.
- Set access permissions: Choose the level of access permissions for each collaborator. You can allow them to view, comment, or edit the spreadsheet based on the level of involvement you want them to have.
- Collaborate in real-time: Collaborators can work on the budget spreadsheet simultaneously, making it easier to track updates and changes. You can see their edits in real-time, and updates are automatically saved, ensuring everyone has access to the most recent version of the budget.
- Leave comments and provide feedback: The commenting feature in Google Sheets enables collaborators to leave comments, ask questions, or provide feedback directly within the spreadsheet. This fosters effective communication and allows for discussions related to specific budget items or overall financial goals.
- Version history: Google Sheets keeps track of the version history, allowing you to review and revert to previous versions if needed. This provides a safety net in case any unintended changes occur.
- Manage access and permissions: As the owner of the budget spreadsheet, you can easily manage access and permissions for collaborators. You can add or remove collaborators, adjust their level of access, and control who can share the spreadsheet with others.
Sharing and collaborating on your budget spreadsheet allows you to work together efficiently, share responsibilities, and ensure that everyone involved has access to the latest budget information. It promotes transparency, encourages accountability, and fosters a sense of financial teamwork.
By leveraging Google Sheets’ sharing and collaboration features, you can effectively collaborate with others to manage household finances, plan for shared expenses, or work on financial projects with colleagues or clients.
Now that you know how to share and collaborate on spreadsheets, let’s move on to the next section for some tips and tricks for efficient saving in Google Sheets.
Tips and Tricks for Efficient Saving in Google Sheets
When working with Google Sheets for your budget spreadsheet, it’s important to utilize efficient saving techniques to ensure the security, accessibility, and organization of your financial data. Here are some tips and tricks to help you save your budget spreadsheet effectively:
- Regularly save your changes: Make it a habit to save your changes frequently while working on your budget spreadsheet. You can use the keyboard shortcut Ctrl + S (Windows/Linux) or Command + S (Mac) to quickly save your progress.
- Take advantage of automatic saving: Google Sheets automatically saves your changes as you go, ensuring that no work is lost. However, it’s still important to create manual backups regularly to have extra copies of your spreadsheet.
- Create multiple versions: Prior to making significant changes or edits, consider making a copy of your budget spreadsheet as a backup. This allows you to revert to the previous version if needed, giving you peace of mind while experimenting with your budget.
- Organize your spreadsheets: Keep your budget spreadsheets organized by creating separate sheets within the same file for different budget periods or financial goals. Utilize tabs to identify each sheet, making it easy to navigate and locate specific information.
- Backup your spreadsheet: Consider exporting your budget spreadsheet periodically to create additional backups outside of Google Sheets. You can download the spreadsheet as an Excel file or another compatible format to store on your computer or cloud storage.
- Protect your sensitive information: If your budget spreadsheet contains sensitive financial data, utilize Google Sheets’ built-in sharing and access permissions to limit who can view or edit the spreadsheet. This protects your privacy and ensures that only authorized individuals have access to sensitive information.
By implementing these tips and tricks, you can ensure the safety and organization of your budget spreadsheet in Google Sheets. Regularly saving, creating backups, and organizing your spreadsheets will enable you to easily manage your budgeting process while maintaining the integrity of your financial data.
With these saving techniques in mind, you are well-prepared to effectively use Google Sheets for budgeting and financial management.
Now that we’ve explored various tips and tricks, it’s time to wrap up this article. Remember to implement these strategies and make the most out of Google Sheets for your budget spreadsheet needs. Happy budgeting!
Conclusion
Google Sheets is a powerful tool that offers a multitude of features and functionalities for creating and managing budget spreadsheets. With its user-friendly interface, automated calculations, and real-time collaboration capabilities, Google Sheets provides an efficient and convenient platform for budgeting and financial management.
In this article, we explored the process of setting up Google Sheets and creating a budget spreadsheet from scratch. We learned how to enter income and expenses, use formulas for automatic calculations, format cells, apply conditional formatting, and sort and filter data. We also discovered how to create visually appealing charts and visuals to better analyze our budget data. Additionally, we explored the benefits of using add-ons to enhance functionality and learned how to share and collaborate on spreadsheets with others.
By implementing these tips and tricks, you can effectively utilize Google Sheets for budgeting, track your income and expenses, gain insights into your financial data, and collaborate seamlessly with others. Remember to save your changes regularly, organize your spreadsheets, and protect your sensitive information to ensure the security and integrity of your budget spreadsheet.
Whether you are managing personal finances, tracking household expenses, or working on financial projects with colleagues, Google Sheets provides the tools you need to stay organized, make informed decisions, and achieve your budgeting goals.
Now it’s time to put your newfound knowledge into practice. Open Google Sheets, start building your budget spreadsheet, and enjoy the benefits of efficient financial management with Google Sheets!