Introduction
Converting an Excel file to Google Sheets can be a useful process, allowing you to access and edit your spreadsheets on the go, collaborate with others in real-time, and take advantage of the various features and functionalities that Google Sheets offers. Whether you need to convert a single file or an entire folder, the process is straightforward and can be done with just a few clicks.
In this article, we will guide you through the steps required to convert an Excel file to Google Sheets. We will explain how to upload the Excel file to Google Drive, open it in Google Sheets, convert the formulas, and format the file to ensure it looks and functions properly. By the end of this article, you will be able to confidently convert your Excel files to Google Sheets, enabling you to work seamlessly across different platforms and devices.
Please note that before proceeding with the conversion, you will need a Google account. If you do not have one, you can easily create a free account by visiting the Google account creation page.
Now, let’s dive into the step-by-step process of converting an Excel file to Google Sheets.
Step 1: Uploading the Excel file to Google Drive
The first step in converting an Excel file to Google Sheets is to upload the Excel file to your Google Drive. Google Drive is a cloud storage service provided by Google where you can store and access your files from anywhere.
To upload the Excel file, follow these simple steps:
- Open your web browser and go to Google Drive.
- Sign in to your Google account if you haven’t already done so.
- Click on the ‘+ New’ button on the left-hand side of the screen, then select ‘File upload’ from the drop-down menu.
- A file explorer window will appear. Navigate to the location on your computer where the Excel file is saved, select the file, and click ‘Open’.
- The file will begin uploading to your Google Drive. Depending on the size of the file and your internet connection speed, this process may take some time. You can track the progress of the upload in the bottom right corner of the screen.
- Once the upload is complete, the Excel file will appear in your Google Drive. You can access it by clicking on ‘My Drive’ on the left-hand side of the screen and locating the file in the list of files and folders.
By following these steps, you have successfully uploaded the Excel file to your Google Drive. In the next step, we will learn how to open the Excel file in Google Sheets.
Step 2: Opening the Excel file in Google Sheets
After uploading the Excel file to Google Drive, the next step is to open the file in Google Sheets. Google Sheets is a web-based spreadsheet program that offers powerful features and seamless collaboration.
Here’s how you can open the Excel file in Google Sheets:
- Go to your Google Drive and locate the uploaded Excel file.
- Right-click on the file and select ‘Open with’ from the drop-down menu.
- A list of compatible applications will appear. Click on ‘Google Sheets’ to open the file in this format.
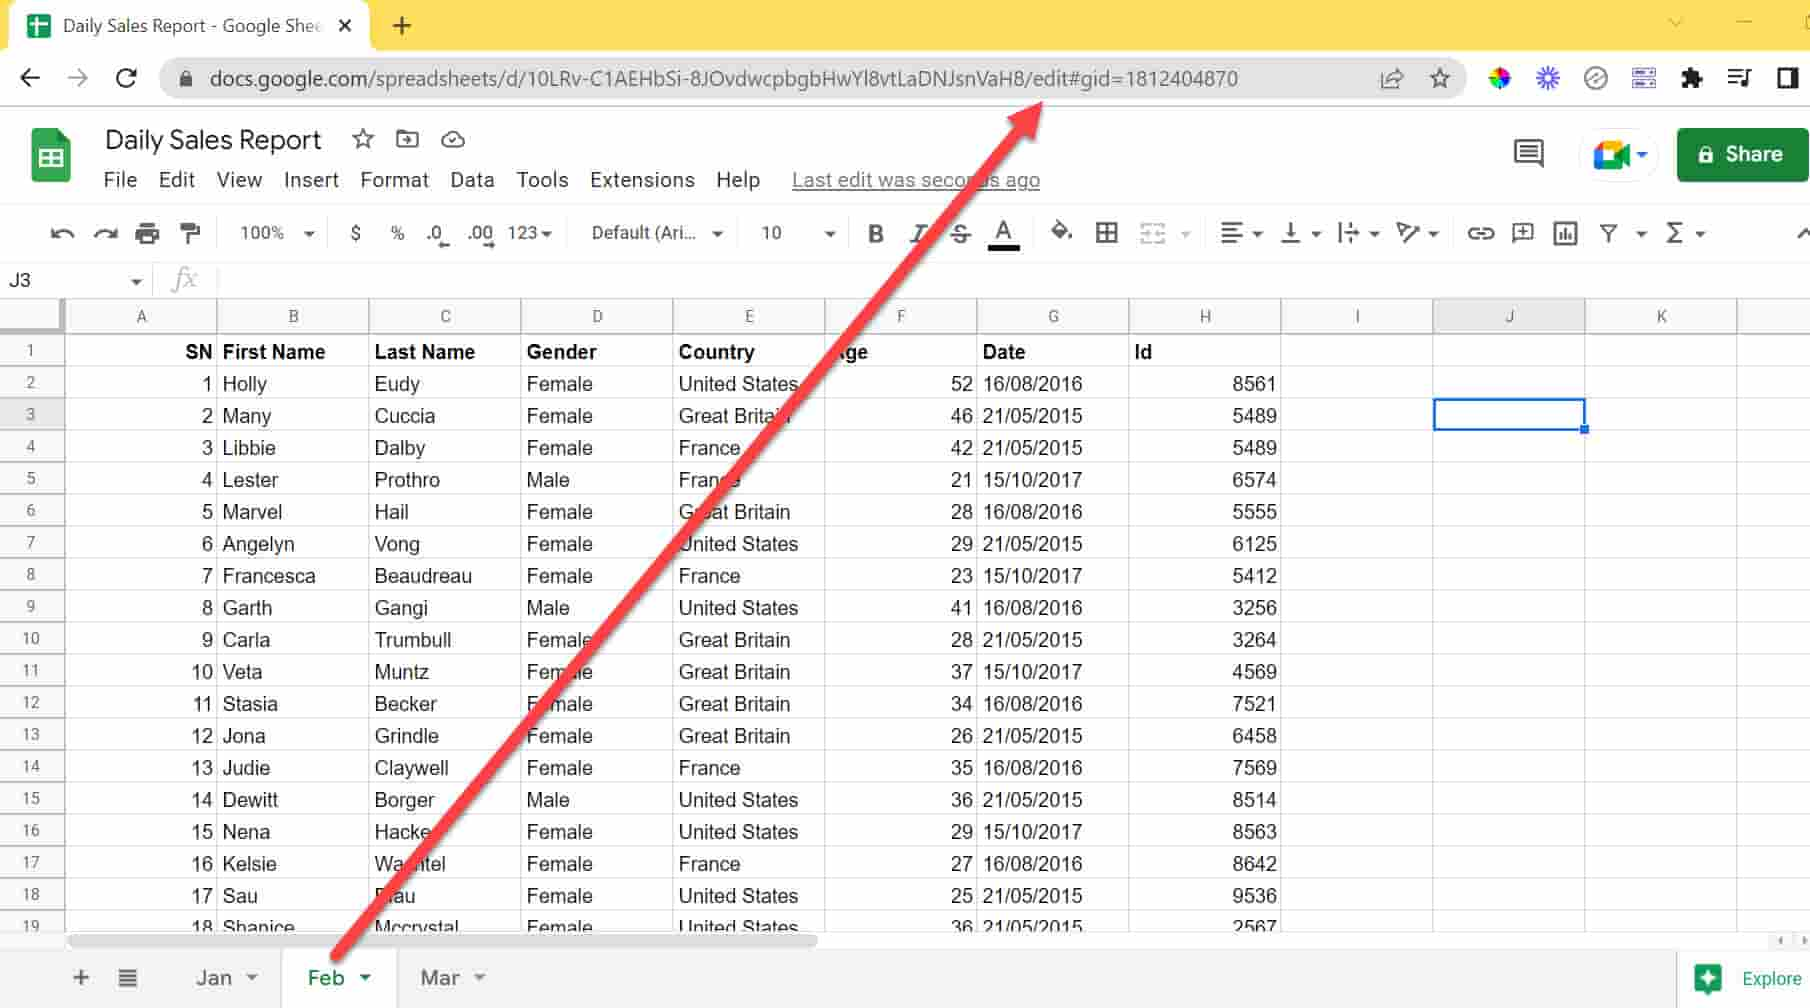
- Google Sheets will now open with the Excel file loaded. You will see the spreadsheet along with all its tabs, columns, and rows.
Once the Excel file is opened in Google Sheets, you can start working with it as you would with any other Google Sheets file. All the data, formulas, and formatting from the Excel file will be preserved, ensuring a seamless transition.
Keep in mind that opening an Excel file with complex formulas, macros, or features that are not supported by Google Sheets may result in some loss of functionality. However, Google Sheets offers a wide range of features and functions that can help replicate or replace the Excel-specific elements.
In the next step, we will explore how to convert Excel formulas to Google Sheets formulas.
Step 3: Converting Excel formulas to Google Sheets formulas
When you open an Excel file in Google Sheets, the formulas used in the Excel file may not be automatically recognized as Google Sheets formulas. This is because Excel and Google Sheets have some differences in their formula syntax and functions.
To ensure that the formulas are properly converted to Google Sheets format, follow these steps:
- Review the formulas in your spreadsheet and identify any Excel-specific functions or syntax.
- Replace any Excel-specific functions with their equivalent Google Sheets functions. You can refer to the Google Sheets function documentation or search online for the equivalent functions.
- Modify any Excel-specific syntax or formulas to match the Google Sheets syntax. This may involve adjusting cell references, formula structure, or formula operators.
- Test and verify the converted formulas to ensure they are functioning correctly in Google Sheets.
It is important to note that while many Excel formulas can be easily converted to Google Sheets formulas, there may be some complex formulas or functions that do not have direct equivalents. In such cases, you may need to find alternative approaches or use add-ons available in Google Sheets to achieve the desired functionality.
By converting the Excel formulas to Google Sheets formulas, you ensure that all calculations and data manipulation are accurately reflected in Google Sheets. This allows you to take advantage of the collaborative and real-time capabilities of Google Sheets in the next steps of the conversion process.
Step 4: Formatting and Adjusting the Converted File
After converting the formulas, it is important to review and adjust the formatting of the converted Excel file to ensure that it appears clean and organized in Google Sheets.
Here are some key steps to consider during this process:
- Formatting: Review the formatting of cells, rows, and columns in the Excel file. Apply any desired formatting changes such as fonts, colors, borders, and cell backgrounds to match your desired style in Google Sheets.
- Column Widths: Adjust the column widths to fit the content of the cells. In Google Sheets, you can do this by hovering over the line between two column letters, clicking, and dragging the line to increase or decrease the width.
- Row Heights: Similarly, adjust the row heights to accommodate the content. Hover over the line between two row numbers, click, and drag to adjust the height.
- Merge Cells: If you have merged cells in your Excel file, review and adjust the merged cell structure in Google Sheets. Unmerge any unnecessary merged cells or merge cells if needed.
- Conditional Formatting: If your Excel file includes any conditional formatting rules, recreate them in Google Sheets using the “Format” menu. This will ensure that the conditional formatting is maintained and applied correctly.
- Data Validation: Review any data validation rules applied to cells in the Excel file. Recreate them using the “Data” menu in Google Sheets to ensure that any accepted inputs or drop-down menus are preserved.
By carefully reviewing and adjusting the formatting of the converted Excel file, you can make sure that the appearance and structure of the document are optimized for working in Google Sheets.
Once you are satisfied with the formatting adjustments, it’s time to save the file as a Google Sheets file in the final step of the conversion process.
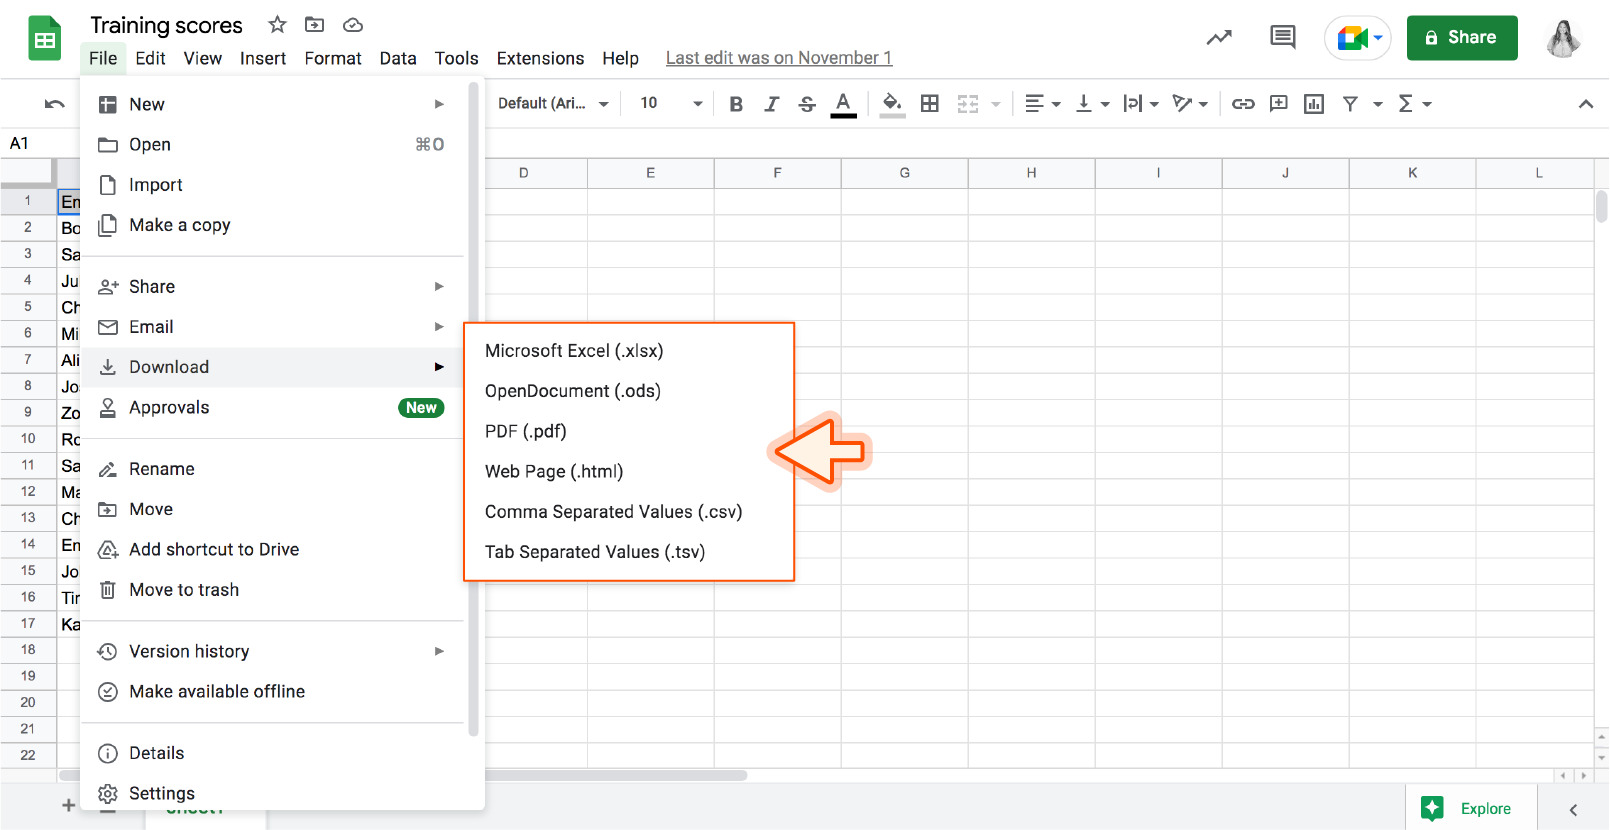
Step 5: Saving as a Google Sheets File
After completing the necessary formatting adjustments, the final step in converting an Excel file to Google Sheets is to save it as a Google Sheets file format. Saving the file in Google Sheets format ensures that it can be easily edited, shared, and accessed within the Google Sheets ecosystem.
Here’s how you can save the converted Excel file as a Google Sheets file:
- Click on the ‘File’ menu in the top left corner of the Google Sheets interface.
- Select the ‘Save’ option from the drop-down menu.
- Alternatively, you can use the shortcut key combination ‘Ctrl + S’ (Windows) or ‘Command + S’ (Mac) to save the file.
Once you have saved the file, it will be stored in your Google Drive in the Google Sheets format. You can easily locate and access the file by navigating to your Google Drive and searching for its name or by using the ‘Recent’ section.
The saved Google Sheets file can be shared with others, allowing for real-time collaboration, comments, and revision history tracking. Additionally, all changes made to the file in Google Sheets will be automatically saved, providing peace of mind and eliminating the need to manually save the file.
Remember to regularly save your work in Google Sheets to ensure that any updates and modifications are reflected. This will also make it easier to access and work on your spreadsheet from any device connected to the internet.
With the completion of this final step, you have successfully converted your Excel file to Google Sheets. You can now enjoy the benefits of working with your spreadsheet in the versatile and collaborative environment of Google Sheets.
Conclusion
Converting an Excel file to Google Sheets allows you to take advantage of the features and benefits offered by Google’s cloud-based spreadsheet application. By following the step-by-step process outlined in this article, you can seamlessly transition your Excel files to Google Sheets and continue working on them with ease.
From uploading the Excel file to Google Drive, opening it in Google Sheets, converting the formulas, adjusting the formatting, and finally saving it as a Google Sheets file, each step is crucial in ensuring a smooth and successful conversion.
Google Sheets offers real-time collaboration, automatic saving, and accessibility across different devices, making it a versatile tool for working with spreadsheets. Converting your Excel files to Google Sheets enables you to easily share and collaborate with others, enhancing productivity and efficiency.
While the conversion process is generally straightforward, it is important to review and adjust the converted file’s formulas and formatting to ensure accuracy and ensure a seamless transition. Understanding the differences between Excel and Google Sheets and making the necessary adjustments will help you maintain the functionality and appearance of your spreadsheets.
By embracing Google Sheets, you can benefit from its intuitive interface, extensive formulas and functions, and collaborative capabilities. Whether you need to analyze data, create charts and graphs, or collaborate with team members, Google Sheets provides a powerful platform to meet your needs.
So, don’t hesitate to convert your Excel files to Google Sheets and unlock the full potential of online spreadsheet collaboration. Start with a single file or an entire folder of Excel files, and enjoy the convenience, flexibility, and productivity that comes with working in Google Sheets!