Introduction
Welcome to our guide on how to open an Excel file in Google Sheets. Excel and Google Sheets are both powerful spreadsheet applications that allow you to organize and analyze data. While Excel is a popular choice for many users, Google Sheets offers the advantage of being cloud-based, allowing for easy collaboration and access from any device with an internet connection.
Opening an Excel file in Google Sheets is a straightforward process that ensures you can continue working with your data seamlessly. Whether you want to take advantage of Google Sheets’ collaborative features or simply prefer the user-friendly interface, we will walk you through the steps to open an Excel file in Google Sheets. Let’s get started!
Please note that to follow this guide, you need a Google account. If you don’t already have one, you can sign up for free at accounts.google.com/signup.
In the upcoming sections, we will cover how to sign in to Google Drive, upload the Excel file, open it in Google Sheets, and edit the file. By the end of this guide, you will have the knowledge and confidence to seamlessly transition your Excel files to Google Sheets.
Step 1: Sign in to Google Drive
Before you can open an Excel file in Google Sheets, you’ll need to sign in to your Google account and access Google Drive, which is where your files are stored. Follow these simple steps to sign in:
- Go to drive.google.com in your web browser.
- Click on the “Sign in” button located in the top-right corner of the page.
- Enter your Google account email address and password.
- Click on the “Next” button.
- If you have enabled two-step verification for your Google account, you will be prompted to enter the verification code sent to your registered device. Follow the instructions provided.
- After successfully signing in, you will be redirected to Google Drive, where you can access all your files and folders.
It’s important to note that if you are already signed in to your Google account on your device, you will be automatically directed to Google Drive when you visit drive.google.com.
Once you are signed in to Google Drive, you are ready to proceed to the next step: uploading the Excel file to your Google Drive account.
Step 2: Upload the Excel file to Google Drive
Now that you are signed in to Google Drive, it’s time to upload your Excel file. Follow these steps to upload the file:
- In Google Drive, click on the “+ New” button on the left-hand side of the screen.
- From the dropdown menu, select “File upload”.
- Navigate to the location on your device where the Excel file is stored.
- Select the Excel file you want to upload and click on the “Open” button.
- Google Drive will begin uploading the file to your account. The progress will be indicated by a status bar.
- Once the upload is complete, you will see a notification confirming the successful upload of your Excel file.
Note: If you prefer, you can also drag and drop the Excel file directly into the Google Drive window to initiate the upload.
After the file has been uploaded, you can view and access it in Google Drive. The next step is to open the Excel file in Google Sheets.
Step 3: Open the Excel file in Google Sheets
Now that your Excel file is uploaded to Google Drive, you can easily open it in Google Sheets. Here’s how:
- In Google Drive, locate the Excel file you want to open.
- Right-click on the file and select “Open with” from the dropdown menu.
- In the submenu, click on “Google Sheets”.
Alternatively, you can double-click on the Excel file, and Google Sheets will automatically open it.
Google Sheets will now convert the Excel file into its own format and open it in a new tab. Depending on the size of the Excel file and your internet connection speed, the conversion process may take a few moments.
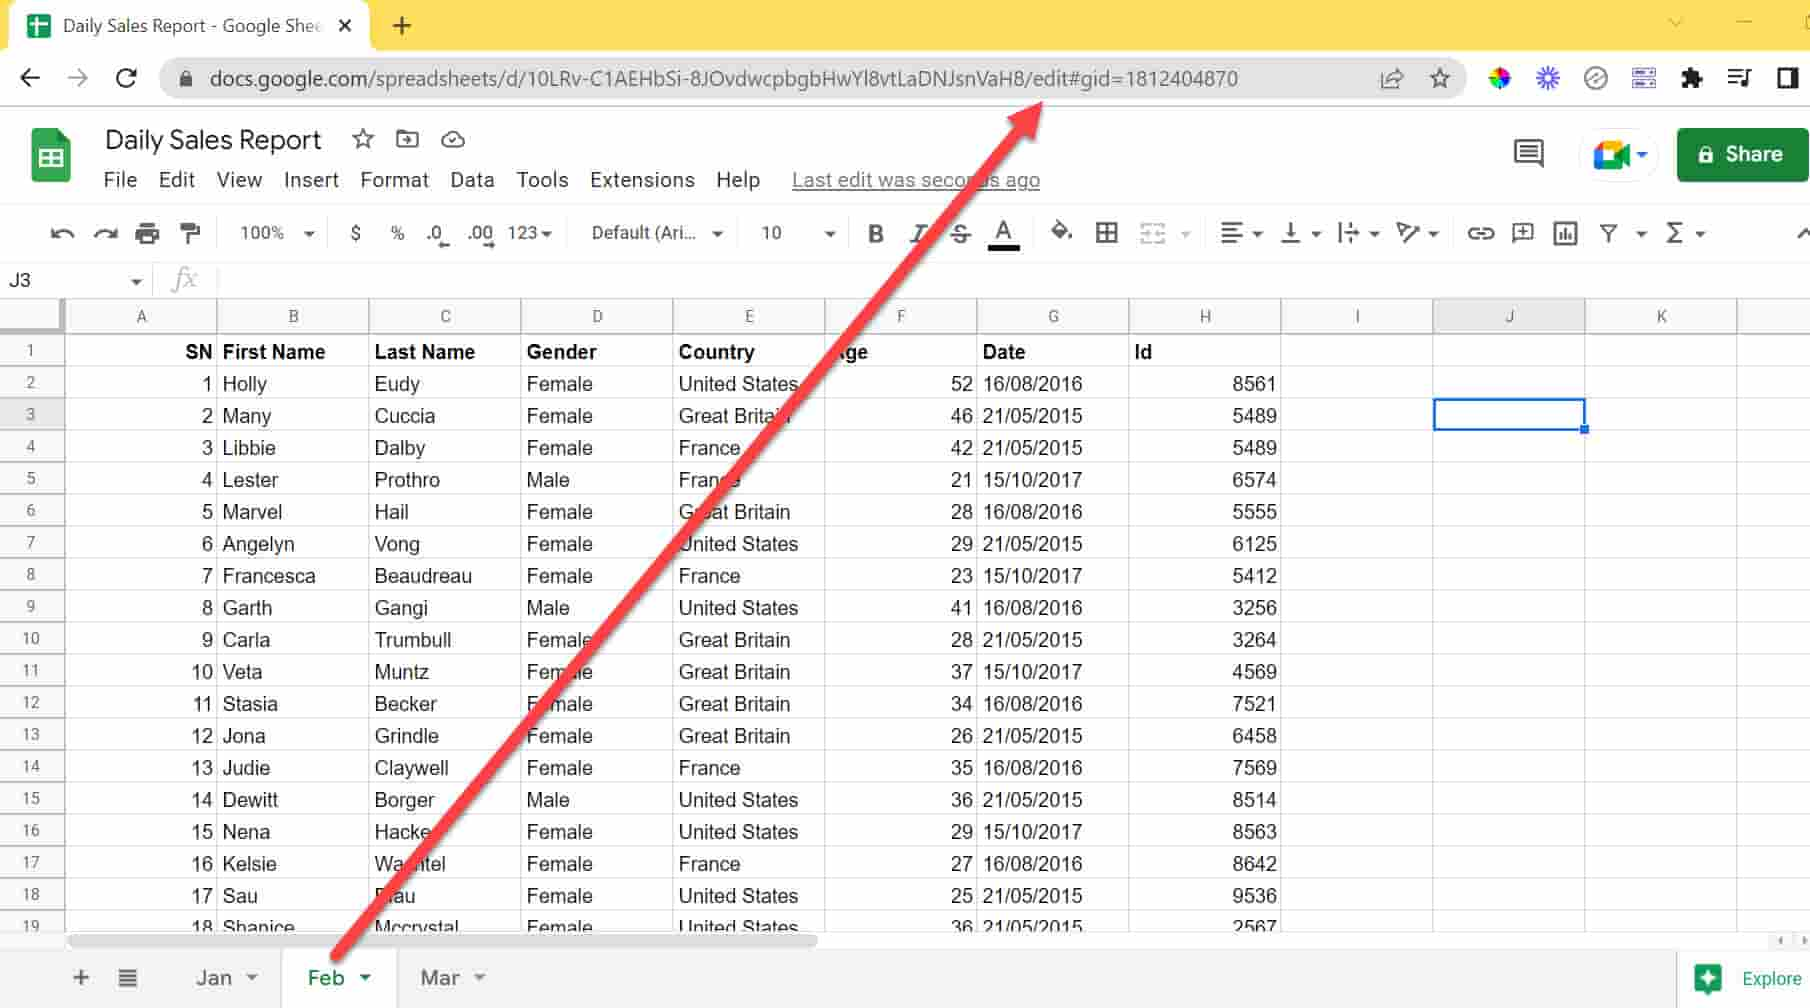
Once the conversion is complete, you will see your Excel file opened in Google Sheets, ready for you to view, edit, and work with the data.
It’s worth noting that Google Sheets may not support all Excel features and formulas. While most basic Excel functionality can be replicated in Google Sheets, more complex formulas or macros may not work as expected. It’s a good idea to review your file to ensure everything is accurately converted.
Now that you’ve successfully opened your Excel file in Google Sheets, let’s move on to the next step: editing and working with the file.
Step 4: Edit and work with the Excel file in Google Sheets
Now that your Excel file is open in Google Sheets, you have the freedom to edit and work with the data just as you would in Excel. Here are some key features and actions you can use:
- Edit and format: Modify the content of cells, change font styles, adjust column widths, and apply formatting options to enhance the visual appearance of your data.
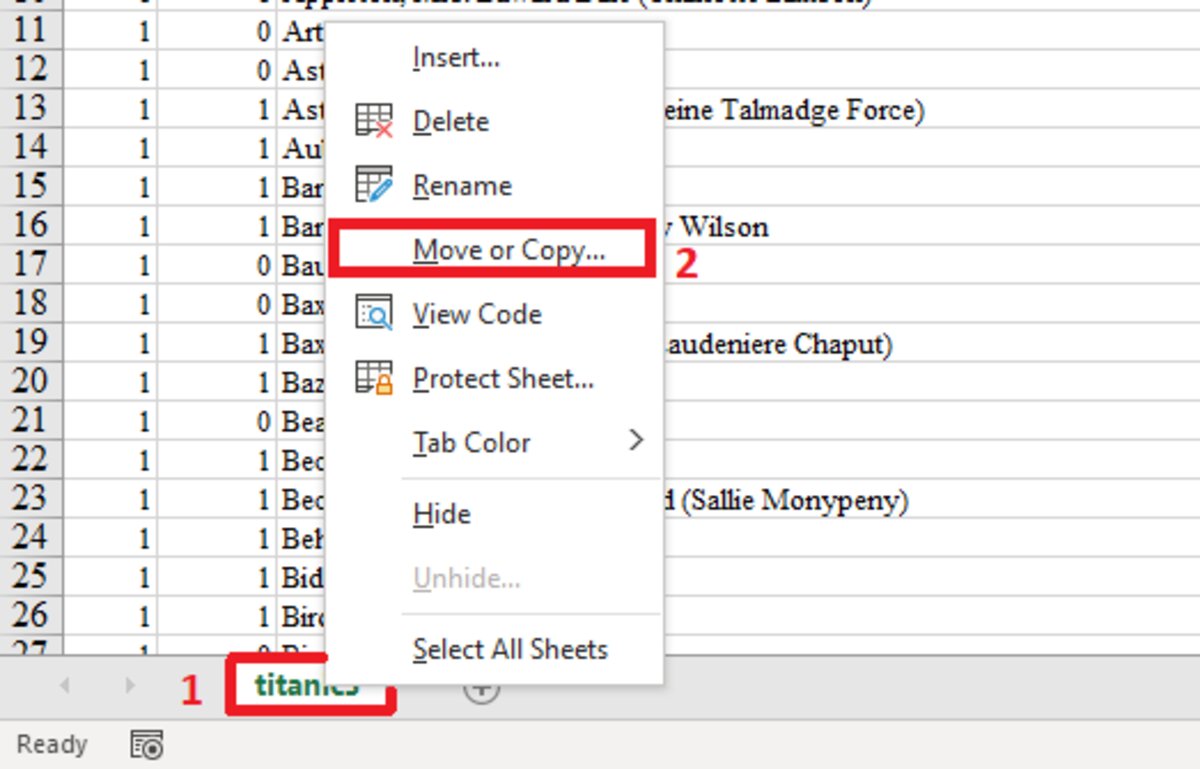
- Add and delete sheets: Easily add new sheets to organize your data or remove unnecessary sheets from the workbook.
- Sort and filter: Arrange your data in ascending or descending order based on specific criteria, and filter out rows that meet certain conditions to focus on relevant information.
- Use formulas and functions: Google Sheets supports a wide range of formulas and functions, allowing you to perform calculations, manipulate data, and analyze information.
- Collaborate with others: Share the Google Sheets file with colleagues or clients, allowing them to view and edit the data in real-time. You can also leave comments, track changes, and communicate within the document.
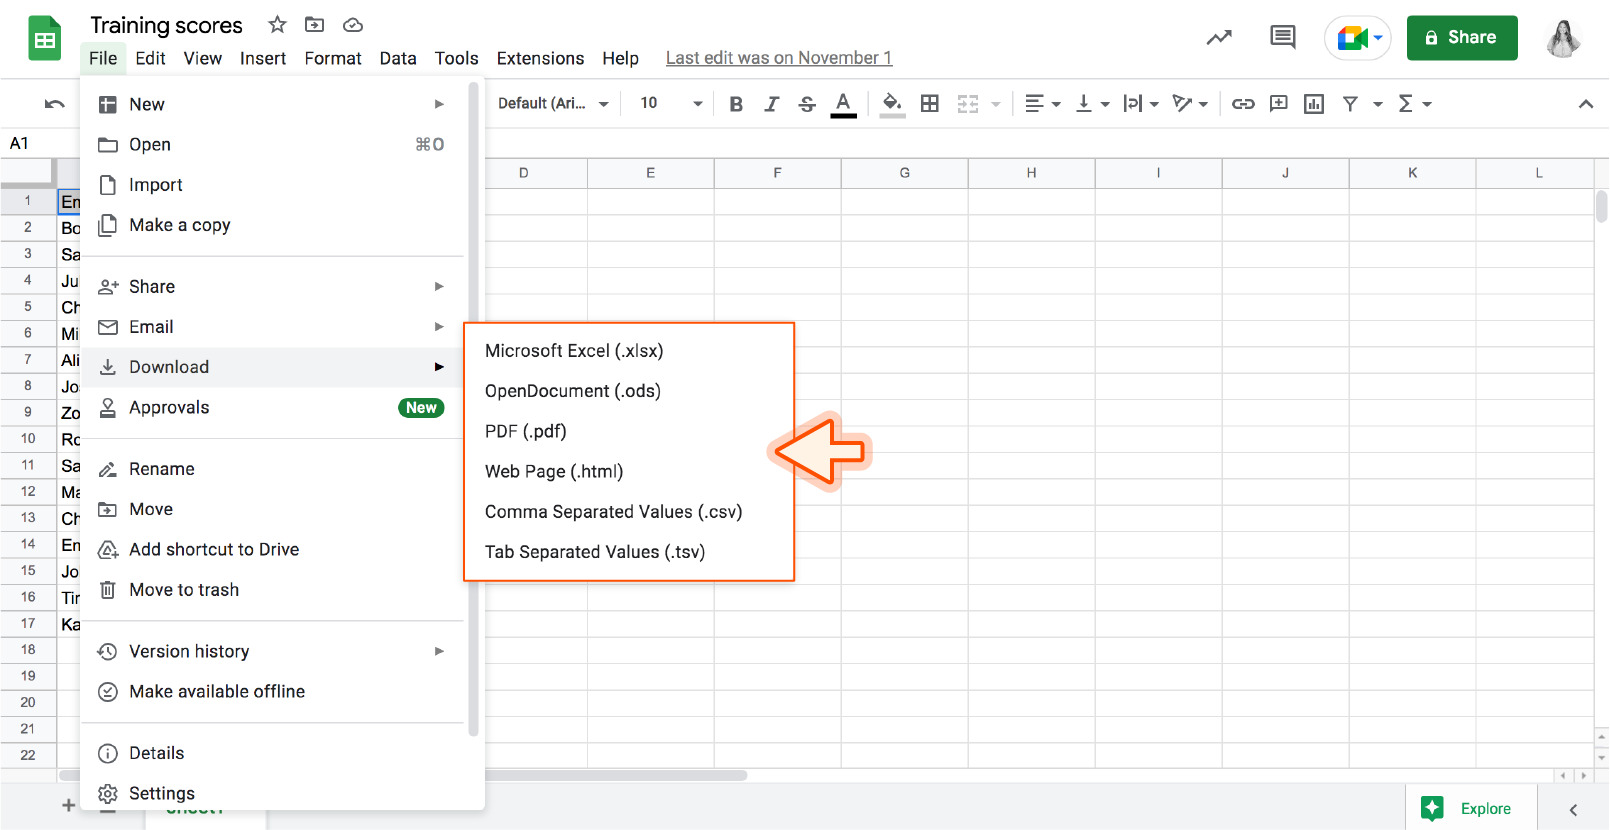
- Save and download: Google Sheets automatically saves your changes, so you don’t have to worry about losing your work. Additionally, you can download the file in various formats, including Excel, PDF, and CSV.
Take advantage of these features to make the most of your data in Google Sheets and collaborate effectively with others.
When you have finished editing your Excel file in Google Sheets, remember to save your changes. Google Sheets will auto-save your edits, eliminating the need for manual saving.
That’s it! You’ve successfully learned how to open, edit, and work with an Excel file in Google Sheets. Enjoy the flexibility and convenience that Google Sheets offers for your spreadsheet needs.
Conclusion
Opening an Excel file in Google Sheets provides you with the flexibility and convenience of working with your data in a cloud-based environment. By following the steps outlined in this guide, you can seamlessly transition your Excel files to Google Sheets and take advantage of its collaborative features and user-friendly interface.
We began by signing in to your Google Drive account, which serves as the storage hub for your files. Then, we walked through the process of uploading your Excel file to Google Drive. Once uploaded, you learned how to open the Excel file in Google Sheets, where it is converted and made accessible for editing and analysis.
In Google Sheets, you have a wide range of editing and working options, including formatting, sorting, filtering, using formulas and functions, collaborating with others, and saving your changes. Google Sheets provides a powerful platform for managing and manipulating your data, ensuring your projects are organized and efficient.
It’s important to note that while Google Sheets supports most basic Excel features, there may be some advanced functionalities that may not be fully compatible. It’s recommended to review your file after opening it in Google Sheets to ensure a smooth transition and accurate representation of your data.
We hope that this guide has been helpful in showing you how to open, edit, and work with an Excel file in Google Sheets. Embrace the convenience and collaborative capabilities of Google Sheets, and enjoy the freedom to access your spreadsheet data from anywhere, at any time.
Start exploring the possibilities of Google Sheets today and make your data management tasks effortless and efficient.