Introduction
Google Sheets is a versatile and powerful tool for creating spreadsheets and managing data. If you’re looking to add interactivity and visual elements to your Sheets, you may be wondering how to insert checkboxes. Checkboxes can be useful for creating to-do lists, tracking completion of tasks, or making selections based on specific criteria.
In this guide, we’ll walk you through the step-by-step process of inserting checkboxes in Google Sheets. Whether you’re a beginner or an experienced user, you’ll learn multiple methods to add checkboxes to your spreadsheets and customize them to suit your needs.
Using checkboxes in Google Sheets can enhance your productivity and organization by providing a visual representation of tasks or options. By having the ability to mark items as completed or track progress, you can easily keep track of your work and streamline your workflow.
From simple checkboxes to more advanced conditional formatting techniques, we’ll cover everything you need to know to effectively use checkboxes in Google Sheets. So, let’s dive in and explore the various ways to insert checkboxes in your spreadsheets!
Step 1: Open Google Sheets
To begin, you’ll need to access Google Sheets by opening your preferred web browser and navigating to sheets.google.com. If you already have a Google account, sign in. If not, you’ll need to create a free Google account to use Google Sheets.
Once you’re signed in, you’ll be directed to the Google Sheets homepage. This is where you can view a list of your existing spreadsheets or create a new one. If you have a specific spreadsheet that you want to add checkboxes to, simply click on the relevant file to open it. If you need to start from scratch, proceed to the next step to create a new spreadsheet.
If you’re accessing Google Sheets through the Google Drive interface, you can also open Google Sheets by clicking on the “New” button and selecting “Google Sheets” from the drop-down menu. This will create a new blank spreadsheet for you to work with.
Google Sheets is a web-based application, which means you can access and edit your spreadsheets from any device with an internet connection. Whether you’re using a desktop computer, laptop, tablet, or smartphone, you can easily open Google Sheets and make changes to your data.
Now that you have successfully opened Google Sheets, you’re ready to create a new spreadsheet or open an existing one. Continue to the next step to learn how to create a new spreadsheet in Google Sheets.
Step 2: Create a New Spreadsheet
To create a new spreadsheet in Google Sheets, follow these simple steps:
- On the Google Sheets homepage, click on the “Blank” option to create a new, empty spreadsheet. Alternatively, you can choose from a variety of pre-made templates by selecting “Template Gallery.”
- A new browser tab will open, and you’ll be directed to a fresh spreadsheet with default titles for the columns (A, B, C, etc.) and rows (1, 2, 3, etc.).
- Give your spreadsheet a name by clicking on the “Untitled spreadsheet” text at the top-left corner and typing in a descriptive title. This will help you easily identify and locate the spreadsheet later.
- If desired, you can modify the layout, formatting, and other settings for your spreadsheet by using the various tools and options available in the toolbar at the top of the screen. This includes changing the font, adjusting the cell alignment, and applying conditional formatting.
- Now that you have a new blank spreadsheet, you can begin adding content or importing data from external sources. You can manually type in information, copy and paste data, or import data from other Sheets or CSV files.
Creating a new spreadsheet is the starting point for utilizing checkboxes in Google Sheets. Once you have your spreadsheet set up, you can proceed to the next step to learn how to select a cell where you want to insert a checkbox.
Google Sheets provides a user-friendly interface and a range of tools to help you create, organize, and analyze data. Take a moment to explore the different features and familiarize yourself with the layout before moving on to the next step.
Step 3: Select a Cell
Before you can insert a checkbox in Google Sheets, you need to select the cell where you want it to be placed. Here’s how:
- Open the Google Sheets spreadsheet where you want to insert the checkbox.
- Click on the cell where you want to add the checkbox. You can select any single cell in the spreadsheet by simply clicking on it.
- If you want to add checkboxes to multiple cells at once, you can select a range of cells by clicking on the first cell and then dragging your cursor to select the desired range. The selected cells will be highlighted to indicate that they are now part of the selection.
By selecting a specific cell or range of cells, you are indicating where the checkbox will be inserted. You can choose any location within the spreadsheet that suits your needs.
It’s worth noting that checkboxes in Google Sheets are placed within individual cells. Unlike some other spreadsheet applications, Google Sheets does not have a separate “checkbox” object or tool. Instead, a checkbox is represented by a specific character or symbol within a cell.
Now that you have selected the cell or cells where you want to insert the checkbox, you’re ready to move on to the next step and learn how to insert checkboxes using the different methods available in Google Sheets.
Step 4: Insert Checkbox from the Toolbar
Google Sheets provides a convenient method to insert checkboxes directly from the toolbar. Here’s how you can add checkboxes using this method:
- Select the cell where you want to insert the checkbox, as explained in the previous step.
- In the toolbar at the top of the screen, locate and click on the “Insert” menu.
- A drop-down menu will appear. From the options, navigate to “Checkbox.”
- Clicking on “Checkbox” will insert a default checkbox symbol into the selected cell. The checkbox will be displayed as a checked box (✓) by default.
- If you wish to uncheck the box, simply click on it once to toggle its state. You can toggle the checkbox between checked and unchecked as needed.
Inserting checkboxes from the toolbar is a quick and straightforward method to add basic checkboxes to your Google Sheets. However, keep in mind that the default checkbox symbol cannot be customized in terms of size or style using this method.
If you want to further customize the appearance of the checkbox or use more advanced features, such as conditional formatting or data validation based on checkboxes, you can explore the additional methods discussed in the following steps.
Now that you’ve learned how to insert checkboxes using the toolbar, let’s move on to the next step to explore how to customize the size and style of the checkboxes.
Step 5: Customize the Checkbox Size and Style
While the default checkbox symbol inserted from the toolbar can’t be customized in terms of size and style, Google Sheets provides alternative methods to create customized checkboxes. Here’s how you can customize the size and style of checkboxes:
- Select the cell containing the checkbox that you want to customize.
- In the toolbar at the top of the screen, click on the “Format” menu.
- A drop-down menu will appear. Navigate to “Conditional formatting” and click on it.
- A sidebar will appear on the right side of the screen, displaying the current formatting rules for the selected cell or range of cells.
- To customize the checkbox, click on the “+” button to add a new rule.
- In the “Format cells if” drop-down menu, select “Custom formula is.”
- In the input box that appears below, enter the formula
=TRUE. - Click on the “Formatting style” drop-down menu and choose the desired formatting options for the checkbox.
- Modify the font size, font color, background color, or any other formatting settings to customize the appearance of the checkbox.
- Click “Done” to apply the customizations and view the updated checkbox.
By utilizing conditional formatting, you can not only customize the size and style of the checkboxes but also easily apply formatting based on specific conditions or criteria.
Experiment with different formatting options to find the visual style that suits your spreadsheet’s design and purpose. This way, you can create visually appealing and easily distinguishable checkboxes that enhance the overall aesthetic of your Google Sheets.
Now that you’ve learned how to customize the size and style of checkboxes, let’s explore additional methods to insert checkboxes in Google Sheets in the next steps.
Step 6: Manually Insert a Checkbox Symbol
Another method to insert checkboxes in Google Sheets is by manually inserting a checkbox symbol using special characters. Here’s how you can do it:
- Select the cell where you want to insert the checkbox, as explained in the previous steps.
- In the toolbar at the top of the screen, click on the “Insert special characters” icon. It looks like the Greek letter Ω.
- A pop-up window will appear, displaying a variety of special characters and symbols.
- In the search bar of the pop-up window, type “check” or “checkbox” to filter the results.
- Browse through the available checkbox symbols and click on the one you want to insert.
- The selected checkbox symbol will be inserted into the selected cell.
Manually inserting a checkbox symbol allows you to have more control over the appearance of the checkbox. You can easily select from a range of checkbox symbols, including different sizes and styles, to match your preferences or the overall design of your spreadsheet.
It’s important to note that when manually inserting checkbox symbols, they are treated as regular text within the cell. This means that the checkboxes won’t have the same interactive functionality as the checkboxes inserted through the toolbar. Manually inserted checkbox symbols are primarily for visual representation purposes and don’t allow for automatic toggling.
Now that you know how to manually insert a checkbox symbol, let’s move on to exploring copying and pasting checkboxes in the next step.
Step 7: Copy and Paste a Checkbox
If you have already added a checkbox to one cell and want to replicate it in other cells, you can simply copy and paste the checkbox. Here’s how:
- Select the cell containing the checkbox that you want to copy.
- Right-click on the selected cell and choose “Copy” from the context menu. Alternatively, you can use the shortcut keys Ctrl+C (Windows) or Command+C (Mac).
- Select the cell or range of cells where you want to paste the copied checkbox.
- Right-click on the destination cell(s) and choose “Paste” from the context menu. You can also use the shortcut keys Ctrl+V (Windows) or Command+V (Mac) to paste the copied checkbox.
- The checkbox from the source cell will be copied and pasted into the new location(s).
Copying and pasting checkboxes is a convenient way to save time, especially when you need to replicate the same checkbox formatting in multiple cells or across different sections of your spreadsheet. It ensures consistency and makes the process of adding checkboxes more efficient.
It’s important to note that when you copy and paste a checkbox, the formatting associated with the checkbox, such as font size, color, or conditional formatting rules, will also be copied. This means that the pasted checkboxes will retain the same appearance as the original checkbox.
Now that you know how to copy and paste checkboxes, let’s move on to exploring how to use conditional formatting to create checkboxes in the next step.
Step 8: Use Conditional Formatting to Create Checkboxes
Conditional formatting in Google Sheets allows you to create checkboxes based on specific conditions or criteria. By using this method, you can automate the process of inserting checkboxes and have them dynamically change based on the data in your spreadsheet. Here’s how to use conditional formatting to create checkboxes:
- Select the cell or cells where you want to create the checkboxes.
- In the toolbar at the top of the screen, click on the “Format” menu.
- Select “Conditional formatting” from the drop-down menu.
- In the conditional formatting sidebar that appears on the right, choose the desired condition that the cells must meet to display a checkbox. For example, you can select “Text is exactly” and specify a certain text value that, when entered in a cell, triggers the display of a checkbox.
- Configure the formatting options for the checkboxes by choosing the “Checkbox” style from the “Formatting style” drop-down menu.
- Click “Done” to apply the conditional formatting and create the checkboxes.
With conditional formatting, you can create dynamic checkboxes that appear or disappear based on specified conditions. This method is particularly useful when working with data that may change over time or when you want to automate the display of checkboxes based on certain criteria.
Conditional formatting offers a wide range of options for creating checkboxes, including the ability to conditionally format based on formulas, cell values, text, date ranges, and more. Experiment with different conditions and formatting styles to achieve the desired effect for your checkboxes.
Now that you know how to use conditional formatting to create checkboxes, let’s move on to the final step to learn how to remove or delete checkboxes.
Step 9: Remove or Delete a Checkbox
If you no longer need a checkbox in your Google Sheets spreadsheet, you can easily remove or delete it. Here are the steps to follow:
- Select the cell containing the checkbox that you want to remove.
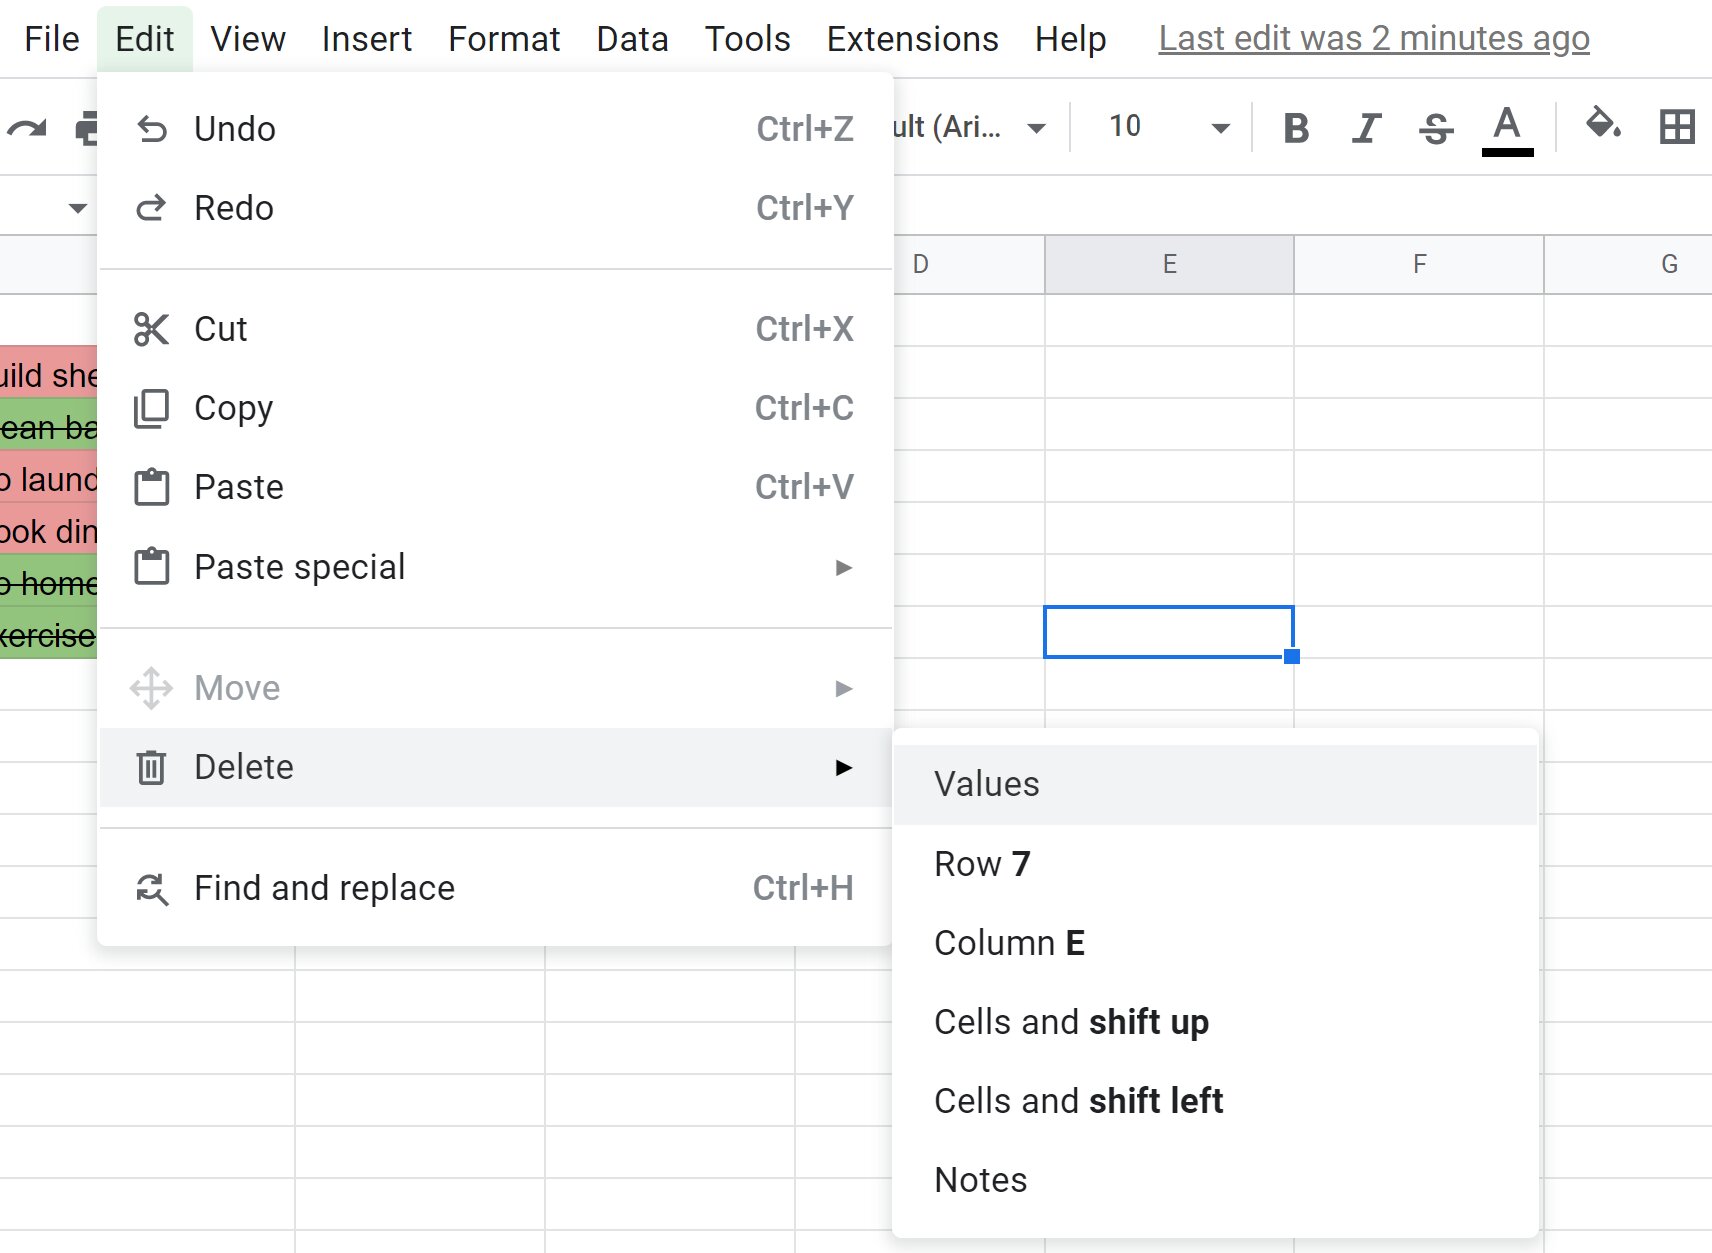
- In the toolbar at the top of the screen, click on the “Edit” menu.
- From the drop-down menu, choose “Delete” and then select “Delete Checkbox.”
- The checkbox will be removed from the selected cell, and the cell will be emptied.
Removing or deleting a checkbox allows you to clean up your spreadsheet and remove any unnecessary or outdated checkboxes. It’s important to note that when you delete a checkbox, any associated formatting or conditional formatting rules specific to that checkbox will also be removed.
If there are multiple checkboxes that you want to remove, you can easily select and delete them in one go by selecting a range of cells that contain the checkboxes, and then following the same steps as above to delete them.
By removing checkboxes that are no longer needed, you can keep your spreadsheet organized and ensure that the checkboxes accurately reflect the current state of your data.
Now that you know how to remove or delete a checkbox, you have successfully completed all the steps to insert, customize, copy, and delete checkboxes in Google Sheets.
Conclusion
Inserting checkboxes in Google Sheets can greatly enhance your productivity, organization, and data management. Through this guide, you have learned various methods to add checkboxes to your spreadsheets, customize their size and style, copy and paste them, create dynamic checkboxes using conditional formatting, and remove or delete checkboxes as needed.
By utilizing checkboxes, you can create interactive to-do lists, track progress, make selections, and visually represent data in a clear and organized manner. Whether you are a student, professional, or anyone who works with data in Google Sheets, checkboxes can be a valuable tool to streamline your workflow and keep your information easily accessible.
Remember that checkboxes can be inserted directly from the toolbar, manually with special characters, or even through conditional formatting based on specific conditions. The method you choose will depend on your preferences and the level of customization you require for your checkboxes.
Additionally, you have learned to customize the appearance of checkboxes, copy and paste them to save time, and utilize conditional formatting to create dynamic checkboxes that adapt to your data.
Now that you have acquired the knowledge and skills to effectively insert and manage checkboxes in Google Sheets, feel free to explore and experiment with different approaches to suit your specific needs and create visually appealing and functional spreadsheets.
So go ahead and start implementing checkboxes in your Google Sheets to enhance your data management and organization!