Introduction
Google Sheets is a powerful tool that allows users to create and manage spreadsheets online. One of the key features of Google Sheets is the ability to sort data in a quick and efficient manner. Sorting data allows you to organize information in a way that is easy to understand and analyze. Whether you are working with a small dataset or a large dataset with multiple columns, Google Sheets offers various methods to help you sort your data effectively.
Sorting in Google Sheets can be done in a variety of ways, including sorting by a single column, sorting by multiple columns, sorting by a custom list, sorting by colors, sorting by text length, and sorting by date. Each method has its own unique benefits and can be utilized depending on the specific requirements of your data analysis.
In this article, we will explore these different sorting methods and provide step-by-step instructions on how to implement them effectively. Additionally, we will share some tips and tricks to help you make the most out of the sorting functionalities in Google Sheets.
Method 1: Sorting by a Single Column
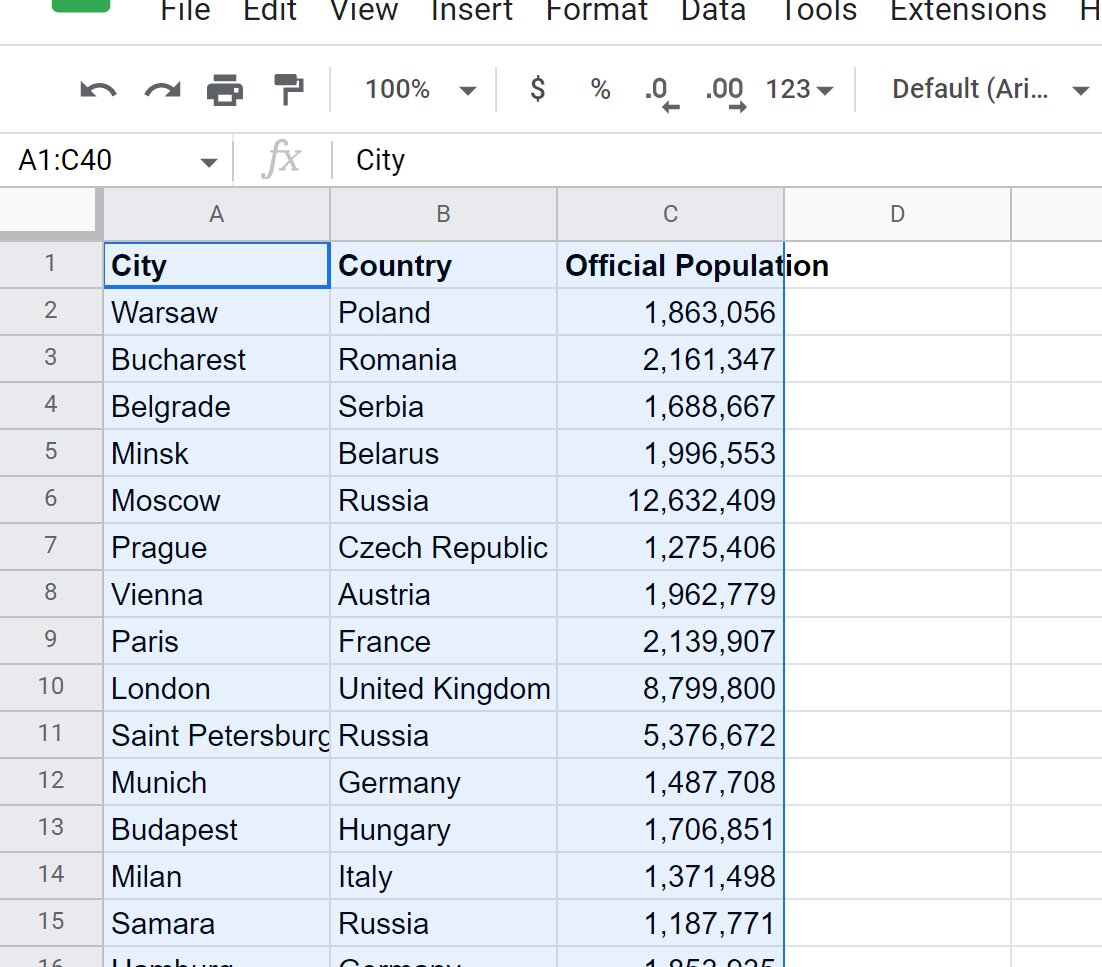
Sorting by a single column in Google Sheets allows you to arrange your data in ascending or descending order based on the values in that specific column. This method is useful when you want to prioritize or analyze your data based on a particular criterion.
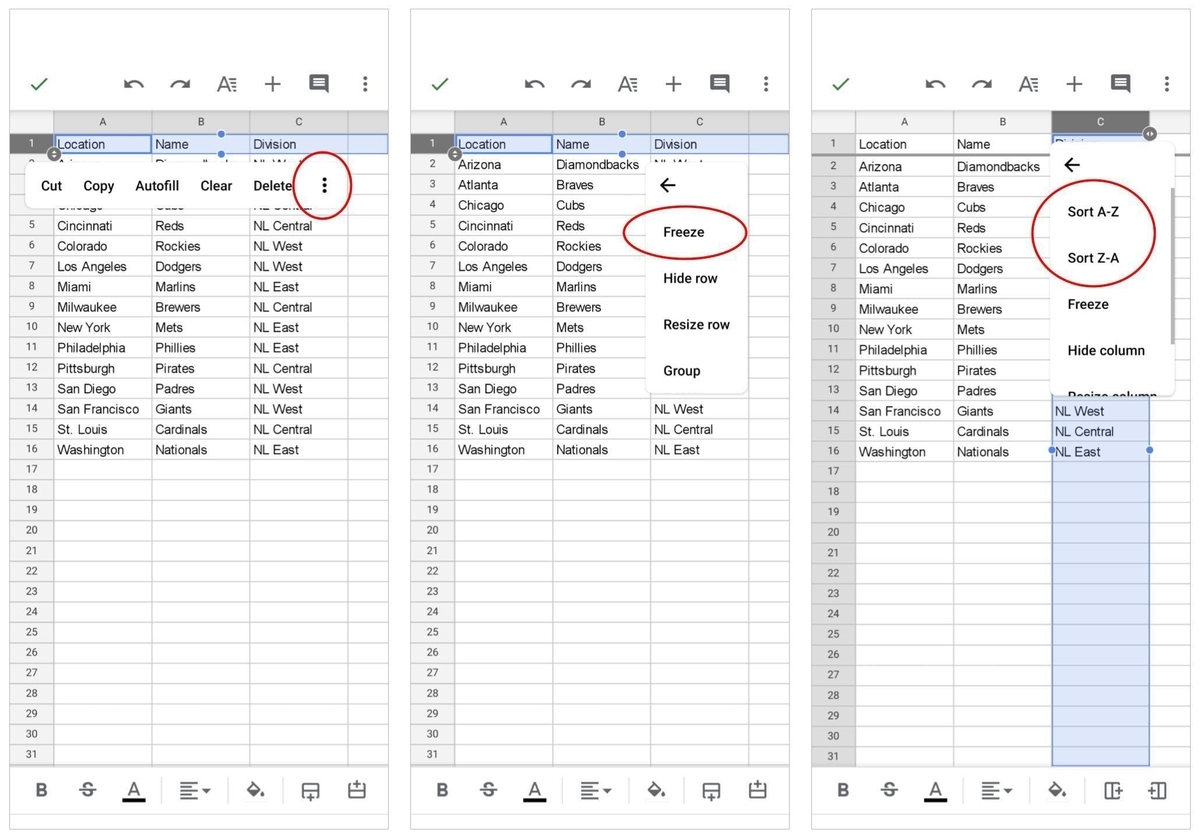
To sort by a single column, follow these steps:
- Select the data range you want to sort. This can be a single column or multiple columns.
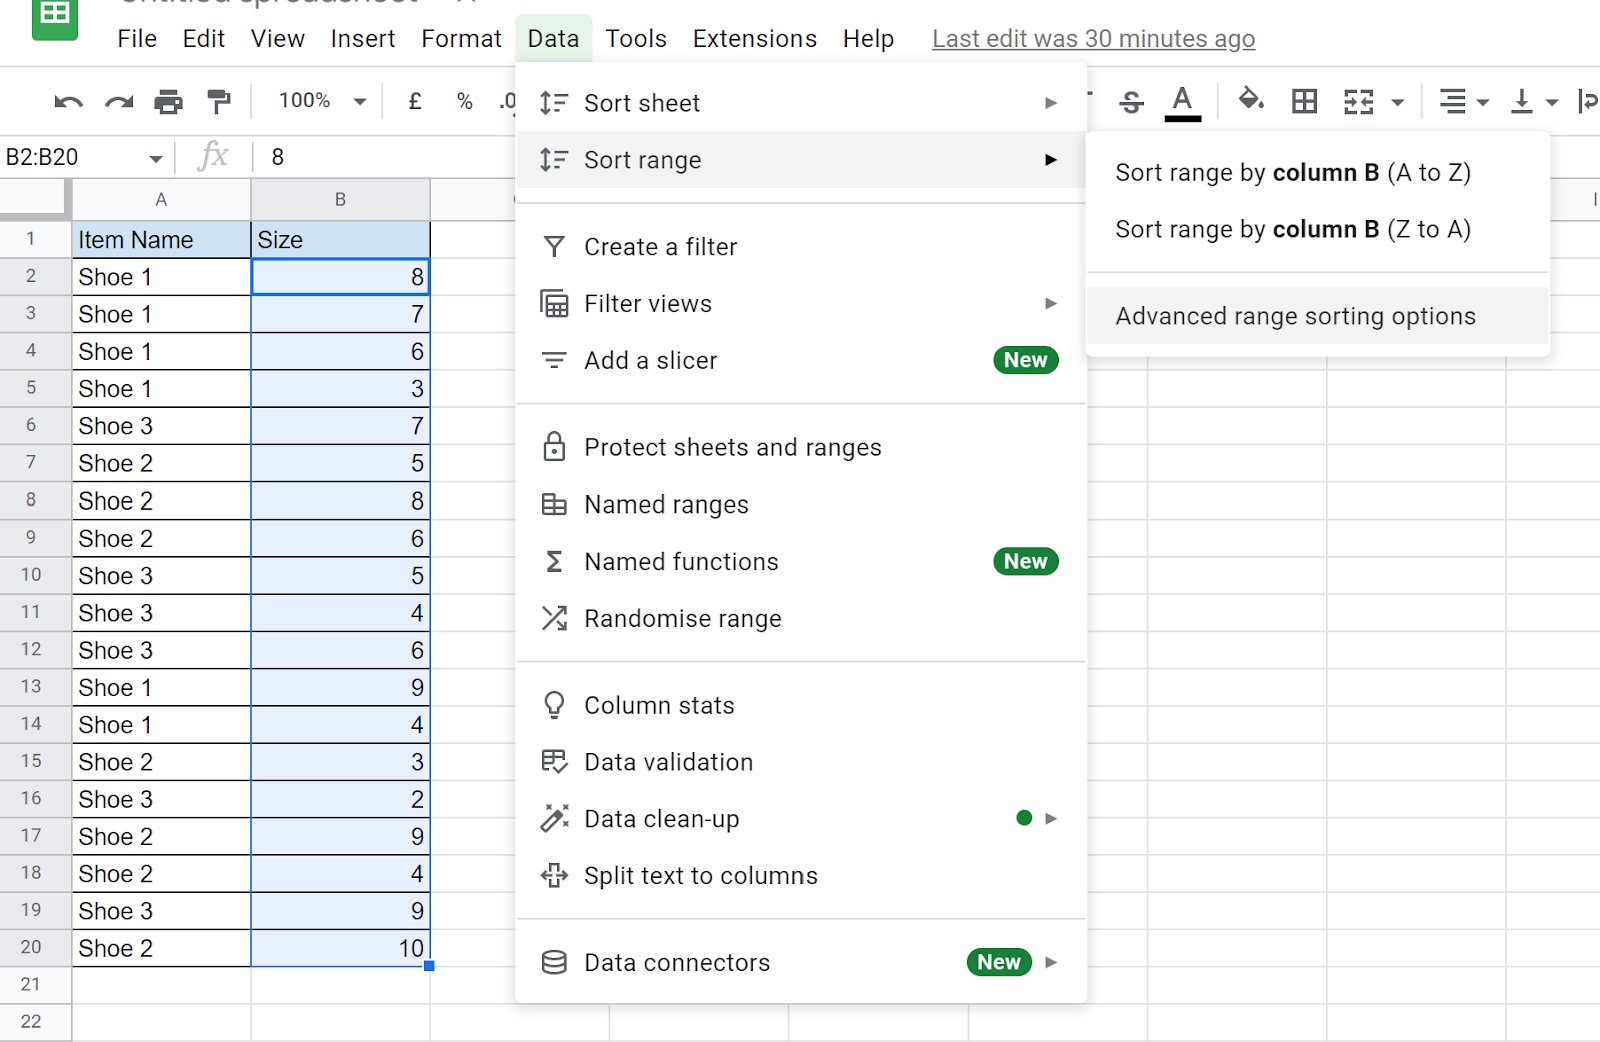
- Click on the “Data” tab in the top menu and select “Sort range” from the dropdown menu.
- In the “Sort by” section, choose the column you want to sort by from the dropdown menu.
- Select the sorting order as either ascending or descending.
- Click on the “Sort” button to apply the sorting to your selected range.
After following these steps, Google Sheets will rearrange your data based on the values in the selected column. The sorted data will be highlighted, and you can easily identify the order by looking at the small arrow icon next to the column header.
It’s important to note that when you sort a single column, the corresponding values in the other columns will be rearranged accordingly. This ensures that the integrity of your data is maintained, and the relationships between the columns are preserved.
By using the single-column sorting method in Google Sheets, you can gain insights from your data by prioritizing certain values or identifying patterns and trends within your dataset.
Method 2: Sorting by Multiple Columns
Sorting by multiple columns in Google Sheets allows you to arrange your data based on multiple criteria simultaneously. This method is beneficial when you want to sort your data in a more granular and detailed manner.
To sort by multiple columns, follow these steps:
- Select the data range you want to sort. This can include multiple columns.
- Click on the “Data” tab in the top menu and select “Sort range” from the dropdown menu.
- In the “Sort by” section, choose the first column you want to sort by from the dropdown menu.
- Click on the checkbox that says “Data has a header row” if your data includes headers.
- In the “Then by” section, choose the next column you want to sort by from the dropdown menu.
- Repeat the previous step for any additional columns you want to sort by.
- Select the sorting order for each column as either ascending or descending.
- Click on the “Sort” button to apply the multiple column sorting to your selected range.
By following these steps, Google Sheets will sort your data based on the selected columns in the specified order. This means that the primary column will be sorted first, followed by the secondary column, and so on.
Sorting by multiple columns allows you to sort data in a hierarchical manner, where the values in one column act as the primary sort criteria, and the values in subsequent columns act as secondary or tertiary sort criteria. This method helps you organize and analyze your data in a more comprehensive and nuanced way.
By utilizing the multiple column sorting method in Google Sheets, you can gain deeper insights and uncover more detailed patterns within your data that may not be apparent when sorting by a single column.
Method 3: Sorting by a Custom List
In addition to sorting by columns, Google Sheets also provides the ability to sort data based on a custom list. This feature allows you to define a specific order for your data based on a custom sequence of values.
To sort by a custom list in Google Sheets, follow these steps:
- Select the data range you want to sort.
- Click on the “Data” tab in the top menu and select “Sort range” from the dropdown menu.
- In the “Sort by” section, choose the column you want to sort by.
- Click on the checkbox that says “Data has a header row” if your data includes headers.
- In the “Order” dropdown list, select “Custom order”.
- Click on the “Add another column” button to add another column to the custom sort.
- Enter the custom values in the order you want them to be sorted.
- Repeat steps 6 and 7 for any additional columns you want to sort by.
- Click on the “Sort” button to apply the custom sorting to your selected range.
By following these steps, Google Sheets will sort your data based on the custom list you defined. This allows you to prioritize specific values and dictate the order in which they appear in the sorted data.
The custom list sorting method is particularly useful when you have unique sorting requirements that are not based on numerical or alphabetical values. It allows you to arrange your data in a way that is customized to your specific needs or preferences.
By leveraging the custom list sorting feature in Google Sheets, you can organize your data based on a personalized sequence of values, providing a tailored and meaningful representation of your dataset.
Method 4: Sorting by Colors
Google Sheets offers the ability to sort data based on the colors assigned to cells. This feature allows you to categorize and organize your data visually, and then sort it based on these color assignments.
To sort by colors in Google Sheets, follow these steps:
- Select the data range you want to sort.
- Click on the “Data” tab in the top menu and select “Sort range” from the dropdown menu.
- In the “Sort by” section, choose the column you want to sort by.
- Click on the checkbox that says “Data has a header row” if your data includes headers.
- In the “Order” dropdown list, select “Color”.
- Choose the color you want to sort by from the “Sort by color” dropdown list.
- Select the sorting order as either “On top” or “On bottom”.
- Click on the “Sort” button to apply the color sorting to your selected range.
By following these steps, Google Sheets will sort your data based on the colors assigned to the chosen column. Cells with the selected color will be grouped either at the top or bottom of the sorted data, depending on the sorting order specified.
Sorting by colors is particularly helpful when you want to highlight specific data based on different criteria or categories. It allows you to visually segment your dataset and then sort it based on those visual distinctions.
By harnessing the power of color sorting in Google Sheets, you can effectively manage and analyze data that has been visually coded, providing a seamless and intuitive way to organize and make sense of your information.
Method 5: Sorting by Text Length
Sorting by text length in Google Sheets allows you to arrange your data based on the length of the text within a specific column. This method can be particularly useful when working with textual data that varies in length, such as product descriptions, customer reviews, or article titles.
To sort by text length in Google Sheets, follow these steps:
- Select the data range you want to sort.
- Click on the “Data” tab in the top menu and select “Sort range” from the dropdown menu.
- In the “Sort by” section, choose the column you want to sort by.
- Click on the checkbox that says “Data has a header row” if your data includes headers.
- In the “Order” dropdown list, select “Custom order”.
- Click on the “Add another column” button to add another column to the custom sort.
- Choose “Text length” from the “Sort by” dropdown list.
- Select the sorting order as either ascending or descending.
- Click on the “Sort” button to apply the text length sorting to your selected range.
By following these steps, Google Sheets will sort your data based on the length of the text in the chosen column. The text with the shortest or longest length will be placed at the top or bottom of the sorted data, depending on the sorting order specified.
Sorting by text length can help you identify patterns or outliers in your data that may be related to the length of the text. This method allows you to quickly scan your dataset and draw insights based on the text length as a sorting criterion.
By utilizing the text length sorting feature in Google Sheets, you can easily analyze and manage data that includes text of varying lengths, enabling you to make informed decisions and gain a deeper understanding of your data.
Method 6: Sorting by Date
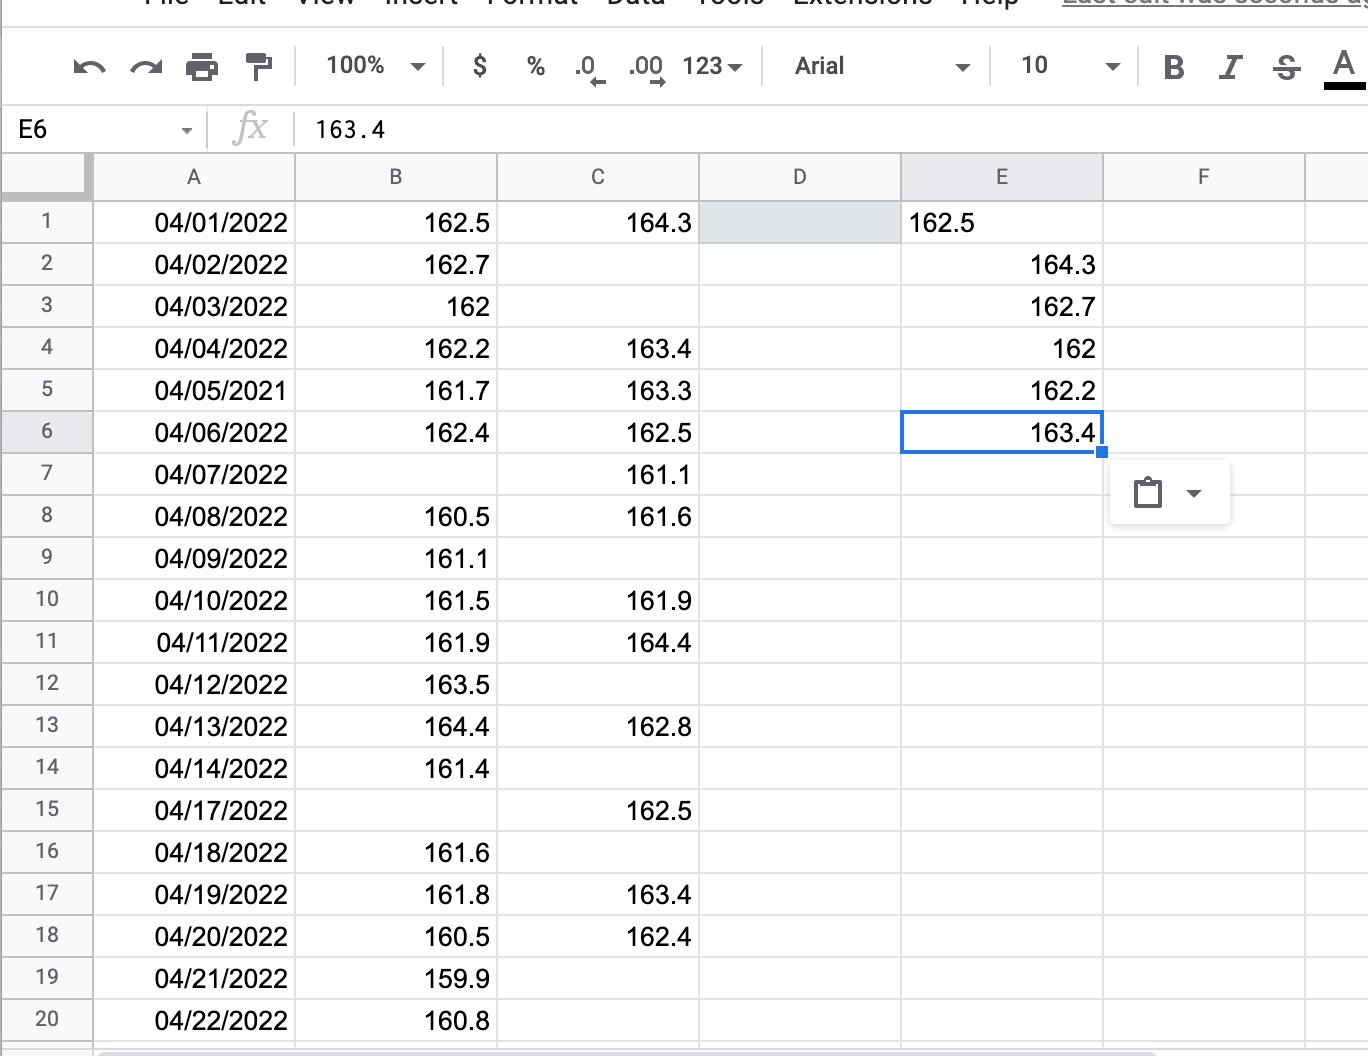
Sorting by date in Google Sheets allows you to arrange your data chronologically, helping you to analyze and track time-based information effectively. Whether you’re managing project schedules, sales data, or personal events, sorting by date can provide valuable insights and facilitate better decision-making.
To sort by date in Google Sheets, follow these steps:
- Select the data range you want to sort.
- Click on the “Data” tab in the top menu and select “Sort range” from the dropdown menu.
- In the “Sort by” section, choose the column containing the dates you want to sort by.
- Click on the checkbox that says “Data has a header row” if your data includes headers.
- In the “Order” dropdown list, select “Date”.
- Select either “Smallest to largest” or “Largest to smallest” to specify the sorting order.
- Click on the “Sort” button to apply the date sorting to your selected range.
After following these steps, Google Sheets will sort your data based on the dates in the chosen column. The dates will be arranged in chronological order, with the oldest dates at the top or bottom of the sorted data, depending on the specified sorting order.
Sorting by date allows you to gain insights into trends, identify patterns, or track the progression of events over time. It enables you to easily identify the earliest or latest dates, helping you analyze data within a time-based context.
By leveraging the date sorting feature in Google Sheets, you can effectively manage and analyze time-related data, ensuring that your information is easily accessible and organized in a meaningful way.
Tips and Tricks for Sorting in Google Sheets
Sorting data in Google Sheets is a powerful feature that can help you organize and analyze your data effectively. To make the most out of the sorting functionalities, consider the following tips and tricks:
- Use headers: Before sorting your data, ensure that your data range includes headers. This helps Google Sheets understand the structure of your data and prevents the header row from being sorted with the rest of the data.
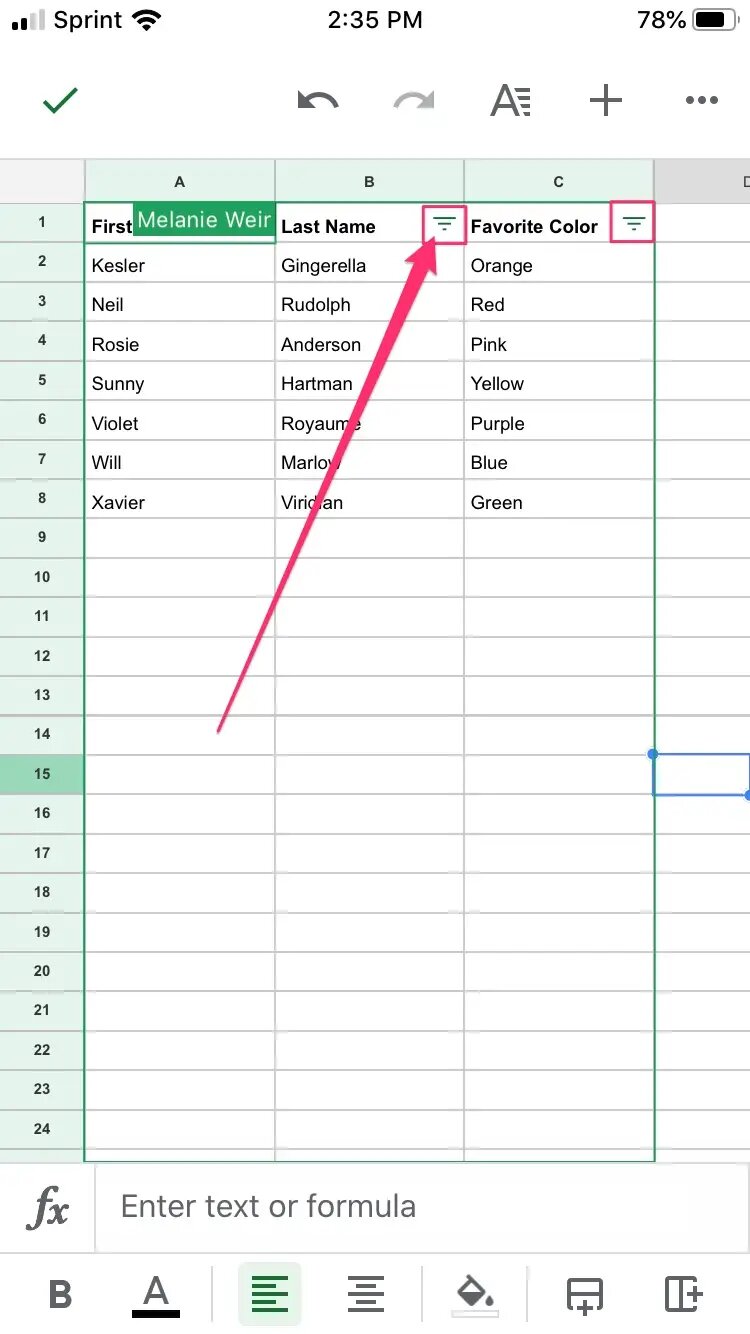
- Apply filters: Consider applying filters to your data range before sorting. Filters allow you to narrow down the data based on specific criteria, making it easier to sort and focus on a subset of your dataset.
- Use the “Sort by color” option: If you have color-coded your data in Google Sheets, you can sort by color to group similar data together. This can be useful when sorting data with different categories or levels of importance.
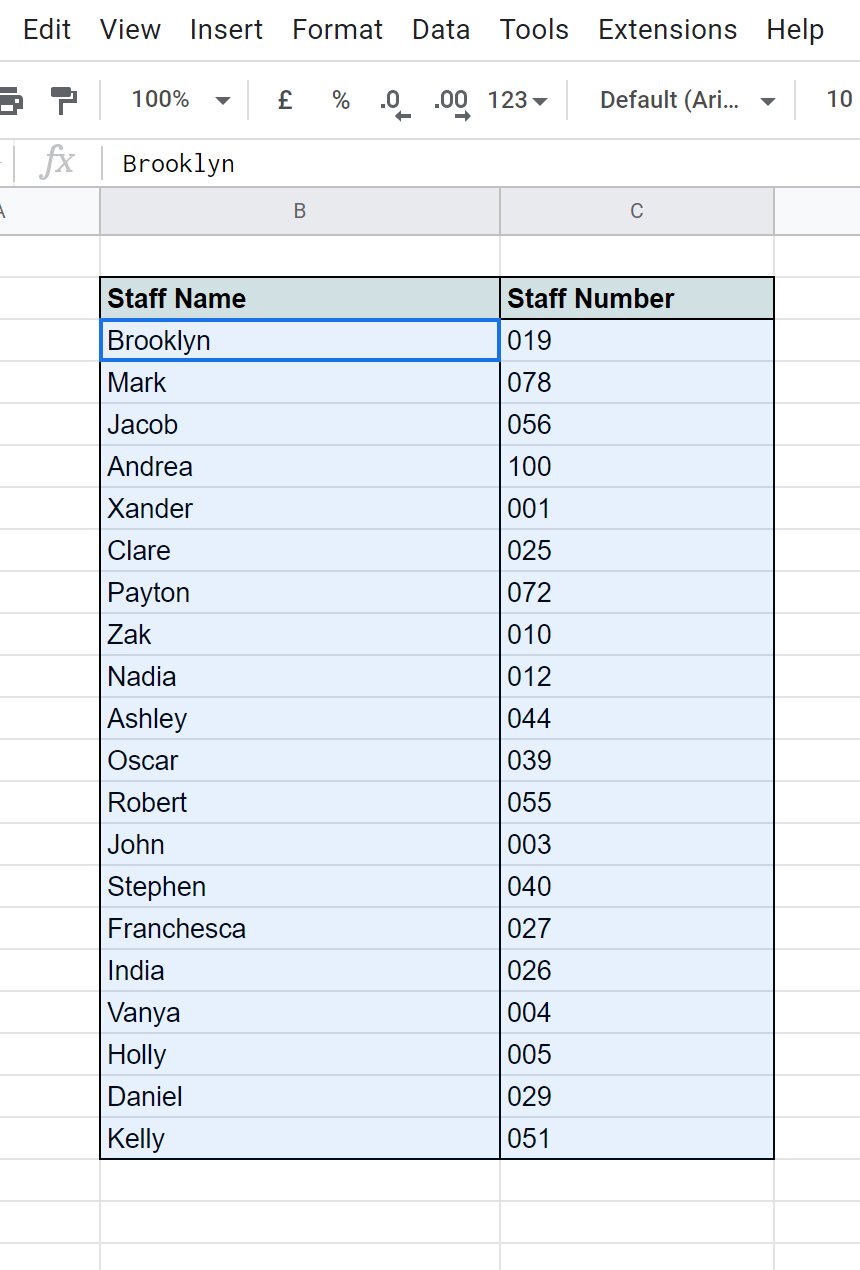
- Sort values as numbers: If you have numerical data stored as text in Google Sheets, make sure to convert them to numbers before sorting. This ensures that the sorting is based on numerical values instead of treating them as text.
- Experiment with different sorting orders: Depending on your analysis requirements, try sorting your data in ascending and descending orders. This can reveal different insights and patterns within your dataset.
- Use the “Add another column” option: When sorting by multiple columns or applying custom sorting, the “Add another column” option allows you to add additional sort criteria. This can help you refine and prioritize your data based on multiple factors.
- Undo or redo your sorting: Google Sheets provides the option to undo or redo your sorting actions. If you made a mistake or want to revert to a previous sorting state, simply use the “Undo” or “Redo” commands to adjust the sorting as needed.
By employing these tips and tricks, you can enhance your sorting experience in Google Sheets and ensure that your data is organized and analyzed seamlessly, providing valuable insights for your projects and analyses.
Conclusion
Sorting data in Google Sheets offers a powerful way to organize, analyze, and draw insights from your datasets. Whether you need to sort by a single column, multiple columns, a custom list, colors, text length, or dates, Google Sheets provides the tools and flexibility you need.
By following the step-by-step instructions and utilizing the tips and tricks provided in this article, you can make the most of the sorting features in Google Sheets. These methods allow you to arrange your data in a way that best suits your analysis requirements, making it easier to identify patterns, track trends, and prioritize information based on specific criteria.
Remember to consider the unique characteristics of your data when sorting in Google Sheets. Whether it’s using headers, applying filters, converting text to numbers, or experimenting with different sorting orders, these techniques will help you streamline your data management process and enhance your analysis outcomes.
With its intuitive interface and robust sorting capabilities, Google Sheets empowers you to efficiently organize and analyze data of any size or complexity. So, start sorting your data today and unlock valuable insights that can drive better decision-making and improve your overall data management workflow.