Introduction
In today’s digital age, television remains one of the primary sources of entertainment and information for millions of people around the world. While cable and satellite TV subscriptions have long been popular, many individuals are now turning to over-the-air broadcast television for a cost-effective and reliable option.
A key component of receiving over-the-air TV signals is the TV antenna. A TV antenna allows you to capture free high-definition digital signals from local broadcast stations, providing access to a wide range of channels without the need for a paid subscription.
If you’re looking to set up a TV antenna for the first time or upgrade your current setup, this guide will walk you through the process step-by-step. We’ll cover everything from understanding different types of antennas to installing and optimizing them for the best signal reception.
Whether you want to cut the cord entirely and rely solely on over-the-air TV, or simply supplement your existing cable or satellite package with local channels, this guide will empower you to get the most out of your TV antenna setup.
So, let’s dive in and explore the fascinating world of TV antennas, and learn how to hook up a TV antenna for the ultimate viewing experience!
Understanding TV Antennas
Before diving into the installation process, it’s important to have a basic understanding of TV antennas. Although they may seem simple on the surface, there are a few key aspects to consider when choosing the right antenna for your needs.
TV antennas work by capturing radio frequency signals transmitted by local broadcast stations. These signals are then converted into audio and video signals that your TV can interpret and display. The quality and strength of the signals you receive will depend on various factors, including your location, the type of antenna you choose, and any signal interference that may be present.
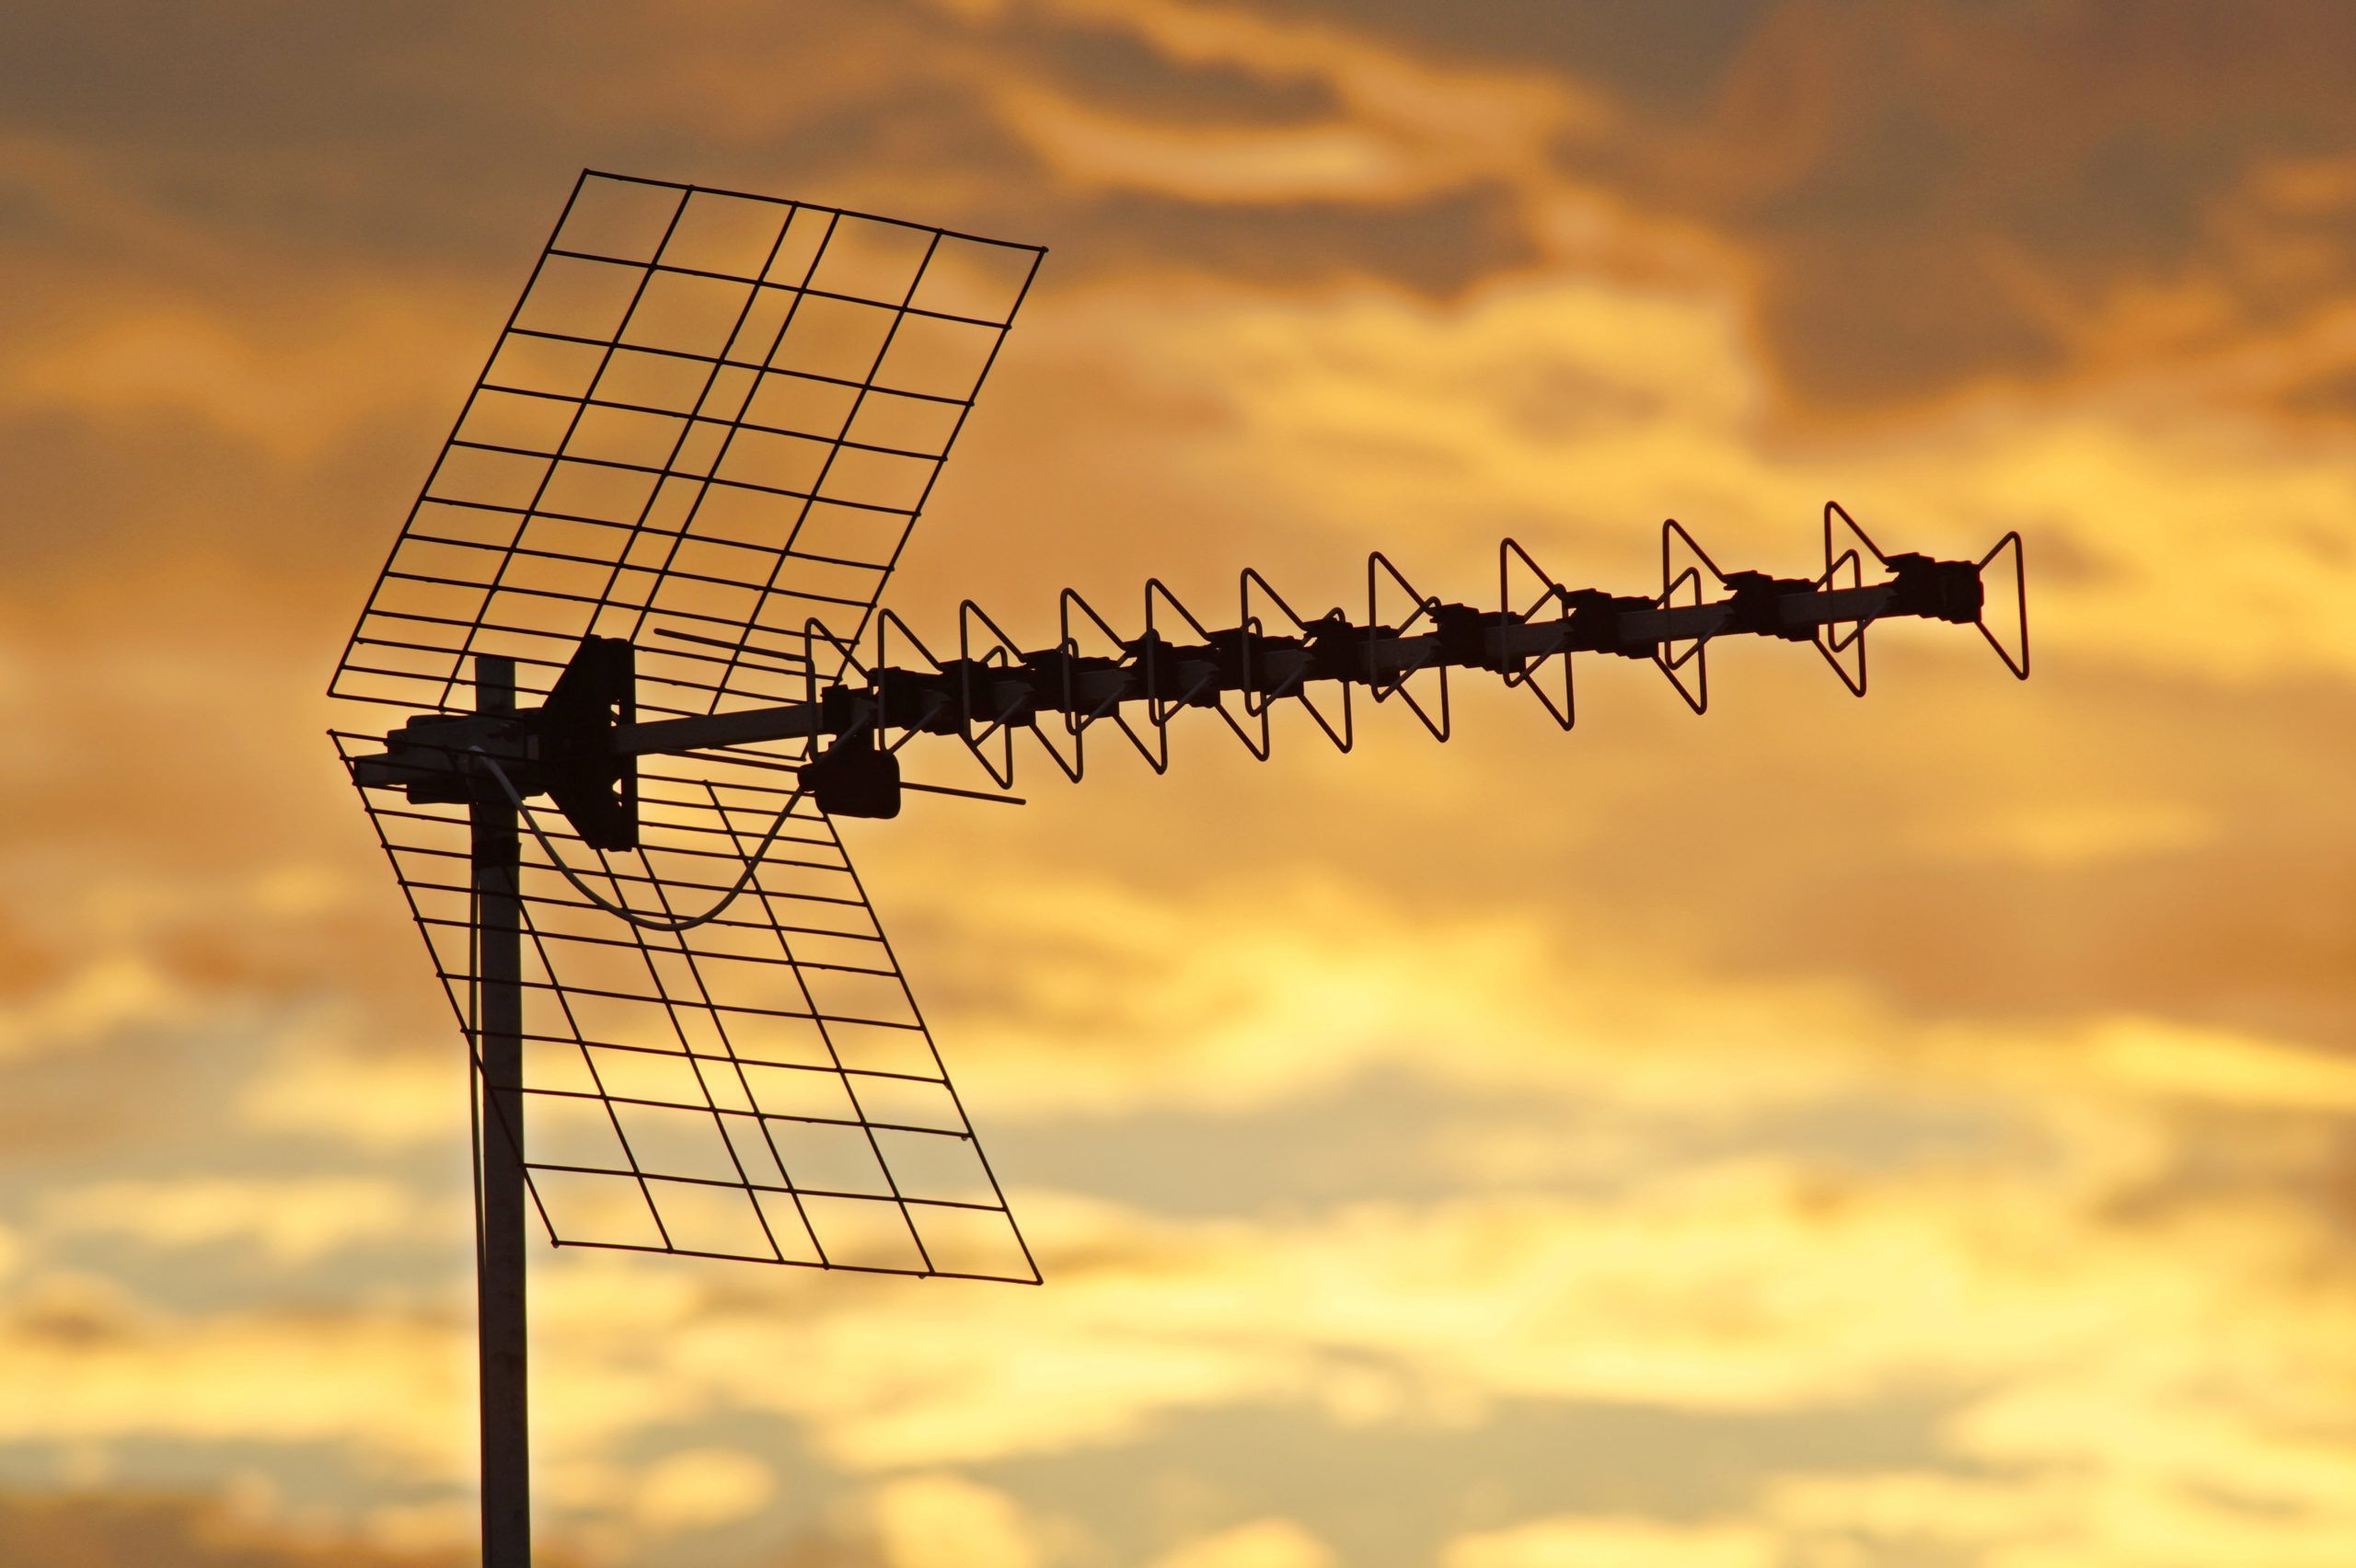
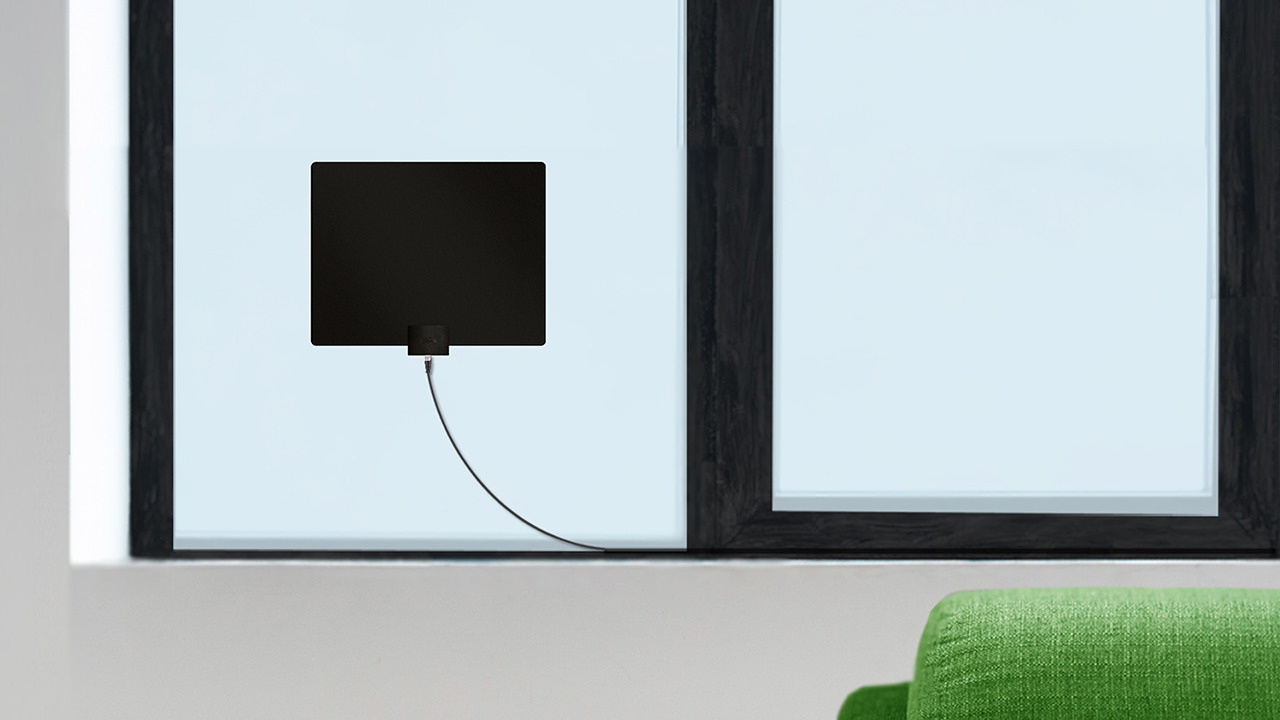
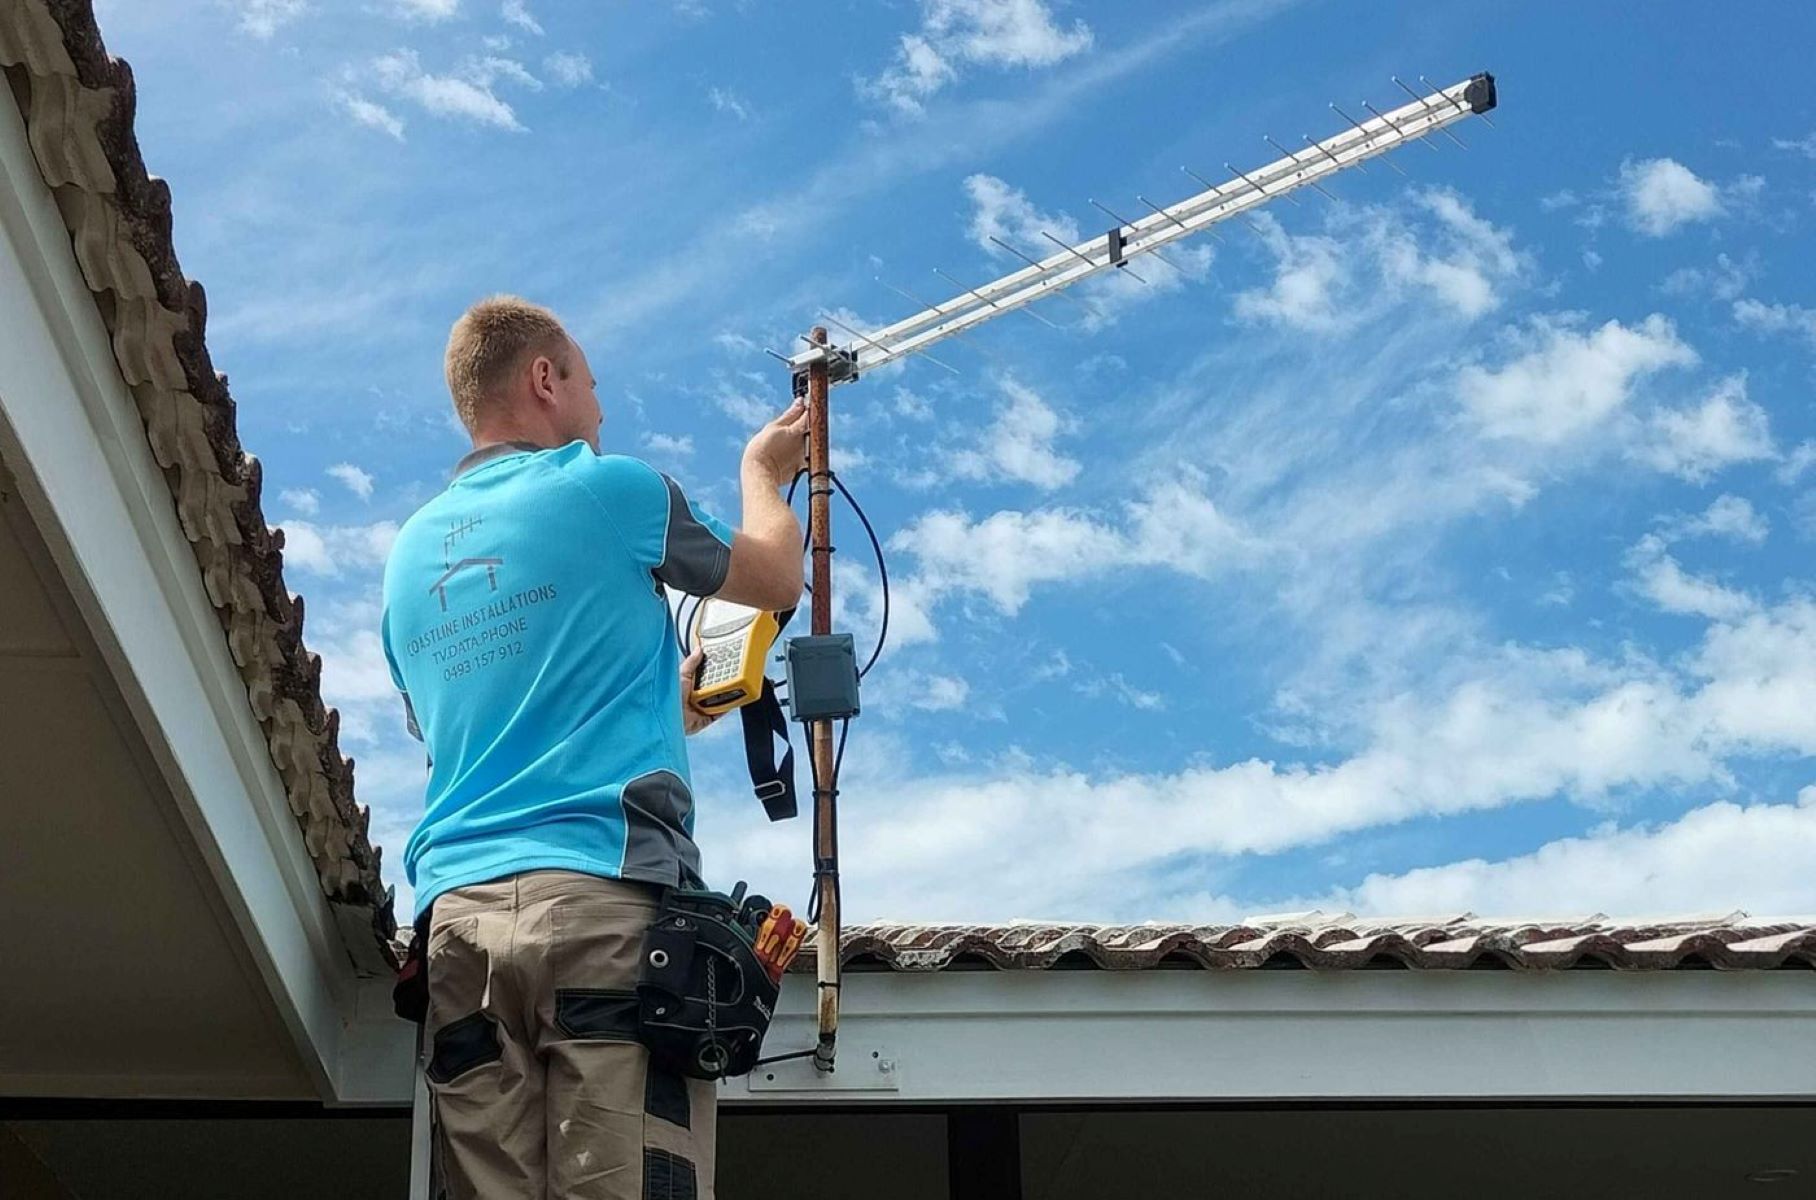
There are two primary types of TV antennas: indoor and outdoor. Indoor antennas are compact and designed to be used inside your home, typically placed near a window or in an elevated position. Outdoor antennas, on the other hand, are larger and designed to be mounted outside, providing a wider range and better signal reception.
In addition to the type of antenna, you’ll also need to consider the range or distance it can cover. Antennas have a specific range of miles within which they can capture signals effectively. To determine the range you’ll need, consider the distance between your home and the broadcasting towers and select an antenna with a range that exceeds this distance.
Understanding the channels available in your area is another crucial factor. By visiting websites such as TV Fool or AntennaWeb, you can input your location to receive a detailed report on the available channels and their respective signal strengths. This information will help you determine the kind of antenna you’ll need to access these channels.
Lastly, keep in mind that different antennas may have varying degrees of signal amplification. Some antennas come with built-in amplifiers that can boost weak signals, while others rely solely on their design and placement. If you’re located in an area with weak signal reception, investing in an antenna with signal amplification capabilities can significantly improve your viewing experience.
Now that you have a clear understanding of the basics of TV antennas, let’s move on to the next step: choosing the right antenna for your specific needs.
Choosing the Right TV Antenna
When it comes to choosing the right TV antenna, there are several factors to consider. By taking these factors into account, you can ensure that you select an antenna that suits your specific needs and provides optimal signal reception.
1. Location and Signal Strength:
Start by determining the signal strength in your area using online tools or mobile apps. This will help you understand the type and range of antenna needed to capture signals effectively. If you are in a rural or remote area, you may require a higher gain or directional antenna to receive signals from distant broadcast towers.
2. Indoor or Outdoor:
Decide whether you want to install an indoor or outdoor antenna. Indoor antennas are ideal for urban areas with strong signal reception, while outdoor antennas are recommended for areas with weak signals or for better range and reception.
3. Antenna Type:
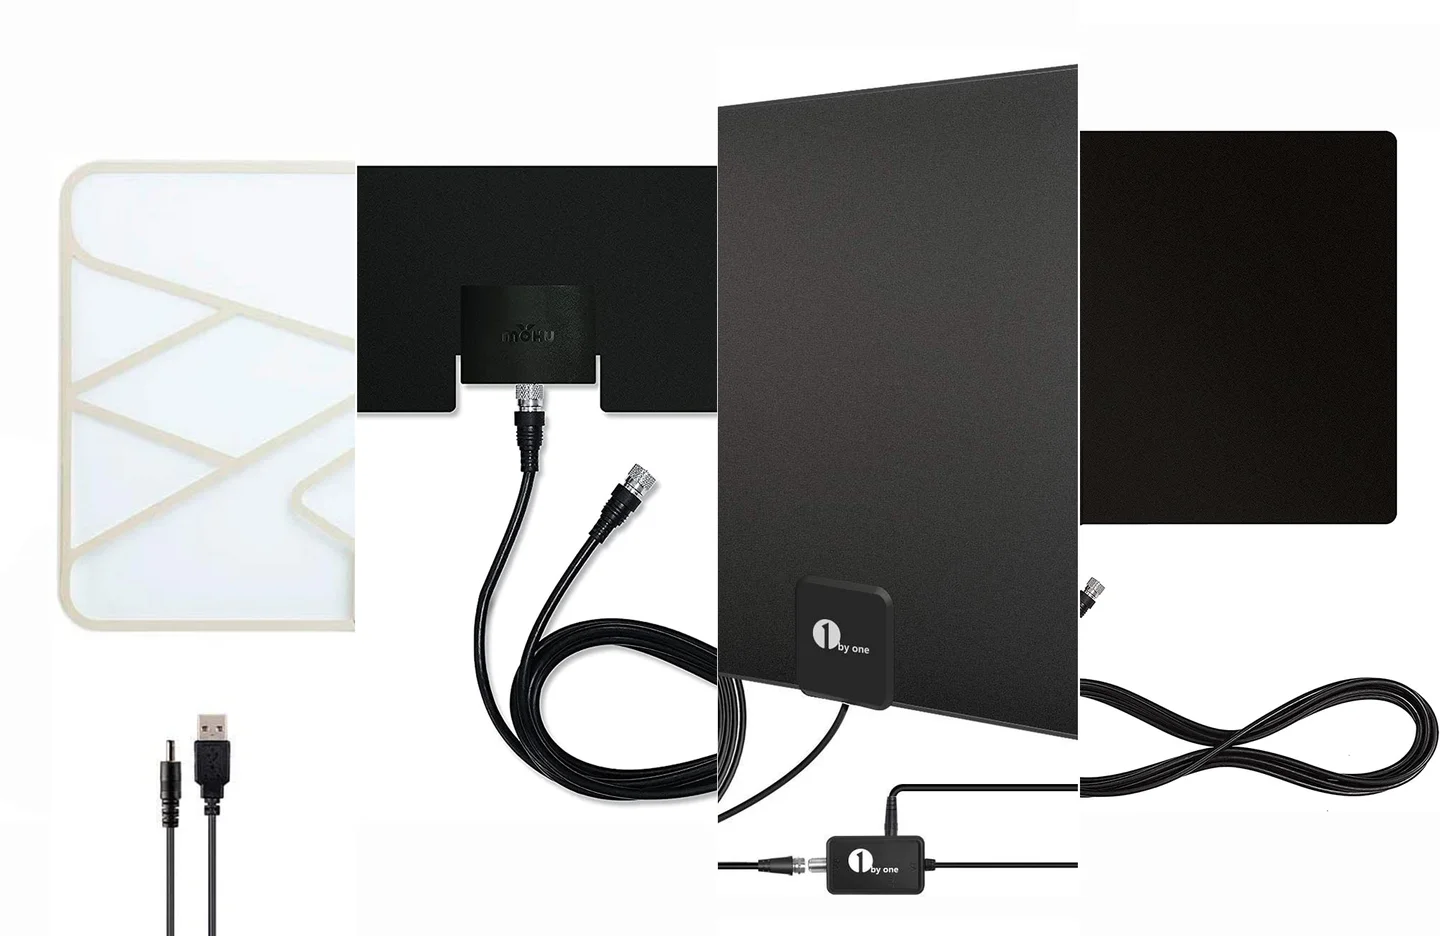
There are different types of TV antennas available, including rabbit ears, loop, panel, and Yagi. Each type has its own advantages and disadvantages based on factors such as multi-directional or uni-directional reception abilities, range, and size. Research each type to determine which suits your specific requirements best.
4. Range:
Consider the distance between your location and the broadcast towers. Select an antenna with a range that exceeds this distance to ensure a reliable signal reception. Keep in mind that the advertised range may vary based on environmental factors and obstacles such as buildings and terrain.
5. Amplification:
If you live in an area with weak signals or experience signal loss due to long cable runs or multiple TV connections, consider an antenna with built-in signal amplification. This will help boost the signal strength and improve reception.
6. Aesthetics and Installation:
Take into account the physical appearance of the antenna and how it will blend with your home’s exterior or interior. Additionally, consider the ease of installation and any specific mounting requirements, such as rooftop or attic installation.
By considering these factors, you can narrow down your options and choose the right TV antenna that will deliver the best possible reception and viewing experience. Once you’ve selected the ideal antenna, it’s time to move on to the installation process.
Installing the Antenna
Now that you’ve chosen the right TV antenna for your needs, it’s time to install it. The installation process will vary depending on whether you’ve opted for an indoor or outdoor antenna. Follow these steps for a successful installation:
Indoor Antenna Installation:
- Identify the optimal location for the antenna. Typically, this will be near a window or an exterior wall facing the broadcast towers.
- Unbox the antenna and attach any included accessories, such as the coaxial cable and amplifier.
- Connect one end of the coaxial cable to the antenna’s output port and the other end to the RF input on your TV.
- If your antenna has an amplifier, connect it to a power source using the provided USB cable or power adapter.
- Secure the antenna in place, either by using the included adhesive or by placing it on a stand.
- Perform a channel scan on your TV to detect the available channels. Refer to your TV’s manual for instructions on how to initiate a channel scan.
Outdoor Antenna Installation:
- Determine the best location for your outdoor antenna. This is typically on the rooftop or attached to an exterior wall.
- Assemble the antenna according to the manufacturer’s instructions.
- Mount the antenna securely using a suitable mounting bracket or mast.
- Connect the coaxial cable to the antenna’s output port.
- Connect the other end of the coaxial cable to the RF input on your TV.
- Perform a channel scan on your TV to detect the available channels.
Remember to refer to the documentation provided with your specific antenna for detailed instructions unique to its design. Additionally, ensure that all connections are tight and secure to avoid signal loss or interference.
By following these steps, you’ll have your TV antenna successfully installed and ready to receive a range of free over-the-air channels. Next, we’ll delve into adjusting the antenna for optimal signal reception.
Adjusting the Antenna for Best Reception
After installing your TV antenna, it’s important to optimize its position and orientation to achieve the best possible signal reception. Follow these steps to adjust your antenna for optimal performance:
- Refer to the signal strength information obtained earlier for the location of broadcast towers in your area. This will help you identify the direction in which your antenna should be pointed.
- Use a compass or a smartphone app with a built-in compass feature to determine the general direction of the broadcast towers.
- Start by orienting your antenna in the direction indicated by the compass, making small adjustments as needed.
- Observe the signal strength and quality on your TV as you fine-tune the antenna’s position.
- Adjust the antenna’s angle if needed. Sometimes, tilting the antenna slightly can improve reception.
- Keep an eye on the signal strength and quality indicators on your TV and make adjustments accordingly.
- Consider using a signal strength meter or a TV signal analysis app to assist you in finding the optimal antenna placement.
- If you’re using an indoor antenna, try different locations within your home to find the spot that provides the strongest signal.
- Keep in mind that obstacles like trees, buildings, and hills can obstruct or weaken the signal. Adjust the antenna position accordingly to account for these obstacles.
- Perform a channel scan on your TV repeatedly as you make adjustments to ensure you’re receiving all available channels.
It may take some trial and error to find the optimal antenna position and orientation for your specific location. Be patient and persist in your adjustments until you achieve the best signal quality possible.
Additionally, it’s important to periodically recheck and readjust your antenna. Seasons, weather conditions, and changes in your local environment can impact signal strength, so it’s a good idea to revisit the antenna positioning process periodically.
Following these steps and regularly optimizing your antenna’s placement will help ensure that you receive the strongest and most reliable signal, giving you access to a wide variety of high-quality over-the-air channels. Now, let’s move on to the next step of connecting your antenna to your TV.
Connecting the Antenna to Your TV
Once you have installed and adjusted your TV antenna, the next step is to connect it to your TV. Follow these simple steps to ensure a proper connection:
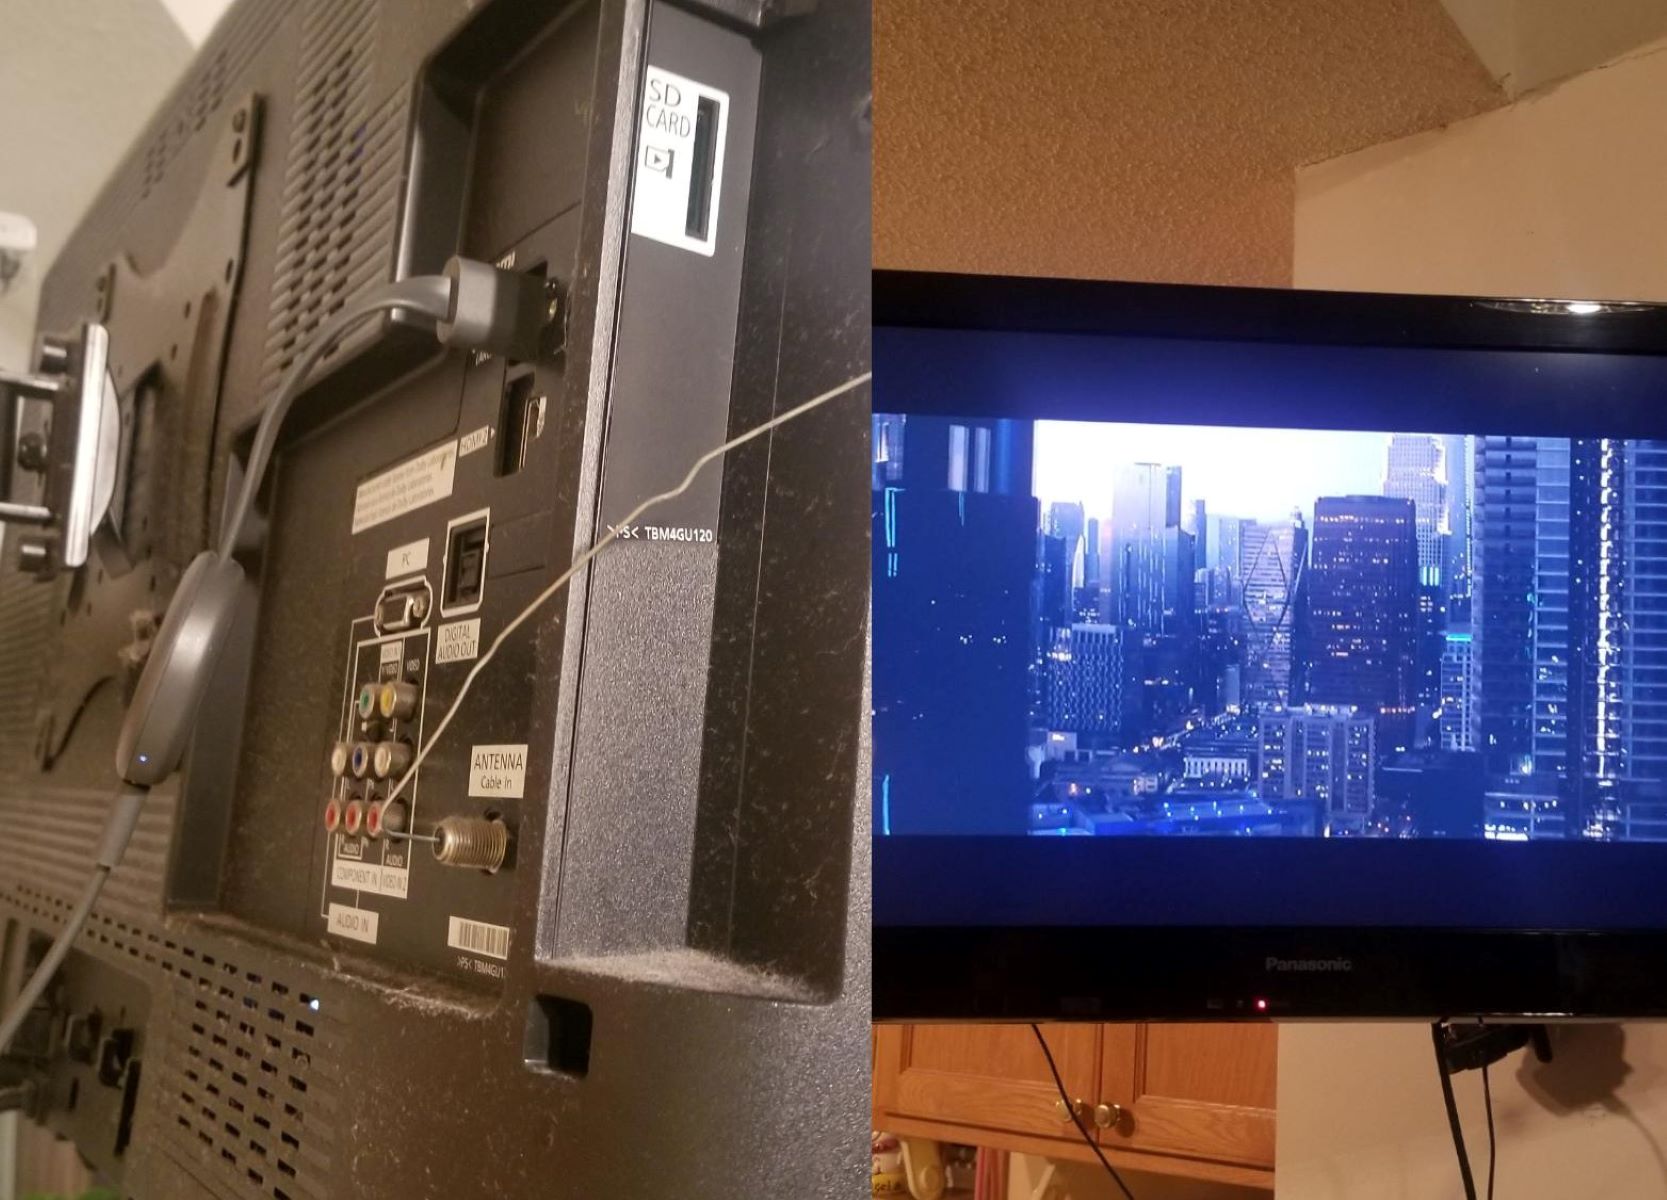
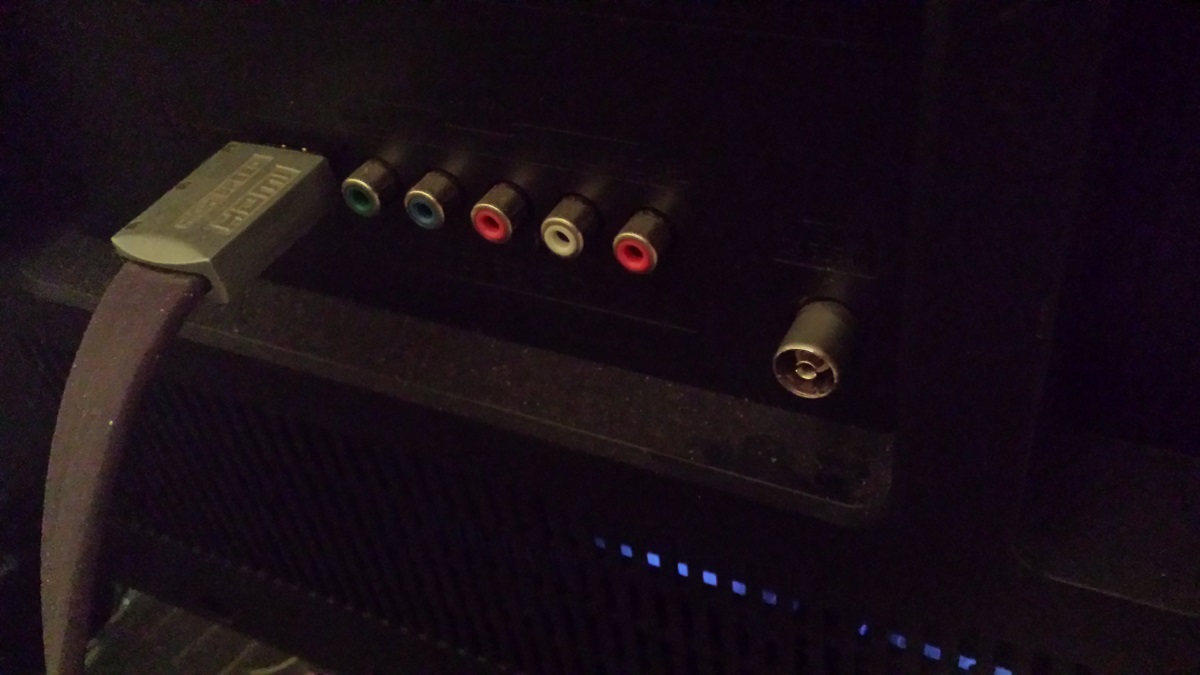
- Locate the RF input on your TV. This is usually labeled as “ANT IN” or “RF IN”.
- Take the coaxial cable that is connected to your antenna’s output port.
- Insert the other end of the coaxial cable into the RF input on your TV. Make sure it is inserted securely.
- If your antenna has a built-in amplifier, connect the provided USB cable or power adapter to the amplifier and plug it into a power source.
- Turn on your TV and navigate to the menu to access the setup or tuner options.
- Select the option for scanning or searching for channels. This may be labeled as “Channel Scan,” “Auto-tune,” or something similar.
- Choose the appropriate scan option, such as “Antenna” or “Air,” depending on the available choices.
- Start the scanning process and wait for your TV to search for available channels.
- Once the scan is complete, your TV will display a list of detected channels.
- Test the channels to ensure they are clear and have good reception. If you encounter any issues, consider repositioning or readjusting your antenna.
It’s important to note that the channel scan process may differ slightly depending on your TV brand and model. Refer to your TV’s manual for specific instructions on how to initiate and complete the channel scan process.
By following these steps, you can successfully connect your TV antenna to your TV and start enjoying a variety of free over-the-air channels. If you have multiple TVs in your home, repeat the process for each TV, ensuring that each one is connected to the antenna and completes the channel scan individually.
Now that your antenna is connected and the channels are scanned, you’re all set to enjoy your favorite TV shows and programs without the need for a cable or satellite subscription.
Scanning for Channels
Once you have connected your TV antenna to your TV, the next step is to scan for available channels. Scanning allows your TV to search for and store all the broadcast channels that are within range of your antenna. Follow these steps to perform a channel scan:
- Turn on your TV and ensure that it is set to the TV input or source.
- Access the menu on your TV. The menu button is typically located on your remote control.
- Navigate to the setup or tuner options within the menu. The specific location and naming may vary depending on your TV brand and model.
- Look for an option related to channel setup, channel search, or auto-tuning.
- Select the appropriate input source for your antenna. This may be labeled as “Antenna,” “Air,” or something similar.
- Start the channel scan process by selecting the scan option.
- Choose your preferred scanning method. The two common options are “Full scan” and “Auto scan.” Full scan scans for all available channels, while auto scan scans for channels and removes any that are weak or have poor reception.
- Allow the TV to complete the scanning process. This may take a few minutes as it scans through all the frequencies for available channels.
- Once the scan is complete, your TV will display a list of detected channels.
- Navigate through the channel list to test each channel and ensure good reception and clarity.
It’s important to note that the channel scanning process may vary slightly depending on your TV brand and model. Consult your TV’s manual for specific instructions tailored to your device.
If you have already performed a channel scan in the past and want to update your channel list, repeat the scanning process periodically or whenever you suspect that new channels may have become available in your area.
By following these steps, you can ensure that your TV is aware of all the available channels within range of your antenna. You can now enjoy a wide variety of over-the-air channels without the need for a paid subscription.
Troubleshooting and Tips
While setting up and using a TV antenna is relatively straightforward, you may encounter some common issues or challenges along the way. Here are some troubleshooting tips and additional tips to help you overcome these hurdles and enhance your overall TV antenna experience:
1. Poor Signal or No Signal:
- Ensure that your antenna is properly connected to your TV and that the connections are tight and secure.
- Check the positioning and orientation of your antenna to ensure it is pointing in the direction of the broadcast towers.
- Consider using an amplified antenna or installing a signal booster to improve weak signal reception.
- Rescan for channels to refresh the available channel list if you suspect there have been changes in your area.
2. Signal Interference:
- Keep your antenna away from sources of interference such as electrical appliances, metal objects, and dense walls.
- If you live in an area with high interference, consider using a directional antenna to minimize interference from different directions.
3. Multiple TVs:
- If you have multiple TVs in your home, ensure that each TV is connected to its own antenna and completes the channel scan process independently.
- Consider using a distribution amplifier to split the signal from one antenna to multiple TVs, ensuring good signal strength for each TV.
4. Obstacles:
- If you have obstacles such as trees or buildings blocking your line of sight to the broadcast towers, consider positioning your antenna higher or using a taller mast or pole.
- Experiment with different antenna positions and orientations to find the best compromise between line of sight and minimal obstruction.
5. Regular Maintenance:
- Periodically check and adjust your antenna’s position to account for any changes in the environment, such as seasonal foliage growth or new construction.
- Inspect and replace any damaged or worn-out cables or connectors to ensure a reliable signal transmission.
6. Additional Tips:
- Keep your antenna away from moisture and extreme weather conditions to avoid damage or signal disruption.
- Ensure that your TV’s tuner is set to “Air” or “Antenna” mode rather than “Cable” mode to receive over-the-air signals.
- Consider using an antenna rotor or motorized mounting system if you need to capture signals from different directions.
By following these troubleshooting tips and implementing the additional suggestions, you can overcome common challenges and optimize your TV antenna setup for the best possible reception and viewing experience.
Conclusion
Congratulations! You’ve reached the end of this guide on how to hook up a TV antenna. By following the steps outlined throughout this article, you should now have a clear understanding of TV antennas, how to choose the right one for your needs, and how to install, adjust, and connect it to your TV.
Setting up a TV antenna can provide you with access to a wide range of free over-the-air channels, giving you the opportunity to enjoy high-quality HD programming without the need for a paid subscription. It’s a cost-effective and reliable solution for those looking to cut the cord or supplement their existing cable or satellite service.
Remember to consider factors such as your location, signal strength, antenna type, range, and amplification capabilities when choosing an antenna. Take the time to adjust and optimize the antenna’s position and orientation for the best signal reception. Perform regular channel scans to ensure you’re receiving all available channels, and troubleshoot any issues that may arise along the way.
With your TV antenna successfully installed and connected, you can now sit back, relax, and enjoy a plethora of entertainment options at no extra cost. From catching your favorite TV shows to enjoying local news and sports broadcasts, your TV antenna will provide you with a world of entertainment right in the comfort of your own home.
We hope that this guide has been helpful in assisting you with the process of setting up your TV antenna. Now, it’s time for you to grab the remote, tune in to your favorite channels, and enjoy the endless possibilities of over-the-air television!