Introduction
Welcome to our guide on how to install a TV antenna on your roof. Are you tired of paying for expensive cable or satellite subscriptions? Installing a TV antenna can provide you with access to free, over-the-air television channels. Whether you want to enjoy local news, sports events, or your favorite network shows, a properly installed TV antenna can deliver high-quality reception without the monthly fees.
If you’re new to installing a TV antenna, don’t worry! This step-by-step guide will walk you through the process, ensuring that you have everything you need to get started. From choosing the right antenna to finding the ideal spot for mounting, we’ll cover all the necessary steps to help you set up your antenna correctly. By the end of this guide, you’ll be able to enjoy free TV channels with excellent reception and picture quality.
Before we dive into the installation process, it’s essential to understand that the success of your TV antenna installation depends on a few factors, such as your location, the terrain, and nearby obstructions like tall buildings or trees. While this guide provides general instructions, it’s always a good idea to consult with a professional if you encounter any challenges or need specialized advice that caters to your unique situation.
Now, let’s get started on your journey to installing a TV antenna on your roof. By the end of this guide, you’ll have a clear understanding of the process and a newfound ability to access free, high-quality television channels!
Step 1: Gather the necessary tools and materials
Before you begin the installation process, it’s important to make sure you have all the tools and materials needed to successfully install your TV antenna on the roof. Having everything prepared beforehand will save you time and ensure a smooth installation process.
Here are the essential tools and materials you’ll need:
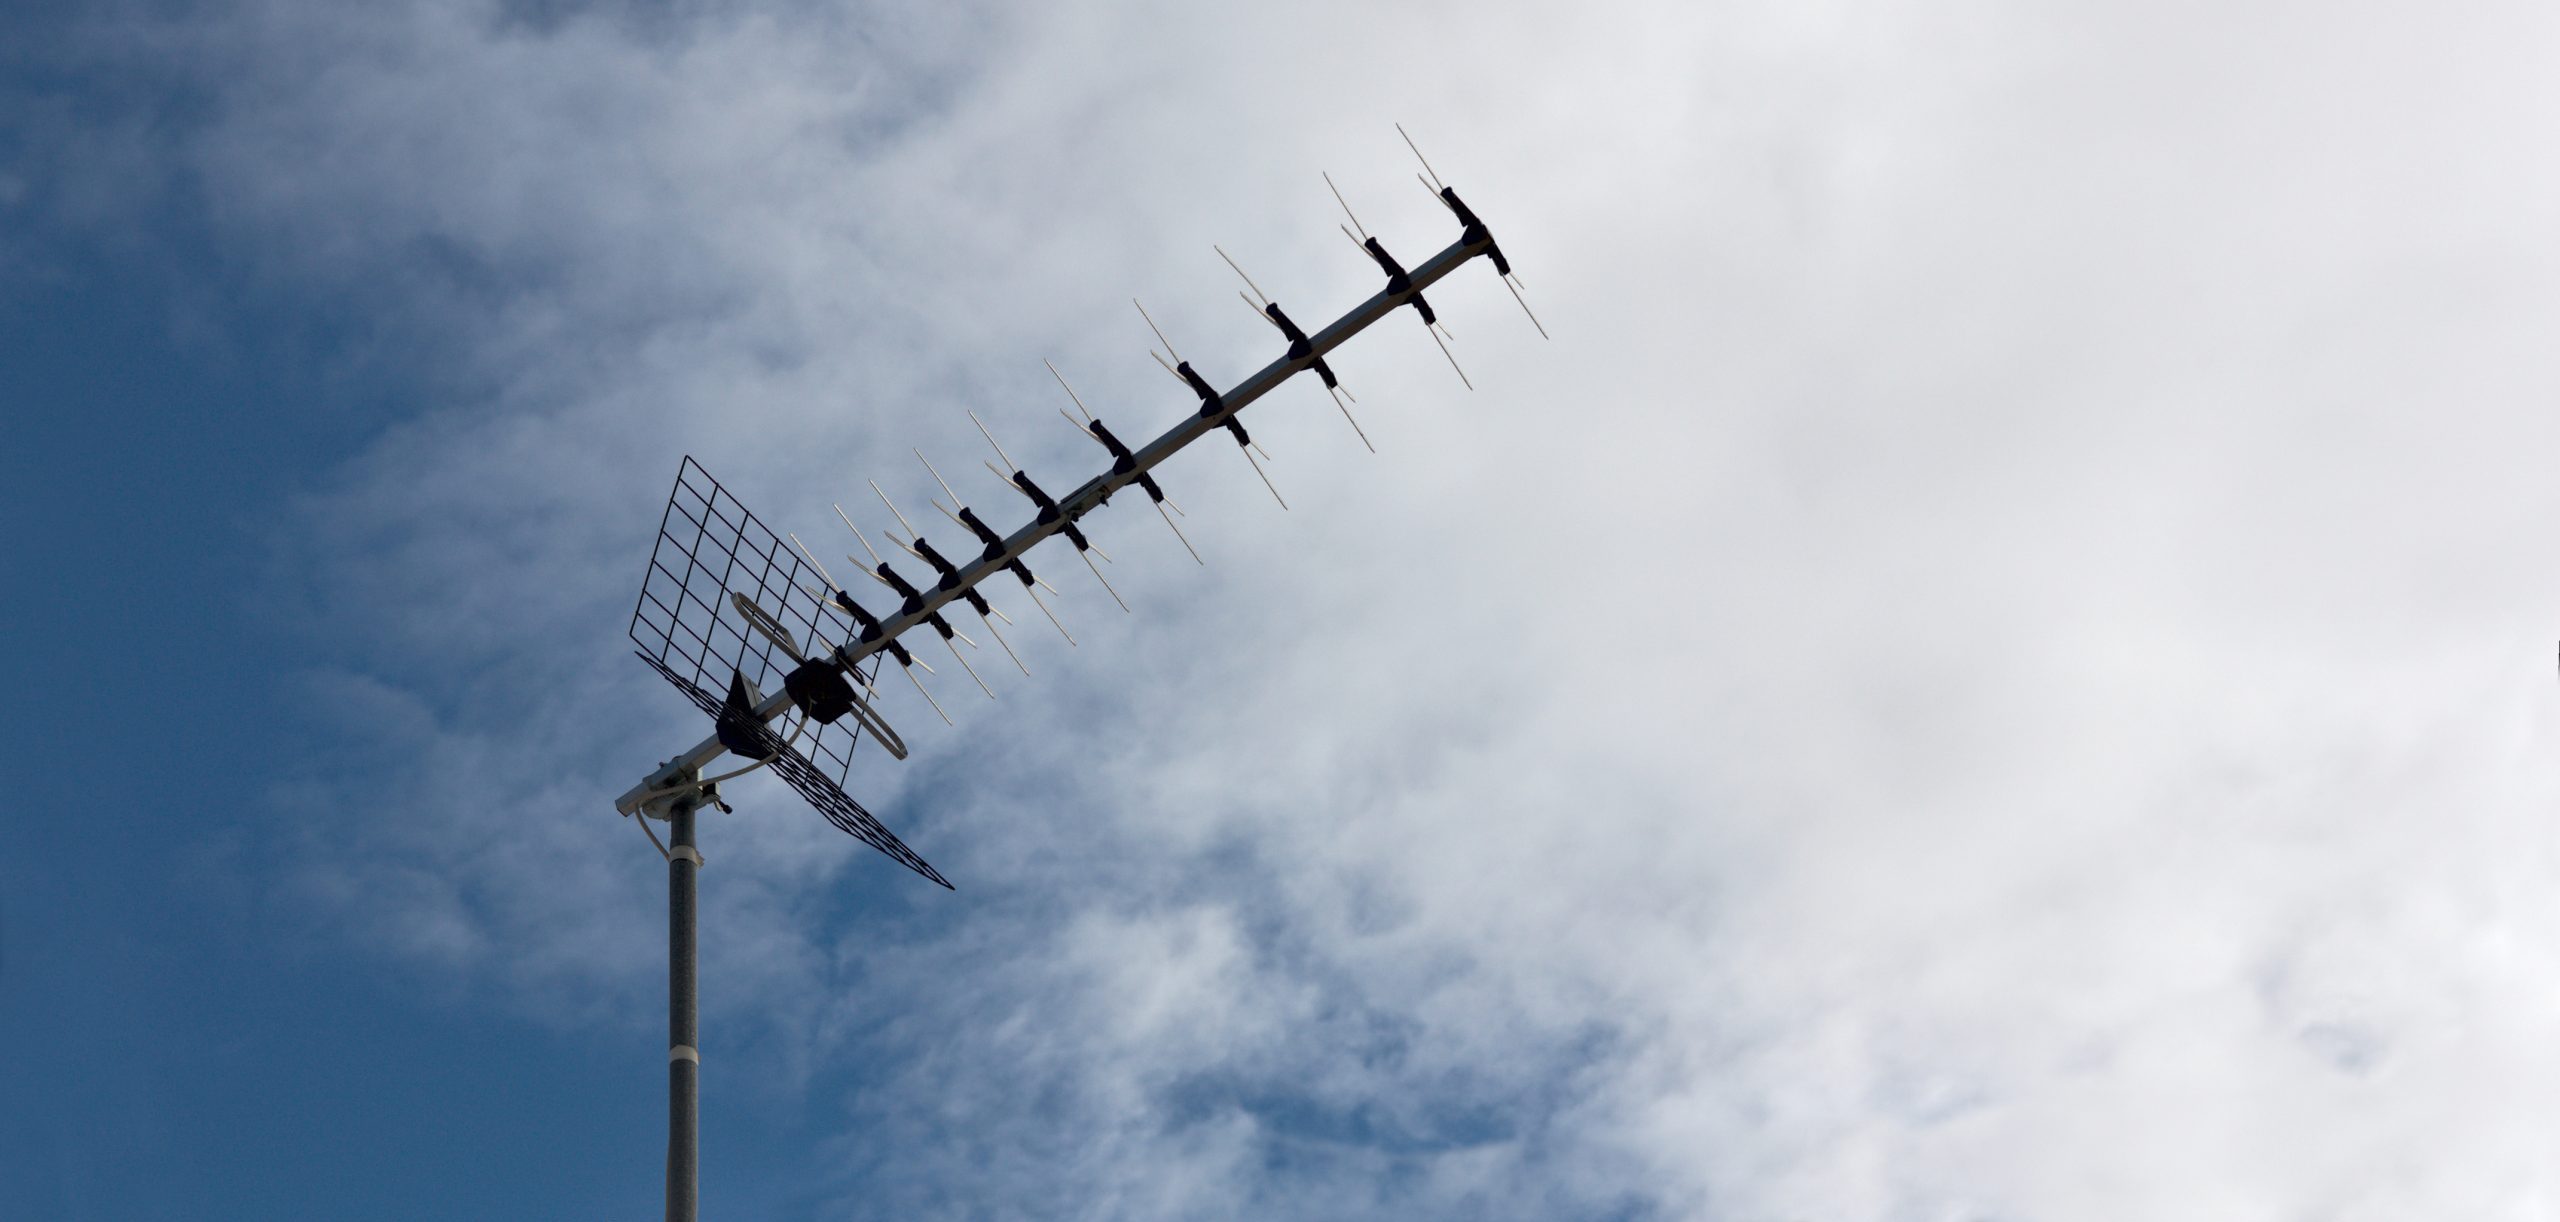
- A TV antenna: Choose an antenna that is suitable for your needs and location. Consider factors such as distance to broadcasting towers and signal strength in your area. There are various types of antennas to choose from, including indoor, outdoor, and attic antennas. Do your research and select the one that best fits your requirements.
- Coaxial cable: This cable will connect your TV antenna to your television. Make sure you choose a high-quality coaxial cable that is long enough to reach from your antenna to your TV. The cable should have connectors that are compatible with both the antenna and your television.
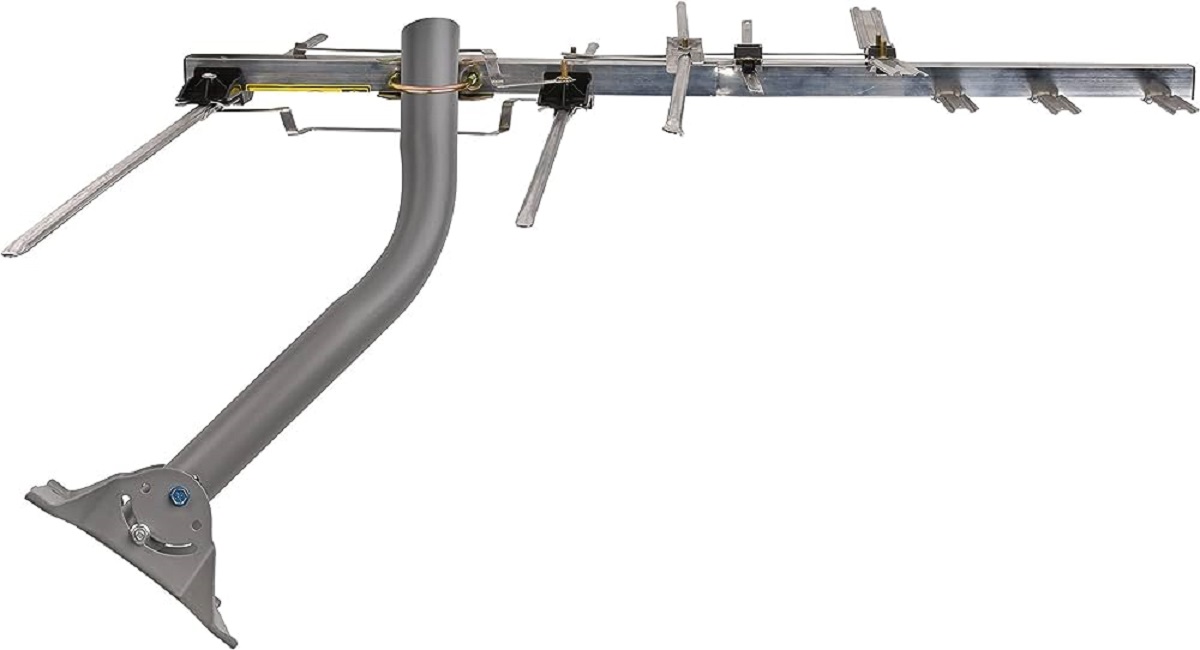
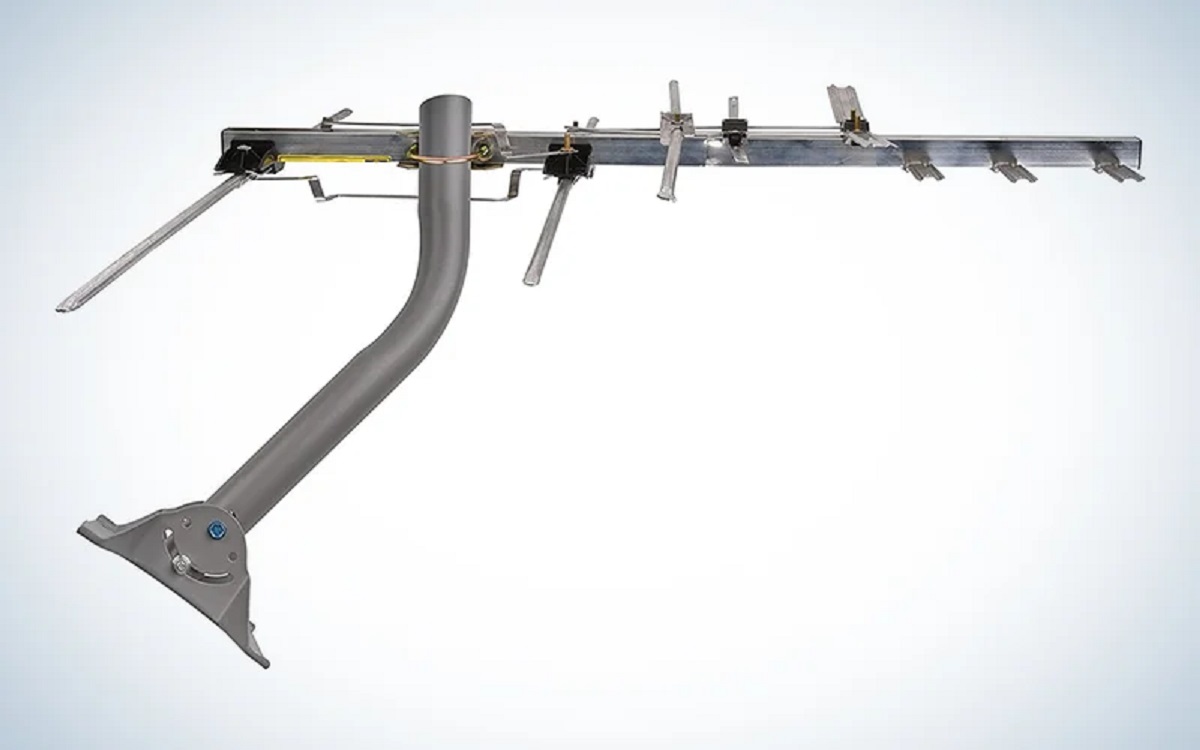
- Mounting bracket or mast: Depending on the type of TV antenna you have, you may need a mounting bracket or mast to secure it to your roof. The mounting bracket should be sturdy and capable of withstanding various weather conditions.
- Screws and brackets: You’ll need screws and brackets to attach the mounting bracket to your roof securely. Choose screws and brackets that are appropriate for the material of your roof, whether it’s wood, metal, or another type.
- Drill and screwdriver: These tools are necessary for drilling pilot holes in your roof and screwing in the screws and brackets. Make sure your drill is in good working condition and that you have the appropriate drill bits and screwdriver tips.
- Grounding wire and grounding rod: To ensure safety and protect your equipment from lightning strikes, you’ll need a grounding wire and grounding rod. These will help redirect any electrical charges away from your antenna and into the ground.
- Weatherproofing materials: Depending on the type of antenna you’ve chosen, you may need weatherproofing materials to protect the connections and cables from the elements. This can include weatherproof tape, silicone sealant, or waterproof housing.
- Ladder or scaffolding: Since you’ll be installing the antenna on your roof, you’ll need a safe and stable way to access the roof. Use a ladder or scaffolding that is appropriate for your specific roof height and pitch.
- Safety equipment: Safety should always be a priority when working at heights. Make sure you have proper safety equipment, such as a harness, helmet, and non-slip shoes, to protect yourself during the installation process.
By gathering these tools and materials in advance, you’ll be well-prepared for the installation process and can proceed smoothly to the next steps of installing your TV antenna on the roof.
Step 2: Choose the right antenna for your location
Selecting the right TV antenna is crucial for optimal reception and a successful installation. The type of antenna you choose depends on various factors, including your location, distance from broadcasting towers, and the terrain surrounding your home. Here are a few key considerations to help you choose the right antenna:
- Check signal availability: Before purchasing an antenna, check the signal availability in your area. Websites such as AntennaWeb or TV Fool provide tools to enter your address and determine the available TV signals and their respective directions.
- Understand antenna types: There are different types of TV antennas, including indoor, outdoor, and attic antennas. Indoor antennas are suitable for areas with strong signal reception, while outdoor antennas are designed to withstand outdoor conditions and provide better reception. Attic antennas are a compromise between the two, offering some protection while still providing good reception.
- Consider antenna range: Antennas have different range capabilities, which determine how far they can pick up signals. Consider the distance to the broadcasting towers and choose an antenna with a range that matches or exceeds that distance.
- Antenna directionality: Some TV antennas are omnidirectional, meaning they can receive signals from all directions, while others are directional, meaning they capture signals from a specific direction. Determine the direction of the broadcasting towers and choose an antenna that matches the tower’s direction or opt for an omnidirectional antenna if the towers are spread out.
- Investigate antenna gain: Antenna gain refers to the ability of an antenna to amplify signals. Higher gain antennas are suitable for areas with weak signal reception, while lower gain antennas are sufficient for areas with strong signals. Consider the signal strength in your location and choose an antenna with an appropriate gain.
- Consider interference factors: Some obstacles can interfere with TV signals, such as tall buildings, trees, or mountains. Take note of any potential obstructions in your area and choose an antenna and mounting location that minimize interference as much as possible.
- Additional features: Some antennas come with built-in amplifiers or filters that help improve reception or reduce interference. Consider any additional features that may benefit your specific location and circumstances.
By considering these factors, you can make an informed decision and choose the right TV antenna that best suits your location and reception needs. Remember to do thorough research and consult reviews or professional advice if you have any doubts about which antenna to choose.
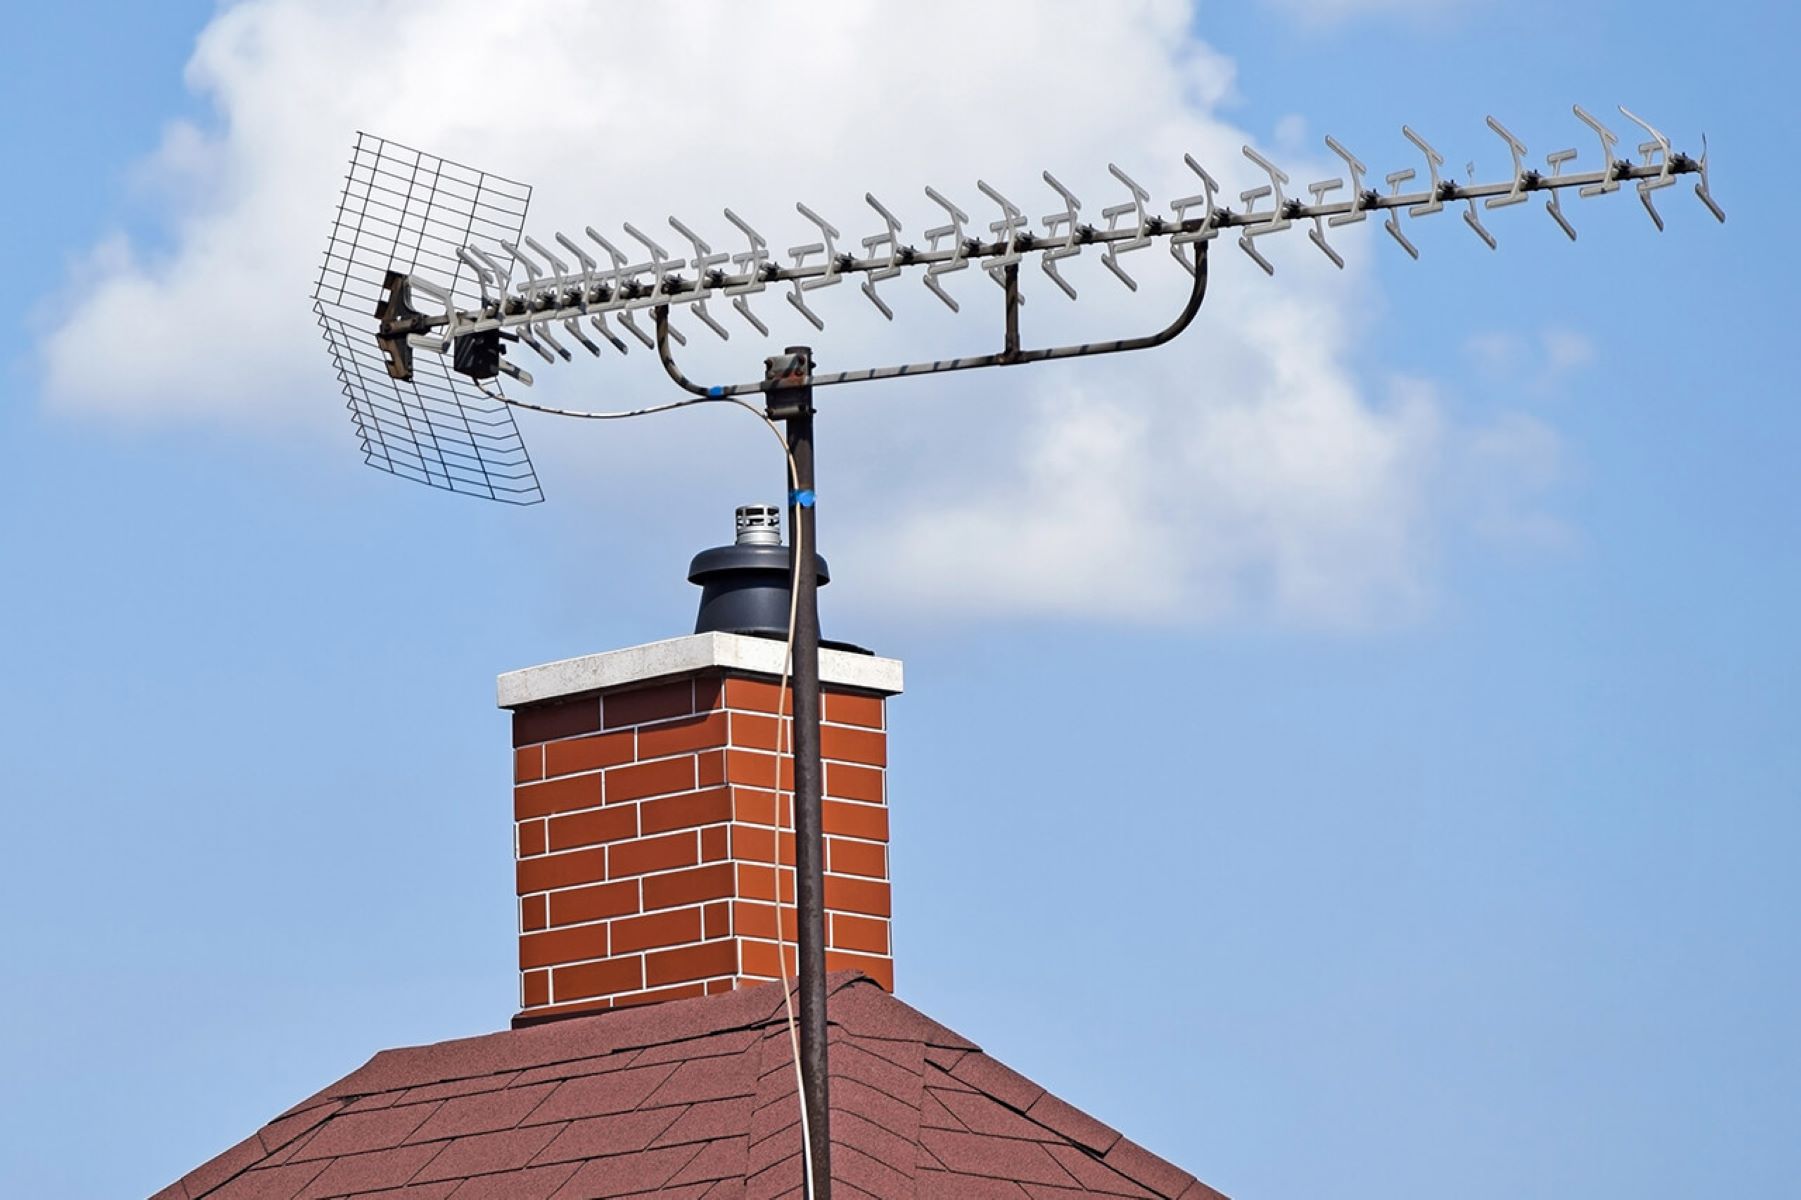
Step 3: Find the ideal spot for mounting the antenna on your roof
Choosing the right location on your roof to mount your TV antenna is crucial for maximizing signal reception. Here are the steps to find the ideal spot for mounting:
- Check signal direction: Determine the direction from which the TV signals are coming by using an online signal locator tool or consulting a professional. This information will help you position the antenna for optimal signal reception.
- Consider roof accessibility: Identify areas on your roof that are easily accessible for installation. Look for a spot where you can safely and conveniently mount the antenna without any obstructions or safety hazards.
- Avoid obstructions: Assess the surrounding area for any potential obstructions that may block the TV signals. Tall buildings, trees, or large structures can hinder signal reception, so select a location on your roof that has a clear line of sight to the broadcasting towers.
- Choose a sturdy mounting surface: Ensure that the area you choose to mount the antenna is structurally sound and capable of supporting the weight and wind load of the antenna. Avoid areas on the roof that are weak or damaged.
- Consider aesthetics: If you’re concerned about the appearance of the antenna, choose a location on your roof that minimizes its visibility from the ground. Concealment options such as mounting behind a chimney or using a discreet mast can help preserve the aesthetic appeal of your home.
- Safety precautions: Keep safety in mind when selecting the mounting spot. Avoid locations near power lines or other potential electrical hazards. Ensure that the area is stable and secure, minimizing the risk of falls or accidents during the installation process.
- Test for signal strength: Before finalizing the mounting spot, perform a signal strength test using a portable TV or signal meter. Temporarily position the antenna in different locations on your roof and test the signal strength at each spot. This will help you identify the location with the strongest reception.
By following these steps, you will be able to find the ideal spot on your roof to mount the TV antenna. Remember, a higher mounting position generally provides better signal reception, so choose a location that fulfills all the necessary requirements for optimal performance.
Step 4: Set up the mounting bracket
Once you have determined the ideal spot for mounting your TV antenna on the roof, it’s time to set up the mounting bracket. The mounting bracket provides a secure base for attaching the antenna, ensuring stability and proper positioning. Follow these steps to set up the mounting bracket:
- Locate the mounting bracket: Check the contents of your antenna installation kit or purchase a mounting bracket separately. The mounting bracket typically consists of a metal plate with pre-drilled holes for attaching it to the roof.
- Assemble the mounting bracket: If your mounting bracket requires assembly, follow the manufacturer’s instructions to put it together. Ensure that all the necessary parts are included and securely connected.
- Choose the mounting location: Place the mounting bracket on the roof in the predetermined spot you selected in the previous steps. Ensure that it is positioned correctly and aligns with the desired direction for signal reception.
- Mark the hole locations: Use a pencil or marker to mark the locations of the screw holes on the roof through the holes in the mounting bracket. This will serve as a guide for drilling holes later.
- Prepare for drilling: Put on safety goggles and gloves to protect yourself during the drilling process. Make sure you have the appropriate drill bit size for the type of screws provided with your mounting bracket.
- Drill pilot holes: Using a power drill with the correct drill bit, carefully drill pilot holes in the marked locations on the roof. Take care not to damage the roof or any underlying structures. The pilot holes should be slightly smaller than the diameter of the screws.
- Attach the mounting bracket: Align the holes in the mounting bracket with the pilot holes on the roof, and insert the screws through the bracket holes and into the pilot holes. Use a screwdriver or drill to tighten the screws firmly, ensuring the bracket is securely fastened to the roof.
- Check the stability: Give the mounting bracket a gentle shake to ensure it is securely attached to the roof. If there is any significant movement or instability, adjust the screws or brackets as needed to achieve a stable and secure mount.
By following these steps, you will successfully set up the mounting bracket for your TV antenna. A properly installed bracket provides a solid foundation for the antenna and ensures that it stays securely in place, even in varying weather conditions.
Step 5: Connect the coaxial cable to the antenna
Now that you have the mounting bracket set up on your roof, it’s time to connect the coaxial cable to the TV antenna. The coaxial cable is the link between the antenna and your television, delivering the signal for crisp and clear reception. Follow these steps to connect the coaxial cable to the antenna:
- Locate the coaxial connector on the TV antenna: Most antennas have a coaxial connector located on the back or side. Identify this connector, which is usually a threaded female connector.
- Prepare the coaxial cable: Strip off about half an inch of the outer insulation from the coaxial cable end, revealing the inner copper conductor and the braided shielding. Use a coaxial cable stripper or a small knife carefully to avoid damaging the inner wires.
- Install the coaxial connector: Slide a coaxial connector onto the stripped end of the cable. Make sure the connector is fully seated on the inner conductor and the braided shielding.
- Secure the connector: Use a coaxial cable compression tool or a wrench to tighten the connector onto the cable. A secure connection ensures optimal signal transmission.
- Connect the coaxial cable to the antenna: Attach the other end of the coaxial cable with the installed connector to the coaxial connector on the TV antenna. Make sure to screw it in tightly to establish a solid connection.
- Check the connection: Give the cable a slight tug to ensure it is securely connected to the antenna. A loose connection can cause signal loss or poor reception, so make sure it is tight.
Once you have successfully connected the coaxial cable to the TV antenna, you have established the essential link for broadcasting signals from the antenna to your television. However, keep in mind that the cable should not be bent or kinked excessively, as this can affect the signal transmission. Take care to route and secure the cable in a way that avoids sharp bends or twists.
Step 6: Run the coaxial cable to your television
With the coaxial cable connected to the TV antenna, the next step is to run the cable from the antenna to your television. This will allow the signal to reach your television and provide you with access to free, over-the-air channels. Follow these steps to run the coaxial cable to your television:
- Determine the route: Decide on the best route to run the coaxial cable from the TV antenna to your television. Consider factors such as distance, accessibility, and aesthetics. Try to keep the cable as straight and direct as possible to minimize signal loss.
- Secure the connection: Confirm that the coaxial cable is tightly connected to the television to avoid signal loss or interference. Give it a gentle tug to ensure it is securely fastened.
- Power on and test the reception: Once the coaxial cable is connected, power on your television. Switch the input/source on your television to “Antenna” or “TV” mode. Use the television’s menu or settings to initiate a channel scan. This will allow the TV to detect the available channels and store them for future access.
- Check signal strength: After the channel scan is complete, check the signal strength and quality of the received channels. Adjust the antenna position or direction if needed to improve the signal reception. Fine-tuning the antenna will help maximize the number of channels and enhance their quality.
By following these steps, you’ll have successfully run the coaxial cable from the TV antenna to your television. This connection will ensure a smooth transmission of the over-the-air signals and enable you to enjoy free television channels with excellent picture and sound quality.
Step 7: Ground the antenna
Grounding the TV antenna is an important step to ensure safety and protect your equipment from potential electrical surges, especially during thunderstorms. Grounding allows any excess electrical charges to be safely discharged into the ground, reducing the risk of damage to your antenna or other connected devices. Follow these steps to properly ground your TV antenna:
- Locate the grounding wire: Your antenna installation kit or antenna instructions should include a grounding wire. This wire is usually made of copper or aluminum and is typically provided with a grounding clamp already attached.
- Find a suitable grounding location: Look for a suitable location near the antenna mast or mounting bracket to ground your antenna. The ideal spot is typically a metal rod driven into the ground, securely attached to a water pipe, or connected to a suitable grounding device.
- Attach the grounding wire to the antenna mast: Use the grounding clamp provided with the wire to secure it to the antenna mast. Ensure that the connection is tight to establish a reliable electrical connection.
- Connect the grounding wire to a grounding rod or device: If you are connecting the wire to a grounding rod, drive the rod into the ground near the antenna mast. Attach the opposite end of the grounding wire to the ground rod using the grounding clamp. If you are connecting the wire to a pre-existing grounding device, follow the manufacturer’s instructions for proper connection.
- Ensure a solid and continuous connection: Check all grounding connections to make sure they are secure and provide a continuous electrical path. Avoid loose connections or any breaks in the grounding wire. Tighten all clamps and ensure proper conductivity.
- Verify proper grounding: Once the grounding wire is connected, it’s essential to verify that the antenna is properly grounded. You can use a multimeter to test for continuity between the grounding wire and a known ground point. If you’re unsure about the grounding process or its effectiveness, consult a professional electrician.
By following these steps, you’ll have successfully grounded your TV antenna, providing a safe pathway for electrical charges and protecting your equipment. Proper grounding helps prevent potential damage and can give you peace of mind, especially during adverse weather conditions.
Step 8: Scan for available channels
After installing and grounding your TV antenna, the next step is to scan for available channels. This process allows your television to detect and store the over-the-air channels that are available in your area. Follow these steps to scan for available channels:
- Turn on your television: Ensure that your television is turned on and properly connected to the antenna via the coaxial cable.
- Access the menu or settings: Use your television’s remote control to access the menu or settings on your television. The specific steps to access the menu may vary based on your television’s brand and model. Look for an option related to “Channel” or “Setup”.
- Choose the channel setup option: Within the menu or settings, navigate to the channel setup or channel scan option. This option might be labeled as “Auto Program,” “Channel Search,” or “Channel Scan.”
- Select the antenna input: Once you’ve accessed the channel setup option, you’ll typically have the option to select the input source. Choose the input source related to the antenna input or “Antenna” to begin the channel scan for over-the-air signals.
- Start the channel scan: Start the channel scan process by selecting the “Scan” or “Start” button within the menu. Your television will scan for available channels and store them in its memory.
- Wait for the scan to complete: The channel scan process can take a few minutes to complete. Allow your television ample time to scan and detect all available channels in your area. Avoid interrupting the scan or turning off your television during this process.
- Review the scanned channels: Once the scan is complete, your television will display a list of the channels it has detected. Use your television’s remote control to scroll through the list and familiarize yourself with the available channels.
- Save the channels: Depending on your television, you might have the option to save or favorite specific channels. This allows you to access them more easily in the future without having to perform a full channel scan each time.
By following these steps, you’ll be able to scan for available channels and store them on your television. This process ensures that you have access to all the free, over-the-air channels in your area and allows you to enjoy a wide range of content without the need for cable or satellite subscriptions.
Step 9: Fine-tune the antenna for optimal reception
After scanning for available channels, it’s time to fine-tune your TV antenna to achieve the best possible reception. Properly adjusting the antenna can optimize signal strength and minimize potential interference for optimal viewing experience. Follow these steps to fine-tune your antenna:
- Locate the antenna position: Identify the current position of your TV antenna on the roof or in the attic. Take note of its direction and any potential obstructions.
- Start by facing the antenna towards the broadcasting towers: The broadcasting towers are typically located in one specific direction. Rotate or adjust the antenna to face the general direction of these towers, which is often indicated in the instructions or can be determined through online research or signal locator tools.
- Scan for signal strength: Access your television’s signal strength or signal quality option through the menu or settings. This feature allows you to assess the reception strength of each channel.
- Adjust the antenna position: Make small adjustments to the antenna’s position, whether by rotating it slightly or changing its angle. After each adjustment, check the signal strength on your television. Keep adjusting until you achieve the highest signal strength possible for the channels you want to receive.
- Consider signal interference: Pay attention to any signal interference that may affect your reception. This can include nearby buildings, trees, or other large objects that obstruct the line of sight between the antenna and the broadcasting towers. Adjust the antenna’s position to minimize interference and improve signal quality.
- Seek help from a signal strength meter: If available, you can use a signal strength meter to precisely measure the strength of the received signals. This can help you fine-tune the position of the antenna more accurately.
- Re-scan channels: After making adjustments to the antenna, run a new channel scan on your television to refresh the available channels list. This will ensure that you’re receiving the best possible signal for the adjusted antenna position.
- Monitor and make further adjustments if necessary: Keep an eye on your signal strength and the quality of the received channels. If you notice any issues or variations in reception, continue adjusting the antenna position as needed to maintain optimal signal strength.
By following these steps and fine-tuning your TV antenna, you’ll be able to achieve the best possible reception for the available channels in your area. Adjusting and optimizing the antenna’s position plays a vital role in ensuring a reliable and enjoyable TV viewing experience.
Step 10: Enjoy your favorite TV channels for free!
Congratulations! You have successfully installed and fine-tuned your TV antenna, and now it’s time to enjoy your favorite TV channels for free! With a properly installed and optimized antenna, you can access a wide range of over-the-air channels without the need for expensive cable or satellite subscriptions. Here are a few tips to maximize your viewing experience:
- Explore the available channels: Take some time to explore the channels you have scanned and saved on your television. Familiarize yourself with the variety of content available, including local news, sports, movies, and popular TV shows.
- Adjust antenna if needed: Occasionally check your signal strength and channel quality to ensure optimal reception. Weather conditions or changes in your surroundings may require slight adjustments to maintain the best signal.
- Rescan for new channels periodically: Over time, new channels may become available in your area. It’s a good idea to periodically rescan for channels to discover any additional options you may have missed.
- Consider upgrading your equipment: If you find that you’re consistently experiencing poor reception or limited channel options, you may want to consider upgrading your antenna or using signal amplifiers to enhance the signal strength.
- Explore online resources and streaming services: In addition to the channels available over the air, there are many online resources and streaming services that offer free content. You can augment your viewing experience by exploring these platforms to access even more shows and movies.
- Share the experience: If you’re thrilled with the outcome of your TV antenna installation, share your experience with friends and family. Help them discover the benefits of free over-the-air television and assist them in setting up their own antennas if they’re interested.
- Stay informed about local events: Local news channels often provide updates on weather, community events, and other important information. Take advantage of these channels to stay informed about what’s happening in your area.
With your newly installed TV antenna, you can now enjoy a wide variety of TV channels without the expense of cable or satellite subscriptions. Embrace the freedom of having access to free, high-quality television content and make the most of your home entertainment experience!
Conclusion
Installing a TV antenna on your roof is a rewarding and cost-effective way to access free television channels. By following the step-by-step guide outlined in this article, you can successfully set up and fine-tune your TV antenna to enjoy high-quality over-the-air channels without monthly subscription fees. Here’s a quick recap of the key steps involved in the installation process:
- Gather the necessary tools and materials
- Choose the right antenna for your location
- Find the ideal spot for mounting the antenna on your roof
- Set up the mounting bracket
- Connect the coaxial cable to the antenna
- Run the coaxial cable to your television
- Ground the antenna
- Scan for available channels
- Fine-tune the antenna for optimal reception
- Enjoy your favorite TV channels for free!
Proper planning, careful execution, and attention to detail are key to a successful TV antenna installation. Remember to research the best antenna and location for your specific area and consider potential obstructions that could affect signal reception. Take your time to fine-tune the antenna’s position to achieve optimal signal strength and quality.
By installing a TV antenna on your roof, you can gain access to an array of local and regional channels, bringing you news, sports, entertainment, and more. Enjoy the freedom of choosing from a variety of free channels and enhance your home entertainment experience without monthly subscription costs.
Now that you have the knowledge and skills to install a TV antenna, it’s time to embark on this exciting journey. Get ready to cut the cord, say goodbye to expensive cable bills, and start enjoying your favorite television shows and channels for free!