Introduction
Welcome to this comprehensive guide on how to get Chrome extensions on your school Chromebook. As a student, you probably spend a significant amount of time using your Chromebook for research, assignments, and other tasks. Chrome extensions can greatly enhance your browsing experience by providing additional features and functionality.
However, many school Chromebooks have restrictions in place that prevent students from accessing or installing Chrome extensions. This can be frustrating, as extensions can be incredibly useful for productivity, organization, and customization.
In this guide, we will explore different methods that you can use to get Chrome extensions on your school Chromebook. We will discuss the benefits of using extensions, step-by-step instructions for each method, and security considerations that you should keep in mind.
It’s important to note that while these methods have been tested and are generally safe, it’s always a good idea to seek permission from your school administration before making any changes to your device. Additionally, ensure that you are using your Chromebook responsibly and respecting the school’s rules and regulations.
So, if you’re ready to unlock the full potential of your school Chromebook by adding Chrome extensions, let’s dive in and explore the different methods available to you!
Background
Chromebooks have become increasingly popular in schools due to their affordability, ease of use, and integration with Google’s suite of education tools. These devices provide students with a platform for learning, collaborating, and accessing educational resources online. However, one limitation of school-issued Chromebooks is the restricted access to certain features, including the ability to install Chrome extensions.
Chrome extensions are small software programs that are designed to enhance the functionality of the Chrome browser. They allow users to customize their browsing experience, add new features, and improve productivity. With thousands of extensions available in the Chrome Web Store, there is an extension for almost any task or requirement.
While Chromebooks for personal use have no restrictions on installing extensions, school-issued Chromebooks often have a locked-down configuration. This is done to ensure a controlled environment and prevent students from accessing inappropriate content or compromising the security and integrity of the device.
However, there are valid reasons why students may want to use Chrome extensions on their school Chromebooks. Extensions such as grammar checkers, citation generators, note-taking tools, and language translators can immensely aid in academic tasks. They can help streamline research, improve writing, and boost productivity.
Recognizing the educational value of certain extensions, some schools have made efforts to allow selected extensions or create curated app stores where students can install pre-approved applications. However, the availability and selection of extensions may still be limited.
This guide aims to provide you with solutions to overcome the restrictions on installing Chrome extensions on your school Chromebook. We will explore multiple methods to help you access and utilize the extensive library of Chrome extensions, enabling you to personalize your Chromebook according to your educational needs and preferences.
Now that we understand the limitations and the potential benefits, let’s move on to the next section, where we will explore the advantages of using Chrome extensions on school Chromebooks.
Benefits of Chrome Extensions on School Chromebooks
Unlocking the ability to install Chrome extensions on your school Chromebook can provide you with a wide range of benefits and enhance your overall browsing experience. Here are some key advantages of using Chrome extensions:
- Improved productivity: Chrome extensions offer various productivity tools that can help you stay organized, manage your time, and streamline your workflow. From task managers and note-taking extensions to email tracking and calendar integrations, these tools can boost your productivity and help you stay on top of your academic tasks.
- Enhanced research capabilities: Extensions like citation generators, research assistants, and grammar checkers can greatly aid you in conducting in-depth research and writing high-quality assignments. These tools can help you properly cite your sources, check for grammar and spelling errors, and improve the overall clarity and coherence of your writing.
- Personalized learning: With Chrome extensions, you can customize your learning experience based on your individual needs and preferences. Extensions like text-to-speech, color contrast adjusters, and reading mode can make content more accessible and cater to different learning styles, ensuring that you can fully engage with the learning material.
- Additional learning resources: Chrome extensions can provide you with access to a wide range of educational resources and platforms. Whether it’s language learning apps, math problem solvers, or science simulations, these extensions can augment your learning beyond what is available in the traditional classroom setting.
- Increased creativity: Extensions designed for graphic design, video editing, and music production can help unleash your creative potential. By having access to these tools, you can explore new creative avenues, express yourself, and create visually appealing projects that stand out.
It’s important to note that the benefits you can derive from Chrome extensions will depend on the specific extensions you choose and how you integrate them into your workflow. Selecting the right extensions for your academic needs is crucial to maximizing the advantages they offer.
Now that we understand the advantages of using Chrome extensions on school Chromebooks, let’s move on to the next section, where we will explore different methods to get Chrome extensions on your device.
Step-by-Step Guide to Get Chrome Extensions on School Chromebook
While school Chromebooks may have restrictions on installing Chrome extensions, there are multiple methods available to bypass these limitations. In this section, we will provide you with a step-by-step guide on getting Chrome extensions on your school Chromebook.
It’s important to note that the availability and effectiveness of these methods may vary depending on your school’s policies and the specific Chromebook model you are using. Additionally, always seek permission from your school administration and ensure that you are using the extensions responsibly.
Method 1: Accessing Chrome Web Store and Adding Extensions
- Open the Chrome browser on your school Chromebook.
- Go to the Chrome Web Store by entering “chrome.google.com/webstore” in the address bar.
- Search for the extension you want to install using the search bar or browse the categories to find relevant extensions.
- Select the extension you want to install and click on the “Add to Chrome” button.
- Review the permissions required by the extension and click “Add extension” to confirm the installation.
- The extension will be installed, and its icon will appear in the Chrome toolbar or the “Apps” section of your Chromebook.
Method 2: Enabling Developer Mode and Sideloading Extensions
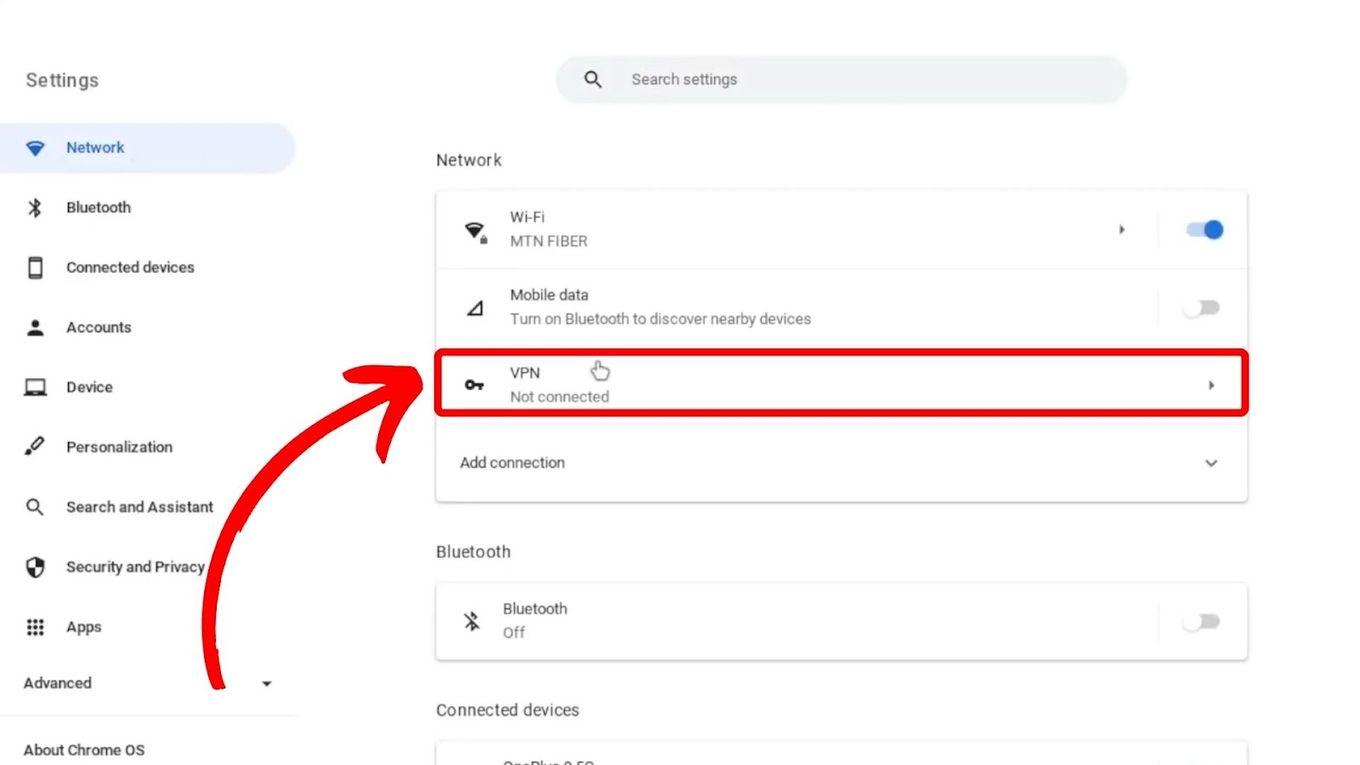
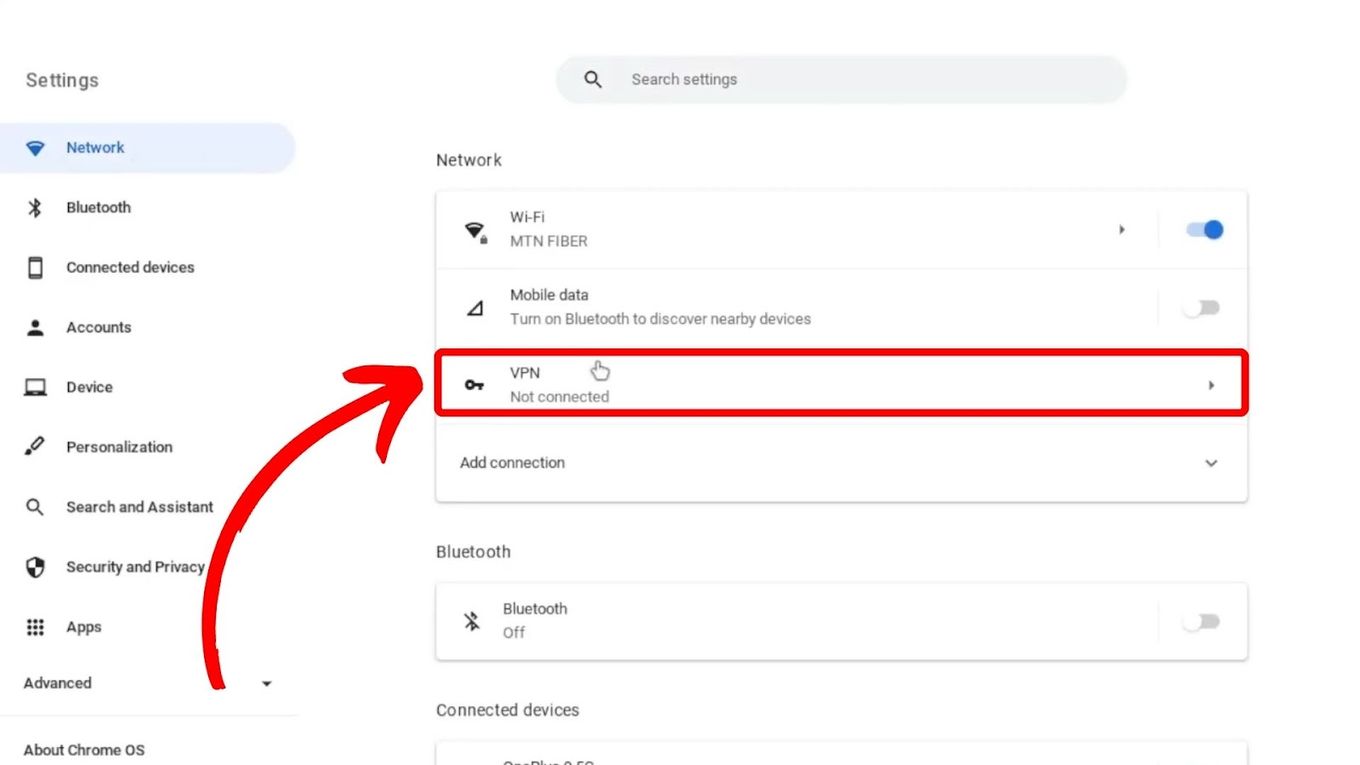
- Access your Chromebook’s settings by clicking on the time in the bottom-right corner of the screen and selecting the gear icon.
- In the settings menu, navigate to “About Chrome OS” and select “Additional details”.
- Click on “Change channel” under the “Channel” section and switch to the “Developer – unstable” channel.
- Once the channel is changed, click on “Check for updates” and install any available updates.
- After the update is complete, go back to the settings menu and select the “Linux (Beta)” option.
- Follow the prompts to enable Linux (Beta) on your Chromebook.
- Once Linux (Beta) is enabled, open the Terminal and enter the command “sudo apt-get update” to update the Linux package lists.
- Now, you can download the extension file (.crx) from the Chrome Web Store or other trusted sources.
- Open the Files app, navigate to the “Linux files” section, and locate the downloaded .crx file.
- Right-click on the file and select “Install with Linux (Beta)”.
- The extension will be installed, and you can access it from the Chrome toolbar or the “Apps” section of your Chromebook.
Method 3: Using Portable Chrome
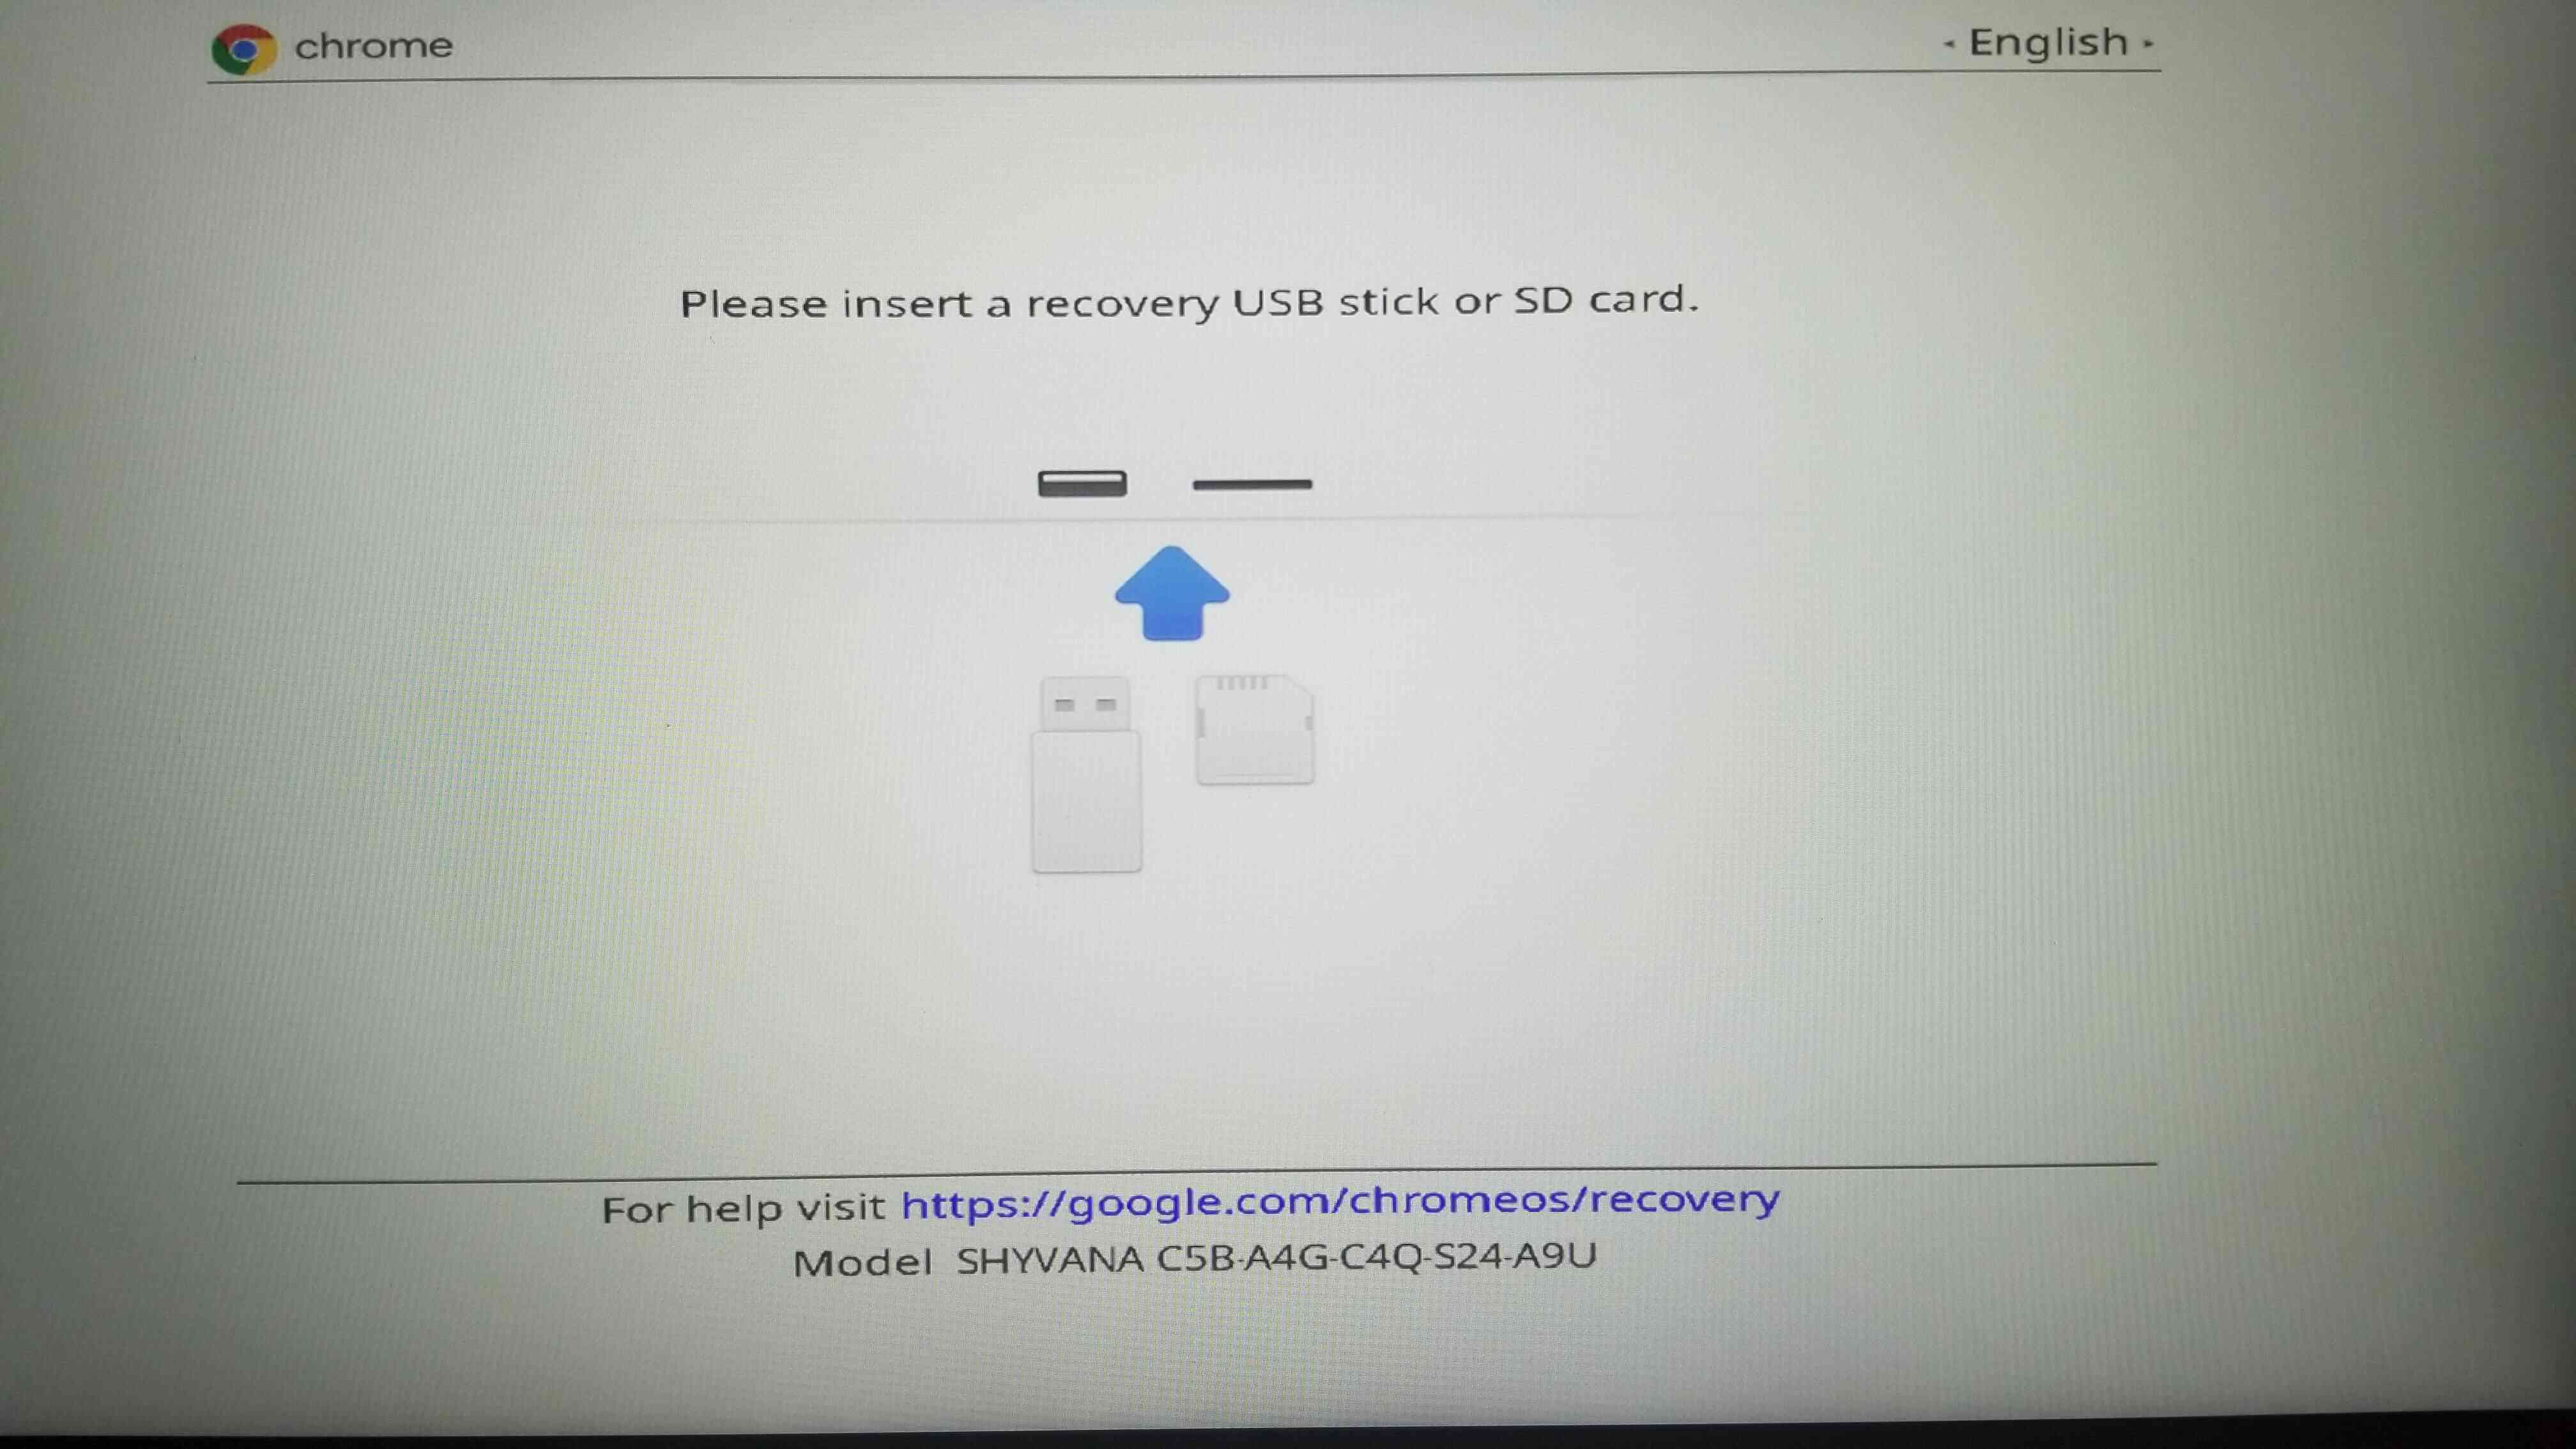
- Download “Portable Chrome” from a trusted website onto a USB flash drive.
- Insert the USB flash drive into your school Chromebook.
- Open the File Manager and navigate to the USB flash drive.
- Locate the Portable Chrome folder and open it.
- Double-click on the Chrome application file to launch Portable Chrome.
- Once Portable Chrome is open, you can access the Chrome Web Store and download extensions as you would on a regular browser.
- The extensions will be installed and can be used within Portable Chrome on your school Chromebook.
These are three popular methods to get Chrome extensions on your school Chromebook. Each method has its own advantages and considerations, so choose the one that suits your needs and the requirements of your school.
Now that you have learned the step-by-step process of getting Chrome extensions on your school Chromebook, let’s move on to the next section where we will discuss some precautions and security considerations.
Method 1: Accessing Chrome Web Store and Adding Extensions
One of the simplest and most straightforward methods to get Chrome extensions on your school Chromebook is by accessing the Chrome Web Store. Please note that this method will only work if your school hasn’t blocked access to the Chrome Web Store.
Follow these steps to install Chrome extensions through the Chrome Web Store:
- Open the Chrome browser on your school Chromebook.
- Go to the Chrome Web Store by entering “chrome.google.com/webstore” in the address bar.
- Once you’re on the Chrome Web Store, you can either use the search bar to find a specific extension or browse through the various categories to discover new extensions that meet your needs.
- When you’ve found an extension that you want to install, click on its name or icon to open its detail page.
- On the extension’s detail page, click on the “Add to Chrome” button located on the right side of the page.
- A pop-up window will appear, providing you with information about the permissions required by the extension. Take a moment to review these permissions and ensure that you are comfortable granting them.
- After reviewing the permissions, click on “Add extension” to confirm the installation.
- Once the installation is complete, the extension’s icon will appear in the Chrome toolbar or in the “Apps” section of your Chromebook.
It’s important to be cautious when installing extensions from the Chrome Web Store. Stick to well-known and reputable extensions that have good ratings and reviews. Additionally, be sure to read the description and the user reviews to get an idea of the extension’s reliability and functionality.
Remember, while this method is simple and does not require any technical knowledge, it may not work if your school has restricted access to the Chrome Web Store. In such cases, you may need to explore alternative methods to install Chrome extensions on your school Chromebook, which will be covered in the next sections.
Now that you are familiar with the process of accessing the Chrome Web Store and adding extensions, let’s move on to Method 2, where we will discuss how to enable developer mode and sideload extensions on your school Chromebook.
Method 2: Enabling Developer Mode and Sideloading Extensions
If your school Chromebook has restrictions that prevent you from accessing the Chrome Web Store, you can try enabling developer mode and sideloading extensions. This method allows you to manually install extensions on your Chromebook by bypassing the restrictions. However, please note that enabling developer mode may void any warranty on your Chromebook and should only be done with caution.
- Start by accessing your Chromebook’s settings. Click on the time in the bottom-right corner of the screen, and then select the gear icon to open the Settings menu.
- In the Settings menu, navigate to the “About Chrome OS” section and click on it.
- Within the “About Chrome OS” section, locate and click on the “Additional details” option.
- Next, look for the “Change channel” option under the “Channel” section, and click on it.
- A pop-up window will appear, displaying different Chrome OS channels. Select the “Developer – unstable” channel to switch to it.
- Once you have changed the channel, click on the “Check for updates” button to install any available updates for your Chromebook.
- After the updates have been installed, go back to the Settings menu and scroll down to find the “Linux (Beta)” option.
- Click on “Linux (Beta)”, and then follow the on-screen prompts to enable Linux (Beta) on your Chromebook.
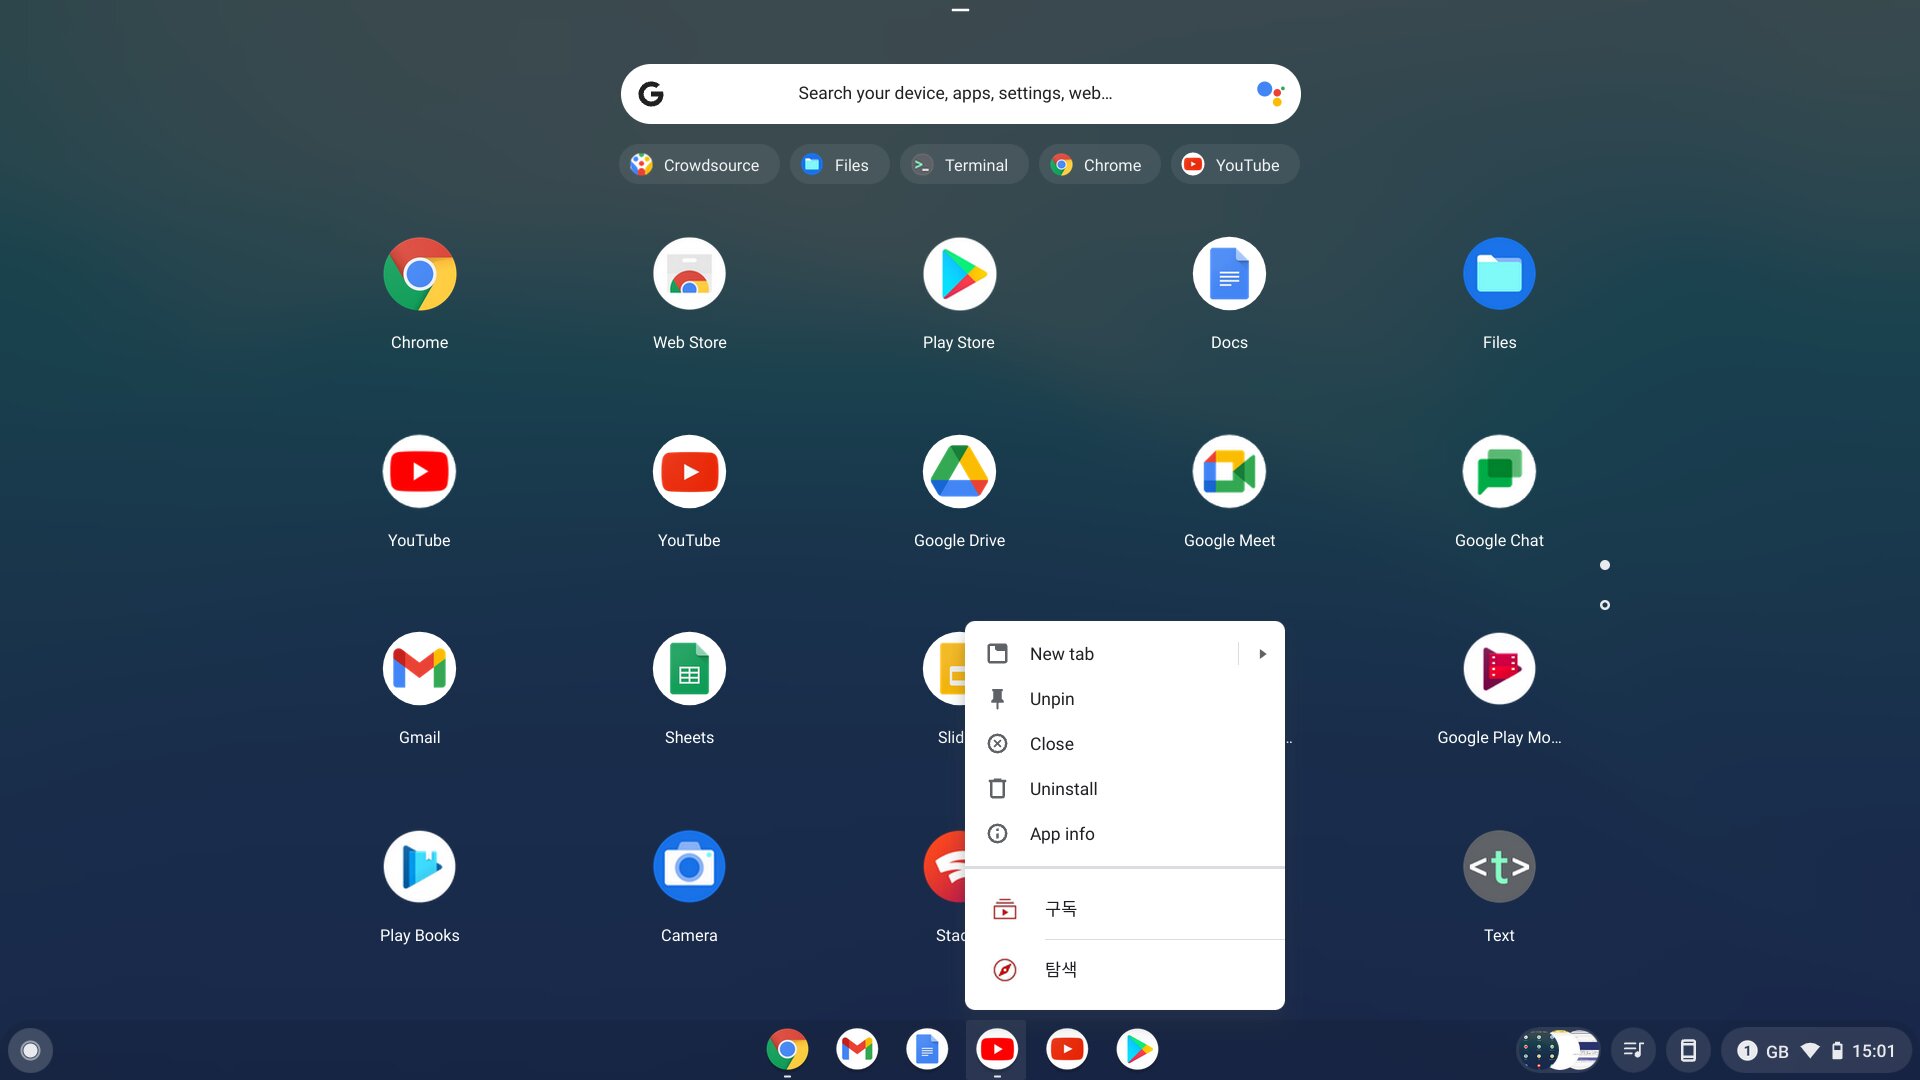
- Once Linux (Beta) is enabled, open the Terminal app. You can find it by clicking on the launcher icon (circle icon with nine dots) in the bottom-left corner of the screen and searching for “Terminal”.
- In the Terminal, enter the command “sudo apt-get update” (without quotes) and press Enter. This command will update the Linux package lists on your Chromebook.
- Now, you can proceed to download the extension file (.crx) from the Chrome Web Store or from other trusted sources outside the Chrome Web Store.
- Open the Files app on your Chromebook, and navigate to the “Linux files” section. This section should appear in the sidebar of the Files app.
- Locate the downloaded .crx file and move it to the “Linux files” section.
- Right-click on the .crx file, and from the menu, select the “Install with Linux (Beta)” option.
- The extension will be installed on your Chromebook, and you can access it from the Chrome toolbar or from the “Apps” section.
Enabling developer mode and sideloading extensions gives you more flexibility in installing Chrome extensions on your school Chromebook. However, it’s important to keep in mind that this method is more advanced and requires careful attention to instructions. Additionally, be aware that enabling developer mode may introduce security risks, so it’s crucial to only install extensions from trusted sources.
Now that you have learned how to enable developer mode and sideload extensions, let’s move on to Method 3, where we will explore an alternative approach using Portable Chrome.
Method 3: Using Portable Chrome
If your school Chromebook has strict restrictions in place that prevent you from accessing the Chrome Web Store or enabling developer mode, an alternative method to get Chrome extensions is by using Portable Chrome. Portable Chrome allows you to run a separate instance of the Chrome browser on your Chromebook without interfering with the school’s settings or restrictions.
- Start by downloading “Portable Chrome” from a trusted website onto a USB flash drive. Ensure that you download the appropriate version of Portable Chrome for your Chromebook’s operating system.
- Insert the USB flash drive into your school Chromebook.
- Open the File Manager on your Chromebook by clicking on the launcher icon (a circle with nine dots) in the bottom-left corner of the screen, and then searching for “Files”.
- Navigate to the USB flash drive within the File Manager to access the files stored on it.
- Locate and open the folder that contains Portable Chrome.
- Inside the Portable Chrome folder, you will find the Chrome application file. Double-click on it to launch Portable Chrome.
- Once Portable Chrome is open, you can access the Chrome Web Store and download extensions just like you would on a regular Chrome browser.
- Search for the desired extension in the Chrome Web Store and click on the “Add to Chrome” button to install it.
- Follow the prompts to grant permissions to the extension, if necessary.
- The extension will be installed and can be used within Portable Chrome on your school Chromebook.
Using Portable Chrome allows you to enjoy the benefits of Chrome extensions without interfering with the school’s settings or risking potential security concerns. However, it’s important to note that Portable Chrome runs independently of the school’s Chrome browser, so data and settings from the main Chrome browser won’t be synchronized with Portable Chrome.
Remember to use Portable Chrome responsibly and in accordance with your school’s policies. Always exercise caution when installing extensions and ensure they come from trusted sources.
Now that you have learned about using Portable Chrome to access Chrome extensions, you can choose the method that best suits your situation and preferences to enhance your browsing experience on your school Chromebook.
Precautions and Security Considerations
When attempting to get Chrome extensions on your school Chromebook, it’s important to be aware of certain precautions and security considerations to ensure a safe and responsible browsing experience. Here are some key factors to keep in mind:
- Seek permission: Before making any changes to your school Chromebook, such as enabling developer mode or installing extensions, it’s crucial to seek permission from your school administration. Respect the policies and guidelines set by your school to avoid any potential consequences.
- Choose trusted sources: Stick to reputable sources when downloading Chrome extensions. The Chrome Web Store is a reliable platform, but if you need to download from other sources, ensure they are trustworthy and reliable.
- Read reviews and ratings: Before installing an extension, take the time to read user reviews and ratings. This can provide insights into the reliability, functionality, and potential risks associated with the extension.
- Keep extensions updated: Regularly check for updates to your installed extensions and keep them up to date. Developers often release updates to address security vulnerabilities and improve performance.
- Review permissions: When installing an extension, carefully review the permissions it requires. Only grant permissions that are necessary for the extension’s functionality and be cautious of any excessive requests for data access.
- Use strong passwords: Ensure that you have strong and unique passwords for all your accounts. This helps protect your personal information and secure your online activities.
- Be cautious with personal information: Be mindful of the information you share while using Chrome extensions. Avoid entering sensitive personal information, such as credit card details or Social Security numbers, unless you are certain of the extension’s security measures.
- Report suspicious extensions: If you come across any suspicious or malicious extensions, report them to the Chrome Web Store or your school’s IT department immediately.
- Regularly scan for malware: Utilize reputable antivirus software to scan your Chromebook regularly for malware or malicious software. This can help identify and remove any potential threats.
- Backup your data: Regularly backup your important files and documents to prevent data loss. Consider using cloud storage services or external storage devices for secure backups.
By adhering to these precautions and security considerations, you can minimize the risks associated with installing Chrome extensions on your school Chromebook and ensure a safe and productive browsing experience.
Now that you are aware of the precautions to take, you can confidently explore and install Chrome extensions on your school Chromebook, enhancing its functionality and customization according to your educational needs.
Conclusion
Unlocking the ability to get Chrome extensions on your school Chromebook can greatly enhance your browsing experience and productivity. While school-issued Chromebooks may come with restrictions, there are various methods available to bypass these limitations and install useful extensions.
In this comprehensive guide, we explored three different methods:
- Accessing the Chrome Web Store and adding extensions, which is the simplest method if your school hasn’t blocked access to the Chrome Web Store.
- Enabling developer mode and sideloading extensions, which requires more technical knowledge but provides the flexibility to manually install extensions on your Chromebook.
- Using Portable Chrome, a separate instance of the Chrome browser that can be run from a USB flash drive, allowing you to use extensions independently of the school’s restrictions.
Throughout the guide, we emphasized the importance of seeking permission from your school administration, using trusted sources, and being cautious with the permissions and security considerations related to installing and using Chrome extensions. These precautions ensure a safe and responsible browsing experience on your school Chromebook.
By utilizing Chrome extensions, you can improve productivity, enhance research capabilities, personalize your learning experience, access additional learning resources, and unleash your creativity. These benefits can significantly contribute to your academic success and make your school Chromebook an even more valuable tool.
Remember to always use Chrome extensions responsibly, respect the policies and guidelines set by your school, and consider the potential risks and security implications of each method and extension you install.
Now that you are equipped with the knowledge and methods to get Chrome extensions on your school Chromebook, it’s time to explore the vast array of extensions available and customize your browsing experience to suit your educational needs and preferences.


