Introduction
Welcome to the world of Chrome extensions! Whether you’re a beginner or an experienced developer, modifying Chrome extensions can be a powerful way to customize your browsing experience. With just a few changes, you can completely transform the functionality and appearance of your favorite extensions.
Chrome extensions are small software programs that enhance the browser’s capabilities. They are written in HTML, CSS, and JavaScript, which makes them highly customizable. Modifying an extension allows you to add new features, tweak existing ones, or fix bugs to better suit your needs.
In this guide, we will walk you through the process of modifying Chrome extensions step by step. We will explore how extensions work, where to find the extension code, how to make changes, and ultimately how to test and share your modified extension.
But before we dive in, it’s important to note that modifying extensions requires a basic understanding of web technologies such as HTML, CSS, and JavaScript. If you’re new to web development, don’t worry! We’ll provide explanations along the way to help you grasp the concepts and techniques involved.
So, if you’re ready to unleash the full potential of your favorite Chrome extensions, let’s get started!
Getting Started
Before we jump into modifying Chrome extensions, it’s important to have a few things in place. Here’s what you need to get started:
- Google Chrome Browser: Ensure that you have the latest version of Google Chrome installed on your computer. Chrome extensions can only be modified and tested within the Chrome browser.
- Extension Identifier: Identify the extension you want to modify. This can be an extension that you have installed from the Chrome Web Store or a custom extension that you have downloaded.
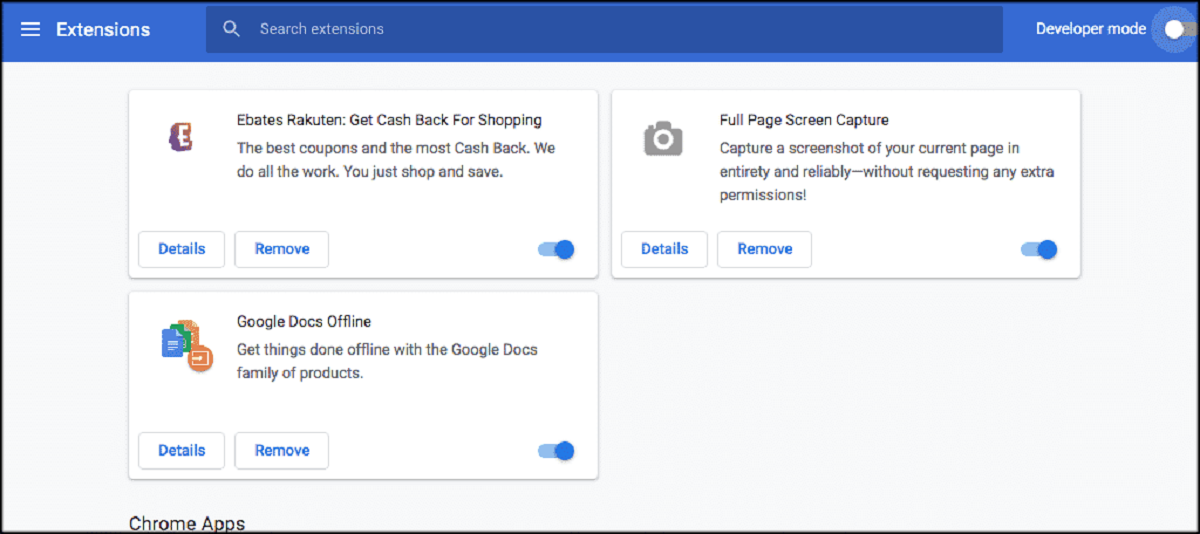
- Developer Mode: Enable the developer mode in Chrome. This will allow you to make changes to the extension’s code. To enable developer mode, go to the Extensions page in Chrome (chrome://extensions), toggle the switch for “Developer mode” in the top-right corner.
- Text Editor: Choose a text editor of your preference. It could be a simple text editor or a specialized code editor like Visual Studio Code or Sublime Text. Make sure you are comfortable editing code in your chosen editor.
With these prerequisites in place, you’re ready to dive into the exciting world of modifying Chrome extensions. The next steps will guide you through the process, helping you understand the underlying concepts and techniques involved.
Remember, modifying an extension requires careful attention to detail and a good understanding of web technologies. It’s always a good idea to make a backup copy of the extension’s files before making any changes, just in case something goes wrong. Now, let’s move on to understanding Chrome extensions in more detail!
Step 1: Understanding Chrome Extensions
Before you start modifying Chrome extensions, it’s essential to have a solid understanding of how they work. A Chrome extension is essentially a collection of HTML, CSS, and JavaScript files that adds new functionality to the Chrome browser.
At its core, a Chrome extension consists of three main components:
- Manifest File: The manifest file is like a blueprint for the extension. It contains important information such as the extension’s name, version number, permissions, and a list of the files that make up the extension.
- Background Scripts/Event Pages: These scripts run in the background and allow the extension to perform tasks even when the browser is not actively interacting with it. They handle events and perform actions such as making API requests and managing data.
- Browser Action/Page Action: This is the visible part of the extension that users interact with. It can be a button in the Chrome toolbar (browser action) or a context menu item that appears when right-clicking on a page (page action).
Now that you know the basic components of a Chrome extension, let’s delve deeper into each component:
Manifest File: The manifest.json file is the heart of a Chrome extension. It provides important metadata about the extension and acts as a bridge between the extension and the browser. It contains information such as the extension’s name, version, description, author, and the files that make up the extension. It also specifies the permissions required for the extension to function properly, such as accessing tabs, browsing history, or using specific APIs.
Background Scripts/Event Pages: Background scripts or event pages allow the extension to run code in the background, even when the user is not directly interacting with it. These scripts listen for events, such as when a page is loaded or when a user clicks a button, and perform tasks accordingly. They can make API requests, manipulate data, or interact with the browser’s functionality. Background scripts are crucial for extensions that require continuous monitoring or background tasks.
Browser Action/Page Action: Browser actions and page actions provide the user interface for the extension. Browser actions are buttons that appear in the Chrome toolbar, allowing users to interact with the extension directly. Page actions, on the other hand, are contextual and only appear in the Chrome toolbar when certain conditions are met, such as when a specific webpage is loaded. These actions can trigger events, display popup windows, or perform specific actions based on user input.
Understanding these components is essential for modifying Chrome extensions. In the next step, we will learn how to locate the extension’s code to make changes.
Step 2: Finding the Extension Code
Once you have a basic understanding of Chrome extensions, the next step is to locate the code of the extension you want to modify. To make changes to an extension, you’ll need access to its source code. Here’s how you can find the extension code:
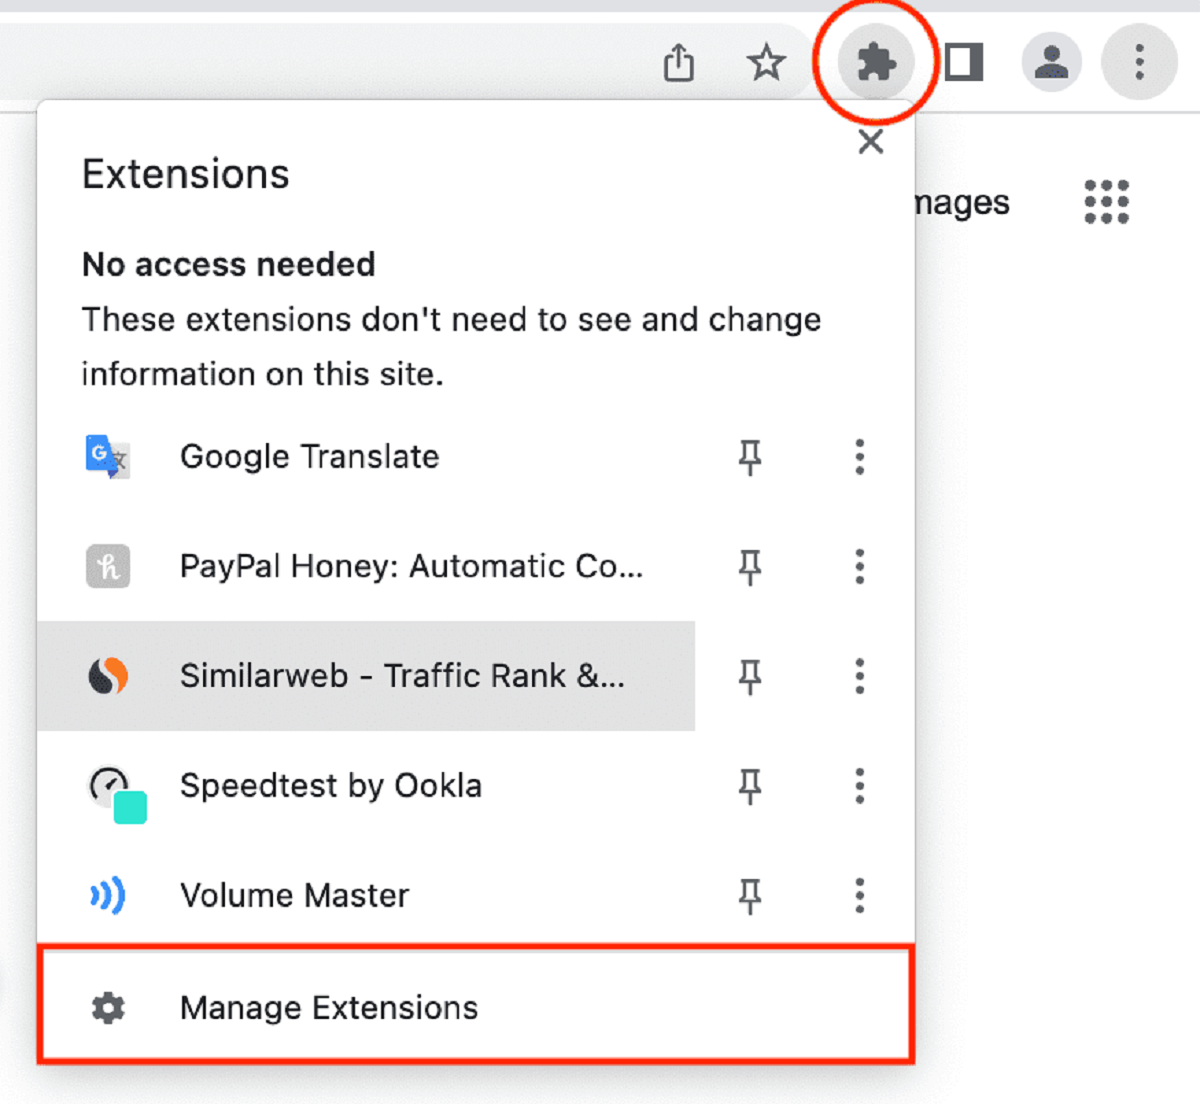
Option 1: Chrome Extensions Page: Open the Chrome browser and navigate to the Extensions page. You can do this by typing “chrome://extensions” in the address bar. On the Extensions page, you’ll find a list of all the installed extensions. Look for the extension you want to modify and click on the “Details” button. This will take you to the extension’s details page, where you can access its code.
Option 2: Extension Directory: If you have downloaded a custom extension or have a backup of an extension’s files, you can manually locate the extension code on your computer. The extension files are usually stored in a specific directory on your system. For Windows users, the default location is “C:\Users\[Your Username]\AppData\Local\Google\Chrome\User Data\Default\Extensions”. On Mac, it is located at “/Users/[Your Username]/Library/Application Support/Google/Chrome/Default/Extensions”. Look for a folder with a name similar to the extension’s ID (found on the extension’s details page).
Once you have located the extension’s directory, you are ready to dive into the code and start making modifications. The code of a Chrome extension is organized into different files based on their functionality.
In the next step, we will explore how to make changes to the extension code efficiently and effectively.
Step 3: Making Changes to the Extension
Now that you have found the code of the extension you want to modify, it’s time to start making changes. Here are the key points to keep in mind while making modifications to the extension:
Understanding the Extension Structure: Take some time to explore the code and familiarize yourself with the overall structure of the extension. Look for files such as popup.html, background.js, options.html, or any other relevant files mentioned in the extension’s manifest.json. Understanding the purpose of each file will help you locate the code you want to modify.
Editing the Code: To make changes to the extension, you can use any text editor of your choice. Open the relevant HTML, CSS, or JavaScript file in your text editor. Modify the code as per your requirements. You can add new features, tweak existing functionality, or fix any bugs that you come across.
Save and Refresh: Once you have made the necessary changes, save the file and go to the Extensions page in Chrome (chrome://extensions). Find the modified extension and click on the “Reload” button. This will refresh the extension and apply the changes you made to the code.
Testing Your Modifications: After refreshing the extension, test it to ensure that your modifications are working as intended. Open the extension’s user interface (such as clicking on the browser action button) and interact with the modified features. Verify that everything is functioning correctly and that no errors or unexpected behavior occurs.
Iterate and Refine: Modifying an extension is an iterative process. You may need to make multiple changes and test them iteratively to get the desired outcome. If something doesn’t work as expected, go back to the code, make necessary adjustments, and test again. Keep refining your modifications until you achieve the desired result.
Making changes to an extension requires a good understanding of HTML, CSS, and JavaScript. If you’re new to web development, it’s a great opportunity to learn and practice your skills.
Now that you know how to make changes to the extension code, let’s move on to the next step where we will explore how to test and debug the modified extension.
Step 4: Testing and Debugging the Modified Extension
Once you have made the necessary changes to the extension code, it’s essential to test and debug the modified extension to ensure it functions as intended. Testing and debugging are crucial steps in the modification process to identify and fix any issues or unexpected behavior. Here’s how you can test and debug the modified extension:
Reload the Extension: After making changes to the code, go to the Extensions page in Chrome (chrome://extensions). Locate the modified extension and click on the “Reload” button. This will reload the extension and apply the changes you made to the code.
Interaction Testing: Interact with the modified features of the extension to verify their functionality. For example, if you added a new button to the browser action, click on the button and check if it performs the desired action. Test all the modified functionalities extensively to ensure they work as intended.
Console Logging: Use console.log statements in the background scripts or event pages to output relevant information or debug messages. Open the Chrome Developer Tools (Right-click on the extension’s popup, select “Inspect”, and navigate to the “Console” tab) to view the messages logged by the extension. This can help you identify any errors, unexpected behavior, or log specific data for debugging purposes.
Error Handling: Take care of error handling in your modified extension. Consider scenarios where things might go wrong or behave unexpectedly, and implement appropriate error handling mechanisms. Proper error handling can prevent the extension from crashing or causing unwanted issues.
User Testing: Involve others in testing your modified extension. Ask friends or colleagues to install the modified extension and provide feedback on its functionality and user experience. Their input can help identify any issues or areas for improvement that you might have missed.
Iterative Testing and Debugging: Testing and debugging is an iterative process. If you encounter any issues or unexpected behavior during testing, go back to the code, make necessary adjustments, and test again. Continue refining and debugging your modifications until the modified extension works smoothly and without any issues.
Testing and debugging are essential to ensure that your modified extension performs as expected and provides a seamless user experience. Taking the time to thoroughly test and debug your modifications will result in a more reliable and user-friendly extension.
Now that your modified extension is tested and debugged, it’s time to move on to the final step – packing and sharing the modified extension with others!
Step 5: Packing and Sharing the Modified Extension
Once you have successfully modified and tested your extension, you may want to share it with others or use it on different devices. To do this, you’ll need to package the modified extension. Here’s how you can pack and share your modified extension:
Packaging the Extension: Packaging the extension involves creating a compressed .zip file that contains all the modified code and assets. To pack the modified extension, go to the Extensions page in Chrome (chrome://extensions) and click on the “Pack extension” button. Select the directory containing the modified extension’s files and click “Pack Extension”. Chrome will create a .crx file, which is the packaged version of the modified extension.
Distributing the Extension: Once you have the .crx file, you can distribute the modified extension to others. You can share it through various channels such as email, file-sharing platforms, or hosting it on a website. Users can then install the modified extension by dragging and dropping the .crx file onto the Extensions page in Chrome, or by going to the Extensions page, enabling “Developer mode,” and using the “Load unpacked” button to load the modified extension’s directory.
Chrome Web Store: If you want to make the modified extension available to a wider audience, you can consider publishing it on the Chrome Web Store. Publishing on the Chrome Web Store involves creating a developer account, paying a one-time registration fee, and submitting the modified extension for review. Once approved, your modified extension will be accessible by anyone through the Chrome Web Store.
Sharing the Source Code: Alternatively, you can also share the modified extension’s source code with others. You can upload it to a code-sharing platform like GitHub, where users can access and download the code. Sharing the source code allows other developers to examine your modifications, contribute to the project, or use it as a reference for their own customization.
Remember that sharing modified extensions with others means sharing your modifications, which may include personalizations or additional functionality specific to your needs. Ensure that you communicate any potential limitations or compatibility issues to other users, as the modified extension may not work flawlessly in all scenarios.
By packaging and sharing your modified extension, you can make your customized browsing experience available to others and contribute to the larger Chrome extension community.
Congratulations! You have successfully completed all the steps of modifying and sharing a Chrome extension. Now it’s time to put your newfound knowledge to practice and start exploring the unlimited possibilities of customization and personalization that Chrome extensions offer.
Conclusion
Modifying Chrome extensions opens up a world of possibilities for customization and personalization. By making changes to the extension’s code, you can add new features, tweak existing functionality, and tailor your browsing experience to suit your needs. Throughout this guide, we have explored the step-by-step process of modifying Chrome extensions, from understanding their structure to testing and debugging the modified code.
We began by understanding the basic components of Chrome extensions, such as the manifest file, background scripts, and browser/page actions. Knowing the structure of an extension is crucial in navigating and making changes to its code effectively.
Next, we discussed how to locate the extension’s code, either through the Chrome Extensions page or by manually finding the extension’s directory on your computer. With the code at hand, we learned how to make changes using a text editor and save the modified files.
Testing and debugging the modified extension were also key steps in ensuring its functionality. By reloading the extension, interacting with the modified features, logging messages, and handling errors, we were able to identify and fix issues that may have arisen during the modification process.
Finally, we explored how to pack and share the modified extension, either by creating a .crx file for distribution or by publishing it on the Chrome Web Store. We also discussed the option of sharing the source code for others to examine, contribute to, or use as a reference for their own customization.
Modifying Chrome extensions requires a solid understanding of HTML, CSS, and JavaScript, as well as attention to detail and a passion for experimentation. With practice and perseverance, you can unlock a world of customization and create a browsing experience tailored to your preferences.
Now it’s time to put your knowledge into action and start exploring the possibilities of modifying Chrome extensions. Whether it’s adding functionality to your favorite productivity extension or tweaking the appearance of a theme, let your creativity guide you.
Remember to always keep a backup copy of the original extension files before making any modifications, and be mindful of the permissions and limitations imposed by the original extension.
Happy customizing!