Introduction
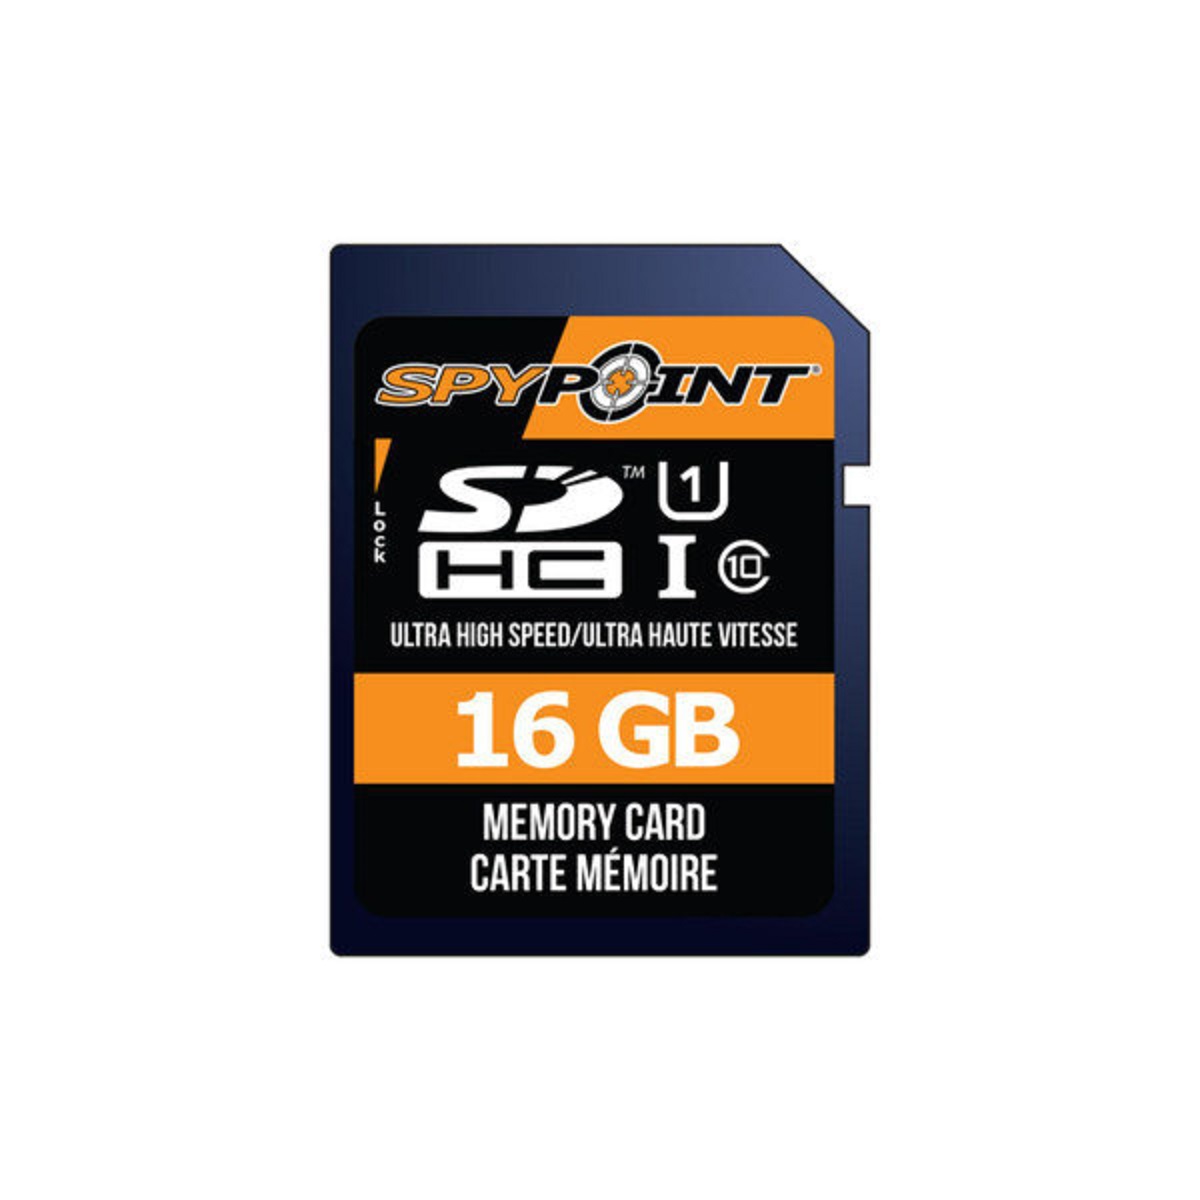
An SD card is a small, portable storage device commonly used in digital cameras, smartphones, and other electronic devices. Over time, these cards can become cluttered with unnecessary files and data, leading to slower performance and reduced storage capacity. Formatting an SD card can help restore its functionality and free up space for new files.
In this guide, we will walk you through the step-by-step process of formatting an SD card on a Windows computer. Whether you’re preparing the card for a new device or simply want to clean up and optimize its storage, formatting is a straightforward and effective solution.
Before we begin, it’s important to note that formatting an SD card will erase all data stored on it. Therefore, it’s crucial to back up any important files or documents beforehand. Once you’ve backed up your data, you’re ready to proceed with the formatting process.
By following the steps outlined in this guide, you can easily format your SD card and ensure it’s in optimal condition for future use. Let’s get started!
Step 1: Insert the SD Card
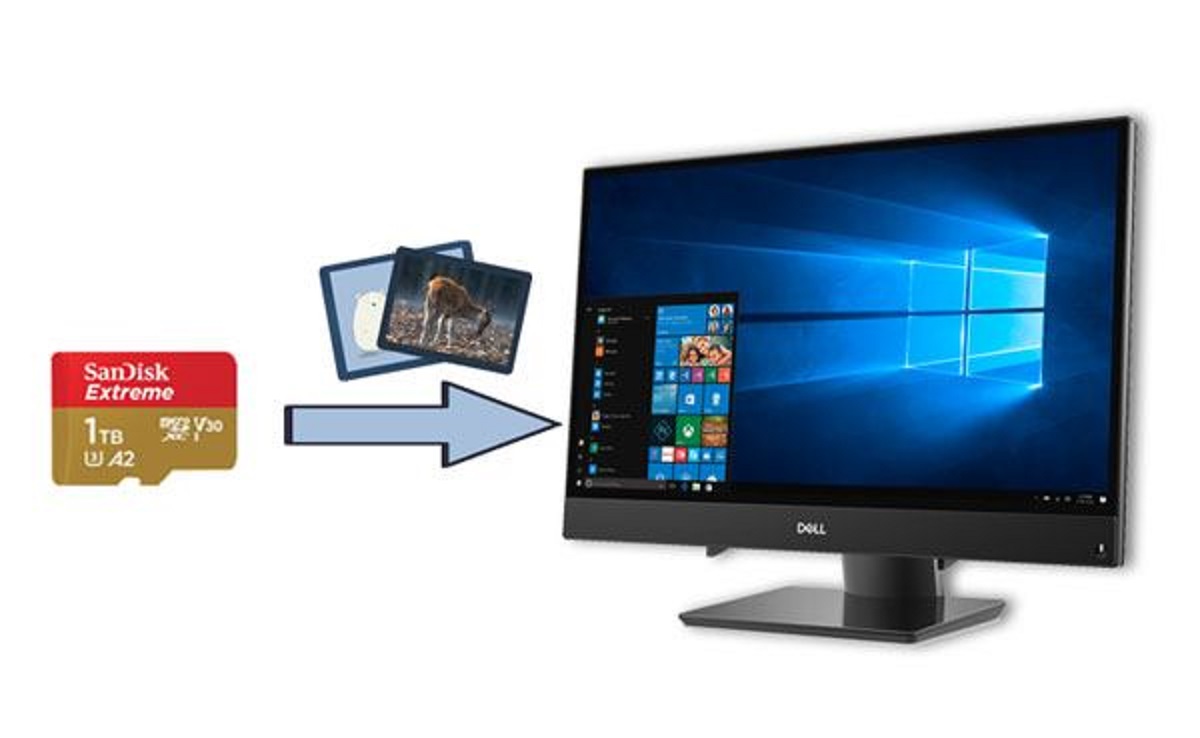
The first step in formatting an SD card on a Windows computer is to insert the card into the appropriate SD card slot or adapter. Most computers have built-in SD card slots, while others may require the use of an SD card reader.
If your computer has a built-in SD card slot, locate it on the side or front panel of your computer. It will usually be labeled with an SD card icon. If you’re using an external SD card reader, connect it to your computer using a USB cable.
Once the SD card is inserted or connected, ensure that it is properly secured in place. Gently push the card into the slot until it clicks or until it is fully inserted in the reader. This will ensure a secure connection and prevent any data transfer issues during the formatting process.
It’s important to note that if you have any files or data on the SD card that you need to preserve, make sure to back up these files before proceeding with the formatting. Formatting will erase all data on the SD card, so it’s crucial to have a backup to prevent permanent data loss.
After inserting the SD card and backing up any necessary files, you’re now ready to move on to the next step: opening File Explorer to access the SD card.
Step 2: Open File Explorer
After inserting the SD card into your computer, the next step is to open File Explorer. File Explorer is a built-in file management tool in Windows that allows you to navigate through your computer’s file system and access various storage devices, including SD cards.
To open File Explorer, you can either click on the folder icon located on the taskbar or press the Win + E keys simultaneously on your keyboard. Alternatively, you can right-click on the Start button and select “File Explorer” from the context menu that appears.
Once File Explorer is open, you will see a navigation pane on the left-hand side, which displays various locations and shortcuts. Look for the “This PC” or “Computer” option in the navigation pane and click on it. This will display all the drives and storage devices connected to your computer.
In the “This PC” or “Computer” section, you will find a list of available drives, including your SD card. The SD card will be labeled with its assigned drive letter, such as “D:”, “E:”, or “F:”. Click on the drive letter corresponding to your SD card to access its contents.
Once you have successfully opened File Explorer and located your SD card, you’re now ready to proceed to the next step: locating the SD card in File Explorer.
Step 3: Locate the SD Card
Now that you have opened File Explorer, the next step is to locate your SD card within the list of drives and storage devices. This will allow you to access and manage files stored on the SD card.
In the File Explorer window, look for the section labeled “Devices and drives”. Here, you will find a list of all the drives connected to your computer, including hard drives, external storage devices, and of course, your SD card.
Scroll through the list to find the drive corresponding to your SD card. Typically, the SD card will have a label such as “Removable Disk” followed by its assigned drive letter. The drive letter may vary depending on your computer’s configuration.
If you’re unsure which drive letter corresponds to your SD card, you can easily identify it by checking the card’s capacity. Right-click on the drive and select “Properties” from the context menu. This will open a dialog box displaying information about the drive, including its total capacity and available space. Match these details with the capacity of your SD card to confirm that you have located the correct drive.
Once you have located your SD card in File Explorer, you’re now ready to move on to the next step: right-clicking on the SD card to access the formatting options.
Step 4: Right-click on the SD Card
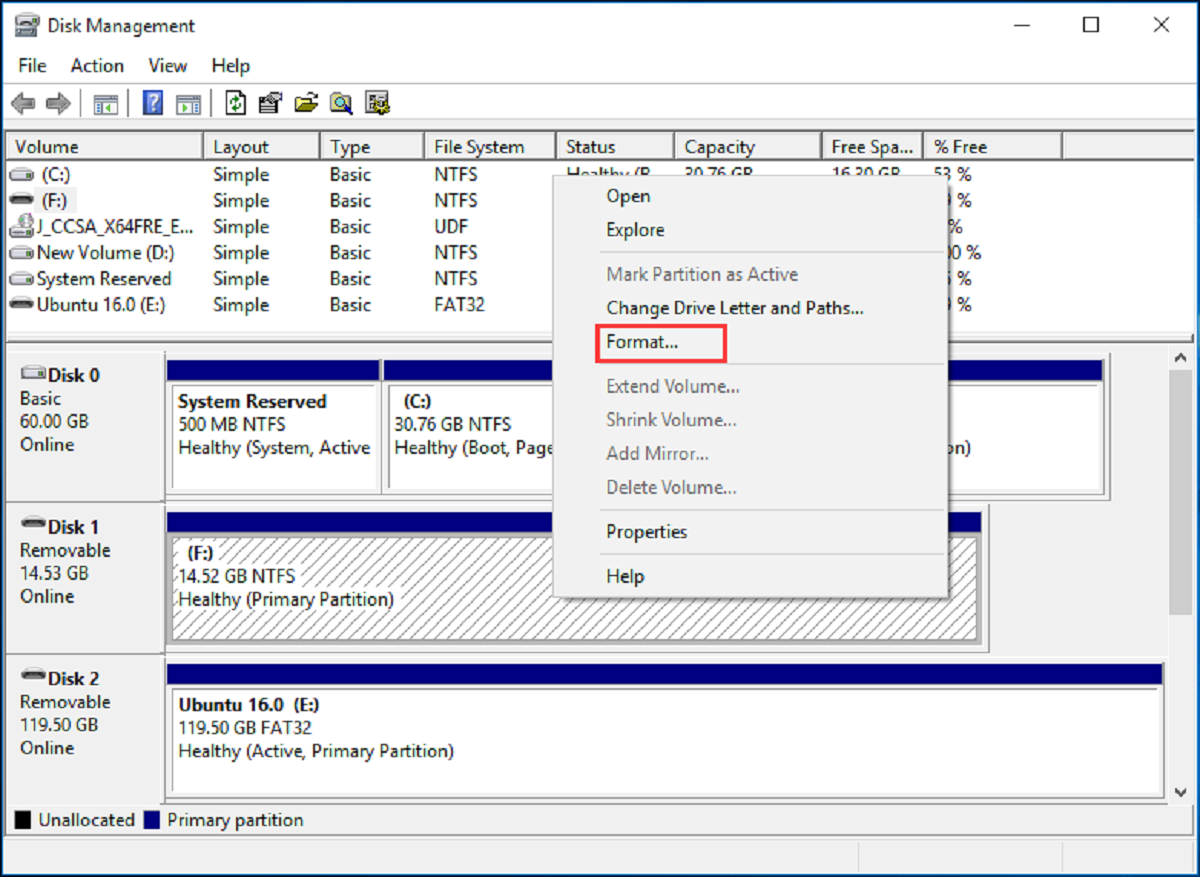
After locating your SD card in File Explorer, the next step is to right-click on the SD card to access the formatting options. Right-clicking will bring up a context menu with various actions you can perform on the SD card.
Position your cursor over the SD card drive letter, then click the right mouse button to open the context menu. This menu will display a list of available options for managing and formatting the SD card.
Among the options in the context menu, look for and click on the one that says “Format”. This will open the Format dialog box, which allows you to customize the formatting settings for your SD card.
By right-clicking on the SD card and selecting the Format option, you are one step closer to preparing your SD card for a fresh start. However, proceed with caution, as formatting will erase all data from the card. Ensure that you have already backed up any important files before proceeding.
Once you have right-clicked on the SD card and selected the Format option, you’re now ready to move on to the next step: choosing the file system for the formatted SD card.
Step 5: Select “Format” from the Context Menu
After right-clicking on the SD card, a context menu will appear with various options. In this step, we will focus on selecting the “Format” option from the context menu.
Once the context menu is open, locate and click on the “Format” option. This will open the Format dialog box, where you can customize the formatting settings for your SD card.
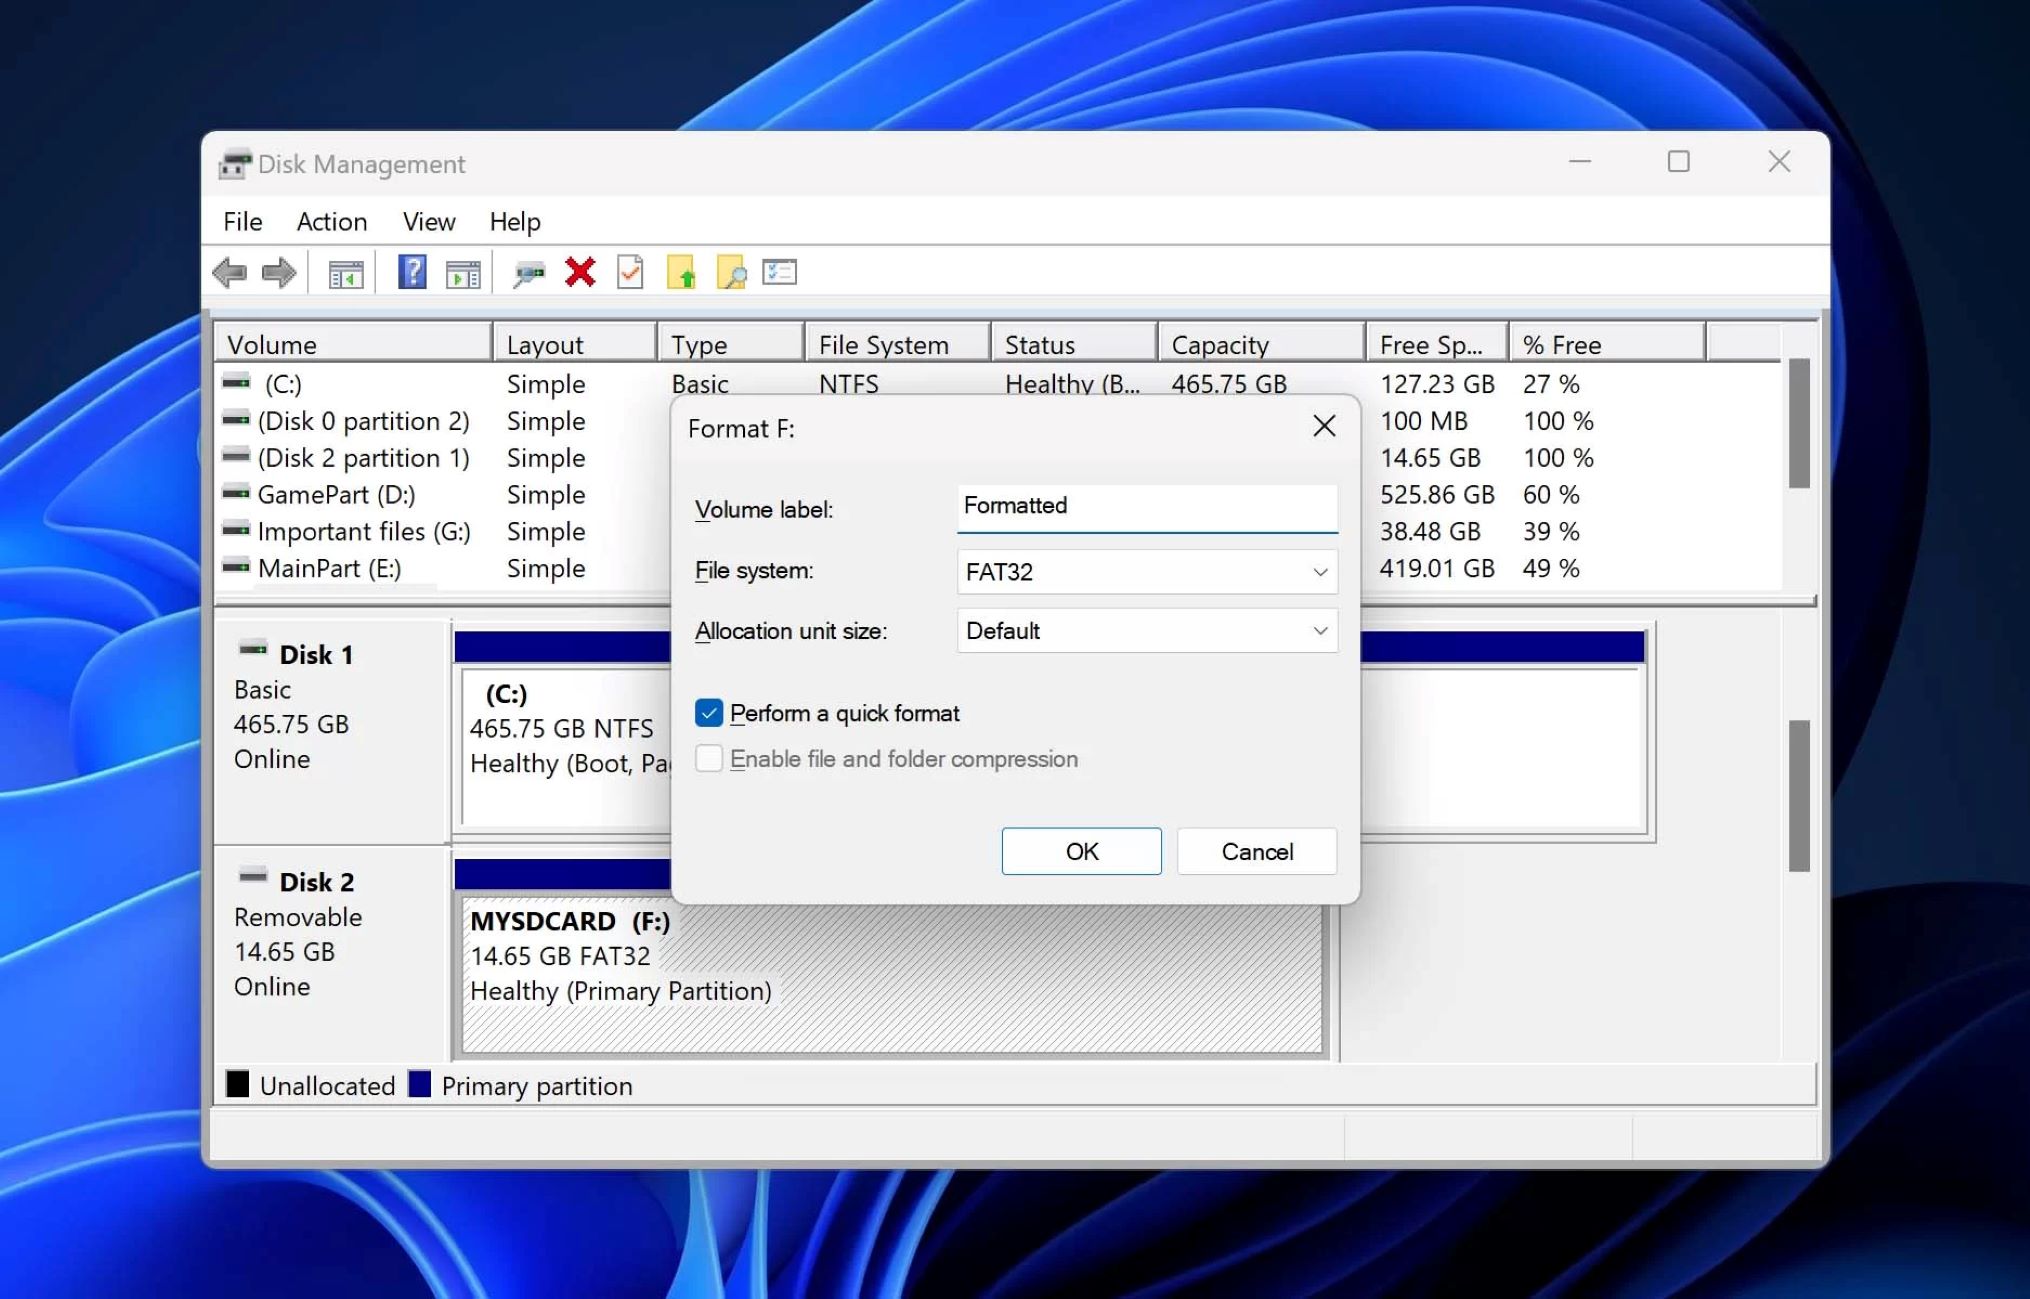
The Format dialog box provides several options that you can configure according to your preferences. These options include the file system, allocation unit size, and volume label.
For the file system, you can choose between FAT32 and exFAT. FAT32 is compatible with most devices, but it has a maximum file size limitation of 4GB. On the other hand, exFAT supports larger file sizes, making it suitable for multimedia files and larger storage capacities.
Next, you can specify the allocation unit size. If you’re unsure, it’s recommended to leave it as the default setting, which is usually the best choice for most users.
Additionally, you have the option to provide a volume label for your SD card. The volume label is simply a name to identify your SD card. You can enter any descriptive name you prefer, such as “MySDCard” or “CameraStorage”. This step is optional, and you can leave it blank if you don’t want to assign a specific label.
After selecting the desired formatting options, double-check that you have backed up any important files from the SD card. Once formatting is initiated, all data on the card will be erased, and it cannot be recovered.
When you’re ready, click the “Start” button to begin the formatting process. The process may take a few moments depending on the size and speed of your SD card.
Now that you have selected the “Format” option from the context menu, you’re one step closer to formatting your SD card and preparing it for optimal use. Next, we will move on to choosing the file system for the formatted SD card.
Step 6: Choose the File System
After selecting the “Format” option from the context menu, the Format dialog box will appear. In this step, we will focus on choosing the appropriate file system for your SD card.
The file system determines how data is organized and stored on the SD card. There are two commonly used file systems for SD cards: FAT32 and exFAT.
FAT32 is the most compatible file system and is supported by almost all devices. It has a maximum individual file size limitation of 4GB and is well-suited for SD cards with smaller storage capacities.
On the other hand, exFAT provides support for larger individual file sizes, making it ideal for multimedia files or SD cards with larger storage capacities. It is compatible with most modern devices, but some older devices may not support it.
To choose the file system, simply click on the dropdown menu next to the “File system” option in the Format dialog box. From the available options, select either “FAT32” or “exFAT” depending on your needs and device compatibility.
If you’re uncertain about which file system to choose, consider the file sizes of the files you plan to store on the SD card and the devices you intend to use the card with. For example, if you primarily use the SD card with cameras or smartphones, FAT32 is typically a safe choice. On the other hand, if you frequently work with large video files or use the SD card with devices that support exFAT, you may prefer to choose exFAT for better compatibility.
Once you have selected the desired file system, you can proceed to the next step. Optionally, if you want the formatting process to complete faster, you can select the “Quick Format” option, which we will discuss in the next step.
Now that you have chosen the file system for your SD card, you’re one step closer to formatting it. Next, we will explore the optional step of selecting “Quick Format”.
Step 7: Select Quick Format (Optional)
In this step, we will discuss an optional feature known as “Quick Format”. This feature allows you to expedite the formatting process by skipping the thorough scanning and testing of the SD card.
When you choose to format an SD card, the default setting in the Format dialog box includes a full format. A full format performs a comprehensive scan of the card, checks for errors, and ensures that each sector is properly formatted. This process can take a considerable amount of time, especially for larger SD cards.
However, if you want to speed up the process and save time, you have the option to select “Quick Format”. By selecting this option, the formatting process will only delete the file structure and directory entries on the SD card, without performing the time-consuming scanning and testing steps.
It’s worth noting that although “Quick Format” is a faster method, it doesn’t fully erase the data on the SD card. If you have sensitive information on the card and want to ensure it cannot be recovered, a full format is recommended. But if you simply want to clear the card and prepare it for regular use, “Quick Format” is a convenient choice.
To enable “Quick Format”, make sure that the checkbox next to the “Quick Format” option in the Format dialog box is selected. If the checkbox is not checked, click on it to enable “Quick Format”.
Remember that selecting “Quick Format” is optional. If you prefer the more thorough scan and testing that comes with a full format, you can leave the checkbox unchecked. Depending on your needs and time constraints, choose the format option that best suits your requirements.
Now that you have the option to select “Quick Format” if desired, you’re ready to proceed to the next and final step: initiating the formatting process by clicking “Start”.
Step 8: Click “Start” to Format the SD Card
After customizing the format settings and selecting the desired options, you’re now ready to initiate the formatting process for your SD card. In this final step, we will guide you on how to click “Start” to begin formatting the SD card.
Ensure that you have backed up any important files from the SD card, as formatting will permanently erase all data stored on it.
Once you have verified the format settings and made your selections, locate the “Start” button in the Format dialog box. This button is located at the bottom right corner of the dialog box, usually highlighted prominently.
Clicking “Start” will initiate the formatting process. Depending on the speed and size of your SD card, it may take a few moments to complete. During this time, it’s important not to interrupt the process or remove the SD card from the computer.
While the formatting is in progress, you may see a progress bar indicating the status of the process. Additionally, some computer systems may display a warning or confirmation message reminding you that formatting will erase all data on the SD card. Make sure to read and confirm any prompts or messages that may appear on your screen.
Once the formatting process is complete, you will see a message indicating the successful completion of the format. At this point, your SD card is ready to be used with its newly formatted file system.
Remember, the formatting process will erase all data on the SD card, so it’s important to have a backup of any important files before proceeding.
With the formatting now complete, you have successfully formatted your SD card using a Windows computer. You can now safely remove the SD card from the computer or continue using it with your devices.
Congratulations! You have completed all the necessary steps to format an SD card. Now you can enjoy the enhanced performance, increased storage capacity, and optimized functionality of your freshly formatted SD card.
Conclusion
Formatting an SD card on a Windows computer is a simple and effective way to optimize its performance and regain storage space. By following the step-by-step process outlined in this guide, you can easily format your SD card and ensure it’s ready for use on various devices.
Remember to always back up any important files before formatting the SD card, as the process will permanently erase all data stored on it. Additionally, consider choosing the appropriate file system (FAT32 or exFAT) based on your device compatibility and the nature of the files you plan to store on the SD card.
If time is a factor, you have the option to select “Quick Format” to expedite the process. However, keep in mind that “Quick Format” does not provide the same level of data erasure as a full format. So, if data security is a concern, opt for a full format to ensure that sensitive information cannot be recovered.
Once you have clicked “Start” and the formatting process is complete, your SD card is ready for use. You can now enjoy the benefits of increased storage capacity, improved performance, and a clean storage slate for your files and media.
Remember, regular formatting and maintenance of your SD card can help prolong its lifespan and ensure reliable operation. If you notice any issues or errors with your SD card in the future, formatting can be a useful troubleshooting step to consider.
Thank you for following this guide on how to format an SD card on a Windows computer. We hope this information has been helpful to you. Now, go ahead and make the most of your newly formatted SD card!


