Introduction
The Truist App is a convenient and secure way to manage your finances on the go. With the latest update, Truist has introduced a new feature called Face ID, which allows users to access their accounts using facial recognition technology. Enabling Face ID on the Truist App not only provides a faster and more seamless login experience, but also adds an extra layer of security to protect your personal information.
In this article, we will guide you through the steps to enable Face ID on the Truist App. Whether you have an iPhone X or a newer model that supports Face ID, you can take advantage of this feature and enjoy the benefits of quick and secure access to your Truist account.
Please note that the availability of Face ID may vary depending on your device and the version of the Truist App you have installed. Make sure you have the latest version of the app installed on your device before starting the setup process.
Step 1: Update the Truist App
Before you can enable Face ID on the Truist App, ensure that you have the latest version of the app installed on your smartphone. Keeping the app updated ensures that you have access to the latest features and security enhancements.
To update the Truist App, follow these simple steps:
- Open the App Store (iOS) or Google Play Store (Android) on your device.
- Search for “Truist” in the search bar.
- If an update is available, you will see an “Update” button next to the Truist App. Tap on it to start the update process.
- Wait for the update to download and install on your device. This may take a few minutes depending on your internet connection.
- Once the update is complete, you are ready to proceed with enabling Face ID.
Remember, it is important to regularly update your apps to ensure optimum performance, security, and access to new features. Now that you have updated the Truist App, you can move on to the next step and enable Face ID for a more convenient and secure banking experience.
Step 2: Open the Truist App
Once you have updated the Truist App, it’s time to open it on your smartphone. Locate the Truist App icon on your home screen or in your app drawer, and tap on it to launch the app.
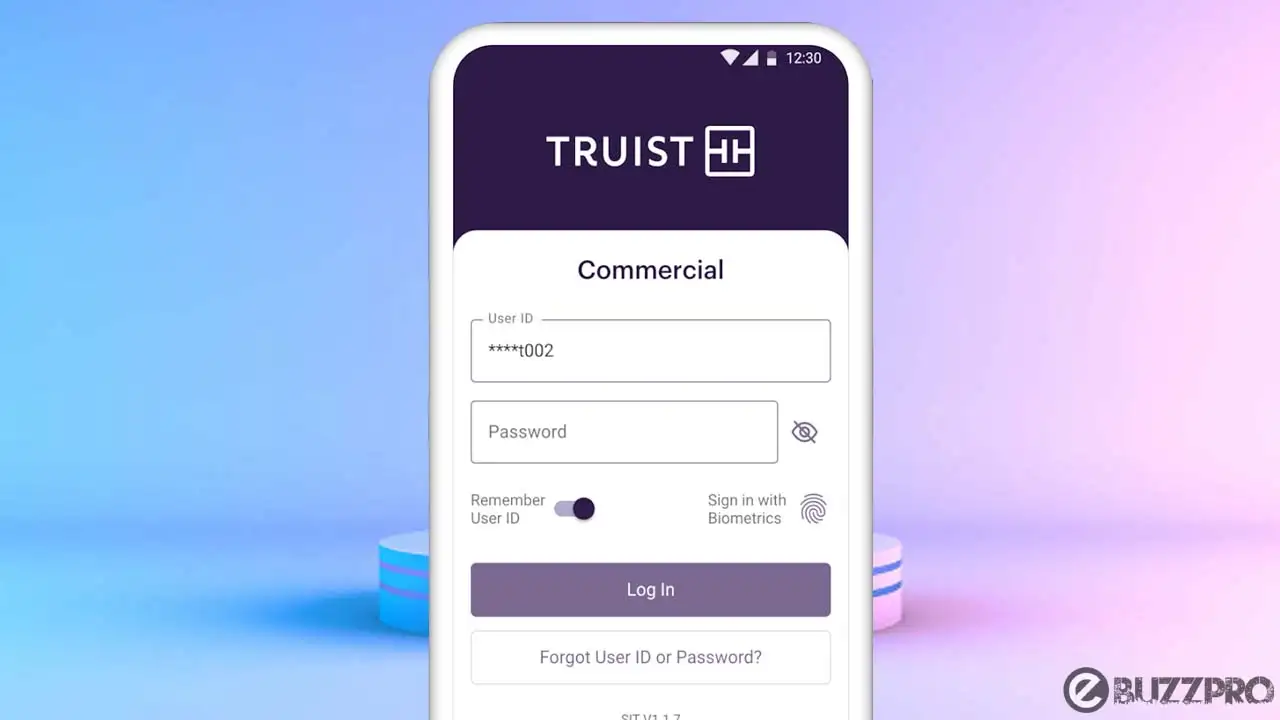
Upon opening the Truist App, you will be prompted to log in using your existing credentials. Enter your username and password in the designated fields and tap on the “Login” button to proceed.
If you are accessing the Truist App for the first time, you will need to create an account and set up your login credentials. Follow the on-screen instructions to create a username and password, and provide any other required information to complete the registration process.
Once you have logged in or registered successfully, you will be directed to the Truist App’s main dashboard, where you can view your accounts, transactions, and perform various banking tasks.
Now that the Truist App is open and you are logged in, you can proceed to the next step and access the settings menu to enable Face ID.
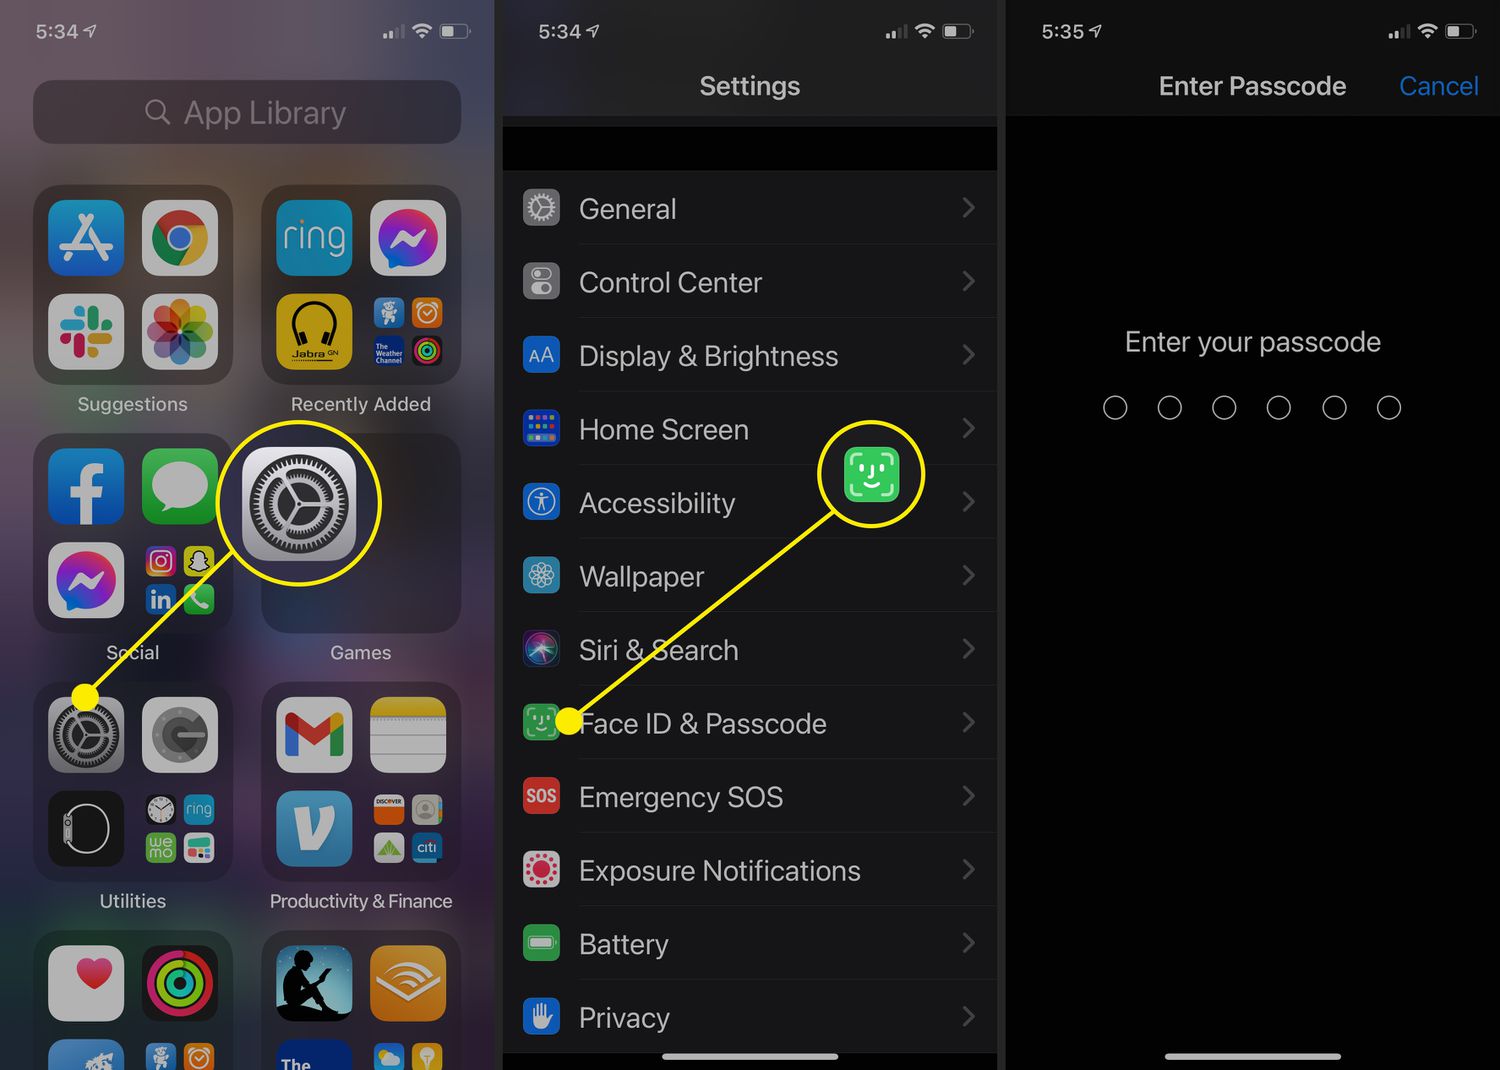
Step 3: Access the Settings Menu
Enabling Face ID on the Truist App requires accessing the settings menu, where you can customize various options for your banking experience. To access the settings menu, follow these steps:
- Once you have opened the Truist App and logged in, locate the menu icon in the upper left or right corner of the app’s interface. It is usually represented by three horizontal lines or dots.
- Tap on the menu icon to open the side or top navigation panel.
- Scroll through the options and look for the “Settings” or “Preferences” option. This may vary depending on the app version and device.
- Once you have found the settings option, tap on it to access the settings menu.
Upon entering the settings menu, you will be presented with various options to customize your Truist App experience. These options may include account settings, notification preferences, security settings, and more. It is important to note that the location and arrangement of settings may differ depending on the version of the Truist App.
Now that you have successfully accessed the settings menu, you are one step closer to enabling Face ID on the Truist App. In the next step, we will guide you through the process of enabling this feature to enhance the security and convenience of your banking transactions.
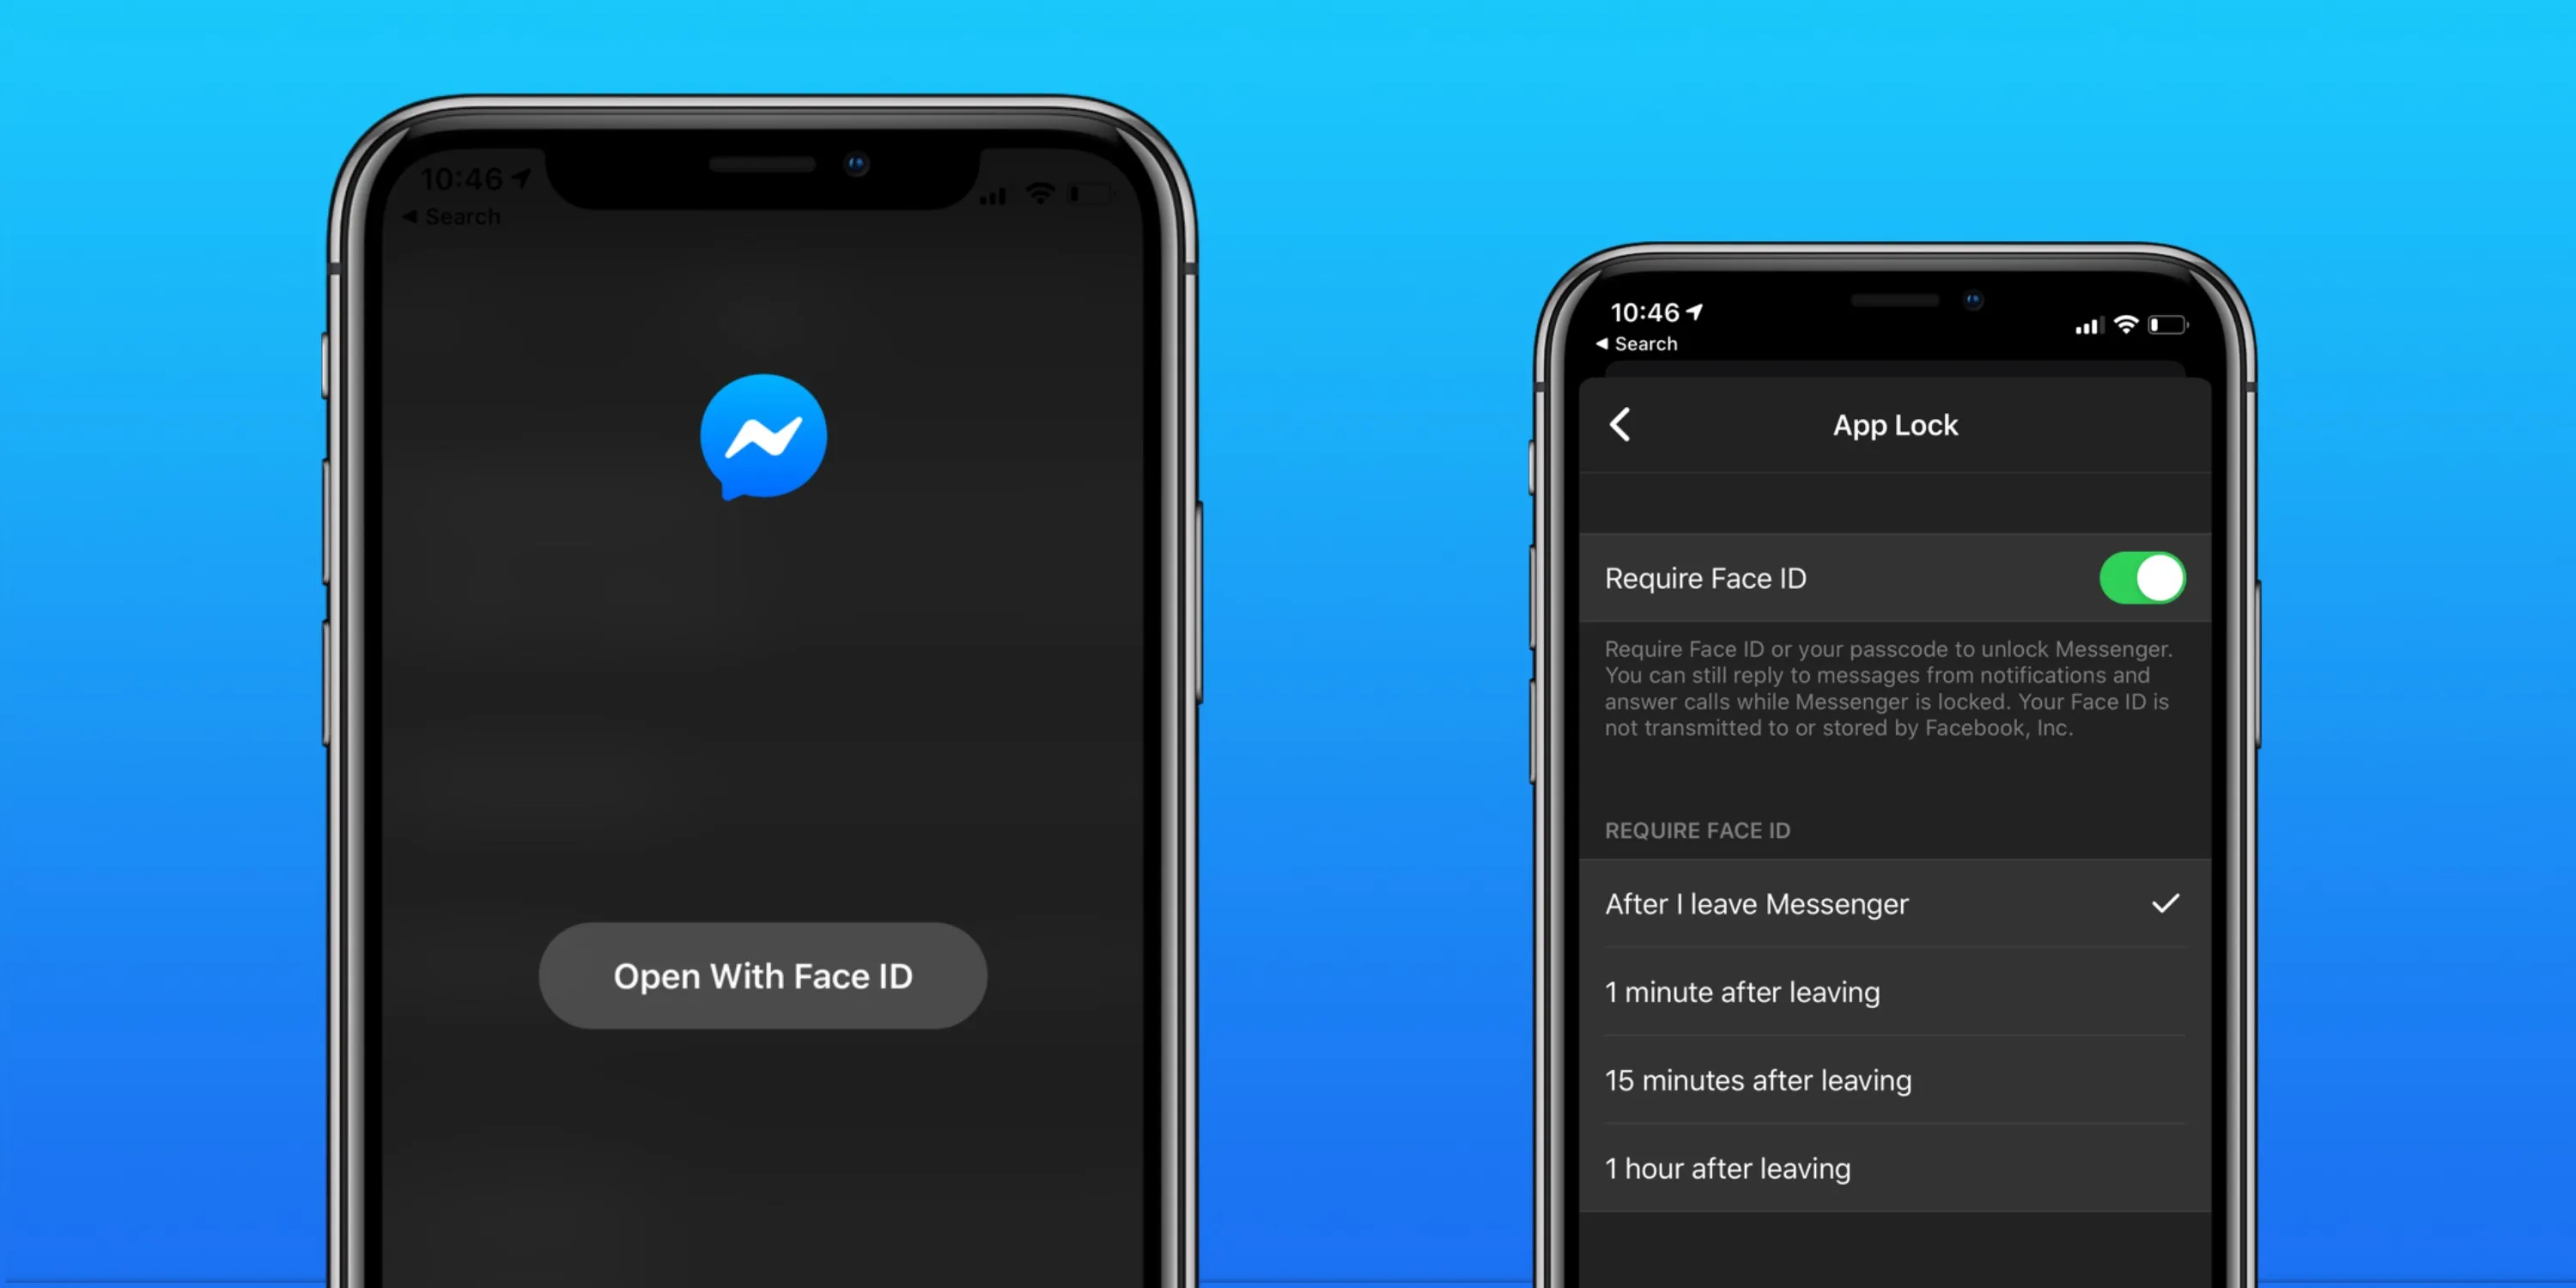
Step 4: Enable Face ID
Enabling Face ID on the Truist App allows you to securely log in and access your accounts using facial recognition. To enable Face ID, follow these steps:
- In the settings menu of the Truist App, look for the “Security” or “Biometrics” option. This may be listed under the general settings or a dedicated security section.
- Tap on the “Security” or “Biometrics” option to open the biometric settings.
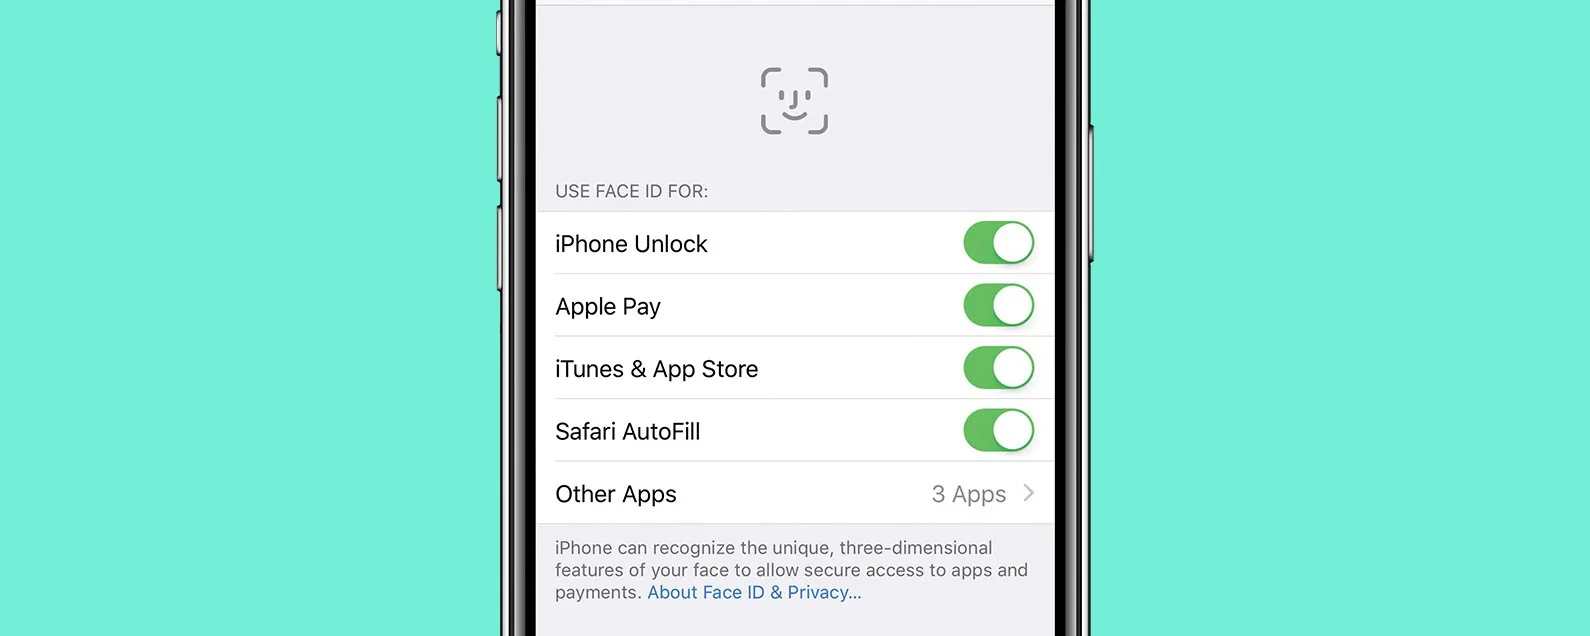
- Under the biometric settings, locate the option for “Face ID” and enable it by toggling the switch to the on position.
Enabling Face ID will prompt you to grant necessary permissions for the Truist App to access your device’s facial recognition capabilities. Follow the on-screen prompts and grant the required permissions to proceed.
Once Face ID is enabled, the Truist App will now use facial recognition as the primary authentication method. This means that when you open the app in the future, it will automatically scan your face and grant access to your accounts if your face matches the stored data.
Note that if you do not have Face ID configured on your device or if your device does not support facial recognition, this option may not be available. In such cases, you may need to use an alternative authentication method, such as a passcode or fingerprint.
Now that you have successfully enabled Face ID on the Truist App, you can proceed to the next step and verify your identity to complete the setup process.
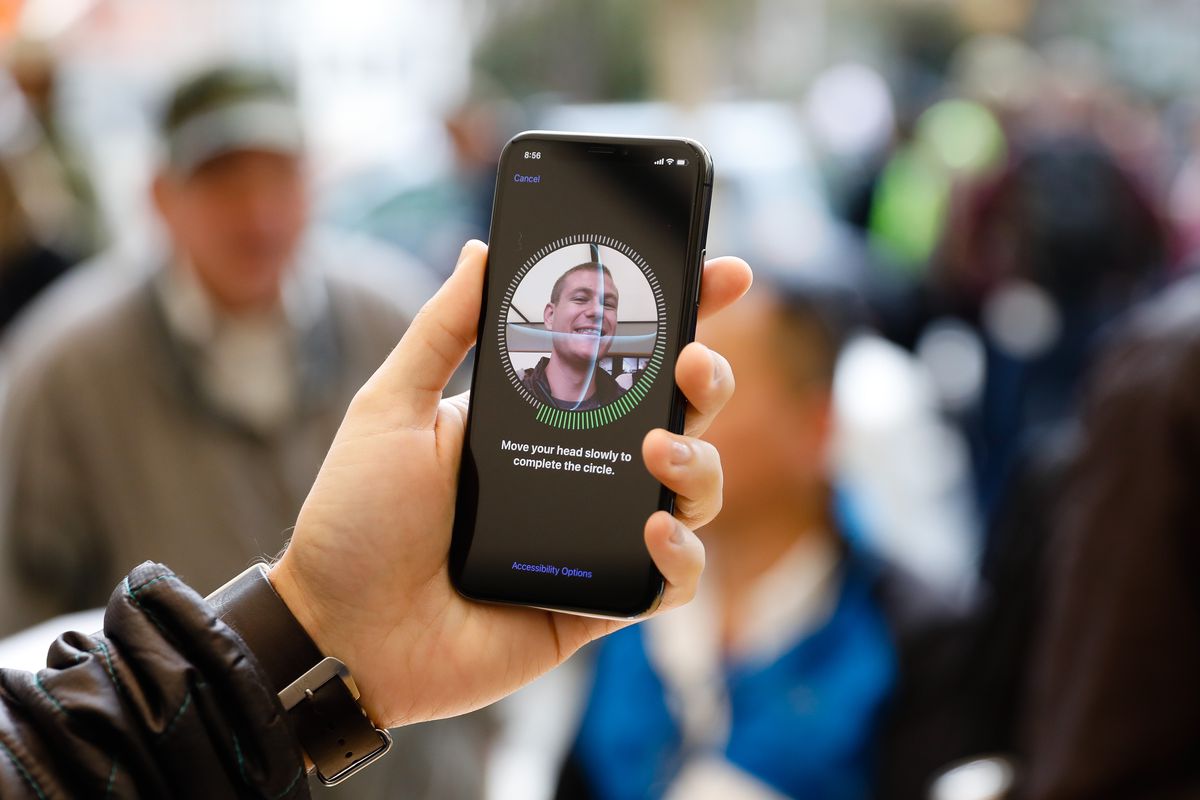
Step 5: Verify Identity
After enabling Face ID on the Truist App, you will need to verify your identity to ensure that the facial recognition feature is accurately detecting your face. To verify your identity, follow these steps:
- Open the Truist App on your smartphone.
- When prompted to log in, look for the Face ID icon or option on the login screen. This may be represented by an icon resembling a face or a fingerprint.
- Position your face within the frame displayed on the screen, ensuring that your entire face is visible and well-lit.
- Wait for the Truist App to scan and verify your face. This may take a few seconds.
- If your face is successfully recognized, you will be granted access to your accounts. If not, you may be prompted to try again or use an alternative authentication method.
It is important to ensure that you are in a well-lit area and that your face is positioned properly within the frame. This will enhance the accuracy and reliability of the facial recognition feature.
By verifying your identity, you are ensuring that only you can access your Truist accounts using Face ID. This adds an extra layer of security to your banking transactions, providing peace of mind knowing that your personal information is well-protected.
Once you have successfully verified your identity, you can proceed to the final step and complete the Face ID setup process.
Step 6: Complete Face ID Setup
After verifying your identity, you need to complete the Face ID setup process on the Truist App. This ensures that the facial recognition feature is fully configured and ready to be used for future logins. Follow these steps to complete the setup:
- Once you have successfully logged in using Face ID, you may be prompted to set a backup authentication method. This is a secondary method that you can use in case Face ID fails to recognize your face.
- Choose a backup authentication method, such as a passcode or fingerprint, and follow the on-screen instructions to set it up.
- Once the backup authentication method is set, you have completed the setup process for Face ID on the Truist App.
Setting up a backup authentication method is important to ensure that you can still access your accounts even if Face ID is not functioning correctly or is not available for any reason.
During the setup process, you may also have the option to customize additional settings related to Face ID. These settings may include options to control how often you are prompted to use Face ID, or whether the app should remember your login credentials.
By completing the Face ID setup, you have now fully configured this convenient and secure authentication method on the Truist App. You can now enjoy the benefits of quick and hassle-free access to your accounts using facial recognition.
Now that the setup process is complete, it’s time to move on to the final step and test Face ID to ensure that it is functioning correctly.
Step 7: Test Face ID
After completing the Face ID setup on the Truist App, it is essential to test the functionality to ensure that it is working as expected. By testing Face ID, you can verify that your facial recognition is accurately recognized and grants you seamless access to your accounts. Follow these steps to test Face ID on the Truist App:
- Open the Truist App on your smartphone.
- On the login screen, position your face within the frame displayed on the screen, similar to when you verified your identity during the setup process.
- Wait for the Truist App to scan your face and recognize it.
- If Face ID successfully recognizes your face, it will grant you access to your accounts without requiring you to enter any additional authentication.
- If Face ID fails to recognize your face, you may be prompted to try again or use an alternative authentication method.
By testing Face ID, you can verify that it is functioning correctly and efficiently. It provides the convenience of quick access to your Truist accounts while maintaining a high level of security.
If Face ID does not work as expected, there could be various reasons. Ensure that your face is well-lit, properly positioned within the frame, and that there are no obstacles obstructing your face. You can also go back to the settings menu and review the Face ID settings to ensure they are configured correctly.
By successfully testing Face ID, you can now confidently use this feature to log in to the Truist App and access your accounts with a simple glance. It streamlines the login process and enhances the security of your banking transactions.
Congratulations! You have completed the process of enabling and testing Face ID on the Truist App. Enjoy the convenience and peace of mind that comes with this advanced biometric authentication feature.
Conclusion
Enabling Face ID on the Truist App provides a seamless and secure login experience, allowing you to access your accounts with just a quick glance. It adds an extra layer of protection to your personal and financial information, ensuring that only you can authorize transactions and manage your finances.
In this article, we have guided you through the step-by-step process of enabling Face ID on the Truist App. We started by updating the app to ensure you have the latest version with the Face ID feature available. Then, we walked you through opening the app, accessing the settings menu, and enabling Face ID for authentication.
We also covered the necessary steps of verifying your identity to ensure that Face ID accurately recognizes your face, and setting up a backup authentication method for added security. Lastly, we emphasized the importance of testing Face ID to confirm its functionality and troubleshoot any issues that may arise.
By enabling and utilizing Face ID, you can enjoy the convenience of quick and secure access to your Truist accounts. This feature streamlines the login process, eliminates the need for remembering and entering passwords, and reduces the risk of unauthorized access to your financial information.
Remember to keep your Truist App updated regularly and follow best security practices to safeguard your personal information and prevent any unauthorized access. If you encounter any issues or have further questions, don’t hesitate to reach out to the Truist support team for assistance.
With Face ID enabled on the Truist App, you can bank with confidence, knowing that your accounts are protected and accessible with just a simple glance. Embrace the convenience of facial recognition technology and enjoy a secure banking experience on your smartphone.