Introduction
Welcome to the world of Snapchat, where you can capture and share moments with your friends and followers in a fun and creative way. With its wide range of lenses and filters, Snapchat has become a go-to app for selfies and facial recognition features. One such feature is Face ID, which adds an extra layer of security and convenience to your Snapchat experience.
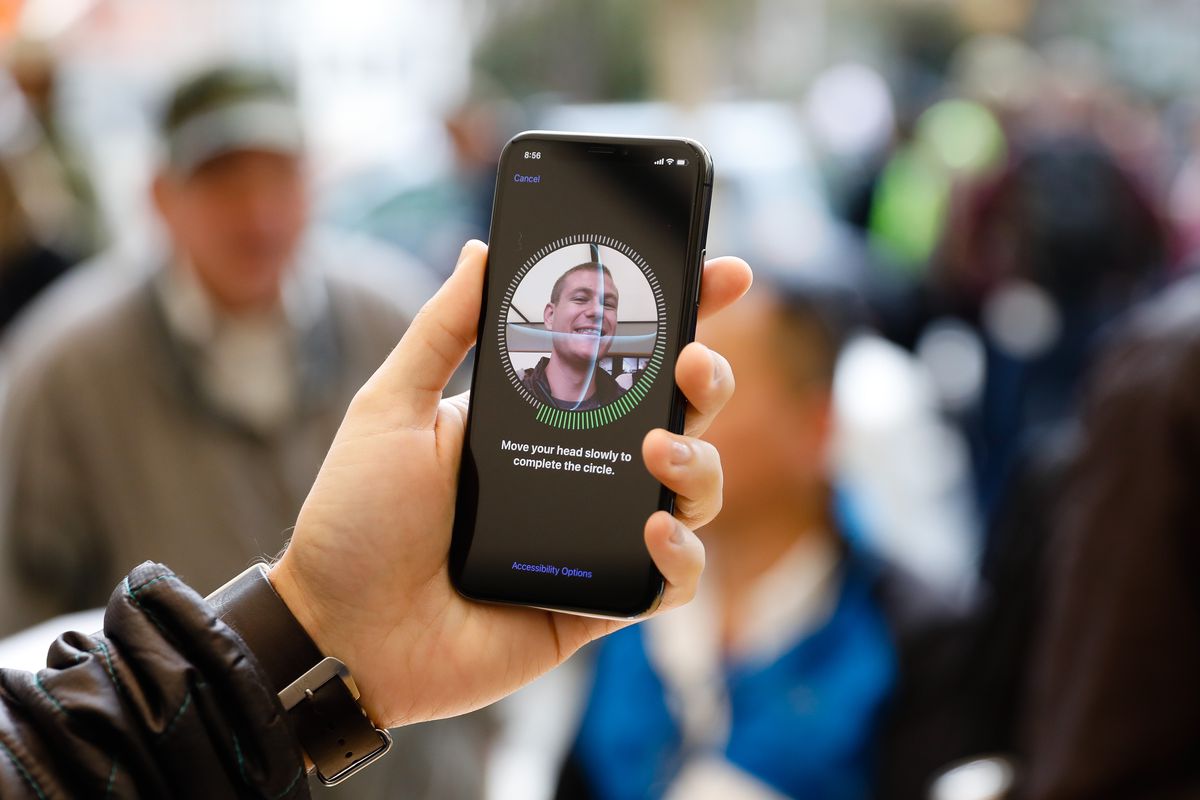
Face ID, a facial recognition technology, allows you to unlock your device and access apps like Snapchat with a simple glance. By mapping the unique features of your face, including contours, proportions, and patterns, Face ID creates a secure and personalized authentication method.
In this article, we will guide you through the steps to put a Face ID on Snapchat, ensuring that your account remains secure and easily accessible at the same time. Whether you are a casual Snapchat user or a dedicated Snapchatter, enabling Face ID can give you peace of mind and streamline your Snapchat usage.
Before you begin, make sure you have the latest version of Snapchat installed on your device. Face ID on Snapchat is available on devices with Face ID capabilities, such as iPhone X and newer models.
Now, let’s dive into the step-by-step process of enabling and setting up Face ID on Snapchat. Get ready to add an extra layer of security and enhance your Snapchat experience!
Step 1: Update Snapchat
The first step in enabling Face ID on Snapchat is to ensure that you have the latest version of the app installed on your device. Snapchat regularly releases updates with new features, bug fixes, and performance improvements, so it’s important to keep your app up to date for a seamless experience.
To update Snapchat, follow these simple steps:
- Open the App Store (iOS) or Google Play Store (Android) on your device.
- Tap on the search bar at the bottom of the screen and type “Snapchat”.
- Locate the Snapchat app in the search results and tap on it.
- If an update is available, you will see an “Update” button next to the Snapchat icon. Tap on it.
- Wait for the update to download and install. This may take a few minutes depending on your internet connection.
- Once the update is complete, you’re ready to move on to the next step!
Updating Snapchat ensures that you have access to the latest features and improvements, including the Face ID functionality. It’s always a good idea to regularly check for updates to stay up to date with the latest enhancements and security patches.
Now that you have updated Snapchat, let’s move on to the next step of enabling Face ID on your device.
Step 2: Enable Face ID on Your Device
Before you can enable Face ID on Snapchat, you need to make sure that Face ID is enabled on your device. Face ID is available on iPhone models starting from iPhone X and newer, as well as certain iPad models.
To enable Face ID on your device, follow these steps:
- Open the Settings app on your device.
- Scroll down and tap on “Face ID & Passcode” (or “Touch ID & Passcode” on devices without Face ID).
- If prompted, enter your passcode to access the Face ID settings.
- Make sure that the “iPhone Unlock” (or “iPad Unlock”) option is toggled on for Face ID.
- You can also enable Face ID for additional features like iTunes & App Store, Apple Pay, and more by toggling the respective options.
Once you have enabled Face ID on your device, you are one step closer to enabling it on Snapchat. Face ID allows your device to scan and recognize your face, providing a secure and convenient way to authenticate various tasks.
Now that you have enabled Face ID, let’s move on to the next step of opening Snapchat and accessing the settings.
Step 3: Open Snapchat and Access Settings
With Face ID enabled on your device, it’s time to open Snapchat and access the settings where you can enable Face ID for the app. Follow these steps:
- Locate the Snapchat app on your device’s home screen or app drawer and tap on it to open it.
- If prompted, log in to your Snapchat account using your username and password.
- Once you are logged in, you will be taken to the camera screen. Swipe down from the top of the screen or tap on your Bitmoji avatar in the top left corner to access your profile screen.
- On the profile screen, tap on the gear icon in the top right corner to access the Snapchat settings.
- Scroll down on the settings screen until you find the section labeled “Who Can…” and tap on “Additional Services”.
- In the Additional Services section, look for “Face ID” or “Passcode” depending on your device’s settings and tap on it to proceed.
By accessing the settings on Snapchat, you are now in the right place to enable Face ID and enhance the security of your Snapchat account. The Face ID or Passcode option in the Additional Services section allows you to enable Face ID for Snapchat and take advantage of the facial recognition technology offered by your device.
Now that you have successfully accessed the settings on Snapchat, let’s move on to the next step of enabling Face ID for the app.
Step 4: Select Face ID & Passcode
Now that you have accessed the settings on Snapchat, it’s time to select the Face ID & Passcode option to enable Face ID for the app. Follow these steps:
- On the Face ID or Passcode screen, you will see the option to enable Face ID for Snapchat. Tap on it to proceed.
- If prompted, authenticate with your device’s Face ID or enter your device passcode to confirm your identity.
- After successfully authenticating, you will see a toggle switch next to the Face ID option. Tap on the toggle switch to enable Face ID for Snapchat.
- Once enabled, the toggle switch should turn green, indicating that Face ID is now the preferred authentication method for unlocking Snapchat.
By selecting the Face ID & Passcode option in Snapchat’s settings, you have now enabled Face ID as the primary method to access your Snapchat account. This means that you can securely unlock Snapchat by simply looking at your device, making it convenient and hassle-free.
Now that you have selected Face ID & Passcode in the Snapchat settings, let’s move on to the next step of testing Face ID on Snapchat to ensure it is working correctly.
Step 5: Enable Face ID for Snapchat
Now that you have enabled Face ID as the preferred authentication method for Snapchat, it’s time to ensure that Face ID is specifically configured for the app. To enable Face ID for Snapchat, follow these steps:
- On the Face ID & Passcode screen in Snapchat’s settings, you will see a section labeled “Face ID” or “Require Face ID”.
- Tap on this section to access the Face ID settings for Snapchat.
- You will be presented with options to enable or disable Face ID for various actions within Snapchat, such as unlocking Private Snaps, Memories, or Profile.
- Toggle on the switch next to each action that you want to use Face ID for.
- Once you have selected the actions you want Face ID to be enabled for, you’re all set!
Enabling Face ID for Snapchat allows you to securely access specific features within the app by simply scanning your face. It adds an extra layer of protection to your private snaps, memories, and profile, ensuring that only you can access them.
Now that you have enabled Face ID for Snapchat, let’s move on to the final step of testing Face ID on Snapchat to make sure everything is working smoothly.
Step 6: Test Face ID on Snapchat
Now that you have enabled Face ID for Snapchat, it’s time to test if Face ID is working correctly within the app. Follow these steps:
- Close the Snapchat app if it is already open.
- Reopen the Snapchat app by tapping on its icon.
- If prompted, authenticate with Face ID or enter your device passcode to unlock the app.
- Once the app is unlocked, navigate to different sections of Snapchat, such as your private snaps, memories, or your profile.
- Notice that each time you access these sections, Face ID will automatically scan your face and grant you access, eliminating the need to manually enter a passcode or password.
By testing Face ID on Snapchat, you can ensure that the facial recognition technology is working seamlessly within the app. It provides a quick and secure way to access different features of Snapchat without the hassle of entering a passcode each time.
If Face ID is not working as expected, make sure that you have enabled Face ID for Snapchat in the settings and that your device’s Face ID is functioning properly. You may need to reconfigure or troubleshoot Face ID settings on your device to resolve any issues.
Now that you have successfully tested Face ID on Snapchat, you can enjoy the convenience and security it brings to your Snapchat experience.
Conclusion
Enabling Face ID on Snapchat adds an extra layer of security and convenience to your Snapchat experience. By mapping the unique features of your face, Face ID allows you to unlock the app and access specific features with just a glance. In this article, we have walked you through the step-by-step process of putting a Face ID on Snapchat.
We started by ensuring that you have the latest version of Snapchat installed on your device. Then, we guided you through enabling Face ID on your device, accessing the Snapchat settings, and selecting the Face ID & Passcode option. Afterwards, we showed you how to enable Face ID specifically for Snapchat and how to test its functionality within the app.
By following these steps, you can ensure that your Snapchat account remains secure while enjoying the convenience of unlocking the app with Face ID. Remember to regularly update Snapchat and your device’s software to stay up to date with the latest features and security enhancements.
Now that you have successfully put a Face ID on Snapchat, you can enjoy a seamless and secure experience while capturing and sharing your moments with friends and followers.
So, what are you waiting for? Update Snapchat, enable Face ID, and start using the power of facial recognition to elevate your Snapchat experience!