Introduction
Are you looking to declutter your MacBook Pro and free up some space by deleting unnecessary messages? Whether you want to remove old conversations, erase attachments, or clear your entire message history, there are multiple methods you can use to delete messages on your MacBook Pro.
Having a clutter-free Messages app not only helps improve the performance of your MacBook Pro but also ensures your personal and sensitive information remains secure. By deleting messages and attachments that are no longer needed, you can organize your digital communication and maintain a streamlined messaging experience.
In this guide, we will explore five different methods you can use to delete messages on your MacBook Pro. We will walk you through the process of deleting messages directly from the Messages app, using the Finder to remove message files, utilizing Terminal commands for advanced deletion options, deleting attachments, and clearing your entire message history.
By following these methods, you will have full control over the messages stored on your MacBook Pro, allowing you to keep your conversations organized, free up storage space, and protect your privacy. Whether you want to delete a single message or wipe out an entire thread, this guide has you covered.
Method 1: Deleting Messages in the Messages App
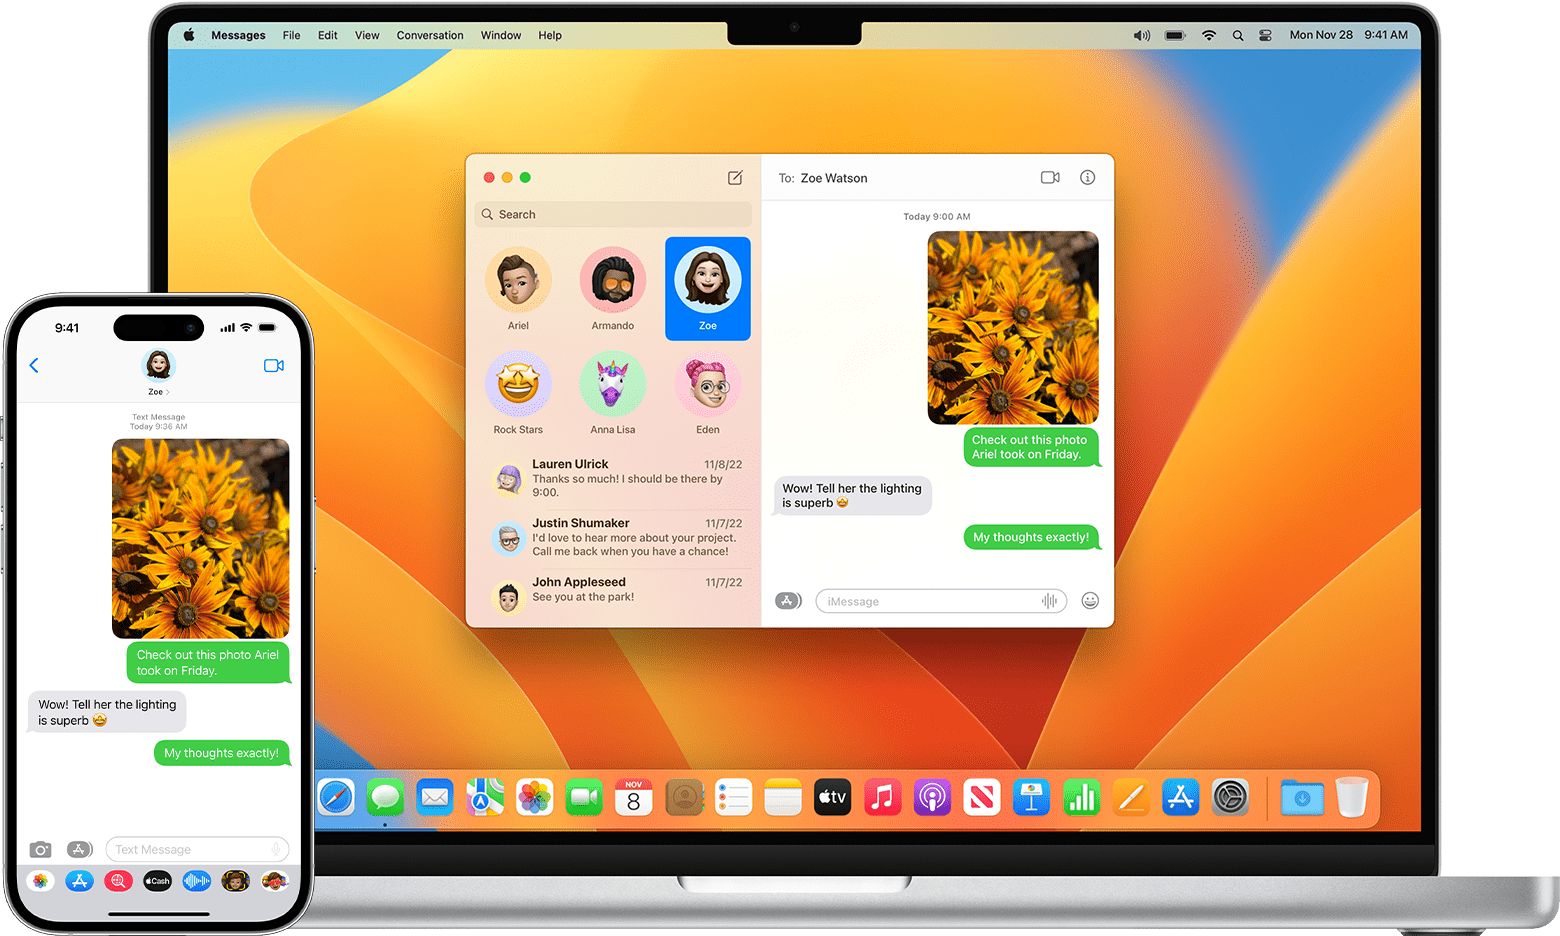
The Messages app on your MacBook Pro makes it easy to manage and delete individual messages or entire conversations. Follow these steps to delete messages within the app:
- Open the Messages app on your MacBook Pro by clicking on the Messages icon in the Dock or by searching for it in Spotlight.
- Select the message or conversation you want to delete by clicking on it in the sidebar.
- Right-click on the selected message or conversation and choose “Delete” from the context menu.
- A confirmation prompt will appear, asking if you want to delete the selected messages or conversation. Click “Delete” to proceed.
Alternatively, you can use the keyboard shortcut Command + Delete to quickly delete the selected messages or conversations without right-clicking.
Deleted messages are moved to the “Trash” folder within the Messages app. To permanently delete them and free up storage space on your MacBook Pro, you need to empty the “Trash” folder. Simply right-click on the “Trash” folder in the sidebar and select “Empty Trash” from the context menu. Confirm the action, and the deleted messages will be permanently removed.
Deleting messages within the Messages app is a convenient way to remove individual conversations or specific messages from your MacBook Pro. It allows you to easily manage your message history and keep your inbox clutter-free.
Method 2: Deleting Messages from the Finder
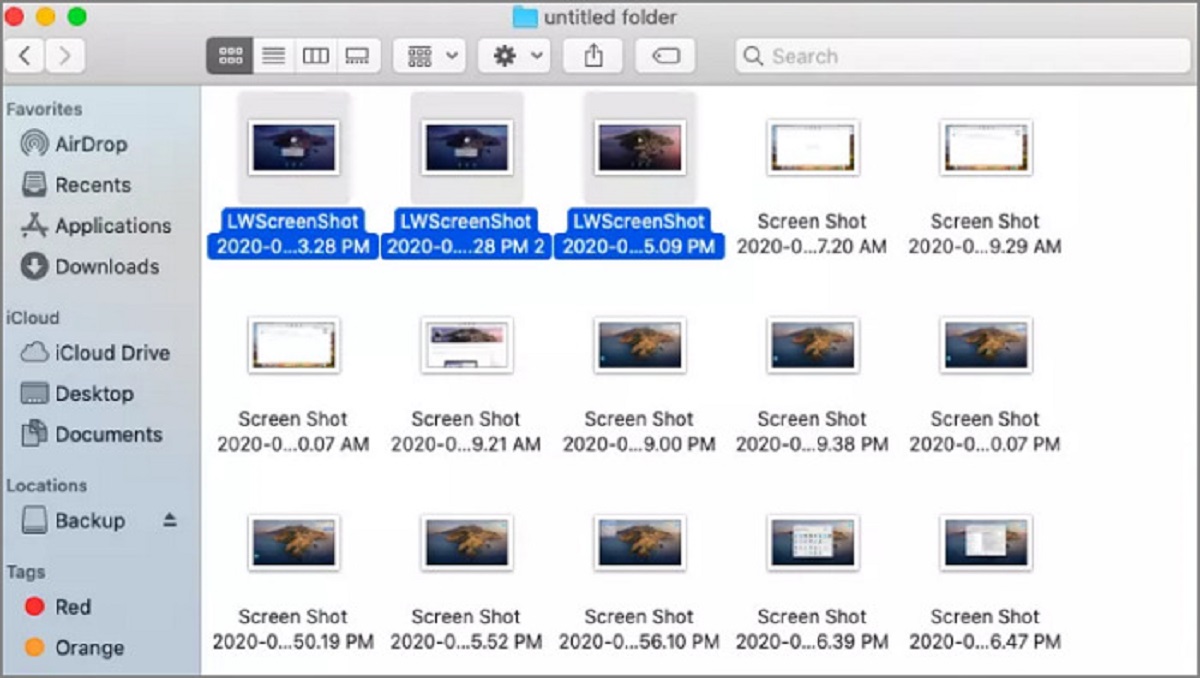
If you prefer a more direct approach to delete messages on your MacBook Pro, you can use the Finder to locate and remove message files. Follow these steps to delete messages from the Finder:
- Open a new Finder window by clicking on the Finder icon in the Dock or by searching for it in Spotlight.
- In the menu bar at the top of the screen, click on “Go” and select “Go to Folder…” from the drop-down menu.
- Type “~/Library/Messages” (without quotes) in the text field and press Enter.
- The Messages folder will open, containing all the message files stored on your MacBook Pro.
- Browse through the folders and locate the conversation or messages you want to delete.
- Right-click on the selected messages or conversations and choose “Move to Trash” from the context menu.
Once you have moved the messages to the Trash, you can permanently delete them by emptying the Trash on your MacBook Pro. Right-click on the Trash icon in the Dock and select “Empty Trash” from the context menu. Confirm the action, and the selected messages will be deleted permanently.
Using the Finder to delete messages gives you direct access to message files stored on your MacBook Pro. It allows you to delete specific conversations or messages with ease and precision. However, exercise caution when deleting files from the Finder, as removing the wrong files could lead to data loss.
Method 3: Using Terminal to Delete Messages
For advanced users who are comfortable working with command-line interfaces, using Terminal to delete messages on your MacBook Pro can provide more flexibility and control. Follow these steps to delete messages using Terminal:
- Open Terminal on your MacBook Pro by searching for it in Spotlight or navigating to Applications > Utilities > Terminal.
- Type the command `cd ~/Library/Messages` and press Enter to navigate to the Messages folder.
- Next, execute the command `ls` to list all the message files in the directory.
- Identify the conversation or messages you want to delete.
- Use the `rm` command followed by the file name to delete individual files. For example, to delete a file named “message1.db”, you would enter `rm message1.db`.
- If you want to delete multiple files, you can use wildcards. For example, `rm message*.db` will delete all files starting with “message” and ending with “.db”.
As the Terminal interface allows direct manipulation of system files, exercise caution when using this method. Ensure that you are deleting the correct files to avoid unintended consequences or data loss. It is advisable to back up important files before executing any Terminal commands.
Using Terminal to delete messages offers advanced control over the deletion process. It provides an efficient way to delete specific message files or entire conversations using commands. However, it requires basic knowledge of command-line interfaces and should be used with caution.
Method 4: Deleting Attachments from Messages
Attachments received through messages can take up a significant amount of space on your MacBook Pro. If you want to reclaim storage space by deleting message attachments while retaining the text conversations, follow these steps:
- Open the Messages app on your MacBook Pro.
- Select the conversation that contains the attachments you want to delete.
- Click on the “Details” button located in the upper-right corner of the Messages window.
- In the “Details” view, you will see a section labeled “Attachments” that displays all the attachments in the conversation.
- Review the attachments, and select the ones you want to delete. You can use the Ctrl or Command key to select multiple attachments.
- Once you have selected the attachments, right-click on them and choose “Remove” from the context menu.
By removing attachments from the Messages app, you can free up valuable storage space on your MacBook Pro without deleting the entire conversation history. This is particularly useful if you want to keep the text conversations but don’t need to retain the associated files.
It’s important to note that deleting attachments from the Messages app only removes the attachments from your MacBook Pro, not from the sender or other recipients. If you need to free up even more storage space, consider asking the sender to delete their copies of the attachments as well.
Deleting attachments from Messages is a practical way to declutter your MacBook Pro and optimize storage usage. It allows you to manage the space-consuming attachments received through messaging without sacrificing the text conversations themselves.
Method 5: Clearing Message History and Deleting All Messages
If you want to completely wipe your message history and start with a clean slate on your MacBook Pro, you can clear your entire message history and delete all messages. Follow these steps to clear your message history:
- Open the Messages app on your MacBook Pro.
- In the menu bar at the top of the screen, click on “Messages” and select “Preferences” from the drop-down menu.
- In the Preferences window, navigate to the “General” tab.
- Click on the “Reset History” button located at the bottom of the window.
- A confirmation prompt will appear, asking if you want to permanently delete all messages. Click “Reset” to proceed.
By resetting your message history, all conversations, text messages, and attachments will be permanently deleted from your MacBook Pro. This action cannot be undone, so make sure to back up any important messages or attachments before proceeding.
After resetting your message history, the Messages app will start fresh, and you will no longer see any previous conversations or messages. This can be useful if you want to declutter your messaging app completely and remove any trace of past conversations.
Please note that clearing your message history and deleting all messages will not affect your iCloud or other device sync settings. Messages on your other connected devices, such as your iPhone or iPad, will remain unaffected.
Clearing your message history and deleting all messages is a drastic step, intended for those who want a complete reset of their messaging app. Make sure to consider the consequences before proceeding, as this action cannot be reversed.
Conclusion
Managing and deleting messages on your MacBook Pro is essential for maintaining a clutter-free and organized digital communication experience. Whether you want to remove individual messages, delete attachments, or clear your entire message history, there are multiple methods you can use to achieve this.
In this guide, we have explored five different methods to delete messages on your MacBook Pro. From using the Messages app itself to deleting messages from the Finder and using Terminal commands for advanced options, each method offers a unique approach to message deletion.
Deleting messages directly from the Messages app provides a user-friendly and straightforward way to remove individual conversations or specific messages. On the other hand, using the Finder gives you direct access to message files, allowing for precise deletion. For advanced users, Terminal provides flexibility and control over the deletion process.
If you want to free up storage space while keeping the text conversations intact, deleting attachments from Messages is an effective solution. And if you’re looking for a fresh start, clearing your entire message history will give you a clean slate.
Remember to exercise caution when deleting messages, especially when using Terminal or deleting files from the Finder. Always double-check to ensure you’re deleting the right files and back up important data before proceeding.
By following the methods outlined in this guide, you can declutter your MacBook Pro and maintain an organized messaging experience. Choose the method that suits your needs and preferences, and enjoy a streamlined and efficient messaging app on your MacBook Pro.


