Introduction
Windows 10 is a versatile operating system that offers a wide range of applications to meet various needs. However, over time, you may find that your computer is cluttered with unnecessary apps that take up valuable storage space. Fortunately, Windows 10 provides several methods for deleting apps and freeing up space on your device.
Removing apps from Windows 10 is a simple process that can be accomplished through the Start Menu, the Settings app, the Control Panel, or even the Microsoft Store. Additionally, if you want to remove built-in apps that come pre-installed on Windows, you can use PowerShell commands to uninstall them.
In this article, we will guide you through five different methods to delete apps on Windows 10. Whether it’s a rarely-used application or an unwanted built-in feature, we’ve got you covered. So, let’s dive into these methods and reclaim some valuable space on your Windows 10 device.
Method 1: Uninstalling Apps from the Start Menu
The Start Menu in Windows 10 provides a convenient way to access and manage your installed apps. You can easily uninstall unnecessary apps directly from the Start Menu by following these steps:
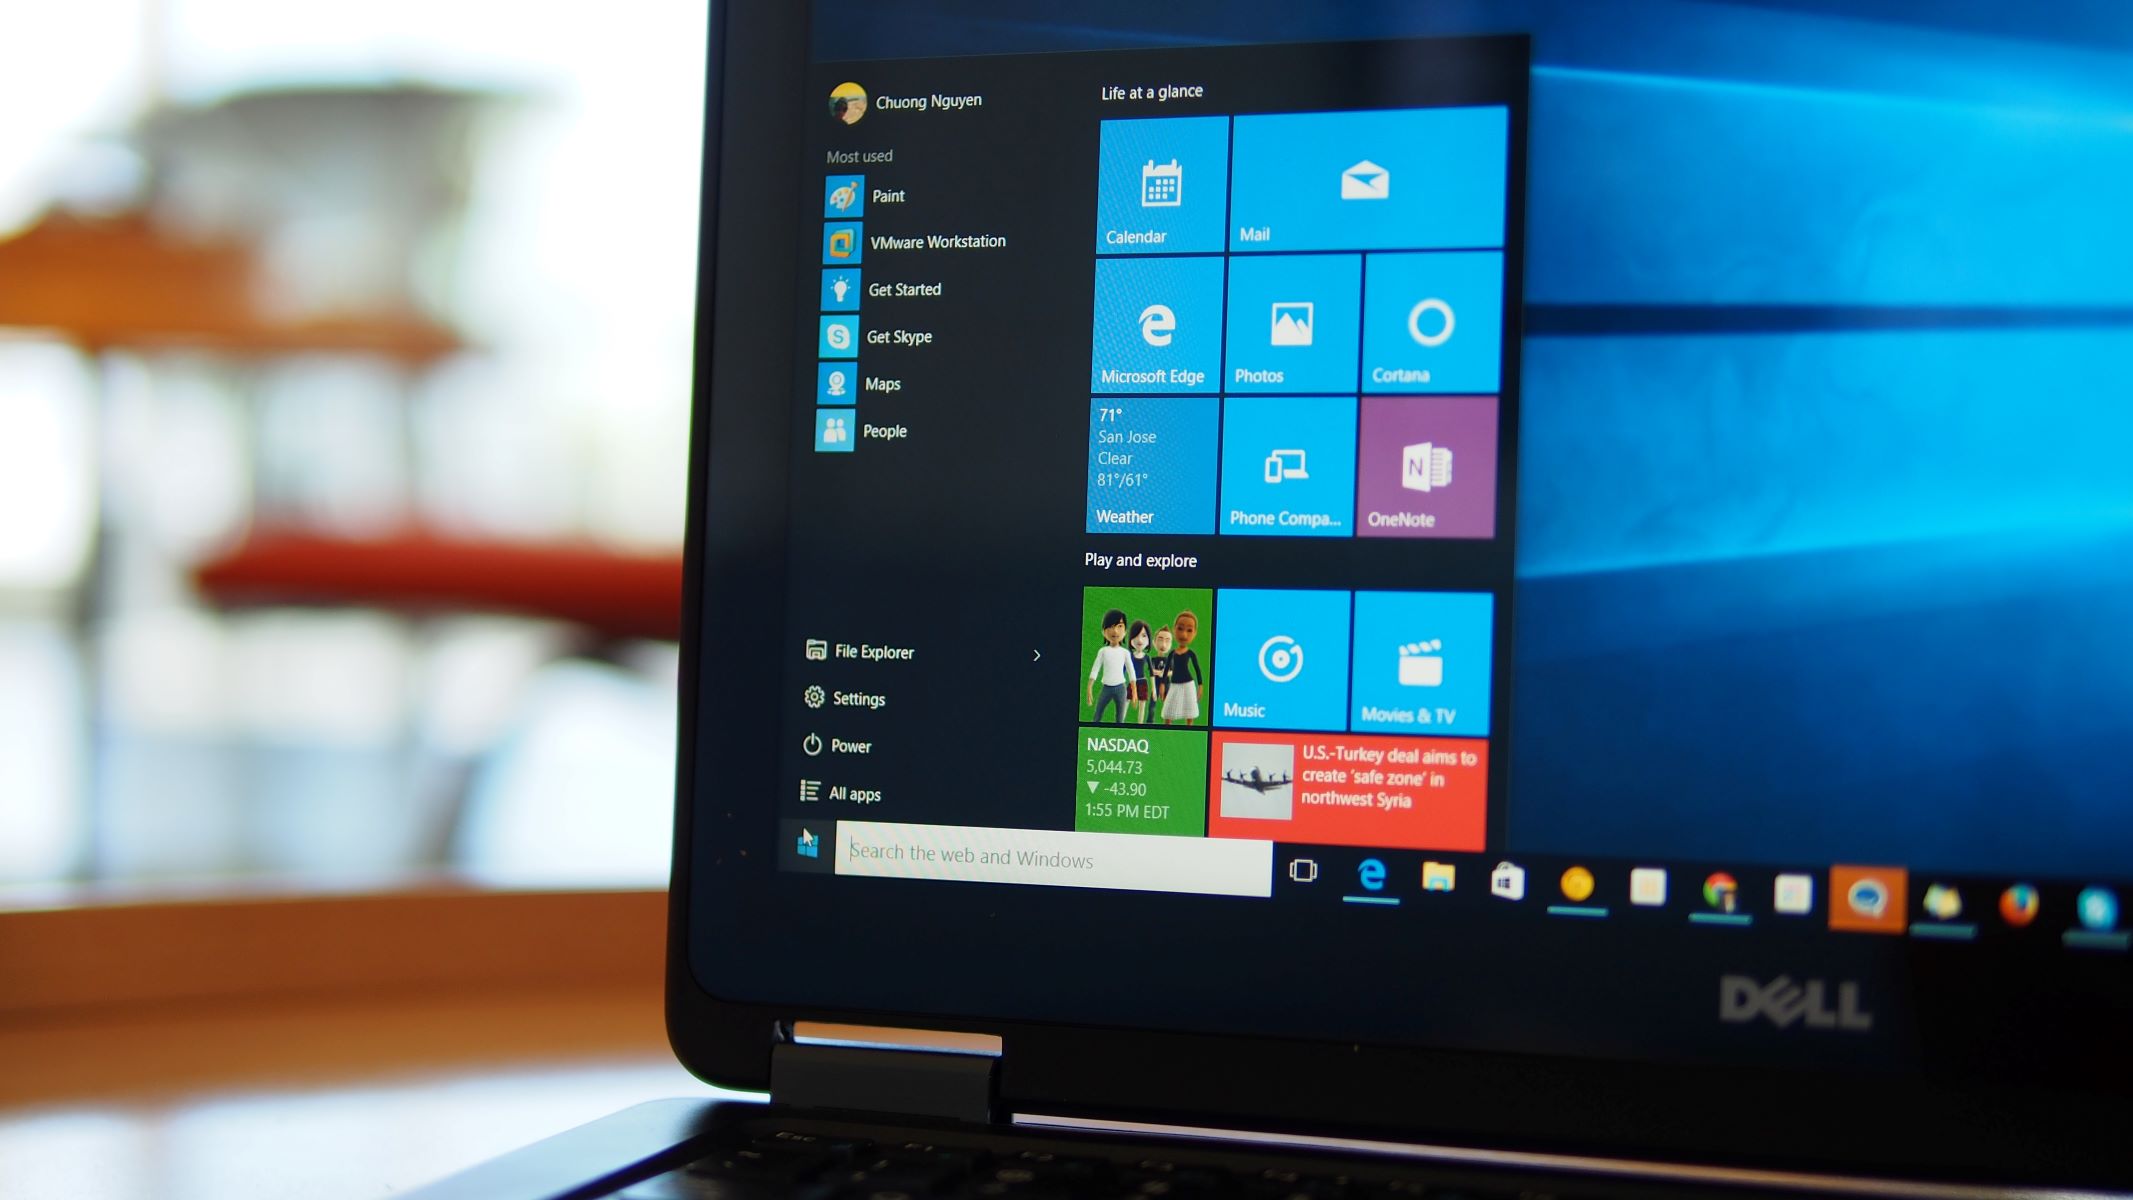
- Click on the Start button located at the bottom left corner of your screen.
- Scroll through the list of apps until you find the one you want to delete.
- Right-click on the app icon and select “Uninstall” from the context menu that appears.
- A confirmation dialog will pop up asking if you want to uninstall the app. Click “Uninstall” to proceed.
- Windows will begin uninstalling the app, and once the process is complete, it will be removed from your system.
It’s important to note that not all apps can be uninstalled using this method. Built-in system apps and certain pre-installed apps may not have the option to uninstall from the Start Menu. For such apps, you may need to use alternative methods mentioned later in this article.
Uninstalling apps from the Start Menu is a quick and straightforward method, especially for apps that you frequently use. It eliminates the need to navigate through multiple menus and provides a convenient way to manage your installed applications efficiently.
Method 2: Using the Settings App
Another method to uninstall apps on Windows 10 is by using the Settings app. This method provides a more comprehensive way to manage and remove installed applications. Here’s how you can do it:
- Open the Start Menu and click on the “Settings” gear icon. Alternatively, you can press the Windows key + I on your keyboard to directly open the Settings app.
- In the Settings app, click on the “Apps” option.
- In the left sidebar, click on “Apps & features.” Here, you will find a list of all the apps installed on your system.
- Scroll through the list until you find the app you want to remove.
- Click on the app and then click on the “Uninstall” button.
- A confirmation dialog will appear. Click “Uninstall” to proceed.
- Windows will initiate the uninstallation process, and once it’s completed, the app will be removed from your computer.
Using the Settings app provides a more organized and centralized approach to manage your apps. It allows you to have a quick overview of all the installed applications and access additional options such as app permissions and storage usage.
Furthermore, the Settings app also enables you to sort and filter apps based on various criteria, making it easier to locate and uninstall specific applications. This method is especially useful when you want a more comprehensive control over your installed apps and want to remove multiple apps at once.
Method 3: Using the Control Panel
If you prefer a more traditional approach to uninstalling apps on Windows 10, you can use the Control Panel. Although Windows 10 promotes the use of the Settings app, the Control Panel still provides a robust and effective method to manage your installed applications. Here’s how you can uninstall apps using the Control Panel:
- Open the Start Menu and search for “Control Panel.” Click on the Control Panel app to open it.
- In the Control Panel, click on “Programs” or “Programs and Features,” depending on your view settings.
- A list of installed programs and apps will be displayed. Scroll through the list and find the app you want to remove.
- Click on the app and then click on the “Uninstall/Change” button located at the top of the list.
- Follow the on-screen prompts to proceed with the uninstallation process.
- Windows will start uninstalling the app, and once completed, it will be successfully removed from your system.
The Control Panel method offers a familiar interface for those who are accustomed to the older versions of Windows. It provides more detailed information about installed apps and offers additional options for modifying or repairing certain programs.
Additionally, some apps may not appear in the Settings app but can still be found in the Control Panel. This makes it a useful alternative for uninstalling certain applications that might not be easily accessible through other methods.
Whether you prefer the modern Settings app or the familiar Control Panel, Windows 10 provides multiple avenues to remove unwanted apps. The choice ultimately depends on your personal preference and ease of use.
Method 4: Uninstalling Apps from the Microsoft Store
Windows 10 introduced the Microsoft Store as a centralized hub for downloading and managing applications. If you installed an app from the Microsoft Store, you can easily uninstall it using the Store app itself. Here’s how you can do it:
- Open the Start Menu and click on the “Microsoft Store” icon.
- In the Microsoft Store, click on your profile picture or initials at the top-right corner of the window.
- A drop-down menu will appear. Click on “My Library” from the menu.
- A list of all the apps you have installed will be displayed. Scroll through the list until you find the app you want to uninstall.
- Click on the ellipsis (three dots) next to the app’s name and select “Uninstall” from the options.
- A confirmation dialog will appear. Click “Uninstall” to proceed.
- Windows will begin the uninstallation process, and once finished, the app will be removed from your device.
Uninstalling apps from the Microsoft Store offers a straightforward and user-friendly method. It provides a centralized location to manage all your installed apps, including ones downloaded from the Store.
Furthermore, the Microsoft Store keeps track of your app downloads and allows you to reinstall them easily if needed. This can be helpful if you accidentally uninstall an app or if you want to reinstall an app on a different device associated with your Microsoft account.
If you heavily rely on the Microsoft Store for app installations, using this method ensures that you can efficiently remove unwanted apps and maintain a clean app library within the Store itself.
Method 5: Using PowerShell to Remove Built-in Apps
Windows 10 comes with several built-in apps that are pre-installed on your system. While these apps offer various functionalities, you may find that some of them are unnecessary for your needs. If you want to remove these built-in apps, you can use PowerShell commands to uninstall them. Here’s how you can do it:
- Open the Start Menu and search for “PowerShell.” Right-click on “Windows PowerShell” in the search results and select “Run as administrator.
- In the PowerShell window, type the command
Get-AppxPackageto display a list of all installed apps. - Scroll through the list and identify the app you want to remove. Take note of the package name listed next to the app.
- To uninstall the app, use the command
Remove-AppxPackage {packageName}, replacing {packageName} with the actual package name of the app you wish to remove. - Press Enter to execute the command.
- PowerShell will uninstall the app, and once completed, it will be removed from your system.
Using PowerShell commands to remove built-in apps gives you more control over the apps that are installed on your system. It allows you to declutter your Windows 10 installation by eliminating apps that you do not use or need.
However, it’s important to exercise caution when using PowerShell commands. Some built-in apps are essential for the proper functioning of Windows 10, and uninstalling them can cause issues. Make sure to research the specific app you want to remove and understand any potential consequences before executing the PowerShell command.
Additionally, PowerShell commands require administrative privileges, so ensure that you run PowerShell as an administrator to have the necessary permissions for uninstallation.
Using PowerShell to remove built-in apps is a more advanced method compared to the previous ones. It is recommended for users who have a good understanding of Windows 10 and are comfortable working with command-line tools.
Conclusion
Deleting unnecessary apps from your Windows 10 device is an essential step to optimize storage space and improve system performance. With the various methods available, you can easily remove apps that you no longer need or want.
In this article, we explored five different methods to uninstall apps on Windows 10. You can start by using the Start Menu, right-clicking on the app and selecting “Uninstall.” Alternatively, you can navigate to the Settings app, the Control Panel, or the Microsoft Store to remove apps individually or in bulk. For more advanced users, PowerShell commands allow you to remove built-in apps that come pre-installed on Windows 10.
Each method offers its own benefits and considerations. The Start Menu provides a quick and easy way to uninstall frequently used apps, while the Settings app gives you a comprehensive view of all your apps and additional options. The Control Panel offers a familiar interface for managing apps, and the Microsoft Store simplifies the removal of apps sourced from there. Lastly, PowerShell commands give you advanced control over your system by removing built-in apps.
It’s important to note that before uninstalling any app, you should consider its functionality and potential impact on other system features. Some apps are necessary for proper Windows 10 functionality, so removing them might cause issues. Always research the app and its purpose before proceeding with uninstallation.
By utilizing the methods discussed in this article, you can effectively declutter your Windows 10 device and create a more streamlined and organized computing experience. So go ahead and take control of your app library, remove unnecessary apps, and maximize the performance and storage efficiency of your Windows 10 device.