Introduction
Windows 11 is the latest operating system from Microsoft, packed with new features and improvements that enhance the user experience. However, as with any operating system, over time it can become slower and less responsive due to various factors such as accumulated files, unnecessary programs running in the background, outdated drivers, and more. If you find that your Windows 11 system is not performing as efficiently as it used to, don’t worry, there are several steps you can take to speed it up and optimize its performance.
In this article, we will explore a range of methods and techniques that can help you speed up your Windows 11 system. From clearing unnecessary files to adjusting power settings and updating device drivers, we will cover various aspects of system optimization. By following these tips, you can revitalize your Windows 11 experience and enjoy a faster and more responsive operating system.
It’s important to note that the effectiveness of these methods may vary depending on the specific configuration of your computer and the issues affecting its performance. However, implementing these steps can generally improve the speed and overall performance of your Windows 11 system.
So, without further ado, let’s dive into the different strategies you can employ to speed up your Windows 11 operating system and optimize its performance.
Clearing Unnecessary Files
Over time, your Windows 11 system can accumulate a significant amount of unnecessary files, such as temporary files, cache, and old system files. These files can take up valuable disk space and slow down your system’s performance. To speed up your Windows 11 system, it’s important to regularly clear out these unnecessary files.
One of the easiest ways to clear unnecessary files is by using the built-in Disk Cleanup utility. Here’s how you can do it:
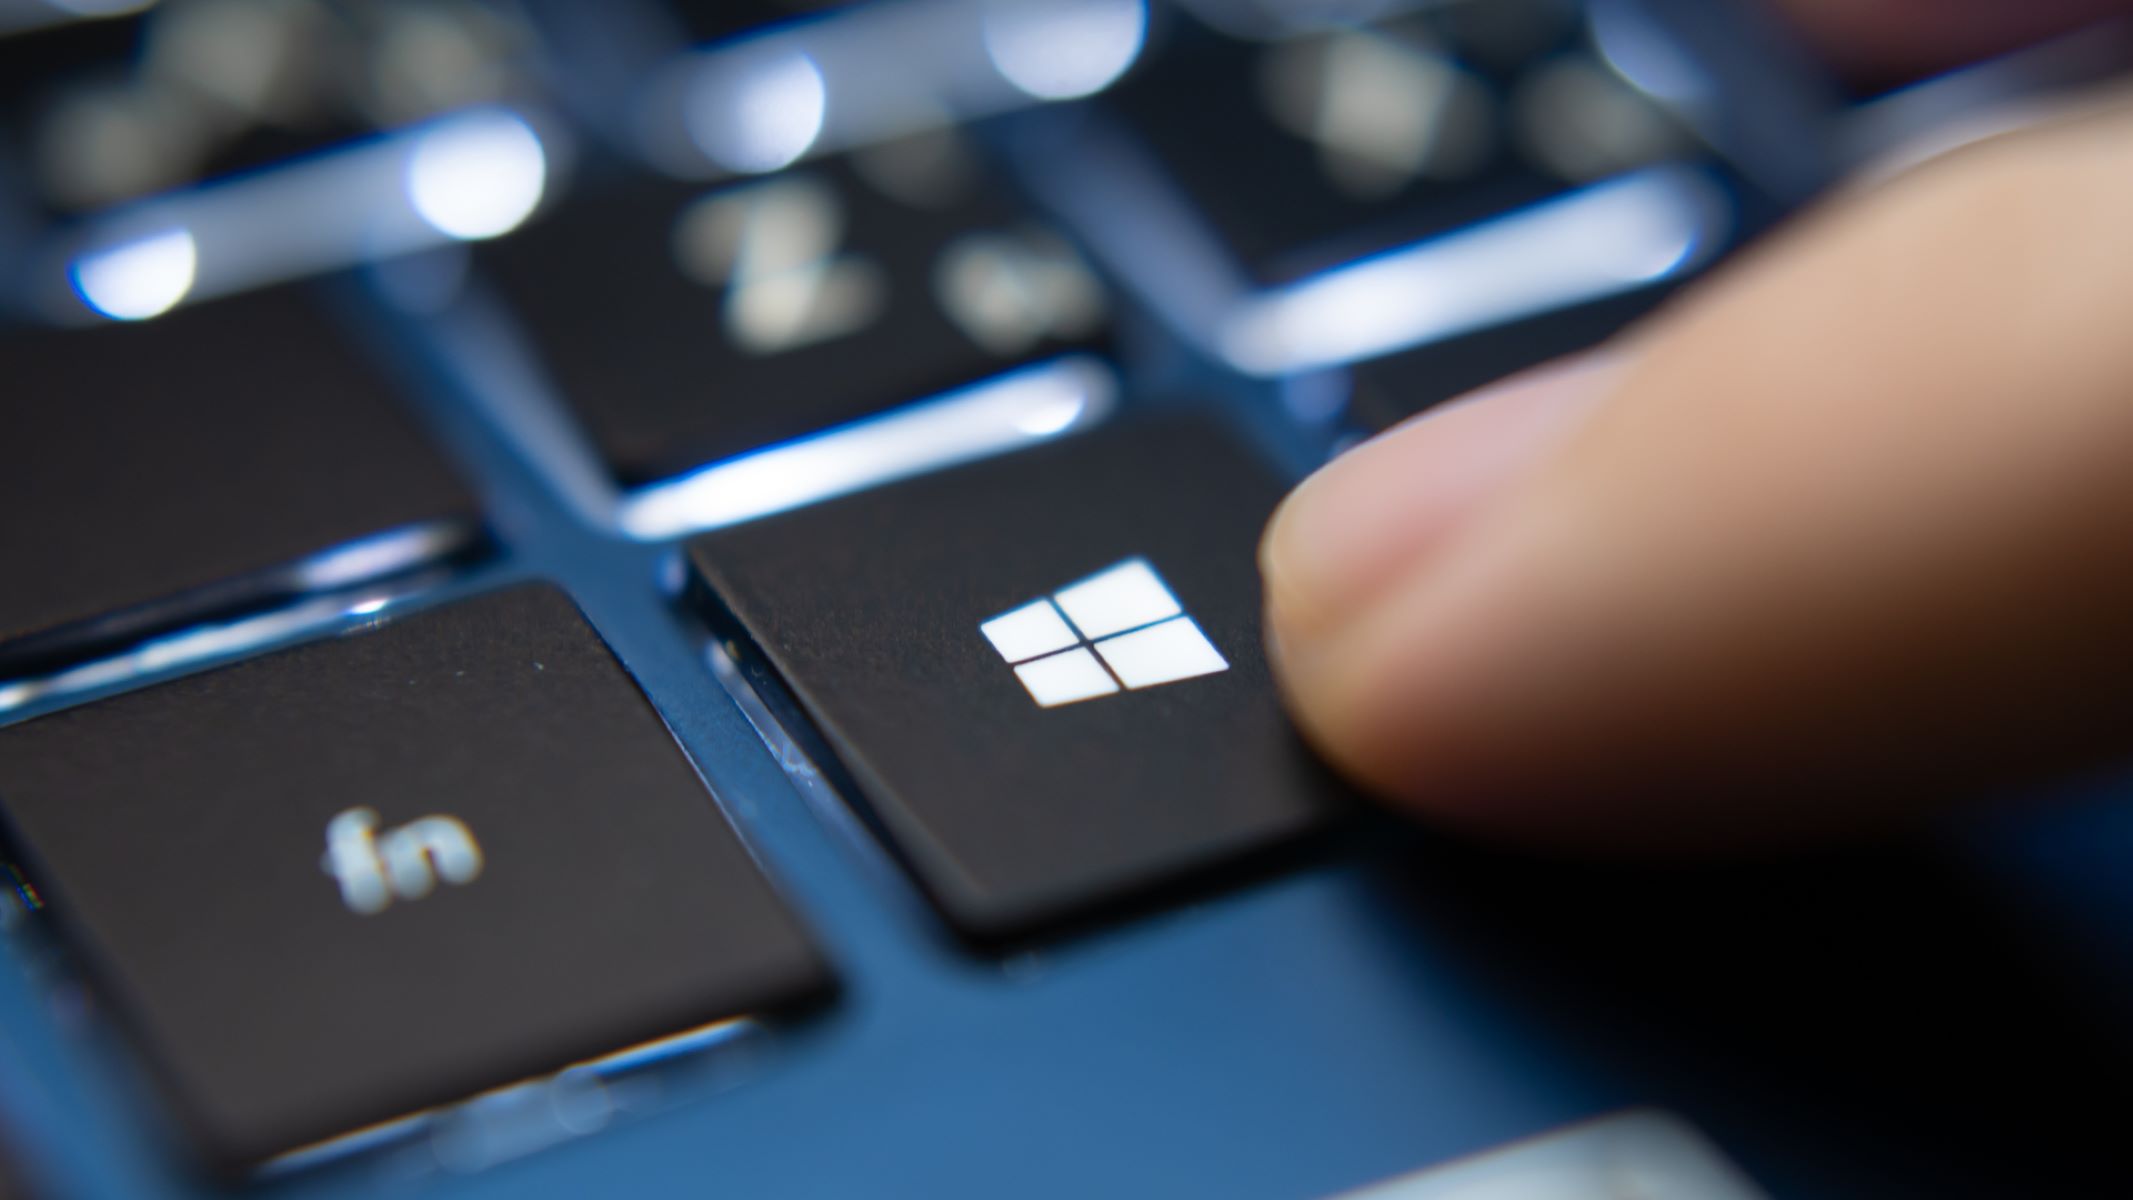
- Press the Windows key + S on your keyboard to open the search bar.
- Type “Disk Cleanup” and click on the Disk Cleanup app from the search results.
- Select the drive that you want to clean up (usually the C: drive) and click “OK.”
- The disk cleanup utility will analyze your disk and present a list of files that you can delete.
- Select the file types you want to delete, such as temporary files, Recycle Bin, and system files, and click “OK.”
- Click “Delete Files” to confirm the deletion.
This process will remove unnecessary files from your system, freeing up disk space and potentially improving system performance. It’s a good practice to perform disk cleanup regularly to keep your system running smoothly.
In addition to using the Disk Cleanup utility, you can also manually delete unnecessary files and folders from your system. Here are some areas to check for and delete unnecessary files:
- The Downloads folder: Delete any files that you no longer need.
- The Recycle Bin: Empty the Recycle Bin to permanently delete any files stored there.
- Temporary files: Navigate to the %TEMP% folder (you can do this by typing “%TEMP%” in the File Explorer address bar) and delete any files and folders present in this location.
- Browser cache: Clear the cache in your web browsers to remove temporary internet files.
By regularly clearing unnecessary files from your Windows 11 system, you can free up disk space and help improve its overall performance.
Disabling Startup Programs
When you start your Windows 11 system, certain programs and applications may automatically launch in the background. These startup programs can consume valuable system resources and slow down the startup process. Disabling unnecessary startup programs can help improve your system’s boot time and overall performance.
To disable startup programs in Windows 11, follow these steps:
- Right-click on the taskbar and select “Task Manager” from the context menu.
- In the Task Manager window, click on the “Startup” tab.
- You will see a list of programs that are set to start automatically when you boot your system.
- Select the program you want to disable and click on the “Disable” button at the bottom-right corner of the window.
- Repeat this process for any other programs you want to disable.
Disabling unnecessary startup programs can significantly speed up your system’s boot time and free up system resources for other tasks. However, be cautious when disabling programs as some may be necessary for the proper functioning of your system or certain applications.
If you’re unsure about which programs to disable, you can research them online or consult with a trusted technician to ensure you don’t disable anything vital.
It’s a good practice to review your startup programs regularly and disable those that are not essential. By doing so, you can optimize your system’s performance and reduce any unnecessary strain on its resources.
Managing Windows Updates
Windows updates are essential for keeping your system secure and up to date with the latest features and improvements. However, sometimes Windows updates can cause performance issues or interrupt your workflow. Managing Windows updates effectively can help ensure that your system remains updated while minimizing any negative impact on performance.
Here are some tips for managing Windows updates in Windows 11:
- Change active hours: Windows 11 allows you to set active hours during which it will not restart your system for updates. This is especially useful if you use your computer during specific hours of the day. To change active hours, go to Settings > Windows Update > Change active hours and set the start and end times for your active hours.
- Pause updates: You can also pause updates for a certain period of time if you need to avoid interruptions during important tasks. To pause updates, go to Settings > Windows Update > Advanced options and click on “Pause updates”.
- Update during off-peak hours: If you don’t mind updates occurring during off-peak hours, you can schedule Windows to download and install updates at specific times. To set the update schedule, go to Settings > Windows Update > Change active hours and click on “Change” under “Advanced options”.
- Manage optional updates: Windows may also offer optional updates that are not critical but may include driver updates or feature enhancements. You can choose whether to install these optional updates or not. To manage optional updates, go to Settings > Windows Update > Optional updates.
By actively managing your Windows updates, you can strike a balance between keeping your system up to date and minimizing any disruptions to your workflow. Regularly checking for updates and configuring settings to suit your needs can help ensure a smooth and efficient update experience.
Remember that it’s important to keep your system updated to benefit from security patches and performance improvements. However, if you experience any issues after installing an update, you can always roll back to a previous version or seek assistance from Microsoft support.
Adjusting Power Settings
Windows 11 provides various power settings that allow you to customize the system’s energy usage based on your needs. By adjusting power settings, you can optimize your system’s performance while conserving battery life on mobile devices.
Here are some power settings adjustments you can make:
- Power plan selection: Windows 11 offers different power plans, such as Balanced, Power Saver, and High Performance. You can choose the power plan that best suits your requirements by going to Settings > System > Power & sleep > Power & sleep settings > Additional power settings. From here, you can select the desired power plan or create a custom power plan with advanced settings.
- Processor power management: You can customize the minimum and maximum processor performance to balance power consumption and performance. To access processor power management settings, go to Control Panel > Hardware and Sound > Power Options > Change plan settings > Change advanced power settings > Processor power management.
- Display settings: Adjusting display settings such as screen brightness and timeout duration can help conserve battery life on laptops and tablets. You can access display settings in Settings > System > Display.
- Sleep settings: Customizing sleep settings allows you to determine how long the system stays idle before it goes into sleep mode. You can configure sleep settings in Settings > System > Power & sleep > Sleep.
By tweaking power settings according to your usage patterns, you can strike a balance between performance and energy efficiency. For instance, if you’re performing resource-intensive tasks, you may want to select the High Performance power plan, whereas if you’re using your device on battery power, the Power Saver plan can help extend battery life.
It’s important to note that adjusting power settings may impact system performance. If you encounter issues after making changes, you can always revert to the default power settings or experiment with different settings to find the optimal balance for your needs.
By customizing power settings, you can ensure that your Windows 11 system performs optimally while maximizing battery life on mobile devices. Take some time to explore and experiment with different power settings to find the configuration that works best for you.
Disabling Visual Effects
Windows 11 comes with several visual effects that enhance the overall aesthetics of the user interface. However, these visual effects can also consume system resources and potentially slow down your system’s performance. Disabling unnecessary visual effects can help improve the responsiveness of your Windows 11 system.
Here’s how you can disable visual effects:
- Right-click on the Start button and select “System” from the context menu.
- In the System Settings window, click on “Advanced system settings” located on the left-hand side.
- Under the Performance section, click on the “Settings” button.
- In the Performance Options window, you have two options: you can either choose the “Adjust for best performance” option to disable all visual effects and prioritize system performance, or you can select the “Custom” option to choose specific visual effects to disable.
- If you choose the “Custom” option, you can manually check or uncheck the visual effects you want to enable or disable.
- Once you have made your selection, click on “Apply” and then “OK” to save the changes.
Disabling visual effects can free up system resources and improve the overall responsiveness of your Windows 11 system. However, keep in mind that disabling visual effects may result in a less visually pleasing user interface. If aesthetics are important to you, you can choose to disable specific effects while leaving others enabled.
Experimenting with different combinations of visual effects can help you find the right balance between performance and aesthetics. Remember that enabling or disabling visual effects is a personal preference, and you can always revert the changes or customize them according to your specific needs.
By disabling unnecessary visual effects, you can optimize system performance, especially on older or less powerful devices. Give it a try and see if it makes a noticeable difference in the speed and responsiveness of your Windows 11 system.
Changing Virtual Memory Settings
Virtual memory is a feature in Windows 11 that uses a portion of your hard drive as additional memory when the physical RAM (Random Access Memory) becomes limited. By adjusting the virtual memory settings, you can optimize the system’s performance and prevent it from running out of memory.
Here’s how you can change the virtual memory settings:
- Right-click on the Start button and select “System” from the context menu.
- In the System Settings window, click on “Advanced system settings” located on the left-hand side.
- In the System Properties window, go to the “Advanced” tab and click on the “Settings” button under the Performance section.
- In the Performance Options window, go to the “Advanced” tab and click on the “Change” button under the Virtual memory section.
- Uncheck the option “Automatically manage paging file size for all drives.”
- Select the drive where you want to change the virtual memory settings.
- You have two options: you can choose the “System managed size” option to let Windows automatically determine the appropriate size for the virtual memory, or you can select the “Custom size” option and specify the initial size and maximum size.
- Click on “Set” and then “OK” to save the changes.
Adjusting the virtual memory settings can help improve system performance, especially when you have limited physical RAM. By allocating a suitable amount of virtual memory, you can prevent memory-related issues and ensure a smoother functioning of your Windows 11 system.
It’s important to note that setting the virtual memory too low can cause system instability and performance issues, while setting it too high can consume valuable disk space. Windows generally recommends a minimum virtual memory size equal to the amount of installed RAM and a maximum size that is three times the amount of installed RAM.
You may need to experiment with different settings to find the optimal virtual memory configuration for your specific system and usage patterns. Remember to monitor system performance after making changes to ensure that the new virtual memory settings are effectively improving performance without causing any issues.
By adjusting the virtual memory settings, you can optimize your system’s memory usage and improve the overall performance and stability of your Windows 11 system.
Updating Device Drivers
Device drivers are software programs that allow your hardware devices to communicate with the operating system. Outdated or faulty device drivers can result in performance issues, compatibility problems, and even system crashes. Keeping your device drivers up to date is crucial for maintaining optimal performance and stability on your Windows 11 system.
Here are some methods to update device drivers:
- Windows Update: Windows 11 often includes driver updates through the built-in Windows Update feature. You can check for driver updates by going to Settings > Windows Update and clicking on “Check for updates.” If there are any available driver updates, Windows will download and install them for you.
- Device manufacturer’s website: Visit the official website of the device manufacturer to check for driver updates specific to your hardware. Look for a “Support” or “Downloads” section on the website and search for the latest driver version compatible with Windows 11. Download and install the driver following the manufacturer’s instructions.
- Device Manager: You can also update device drivers through the Device Manager tool in Windows 11. Right-click on the Start button and select “Device Manager” from the context menu. Expand the categories and locate the device for which you want to update the driver. Right-click on the device and select “Update driver.” You can choose to automatically search for updated driver software or browse your computer for driver software.
- Third-party driver update software: There are also third-party programs available that can help you update your device drivers. These programs scan your system for outdated drivers and provide a simplified way to update them. However, exercise caution when using such software and ensure that you download them from reputable sources.
Regularly updating your device drivers not only improves system performance but also ensures compatibility with the latest software and hardware technologies. Outdated drivers can result in sluggish performance, system errors, and even security vulnerabilities.
Remember to create a system restore point or backup your important data before updating device drivers. In case any issues arise after updating drivers, you can easily revert back to a previous stable state.
By staying proactive in updating your device drivers, you can optimize system performance, enhance hardware compatibility, and enjoy a smooth and reliable Windows 11 experience.
Running a Disk Cleanup
Over time, your Windows 11 system can accumulate a significant amount of unnecessary files, such as temporary files, system logs, and old installation files. These files not only take up valuable disk space but can also slow down your system’s performance. Running a disk cleanup is a simple yet effective way to free up space and optimize your Windows 11 system.
Here’s how you can run a disk cleanup:
- Press the Windows key + S on your keyboard to open the search bar.
- Type “Disk Cleanup” and click on the Disk Cleanup app from the search results.
- Select the drive that you want to clean up (usually the C: drive) and click “OK.”
- The disk cleanup utility will analyze your disk and present a list of files that you can delete.
- Select the file types you want to delete, such as temporary files, Recycle Bin, and system files, and click “OK.”
- Click “Delete Files” to confirm the deletion.
The disk cleanup utility will remove unnecessary files from your system, freeing up disk space and potentially improving system performance. You can run a disk cleanup on a regular basis to keep your system running smoothly.
In addition to the built-in disk cleanup utility, you can also use third-party disk cleanup tools that provide advanced options and customization. These tools may offer additional features, such as cleaning up browser cache, optimizing registry entries, and managing startup programs.
It’s important to exercise caution when selecting files to delete during a disk cleanup. Double-check the items selected for deletion and ensure that you are not selecting any essential files or folders. If you’re unsure about a specific item, you can research it online or consult with a trusted technician.
By running a disk cleanup regularly, you can reclaim disk space, improve system performance, and ensure a clean and efficient Windows 11 system.
Removing Unwanted Programs
Over time, your Windows 11 system may become cluttered with unwanted and unnecessary programs. These programs not only take up valuable storage space but can also impact system performance and slow down your computer. Removing unwanted programs is an important step in optimizing your Windows 11 system.
Here’s how you can remove unwanted programs:
- Open the Start menu and go to Settings.
- Click on “Apps” or “Apps & features.”
- You will see a list of all installed programs on your system.
- Scroll through the list and identify the programs you want to remove.
- Click on the program you want to uninstall and select “Uninstall.”
- Follow the on-screen prompts to complete the uninstallation process.
- Repeat this process for any other unwanted programs you want to remove.
It’s important to exercise caution when uninstalling programs. Make sure that you are only removing programs that you no longer need or use. Some programs may be essential for the proper functioning of your system or other software applications.
In addition to using the Settings app, you can also use third-party uninstaller tools to remove unwanted programs. These tools offer advanced features, such as batch removal, leftover file cleanup, and deep scanning for more thorough program removal.
Regularly reviewing and removing unwanted programs can help declutter your system, free up storage space, and improve overall performance. It’s a good practice to periodically assess the programs installed on your system and uninstall those that are no longer necessary.
Remember to restart your system after uninstalling programs to ensure that all related files and components are fully removed.
By removing unwanted programs, you can streamline your Windows 11 system, reduce unnecessary resource usage, and enjoy a faster and more efficient computing experience.
Keeping an Eye on System Resources
Monitoring system resources is essential for understanding the performance and health of your Windows 11 system. By keeping an eye on system resources, you can identify potential issues, optimize performance, and ensure a smooth computing experience.
Here are some key system resources to monitor:
- CPU Usage: The Central Processing Unit (CPU) is responsible for executing instructions and carrying out calculations. Monitoring CPU usage can help you identify processes that are consuming excessive resources and causing system slowdowns. You can use the Task Manager to view CPU usage in real-time.
- Memory Usage: Random Access Memory (RAM) is used to temporarily store data that the system actively uses. Monitoring memory usage can help you identify if your system has sufficient memory to handle all running processes. Excessive memory usage can lead to slowdowns and system instability. The Task Manager provides information on memory usage in Windows 11.
- Disk Usage: Monitoring disk usage helps you understand how your storage drives are being utilized. High disk usage can slow down file operations and impact overall system performance. You can use the Task Manager or third-party disk monitoring tools to view disk usage.
- Network Usage: Keeping an eye on network usage allows you to monitor the amount of data being transmitted and received. High network usage can indicate potential malware activity or excessive bandwidth utilization. The Task Manager or network monitoring software can help you track network usage.
- Temperature: Monitoring system temperature is important for preventing overheating and maintaining hardware health. High temperatures can result in performance throttling and potential hardware damage. Various software tools are available to monitor system temperature, such as CPU-Z or HWMonitor.
Regularly monitoring system resources can help you identify any abnormal behavior, diagnose performance issues, and take appropriate actions to optimize your Windows 11 system. If you notice consistently high resource usage or suspect any system instability, it may be worth investigating further or seeking assistance from technical support.
In addition to monitoring, taking proactive steps to optimize resource usage can help improve system performance. This can include closing unnecessary applications, disabling resource-intensive startup programs, and performing routine maintenance tasks like disk cleanup and defragmentation.
By keeping a close eye on system resources, you can address performance bottlenecks, prevent system issues, and ensure that your Windows 11 system is running at its best.
Conclusion
Optimizing the performance of your Windows 11 system is essential for a smooth and efficient computing experience. By implementing the strategies discussed in this article, you can speed up your system, enhance its responsiveness, and ensure optimal performance.
We began by discussing the importance of clearing unnecessary files and disabling startup programs. Removing temporary and unused files frees up disk space and improves system performance, while disabling unnecessary startup programs helps streamline the boot process.
Managing Windows updates is crucial for maintaining system security and compatibility. By choosing active hours, pausing updates when necessary, and managing optional updates, you can have better control over your system’s update process.
Adjusting power settings and disabling visual effects can further optimize system performance. Customizing power settings based on your needs helps balance performance and energy efficiency, while disabling visual effects frees up system resources and improves responsiveness.
Changing virtual memory settings and updating device drivers are key steps in enhancing system performance. Adjusting virtual memory allocation ensures sufficient memory availability, while keeping device drivers up to date ensures compatibility and stability.
Running a disk cleanup and removing unwanted programs help declutter your system and free up storage space. By periodically cleaning up unnecessary files and removing programs you no longer need, you can optimize performance and streamline your system.
Lastly, monitoring system resources allows you to identify potential issues and optimize performance. By keeping an eye on CPU usage, memory usage, disk usage, network usage, and system temperature, you can take proactive measures to maintain system health.
By implementing these strategies and regularly maintaining your Windows 11 system, you can enjoy a faster, more responsive, and efficient computing experience. Remember that the effectiveness of these methods may vary depending on your system configuration and specific needs, so feel free to customize and refine these techniques to suit your requirements.
Now it’s time to take the necessary steps to optimize your Windows 11 system and enjoy the full potential of your computer!


