Introduction
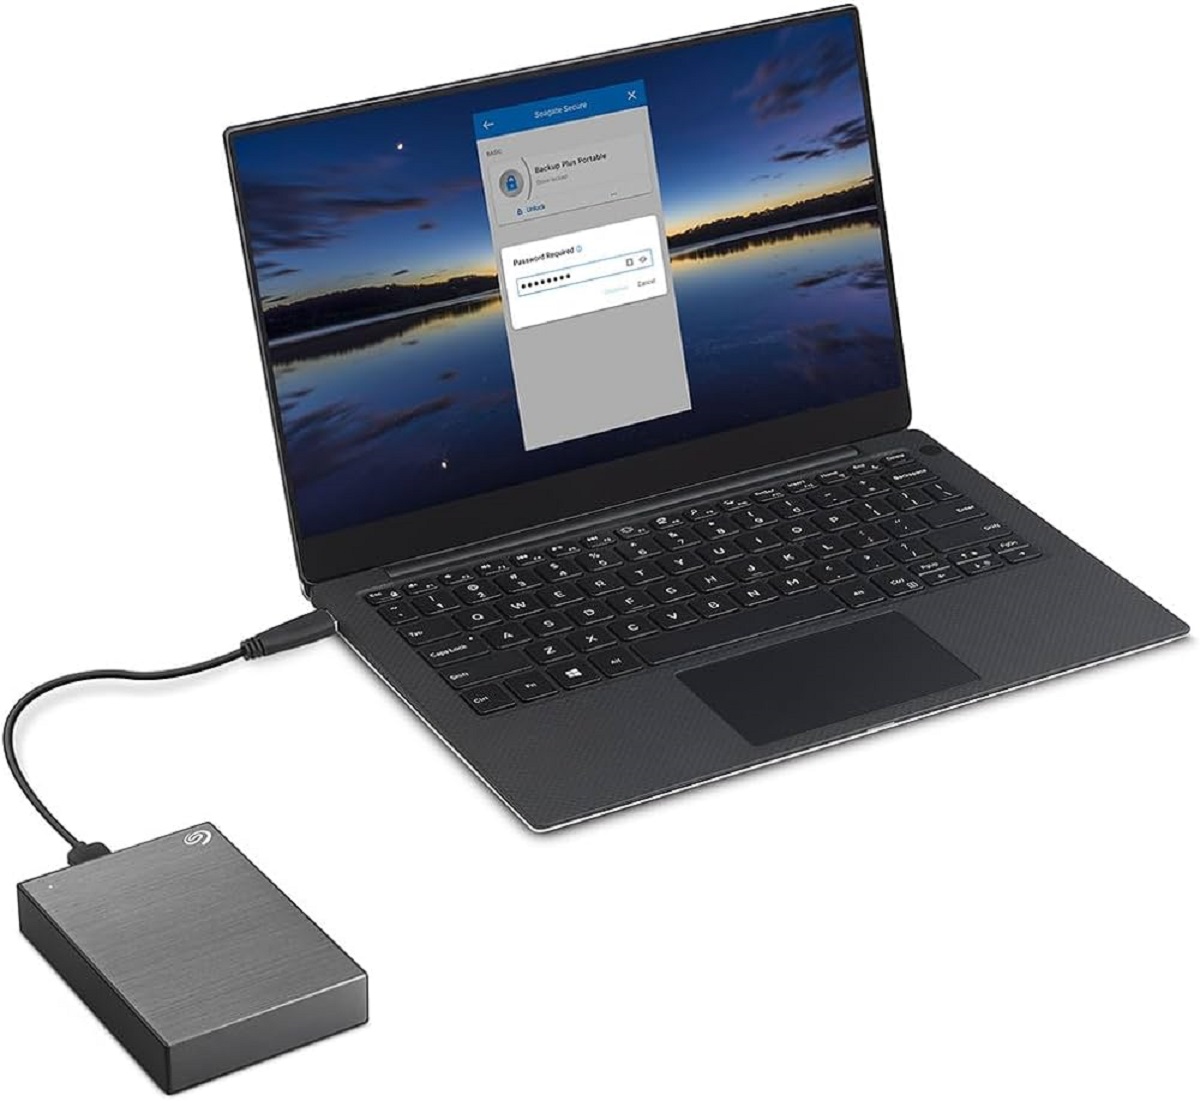
Welcome to the guide on how to create a new hard disk drive in Windows 7. Adding a new hard disk drive to your computer allows for more storage capacity and can significantly improve performance. Whether you want to store large files, install a new operating system, or simply need additional space, this step-by-step tutorial will walk you through the process of creating a new hard disk drive on your Windows 7 system.
Windows 7 comes with a built-in utility called Disk Management, which allows you to initialize, partition, format, and assign drive letters to new hard disk drives. With the help of this tool, you can easily set up and utilize your new hard disk drive in a few simple steps.
In this guide, we will cover the necessary steps to create a new hard disk drive successfully. We will start by opening Disk Management, then proceed with initializing the new hard disk drive. Next, we will create a new partition on the drive and assign a drive letter. Finally, we will format the new partition to prepare it for use.
Step 1: Opening Disk Management in Windows 7
The first step in creating a new hard disk drive in Windows 7 is to open the Disk Management utility. Disk Management allows you to manage and configure hard disk drives on your computer, including initializing, partitioning, and formatting them. Here’s how you can open Disk Management:
- Click on the “Start” button located at the bottom left corner of your screen.
- Right-click on “Computer” and select “Manage” from the context menu. This will open the Computer Management window.
- In the Computer Management window, locate and click on “Disk Management” under the “Storage” category. This will display a list of all the hard disk drives on your computer, including the new one you want to create.
Alternatively, you can also open Disk Management by typing “diskmgmt.msc” into the search bar in the Start menu and pressing Enter. This will launch the Disk Management utility in a separate window.
Once you have opened Disk Management, you will be able to see a visual representation of all the hard disk drives connected to your computer. Each drive will be listed with its corresponding drive letter, capacity, and other relevant information.
It’s important to ensure that the new hard disk drive is properly connected to your computer before attempting to create it in Disk Management. Make sure all cables are securely plugged in and that the drive is recognized by your computer’s BIOS. If you’re unsure about how to connect the new hard disk drive, refer to the manufacturer’s documentation or seek help from a professional.
Opening Disk Management is the first step in the process of creating a new hard disk drive. Once you have accessed Disk Management, you can proceed with initializing the new drive to prepare it for partitioning and formatting.
Step 2: Initializing the New Hard Disk Drive
After opening Disk Management and identifying the new hard disk drive, the next step is to initialize it. Initializing the drive prepares it for partitioning and formatting. Here’s how you can initialize the new hard disk drive:
- Right-click on the new hard disk drive in the Disk Management window.
- Select “Initialize Disk” from the context menu. This will open the Initialize Disk dialog box.
- In the Initialize Disk dialog box, you will see a list of available disk initialization styles: MBR (Master Boot Record) and GPT (GUID Partition Table). Choose the appropriate option based on your needs and preferences.
The MBR style supports up to four primary partitions or three primary partitions and an extended partition with logical drives. It is compatible with older versions of operating systems. On the other hand, GPT supports more partitions and is recommended for drives larger than 2 terabytes or for systems that require UEFI (Unified Extensible Firmware Interface) booting.
After selecting the initialization style, click on the “OK” button to proceed. Disk Management will then initialize the new hard disk drive.
During the initialization process, the new hard disk drive will receive a unique identifier called a disk signature. This identifier allows Windows to recognize and manage the drive. Once the initialization is complete, the new hard disk drive will be labeled as “unallocated” in the Disk Management window.
It is important to note that initializing a hard disk drive will erase all existing data on the drive. Therefore, if you have any important files or data on the drive, make sure to back them up before proceeding with the initialization.
After initializing the new hard disk drive, you are now ready to proceed with the next step: creating a new partition on the drive. Partitioning the drive allows you to divide it into multiple sections for better organization and utilization.
Step 3: Creating a New Partition on the Hard Disk Drive
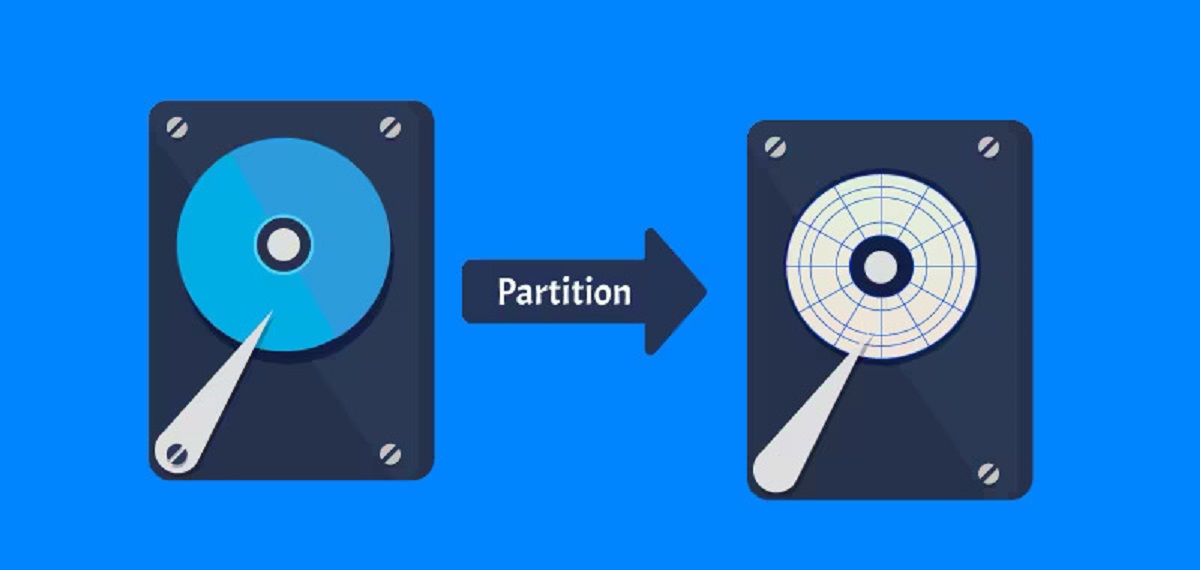
Once you have successfully initialized the new hard disk drive in Disk Management, the next step is to create a new partition on the drive. Partitioning allows you to divide the drive into separate sections, each functioning as its own logical unit. Here’s how you can create a new partition:
- Right-click on the “Unallocated” space of the new hard disk drive in the Disk Management window.
- Select “New Simple Volume” from the context menu. This will launch the New Simple Volume Wizard.
- In the New Simple Volume Wizard, click on the “Next” button to proceed.
- Specify the desired size for the new partition. By default, the wizard will allocate the entire available space for the partition. If you prefer a smaller partition size, adjust the value accordingly.
- Assign a drive letter to the new partition. You can choose any available letter from the dropdown menu. Alternatively, you can opt to mount the partition in an empty folder or simply leave it unassigned.
- Format the partition with a file system of your choice. The recommended file system for Windows 7 is NTFS (New Technology File System). You can also choose to enable file and folder compression, as well as set allocation unit size.
- Give the new partition a meaningful name or label. This will help you easily identify and locate the partition in the future.
- Click on the “Finish” button to create the new partition.
Disk Management will then create the new partition on the hard disk drive. The process may take a few moments, depending on the size of the partition.
Once the partition is created, it will be listed in the Disk Management window as a separate volume with its corresponding drive letter and file system. The new partition is now ready to be used for storing files, installing software, or any other purpose you desire.
Creating a new partition allows you to better organize your data and utilize the storage space more efficiently. With the partition in place, you can proceed to assign a drive letter to the new partition, which we will cover in the next step.
Step 4: Assigning a Drive Letter to the New Partition
After creating a new partition on the hard disk drive through Disk Management, the next step is to assign a drive letter to the partition. A drive letter is a unique identifier that allows your operating system to access and recognize the partition. Here’s how you can assign a drive letter to the new partition:
- Right-click on the new partition in the Disk Management window.
- Select the “Change Drive Letter and Paths” option from the context menu. This will open the Change Drive Letter and Paths dialog box.
- In the dialog box, click on the “Add” button. This will launch the Add Drive Letter or Path dialog box.
- Choose the desired drive letter from the available options. It is recommended to assign a letter that is not already in use by another drive. Click on the “OK” button to confirm the selection.
Once you have assigned a drive letter to the new partition, it will be immediately accessible through Windows Explorer and other file management tools.
Assigning a drive letter provides a convenient way to identify and access the new partition. It allows you to easily browse and manage the files stored on the partition, as well as perform various operations such as copying, moving, and deleting data.
It’s worth noting that you can also change the assigned drive letter at any time if desired. To do so, simply follow the same steps mentioned earlier, but select the “Change” option in the Change Drive Letter and Paths dialog box.
With the drive letter assigned, the new partition is now ready to be formatted. Formatting the partition prepares it for data storage and ensures compatibility with your operating system and applications. Formatting will be covered in the next step.
Step 5: Formatting the New Partition
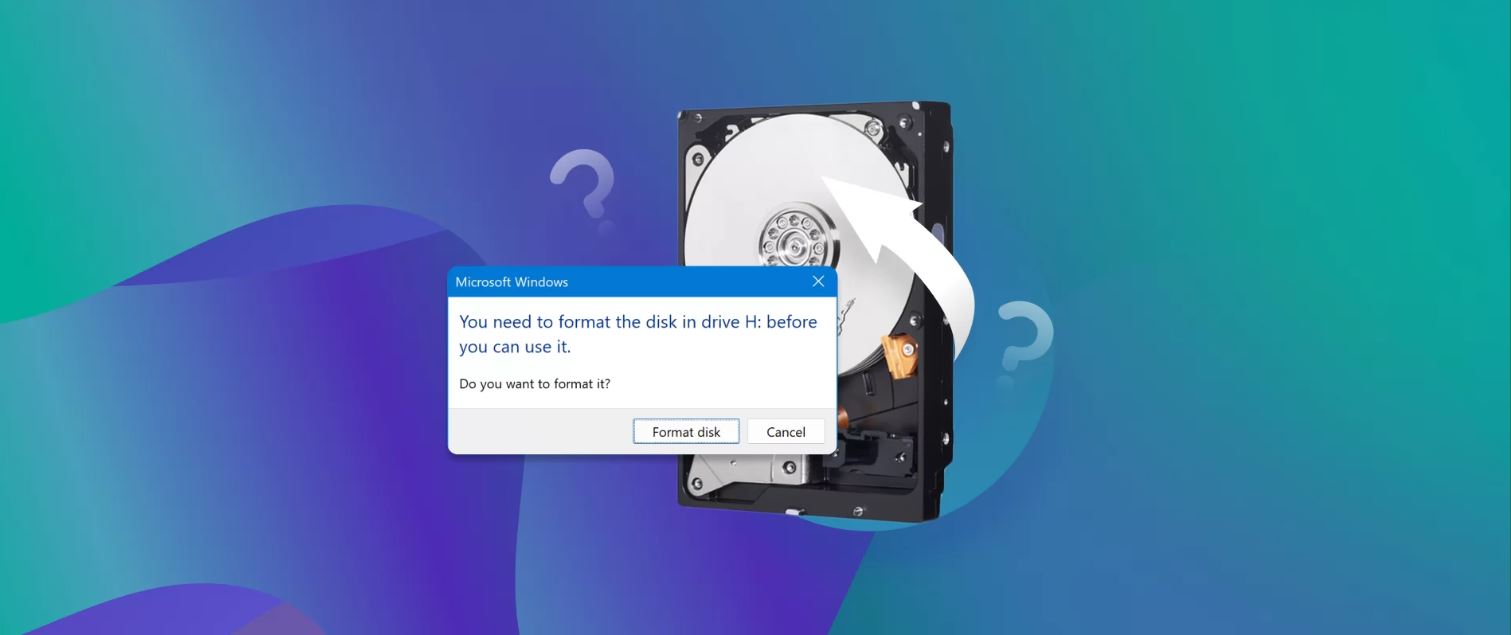
After assigning a drive letter to the new partition, the final step in creating a new hard disk drive in Windows 7 is formatting the partition. Formatting prepares the partition for data storage by setting up the file system and directory structure. Here’s how you can format the new partition:
- Right-click on the newly assigned drive letter in the Disk Management window.
- Select the “Format” option from the context menu. This will open the Format dialog box.
- In the Format dialog box, you can choose the desired file system for the new partition. The recommended file system for Windows 7 is NTFS (New Technology File System) due to its advanced features, reliability, and security.
- Specify the volume label for the partition. The volume label is a name that will be used to identify the partition in Windows Explorer and other file management tools.
- Choose other formatting options such as allocation unit size and quick format. Quick format skips certain time-consuming steps and performs a faster format, but it does not check the disk for bad sectors. If you suspect any issues with the disk, it is advisable to perform a full format.
- Click on the “OK” button to start the formatting process.
Formatting the new partition may take some time, depending on the size of the partition and your computer’s performance. It is important not to interrupt or power off your computer during the formatting process to avoid potential data loss or system errors.
Once the formatting is complete, the new partition will be ready to use. It will appear as a fully functional drive in Windows Explorer and other file management tools, allowing you to store, organize, and access your files as needed.
Keep in mind that formatting erases any existing data on the partition, so it is crucial to make sure you have backed up any important files before initiating the formatting process.
Congratulations! You have successfully created a new hard disk drive in Windows 7. The new drive is now ready to be utilized for your storage needs, whether it’s for personal files, programs, or other data. Enjoy the increased storage capacity and improved performance that a new hard disk drive brings to your computer.
Conclusion
Creating a new hard disk drive in Windows 7 is a straightforward process using the Disk Management utility. By following the steps outlined in this guide, you can easily add more storage capacity to your computer and improve its performance. With the ability to initialize, partition, assign drive letters, and format the new hard disk drive, you have full control over how the drive is set up and utilized.
Remember to ensure that the new hard disk drive is properly connected to your computer and recognized by the BIOS before proceeding with the initialization process. It’s also crucial to back up any important data before performing formatting, as the process will erase all existing data on the partition.
By creating a new partition, you can divide the drive into separate sections for better organization and storage management. Assigning a drive letter enables easy access to the partition, allowing you to browse and manage files effortlessly. Finally, formatting the partition prepares it for data storage and ensures compatibility with your operating system and applications.
With the new hard disk drive successfully created, you now have additional storage space to accommodate your files, programs, and other data. Enjoy the benefits of increased storage capacity and improved performance that a new hard disk drive brings to your Windows 7 computer.
Should you encounter any difficulties during the process or have further questions, don’t hesitate to seek assistance from technical support or consult the Windows 7 documentation. With the right tools and knowledge, you can optimize your computer’s storage capabilities and enhance your overall computing experience.


