Introduction
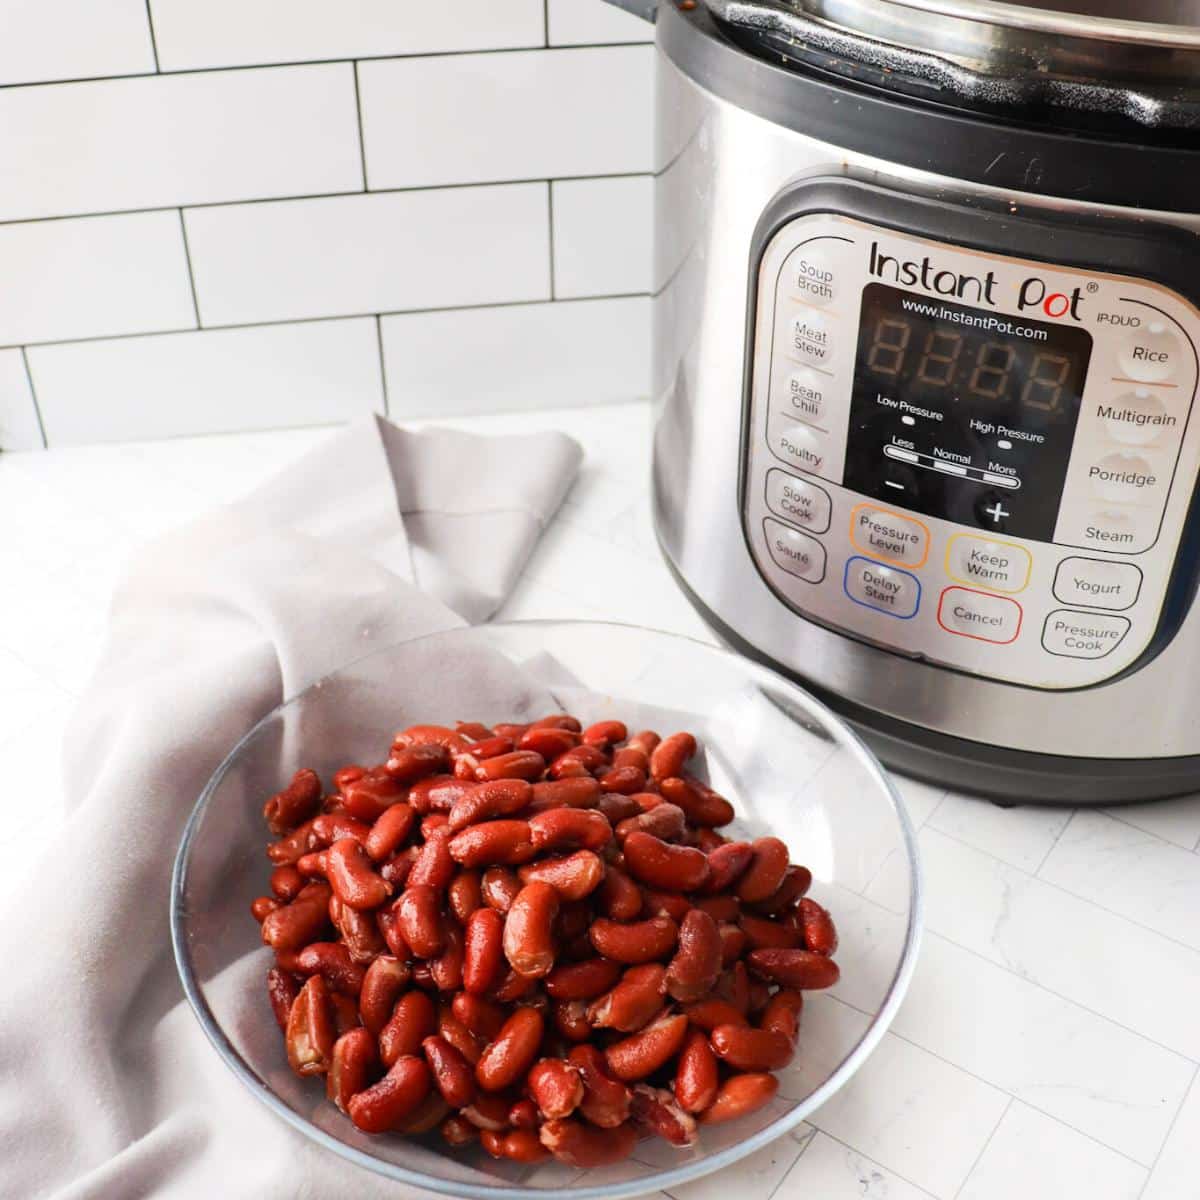
Are you looking for a quick and convenient way to cook delicious red beans? Look no further than an electric pressure cooker. With its time-saving features and versatile functionality, an electric pressure cooker is the perfect kitchen tool for preparing flavorful and nutritious red beans.
Whether you’re a busy professional, a busy parent, or someone who simply wants to streamline their cooking process, using an electric pressure cooker can significantly reduce the time and effort required to make a delectable batch of red beans. In this article, we’ll explore the benefits of cooking red beans in an electric pressure cooker, guide you through the process of choosing the right type of red beans, outline the steps for soaking and preparing the beans, and help you make the most out of your electric pressure cooker’s features to cook a perfect batch of red beans.
One of the main advantages of using an electric pressure cooker is its ability to cook food quickly. The high-pressure environment inside the cooker allows for faster cooking times compared to traditional stovetop methods. This means that you can have a pot of tender and flavorful red beans ready in a fraction of the time it would take with other cooking methods.
Furthermore, an electric pressure cooker locks in the flavors and nutrients of the red beans, resulting in a rich and hearty dish. The sealed environment prevents the escape of steam, which helps the beans retain their natural flavors and textures. This means your red beans will be bursting with deliciousness and provide a healthy dose of fiber, protein, and various essential vitamins and minerals.
Moreover, an electric pressure cooker offers a user-friendly cooking experience. It typically comes with pre-programmed settings, making the cooking process foolproof and ensuring consistent results every time. You don’t need to worry about constantly monitoring the heat or adjusting the flame. Just set the timer, sit back, and let the pressure cooker work its magic.
With these benefits in mind, let’s delve into the world of red beans and uncover the secrets to cooking them to perfection in an electric pressure cooker.
Benefits of Cooking Red Beans in an Electric Pressure Cooker
Cooking red beans in an electric pressure cooker offers a plethora of advantages that make this method a popular choice for many individuals. Here are some of the key benefits:
- Time Efficiency: One of the greatest advantages of using an electric pressure cooker is its ability to cook red beans in a fraction of the time compared to traditional cooking methods. The high-pressure environment created by the cooker significantly reduces the cooking time, allowing you to enjoy a delicious pot of red beans in a matter of minutes instead of hours.
- Nutrient Retention: An electric pressure cooker helps retain the natural nutrients present in red beans. The sealed environment inside the cooker prevents the loss of essential vitamins and minerals that can occur with other cooking methods. This means that the red beans cooked in an electric pressure cooker will retain their nutritional value, ensuring you benefit from the health-promoting properties of this legume.
- Enhanced Flavor: The pressure cooking process intensifies the flavors of the red beans by infusing them with the seasonings and ingredients in the pot. This results in a more robust and flavorful dish compared to conventional cooking methods. The pressure cooker effectively brings out the best of the red beans, creating a mouthwatering meal that will satisfy your taste buds.
- Tender and Creamy Texture: Red beans cooked in an electric pressure cooker often achieve a tender and creamy texture that is highly desirable. The steam and pressure break down the fibers in the beans, resulting in a smooth and velvety consistency. Whether you prefer whole red beans or a creamy bean soup, the electric pressure cooker can help you achieve the perfect texture every time.
- Convenience: Cooking red beans in an electric pressure cooker offers a convenient and hassle-free experience. The programmable settings allow you to set the desired cooking time and simply wait for the cooker to do its job. Unlike stovetop cooking, you don’t need to constantly monitor the pot or worry about the beans boiling over. The electric pressure cooker provides a hands-off approach, freeing up your time to focus on other tasks.
With all these benefits combined, it’s no wonder that the electric pressure cooker has become a popular choice for cooking red beans. This versatile kitchen appliance offers a time-efficient, nutritious, and flavorful way to prepare this beloved legume. So, say goodbye to long cooking times and hello to delicious red beans made effortlessly with an electric pressure cooker.
Choosing the Right Type of Red Beans
When it comes to cooking red beans in an electric pressure cooker, selecting the right type of beans is crucial to achieve the best flavor and texture. Here are some factors to consider when choosing red beans:
- Kidney Beans: Kidney beans are the most common type of red beans used for cooking. They have a deep red color and a creamy texture when cooked, making them perfect for dishes like chili, bean stews, and soups. Kidney beans hold their shape well and absorb flavors, making them an ideal choice for electric pressure cooker recipes.
- Small Red Beans: Small red beans are slightly smaller and darker than kidney beans. They have a robust and earthy flavor and a dense texture when cooked. Small red beans are commonly used in Creole and Cajun cuisine and are an excellent choice for dishes like red beans and rice or bean salads.
- Adzuki Beans: Adzuki beans, also known as azuki beans, are small red beans commonly used in Asian cuisine. They have a slightly sweet and nutty flavor and a soft texture when cooked. Adzuki beans are often used in desserts, but they can also be used in savory dishes like bean stews or curries.
- Pinto Beans: Although not technically red, pinto beans are another variety that can be used in electric pressure cooker recipes. They have a creamy texture and a mild, earthy flavor. Pinto beans are often used in Mexican and Southwestern cuisine for dishes like refried beans or bean burritos.
When selecting red beans, it’s important to ensure that they are fresh and free from any signs of moisture or mold. Additionally, consider whether you prefer dried beans or canned beans. Dried beans require soaking before cooking, but they tend to have a better texture and flavor. Canned beans, on the other hand, are convenient and can be used directly in recipes without soaking.
Experimenting with different types of red beans can add variety to your electric pressure cooker recipes and allow you to explore different flavor profiles. Don’t be afraid to try out different varieties and discover your favorite type of red beans for cooking in the electric pressure cooker.
Soaking the Red Beans
Before cooking red beans in an electric pressure cooker, it is highly recommended to soak the beans. Soaking helps soften the beans, reduce cooking time, and promote even cooking. Here’s how to properly soak red beans:
- Measure the Beans: Start by measuring out the desired amount of red beans for your recipe. Keep in mind that the beans will expand during soaking, so make sure to leave enough room in your container.
- Rinse the Beans: Rinse the red beans under cold running water to remove any dirt or debris. Discard any beans that appear discolored or damaged.
- Choose a Soaking Method: There are two common methods for soaking red beans:
- Traditional Soaking: Place the rinsed red beans in a large bowl and add enough water to cover them by at least two inches. Let the beans soak for at least 8 hours or overnight. This method requires longer soaking time but can result in a creamier texture.
- Quick Soaking: If you’re short on time, you can use the quick soaking method. Place the rinsed red beans in a pot and add enough water to cover them by two inches. Bring the water to a boil and let the beans boil for 2 minutes. Remove the pot from the heat, cover it, and let the beans soak for 1 hour. This method helps reduce the soaking time but may result in slightly firmer beans.
- Drain and Rinse: After soaking, drain the beans and rinse them under cold water to remove any residue.
Once the red beans have been soaked, they are ready to be cooked in the electric pressure cooker. Soaking not only helps to soften the beans but also aids in removing some of the complex sugars that can cause digestive discomfort. By taking the time to properly soak the red beans, you’ll ensure a more enjoyable cooking and eating experience.
Preparing the Ingredients
Once you’ve soaked the red beans, it’s time to gather and prepare the other ingredients for your electric pressure cooker recipe. Properly preparing the ingredients will ensure that your red beans dish turns out delicious and well-balanced. Here are some essential steps to follow:
- Vegetable and Aromatics: Start by gathering your choice of vegetables and aromatics to add flavor to the red beans. This can include onions, garlic, bell peppers, celery, and herbs like bay leaves or thyme. Chop the vegetables and mince the garlic to the desired size.
- Meat and Seasonings (Optional): If you’re adding meat to your red beans, such as bacon, ham, or sausage, prepare it by chopping or dicing it into bite-sized pieces. Seasonings like salt, pepper, cayenne pepper, paprika, or cumin can also be added to enhance the flavors.
- Liquid: Determine the amount of liquid needed for your recipe. This can be vegetable broth, chicken broth, water, or a combination of these. Make sure to measure the liquid accurately, as it will contribute to the overall cooking process and consistency of the red beans.
- Canned Tomatoes (Optional): If you prefer a tomato-based red beans dish, you can include canned diced tomatoes or tomato sauce. These add acidity and depth of flavor to the recipe. Drain and rinse the canned tomatoes if necessary before adding them to the electric pressure cooker.
- Additional Ingredients: Depending on your personal preferences and the recipe you’re following, you may want to include additional ingredients such as spices, hot sauce, Worcestershire sauce, or vinegar. These extra touches can elevate the flavors of the red beans and personalize the dish to your liking.
Once all the ingredients are prepared, you’re ready to start assembling your red beans dish in the electric pressure cooker. Remember to follow the recipe instructions and add the ingredients in the recommended order to ensure a well-balanced and mouthwatering outcome. With proper ingredient preparation, your electric pressure cooker will work its magic and create a delectable red beans dish bursting with flavor.
Setting Up the Electric Pressure Cooker
Before you begin cooking the red beans in your electric pressure cooker, it’s important to ensure that the cooker is set up correctly. Here are the steps to follow for setting up your electric pressure cooker:
- Read the Manual: Familiarize yourself with the specific instructions and guidelines provided in the user manual of your electric pressure cooker. Different models may have slightly different features and functionalities, so it’s essential to understand how your specific cooker operates.
- Inspect the Cooker: Before starting, carefully inspect the electric pressure cooker to ensure that it is clean and in good working condition. Check for any signs of damage or wear, such as a damaged rubber sealing ring or a malfunctioning pressure valve. If you notice any issues, it’s best to address them before proceeding.
- Add the Cooking Pot: Insert the cooking pot into the electric pressure cooker base. Make sure it is seated correctly and securely in place. The cooking pot is where you will be adding the soaked red beans and other ingredients.
- Add the Liquid: For most red bean recipes, you’ll need to add a specific amount of liquid to the cooking pot. Refer to your recipe instructions to determine the right amount of liquid, whether it’s water, broth, or a combination of both. Adding the correct amount of liquid is crucial for the cooking process in the electric pressure cooker.
- Secure the Lid: Place the lid on the electric pressure cooker and ensure that it is properly aligned and sealed. Check that the pressure release valve is in the “Sealing” position. The sealing of the lid is crucial to maintain the pressure required for cooking the red beans.
- Select the Cooking Function: Depending on your electric pressure cooker model, there may be specific cooking functions or presets available. Select the appropriate cooking function for red beans or adjust the cooking time and pressure manually according to your recipe instructions.
- Start the Cooking Process: Once you’ve set up the electric pressure cooker with the soaked red beans, ingredients, and selected cooking function, you can start the cooking process. Follow the specific instructions provided in your electric pressure cooker’s manual for starting the cooking cycle.
By properly setting up your electric pressure cooker, you’ll ensure a safe and effective cooking experience. It’s important to follow the manufacturer’s instructions and guidelines to maximize the performance of your specific model. Now that your electric pressure cooker is ready to go, it’s time to let it work its magic and transform those soaked red beans into a delicious and satisfying dish.
Cooking the Red Beans
Now that your electric pressure cooker is set up and ready to go, it’s time to start cooking the red beans. Follow these steps to ensure a successful cooking process:
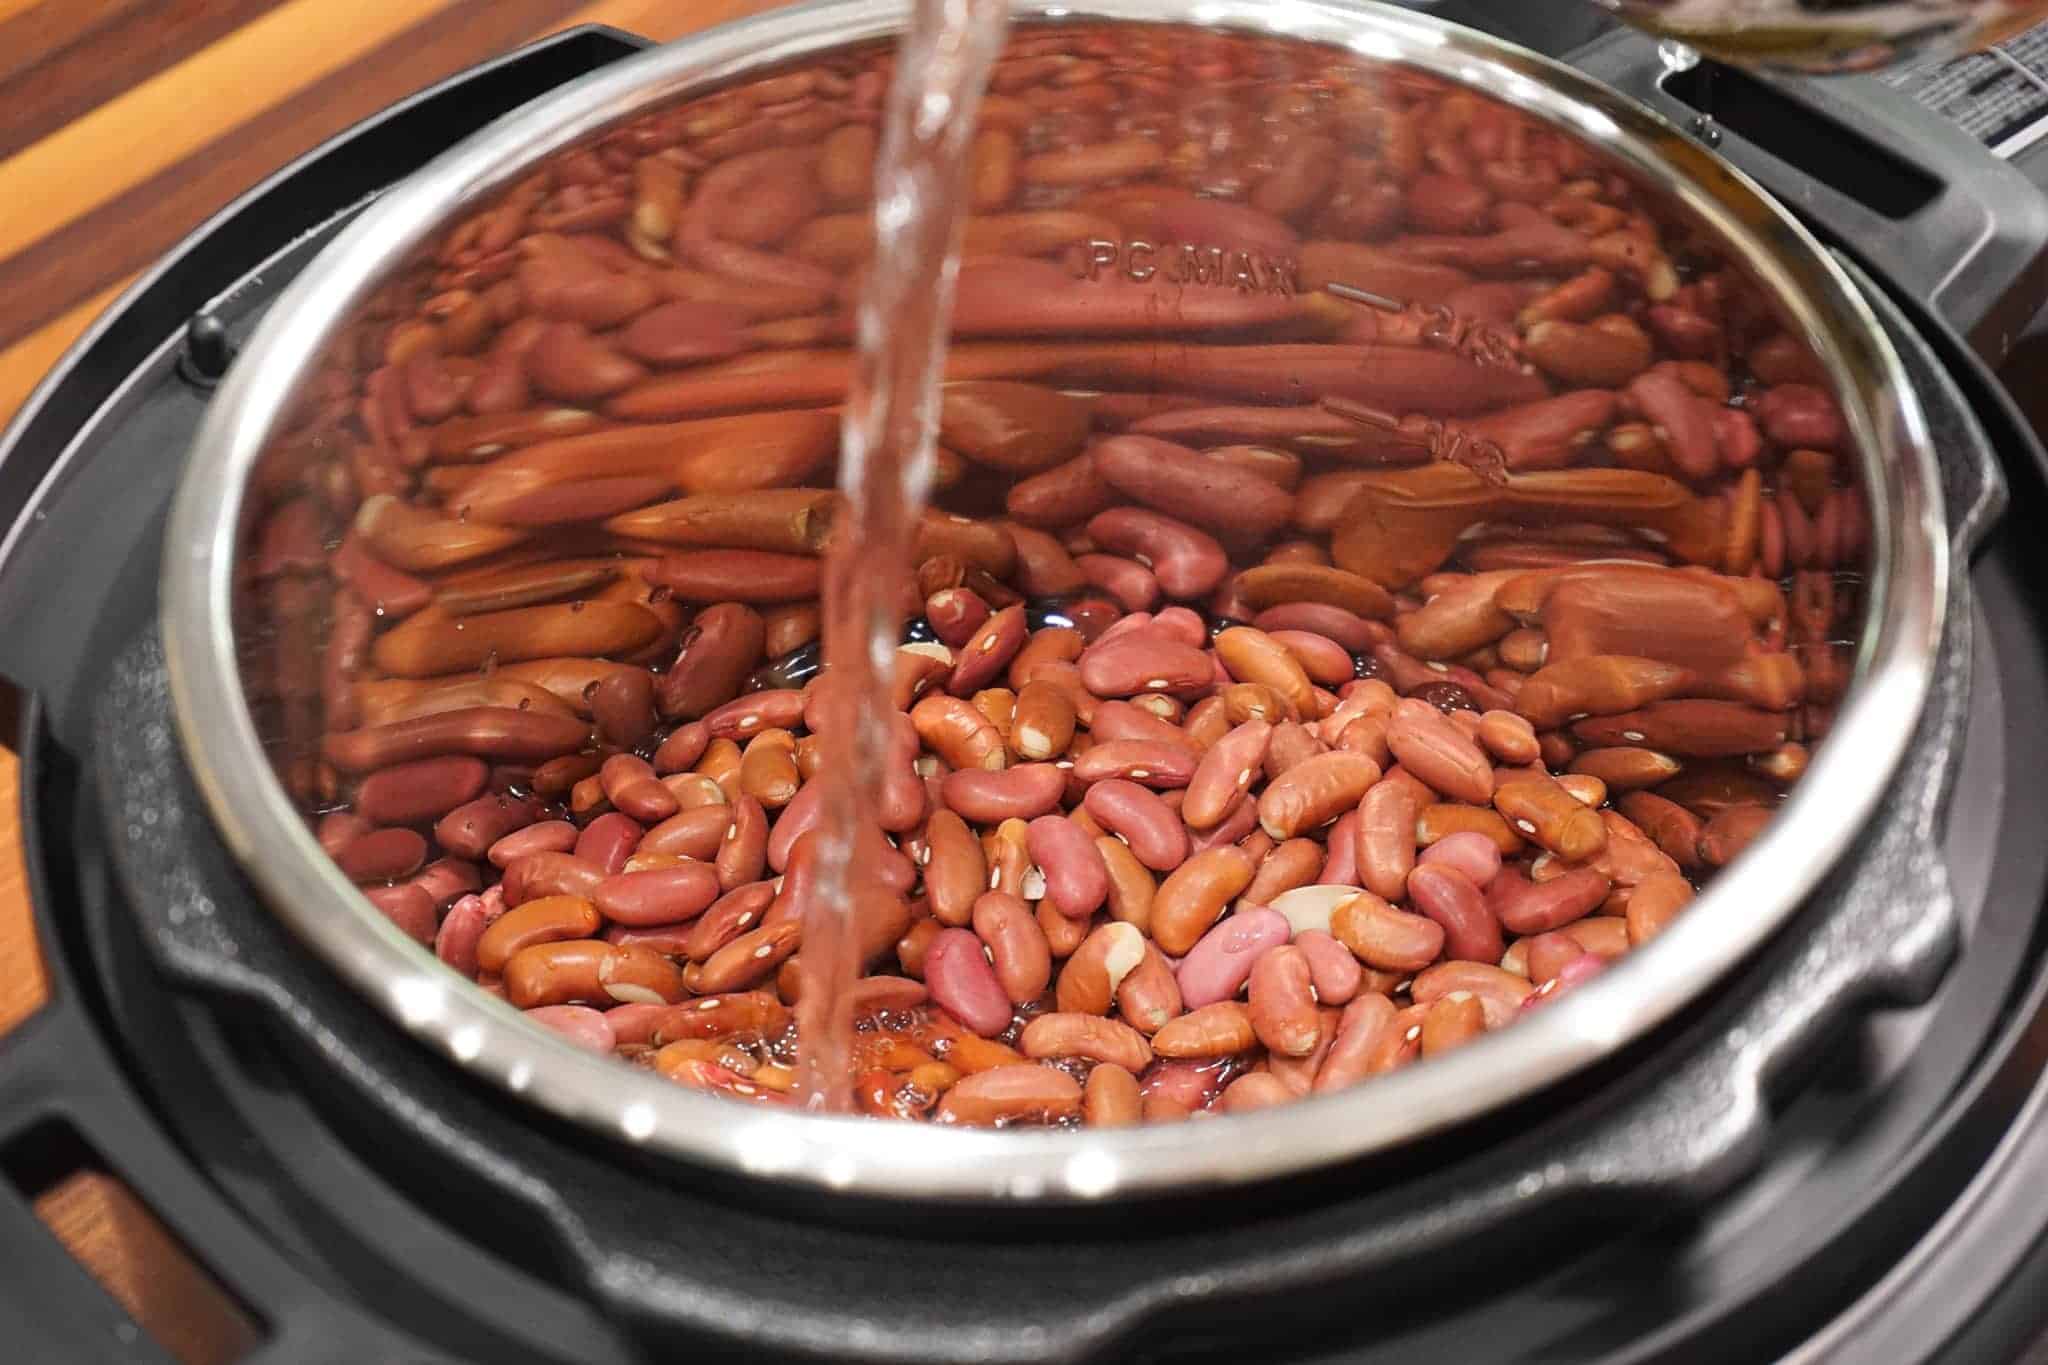
- Add the Soaked Red Beans: Carefully drain the soaked red beans and add them to the cooking pot of the electric pressure cooker. Make sure they are evenly spread out and submerged in the cooking liquid.
- Close and Seal the Lid: Place the lid on the electric pressure cooker, ensuring it is tightly sealed. This will help create a pressurized cooking environment, allowing the red beans to cook efficiently.
- Select the Cooking Time and Pressure: Depending on the recipe or your electric pressure cooker model, choose the appropriate cooking time and pressure setting. Different recipes and red bean varieties may require varying cooking times. Refer to your recipe instructions or the cooking time chart provided by the cooker manufacturer.
- Start the Cooking Cycle: Once you have selected the appropriate cooking time and pressure, start the cooking cycle by pressing the corresponding button on your electric pressure cooker. The cooker will start building up pressure and the cooking process will begin.
- Monitor the Cooking Process: While the red beans are cooking, keep an eye on the pressure indicator or display on your electric pressure cooker. As the pressure builds up, the indicator will rise, indicating that the cooking process is in progress. Maintain the desired pressure level throughout the cooking duration.
- Allow Natural Pressure Release: After the cooking time is complete, let the pressure release naturally. This involves allowing the pressure to decrease gradually over time. Avoid manually releasing the pressure, as this can result in unevenly cooked beans or eruptions of hot steam.
- Open the Lid: Once the pressure has released completely, it is safe to open the lid of the electric pressure cooker. Carefully remove the lid, holding it away from your face to avoid any residual steam.
- Check the Red Beans for Doneness: Check the red beans for doneness by taking a few beans and testing their texture with a fork. They should be tender and fully cooked. If they are not yet done, you can continue cooking them for a few more minutes under low pressure.
Cooking times may vary depending on the size and type of red beans, as well as the desired tenderness. If the beans are not fully cooked after the initial cooking cycle, you can put the lid back on and cook them for a few additional minutes until they reach the desired texture.
Once the red beans are fully cooked, they are now ready to be seasoned and enjoyed. Whether you plan on serving them as a standalone dish, incorporating them into another recipe, or using them as a side dish, this step brings out the final flavors and ensures a delicious outcome.
Releasing the Pressure
After the red beans have finished cooking in the electric pressure cooker, it’s important to release the pressure safely before opening the cooker. Here are the two methods for releasing the pressure:
- Natural Pressure Release (NPR): With the natural pressure release method, you allow the pressure to decrease gradually on its own. Simply turn off the heat and let the electric pressure cooker sit for the recommended amount of time, typically 10 to 15 minutes. During this time, the pressure will naturally release as the temperature inside the cooker drops. Avoid rushing the process by removing the lid too soon, as this can result in undercooked or unevenly cooked beans. Once the pressure has fully released, you can safely open the cooker.
- Quick Pressure Release (QPR) or Manual Pressure Release (MPR): If you’re short on time or want to speed up the release of pressure, you can use the quick pressure release method. This involves carefully turning the pressure release valve from the “Sealing” position to the “Venting” position, allowing the steam to escape. Be cautious of the hot steam and keep your hands and face away from the valve to avoid burns. The pressure will release quickly, and once the pressure indicator has dropped, indicating that the pressure has fully released, you can open the lid of the electric pressure cooker.
It’s important to note that some recipes may require a specific pressure release method, so always refer to your recipe instructions for the appropriate method to use.
Releasing the pressure safely is crucial to avoid any accidents or injuries. Always exercise caution and follow the instructions provided by your electric pressure cooker’s manufacturer to ensure a smooth and safe pressure release process.
Once the pressure has been released, you can confidently open the lid of the electric pressure cooker and proceed to season and serve your perfectly cooked red beans.
Seasoning the Red Beans
Now that your red beans have been cooked to perfection, it’s time to add the final touch of flavor by seasoning them. Seasoning is an important step that enhances the taste and brings out the full potential of the red beans. Here are some common seasonings and methods you can use to season your red beans:
- Salt and Pepper: Start by seasoning the red beans with salt and pepper. This basic seasoning helps to enhance the natural flavors of the beans and bring balance to the dish. Taste as you go to adjust the seasoning to your preference.
- Aromatics and Herbs: Add depth and complexity to the red beans by incorporating aromatics and herbs. Sautéed onions, garlic, and bell peppers are commonly used to provide a flavorful base. You can also include herbs like bay leaves, thyme, or parsley for added freshness.
- Spices and Seasonings: Experiment with a variety of spices and seasonings to elevate the flavor profile of the red beans. Common options include cayenne pepper for heat, paprika for smokiness, cumin for earthiness, or a Cajun or Creole seasoning blend for a Southern touch.
- Acidic Ingredients: Consider adding acidic ingredients to brighten the flavors of the red beans. A splash of vinegar, lemon juice, or a garnish of freshly squeezed lime can add a tangy and refreshing note to the dish.
- Hot Sauce or Chili Paste: If you enjoy a spicy kick, add your favorite hot sauce or chili paste to the red beans. This will bring the heat and add an extra layer of flavor. Adjust the amount according to your spice tolerance.
When seasoning the red beans, it’s best to start with a gentle hand and gradually add more seasonings as needed. Remember that you can always adjust and customize the flavors to suit your personal taste preferences. Take the time to taste the red beans as you season them, ensuring that the flavors are well-balanced and satisfying.
Allow the red beans to simmer for a few minutes after adding the seasonings, as this allows the flavors to meld together. Stir occasionally to distribute the seasonings evenly throughout the dish.
Remember that the seasoning options are flexible and can be adapted to suit your desired flavor profile and the specific recipe you’re following. Have fun exploring different combinations and experimenting with ingredients that will make your red beans truly unique and delicious.
Serving Suggestions
Now that your perfectly seasoned red beans are ready, it’s time to plate and serve them. Red beans are a versatile dish that can be enjoyed in various ways. Here are some serving suggestions to make the most out of your flavorful red beans:
- As a Main Course: Red beans can be served as a satisfying main course on their own. Enjoy a generous scoop of red beans with a side of cornbread or rice. The creamy texture and rich flavors make for a hearty and delicious meal.
- Over Rice: Serve your red beans over steamed white or brown rice for a classic and comforting combination. The rice acts as a neutral base, allowing the flavors of the red beans to shine. Top it off with a sprinkle of green onions or fresh herbs for added freshness.
- With Sausages or Smoked Meats: Pair your red beans with grilled or smoked sausages, such as Andouille or Chorizo, for an indulgent and flavorful meal. The smoky and savory notes from the meats complement the creamy red beans beautifully.
- In Tacos or Wraps: Use the seasoned red beans as a filling for tacos or wraps. Load up a tortilla with red beans, fresh vegetables, cheese, and a dollop of sour cream or guacamole for a tasty and satisfying handheld meal.
- On a Bed of Greens: Serve a portion of red beans on top of a bed of fresh salad greens for a lighter option. The contrast of the creamy beans and crisp greens creates a refreshing and nutritious dish.
- As a Side Dish: Use the red beans as a flavorful side dish to accompany grilled or roasted meats, such as barbecued chicken or roasted pork. The beans provide a hearty and flavorful addition to any protein-based meal.
Feel free to get creative with your serving suggestions and adapt them based on your personal preferences and the occasion. Remember to garnish your red beans with fresh herbs like parsley or cilantro, a squeeze of lime juice, or a sprinkle of grated cheese to add visual appeal and an extra layer of flavor.
Red beans also tend to taste even better the next day as the flavors continue to develop. Consider making a larger batch and enjoy leftovers over the next few days. This dish freezes well too, making it a convenient option for meal planning and future enjoyment.
No matter how you choose to serve your red beans, be prepared for a delicious and hearty meal that is sure to be enjoyed by all. Bon appétit!
Conclusion
Cooking red beans in an electric pressure cooker is a convenient and efficient method that yields delicious results. The benefits of using an electric pressure cooker include time efficiency, nutrient retention, enhanced flavor, and a tender, creamy texture. By choosing the right type of red beans and properly soaking them, you can ensure optimal cooking results.
Preparing the ingredients, setting up the electric pressure cooker correctly, and following the recommended cooking time and pressure are essential for a successful cooking process. Releasing the pressure safely and seasoning the red beans with a variety of spices, herbs, and seasonings add depth and complexity to the flavors.
Once the red beans are cooked to perfection and seasoned to taste, consider various serving suggestions to enjoy them in different ways. Whether it’s as a main course, served over rice, paired with sausages or smoked meats, or incorporated into tacos or wraps, red beans offer a versatile and satisfying meal.
So, gather your ingredients, fire up your electric pressure cooker, and savor the flavors of homemade red beans. Enjoy this comforting and nourishing dish that brings people together with its rich and satisfying qualities. Whether you’re cooking for yourself, your family, or friends, red beans cooked in an electric pressure cooker are sure to be a crowd-pleaser.


