Soaking Kidney Beans
Soaking kidney beans is an essential step in preparing them for cooking in an electric pressure cooker. Soaking not only helps to reduce the cooking time but also aids in making the beans more digestible. Here’s how to properly soak kidney beans:
- Sort: Before soaking kidney beans, spread them out on a clean surface and remove any stones, debris, or damaged beans.
- Rinse: Rinse the kidney beans thoroughly under cold water to remove any dirt or impurities.
- Soak: Place the rinsed kidney beans in a large bowl and cover them with enough water, ensuring there is at least 3 inches of water above the beans. Let them soak for 8 to 12 hours, or overnight.
- Drain: After the soaking period, drain the beans using a colander and discard the soaking water. This step helps to remove some of the indigestible compounds found in beans, which can cause gas and bloating.
Soaking kidney beans in advance not only ensures a quicker cooking time but also helps to break down the complex sugars that can cause digestive discomfort. However, if you’re short on time, there is an alternative method called the “quick soak” method. To quick soak kidney beans, follow steps 1 and 2 above, then place the beans in a large pot, cover them with water, and bring to a boil. Once boiling, let them cook for 2 minutes, then remove from heat, cover, and let them soak for 1 hour before draining.
By taking the time to properly soak kidney beans before cooking them in an electric pressure cooker, you can ensure a more enjoyable and digestible bean-based culinary experience.
Rinsing and Draining Kidney Beans
Rinsing and draining kidney beans is an important step in the preparation process before cooking them in an electric pressure cooker. This step helps to remove any impurities and excess starch from the beans. Here is the proper technique for rinsing and draining kidney beans:
- Rinse: Start by placing the soaked kidney beans in a colander or sieve. Rinse them thoroughly under cold running water, gently agitating them with your hands to ensure that all the beans are evenly rinsed.
- Drain: After rinsing, allow the kidney beans to drain completely in the colander. This step is crucial as draining helps to remove any excess water and prevents dilution of the cooking liquid.
- Optional Step: Some people prefer to give the beans an additional round of rinsing and draining after the initial rinse. This can help to further eliminate any remaining dirt, debris, or excess starch.
Rinsing and draining kidney beans not only cleanses them but also reduces the chances of getting a starchy or cloudy cooking liquid. Removing the starch can improve the overall texture and appearance of the cooked beans.
It’s important to note that soaking and rinsing kidney beans are essential to remove the toxins called lectins that can be present in undercooked beans. Proper rinsing and draining, along with thorough cooking, help to ensure that these toxins are neutralized and the beans are safe to consume.
By following these simple steps of rinsing and draining kidney beans before cooking them in an electric pressure cooker, you can ensure that your beans are clean, free from debris, and ready to be transformed into delicious dishes.
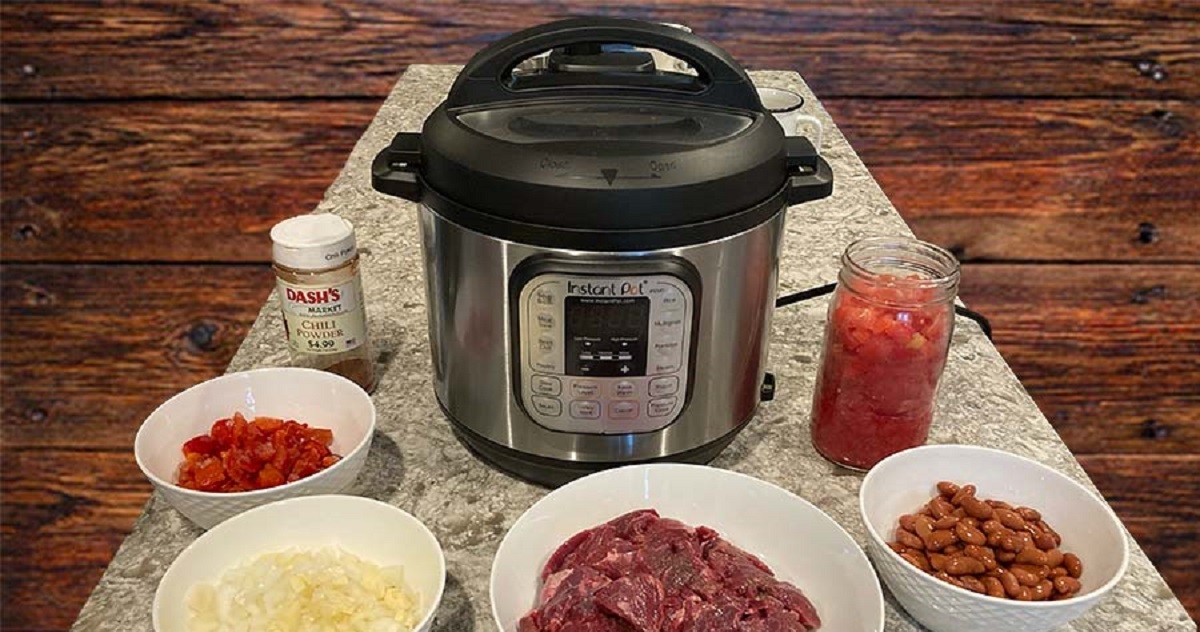
Preparing the Electric Pressure Cooker
Before you start cooking kidney beans in an electric pressure cooker, it’s important to properly prepare the appliance to ensure safe and efficient cooking. Follow these steps to prepare your electric pressure cooker:
- Clean the Cooker: Make sure the electric pressure cooker is clean and free from any residue or food particles. Remove the sealing gasket, if applicable, and wash it separately with warm soapy water. Rinse and dry all the components thoroughly.
- Add the Cooking Liquid: Kidney beans need sufficient liquid to cook properly in an electric pressure cooker. Consult your specific pressure cooker’s manual for the recommended minimum liquid requirement. Generally, you’ll need around 1 to 1.5 cups of liquid for every cup of kidney beans.
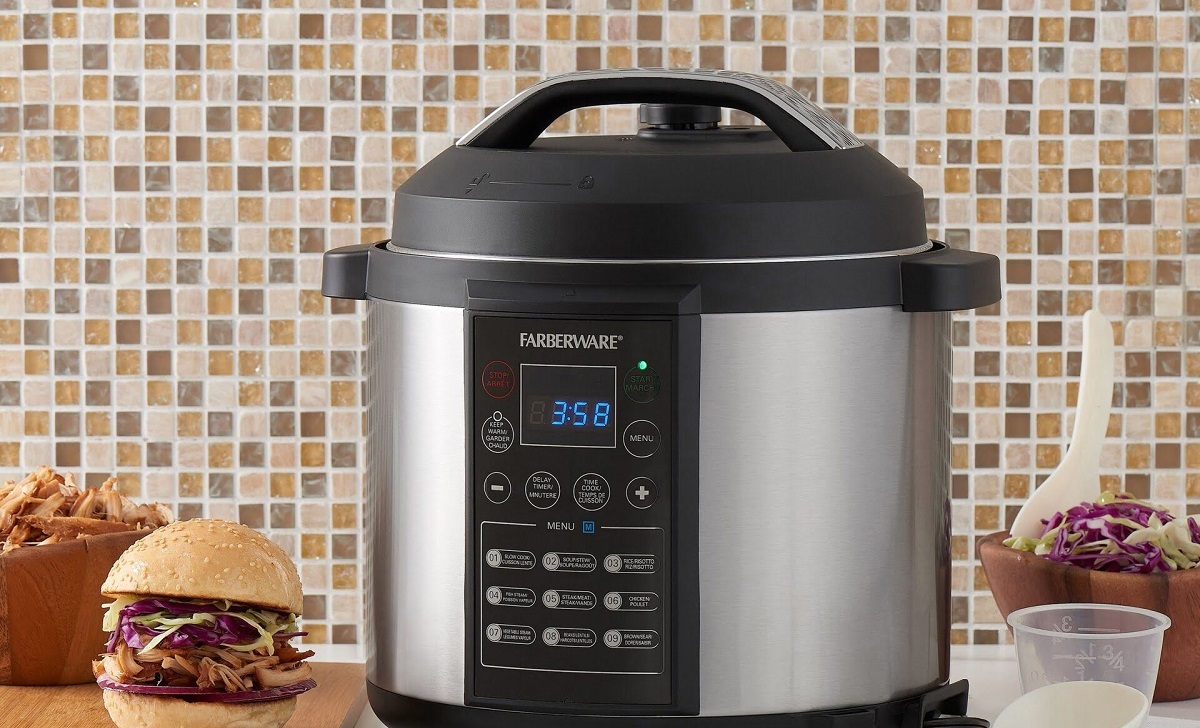
- Choose the Cooking Mode: Electric pressure cookers typically offer different cooking modes, such as “High Pressure,” “Beans/Legumes,” or “Manual.” Select the appropriate mode for cooking kidney beans and adjust the cooking time as needed.
- Preheat (If Required): Some electric pressure cookers require preheating before adding the ingredients. Refer to your appliance’s manual to determine if preheating is necessary and follow the instructions accordingly.
- Secure the Lid: Ensure that the lid is securely locked in place before starting the cooking process. This is crucial to maintain the pressure inside the cooker.
- Set the Cooking Time: Adjust the cooking time according to your recipe or the specific instructions for cooking kidney beans in your electric pressure cooker. Generally, it takes around 20 to 25 minutes to cook soaked kidney beans in an electric pressure cooker.
By following these steps, you’ll ensure that your electric pressure cooker is properly prepared and ready to cook kidney beans to perfection. Familiarize yourself with your specific appliance’s manual for any additional guidelines or special features that may be applicable.
Remember, always follow the manufacturer’s instructions and guidelines for your specific electric pressure cooker model to ensure safe and efficient cooking.
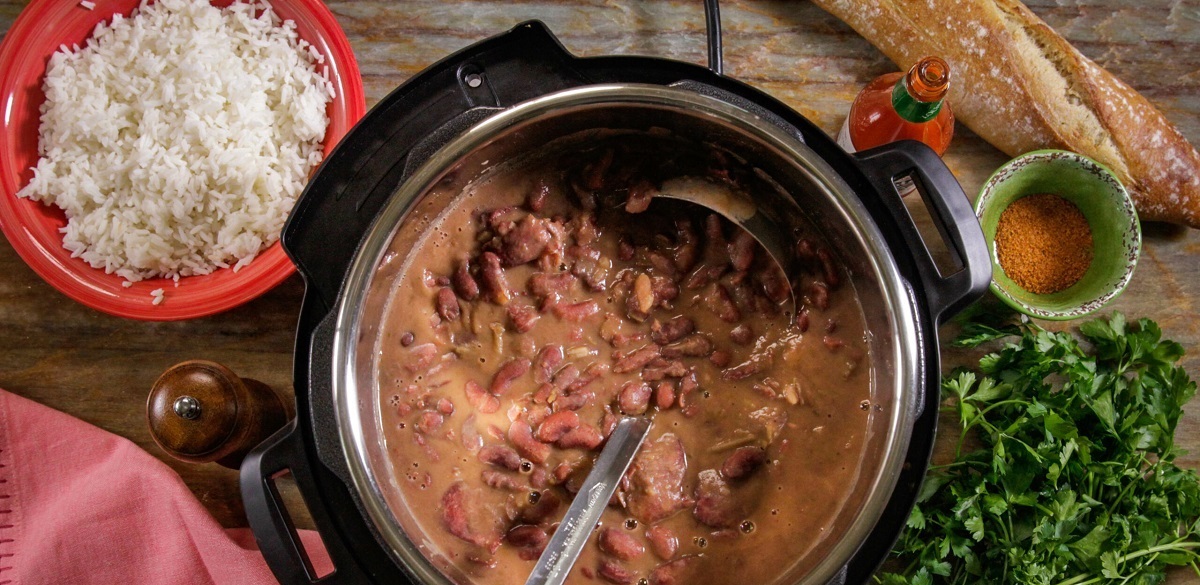
Cooking Kidney Beans in an Electric Pressure Cooker
Cooking kidney beans in an electric pressure cooker is a convenient and time-saving method that yields tender and flavorful beans. Here’s how to cook kidney beans in an electric pressure cooker:
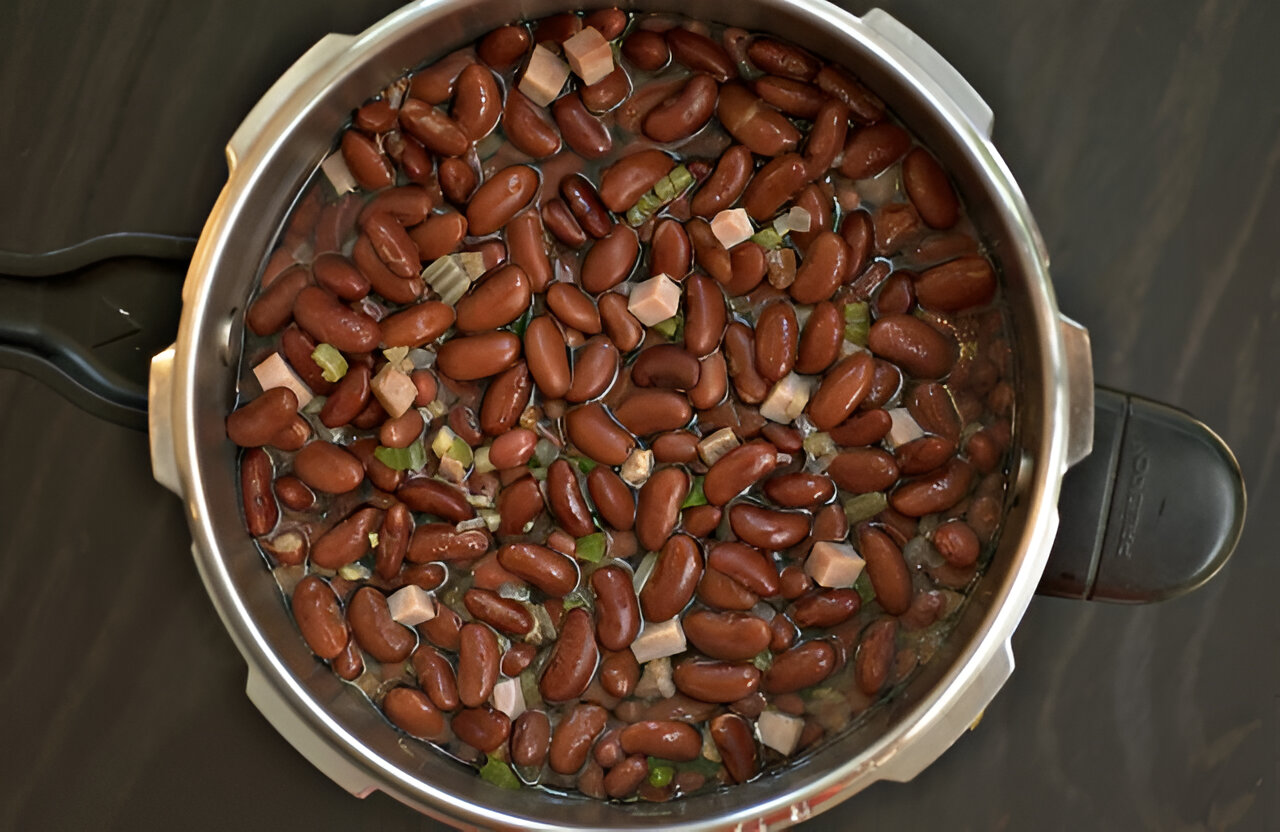
- Add Soaked Beans: After soaking and draining the kidney beans, add them to the electric pressure cooker insert.
- Add Liquid: Pour in the appropriate amount of cooking liquid, such as water or vegetable broth, taking into account the recommended liquid-to-bean ratio for your specific recipe. Ensure that there is enough liquid to fully submerge the beans.
- Secure the Lid: Place the lid on the electric pressure cooker and make sure it is locked in place.
- Select Cooking Mode: Choose the appropriate cooking mode on your electric pressure cooker. Generally, the “High Pressure” or “Beans/Legumes” mode is suitable for cooking kidney beans.
- Set Cooking Time: Adjust the cooking time according to your recipe or the recommended cooking time for kidney beans. Typically, soaked kidney beans require around 20 to 25 minutes of cooking time in an electric pressure cooker.
- Start Cooking: Start the cooking process by pressing the start button or following the specific instructions for your electric pressure cooker model.
- Natural Pressure Release vs. Quick Pressure Release: After the cooking time is complete, you have two options for releasing the pressure: natural pressure release (NPR) or quick pressure release (QPR). For kidney beans, it is generally recommended to use the natural pressure release method to allow the beans to continue cooking and soften further in the residual heat. However, if you’re short on time, you can opt for the quick pressure release method, following the instructions provided by your electric pressure cooker.
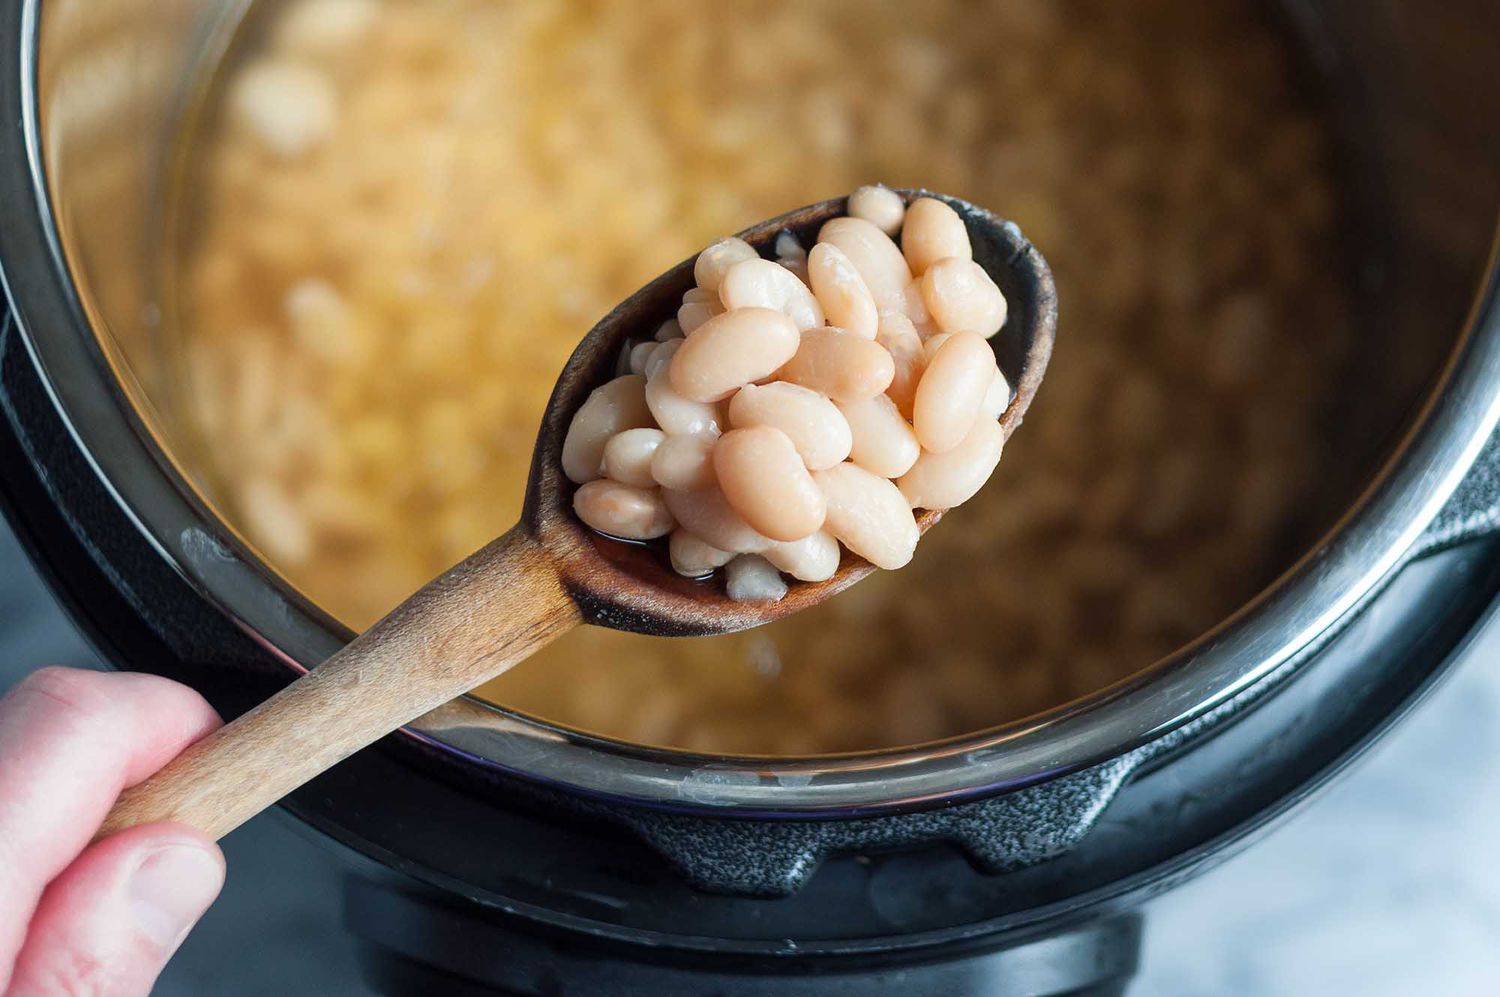
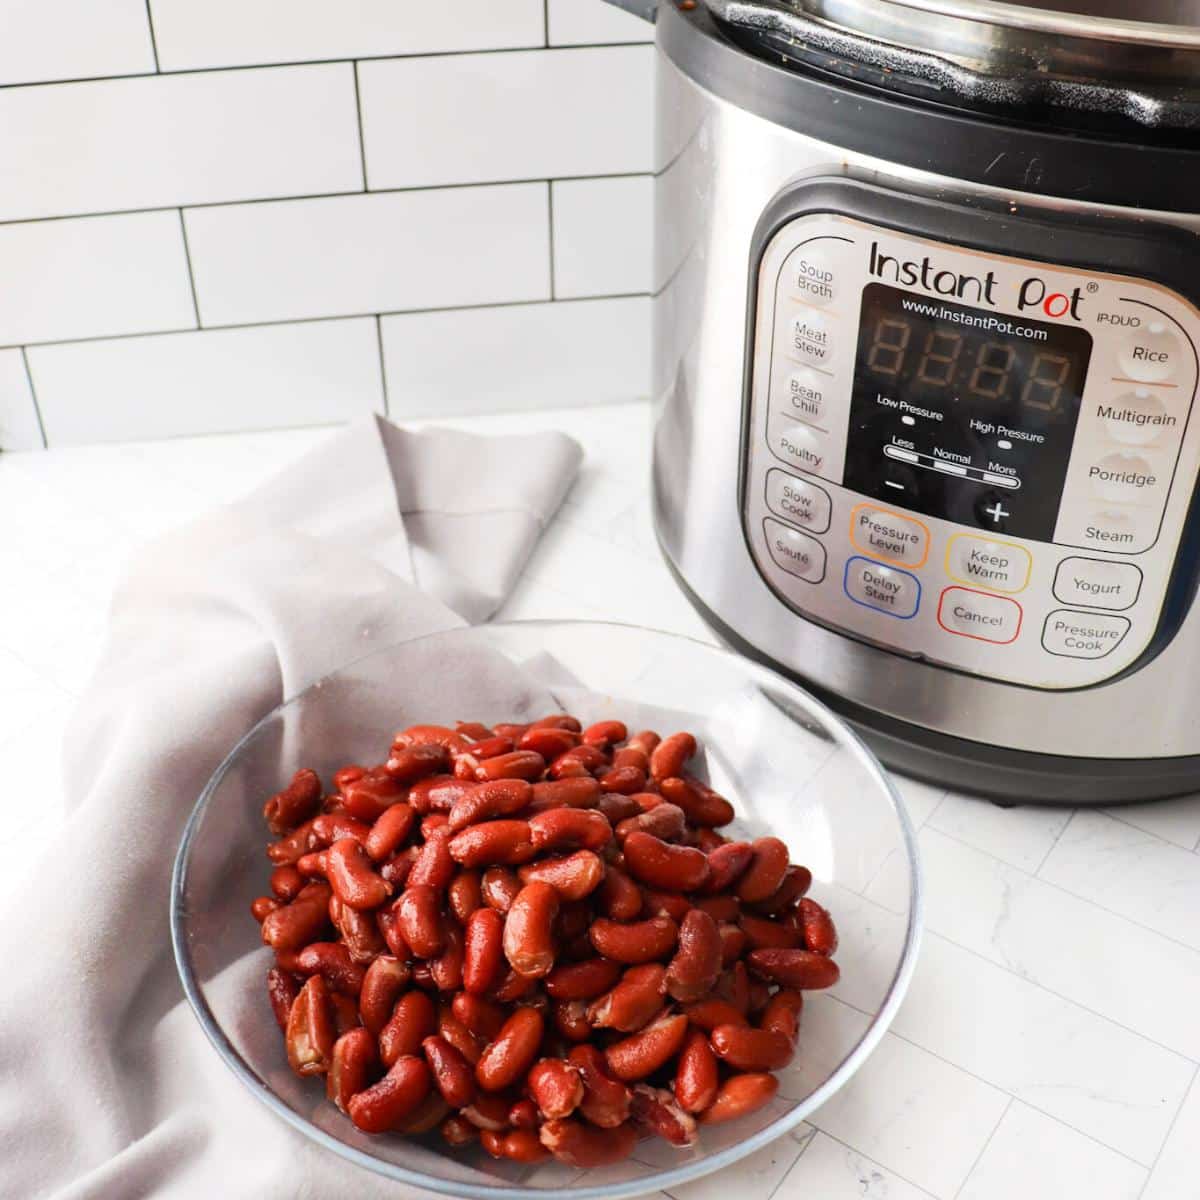
Once the pressure has been released, carefully open the lid of the electric pressure cooker. Your kidney beans should be tender and cooked to perfection. Test a bean for doneness, and if needed, cook them for an additional few minutes using the pressure cooker’s sauté function or by resealing the lid and cooking for a little longer.
Remember to always follow the specific instructions and cooking times for your electric pressure cooker model, as cooking times may vary slightly.
Natural Pressure Release vs. Quick Pressure Release
When cooking kidney beans in an electric pressure cooker, understanding the difference between natural pressure release (NPR) and quick pressure release (QPR) is crucial. Both methods have their advantages and should be used appropriately to achieve the desired results. Here’s what you need to know:
Natural Pressure Release (NPR):
Natural pressure release involves allowing the pressure inside the electric pressure cooker to decrease on its own without any intervention. It is achieved by simply turning off the heat and letting the cooker sit undisturbed. Here are some key points to keep in mind:
- NPR is particularly beneficial when cooking kidney beans as it allows for additional cooking time in the residual heat, resulting in softer and more tender beans.
- The release process can take anywhere from 10 to 30 minutes or more, depending on the amount of pressure inside the cooker and the specific recipe.
- During the NPR, the pressure valve is typically in the sealed position. It will drop on its own when the pressure has fully released.
- Caution: Never force open the lid when using natural pressure release. Always ensure that the pressure valve has fully dropped before attempting to open the cooker.
Quick Pressure Release (QPR):
Quick pressure release is a method of manually releasing the pressure inside the electric pressure cooker using knob or button. It allows for a rapid reduction in pressure and is useful in certain situations. Here’s what you should know about QPR:
- QPR is suitable when you need to quickly stop the cooking process and prevent overcooking, or when the recipe specifies a QPR.
- To perform a quick pressure release, carefully turn the pressure release valve to the venting position or press the quick-release button, following the instructions provided by your electric pressure cooker model.
- Be cautious as hot steam will forcefully rush out from the pressure release valve. Always use long oven mitts or a towel to protect your hands from steam burns.
- Keep your face and hands away from the steam path to avoid any potential injuries or burns.
Understanding the difference between natural pressure release and quick pressure release will help you determine which method is most appropriate for cooking kidney beans in your electric pressure cooker. In general, opting for natural pressure release will result in softer and more evenly cooked beans, while quick pressure release can be used when time is limited or when specific recipe instructions call for immediate pressure release.
Seasoning and Flavoring Kidney Beans
Seasoning and flavoring kidney beans is a crucial step in creating delicious and satisfying dishes. While kidney beans have a mild flavor on their own, they readily absorb the flavors of the ingredients they are cooked with. Here are some tips and ideas for seasoning and flavoring kidney beans:
1. Aromatics: Start by sautéing aromatics such as onions, garlic, and bell peppers in a little olive oil or butter. These ingredients will provide a flavorful base for your kidney beans.
2. Herbs and Spices: Experiment with different herbs and spices to add depth and complexity to your kidney beans. Popular choices include cumin, paprika, thyme, bay leaves, oregano, and smoked paprika.
3. Salt: Don’t forget to season your kidney beans with salt. Salt enhances the overall flavor of the dish and brings out the natural flavors of the beans and other ingredients.
4. Acidic Ingredients: Add a touch of acidity to balance the flavors. Lemon juice, lime juice, vinegar, or even a splash of wine can brighten up the dish and add a tangy twist.
5. Stock or Broth: Instead of using plain water as the cooking liquid, consider using vegetable or chicken stock/broth. This will infuse the kidney beans with added flavor and richness.
6. Tomato-based Sauces: If you’re looking to create a rich and flavorful dish, consider adding tomato-based sauces such as tomato paste, crushed tomatoes, or tomato sauce. They will give your kidney beans a savory and robust flavor.
7. Sweetness: Add a touch of sweetness to balance the flavors. A teaspoon of brown sugar, maple syrup, or honey can mellow out the dish and complement the savory notes.
8. Experiment with Combining Ingredients: Have fun experimenting with different combinations of herbs, spices, and flavorings to create unique and flavorful kidney bean dishes. Consider adding ingredients like smoked meat, chipotle peppers, coconut milk, or even a splash of hot sauce for an extra kick.
Remember to taste and adjust the seasonings as you cook to ensure the desired flavor profile is achieved. The beauty of cooking kidney beans in an electric pressure cooker is that the flavors meld together beautifully, resulting in a dish that is rich, flavorful, and comforting.
Storing and Freezing Cooked Kidney Beans
After cooking a batch of kidney beans in an electric pressure cooker, you may find yourself with leftovers. Proper storage and freezing techniques ensure that your cooked kidney beans stay fresh and flavorful. Here’s what you need to know:
Storing Cooked Kidney Beans:
- Allow the cooked kidney beans to cool completely before storing them.
- Transfer the beans to an airtight container or a resealable plastic bag.
- Label the container or bag with the date to keep track of freshness.
- Store the cooked kidney beans in the refrigerator and use them within 3-4 days.
Freezing Cooked Kidney Beans:
Freezing cooked kidney beans is a convenient way to extend their shelf life. Follow these steps to freeze them properly:
- Cool the cooked kidney beans completely.
- Transfer the beans to freezer-safe containers or bags, leaving some headspace to allow for expansion during freezing.
- Remove as much air as possible from the containers or bags before sealing them.
- Label the containers or bags with the date and portion size.
- Place the containers or bags in the freezer and store them for up to 3 months.
Thawing and Using Frozen Kidney Beans:
To thaw frozen cooked kidney beans, follow these steps:
- Transfer the desired portion of frozen kidney beans to the refrigerator the night before using them.
- Allow the beans to thaw in the refrigerator overnight.
- Alternatively, you can thaw the beans in a microwave using the defrost setting, or cook them directly from frozen if incorporating them into dishes with other cooking ingredients.
Once thawed, cooked kidney beans can be added to various recipes, including salads, soups, stews, chili, or even used as a base for bean dips or spreads. They are a versatile and nutritious addition to your culinary repertoire.
Remember to discard any cooked kidney beans that have been left unrefrigerated for more than 2 hours to avoid the risk of foodborne illnesses.
By properly storing and freezing your cooked kidney beans, you can enjoy their deliciousness even after their initial cooking. This allows for easy meal planning and minimizes waste.
Tips and Tricks for Cooking Kidney Beans in an Electric Pressure Cooker
Cooking kidney beans in an electric pressure cooker can be a quick and efficient way to enjoy this nutritious legume. To ensure the best results, here are some helpful tips and tricks:
- Soak the Beans: Soaking kidney beans before cooking is highly recommended as it helps to reduce cooking time and improves digestibility. Aim to soak the beans overnight or for at least 8-12 hours.
- Rinse Thoroughly: After soaking, rinse the kidney beans thoroughly to remove any remaining starch and impurities. This helps prevent cloudy cooking liquid and ensures a cleaner taste.
- Follow Liquid Recommendations: Be sure to follow the recommended liquid-to-bean ratio in your electric pressure cooker’s manual. This ensures adequate liquid for the beans to cook properly and avoids any issues with burning or undercooking.
- Avoid Overfilling: Do not fill the pressure cooker beyond its recommended capacity. Overfilling can lead to issues with cooking times and unevenly cooked beans.
- Leave Space for Expansion: When cooking kidney beans, leave some headspace in the pressure cooker to allow for expansion during the cooking process. This prevents the risk of clogging the pressure release valve.
- Use Natural Pressure Release: Opt for a natural pressure release (NPR) method when cooking kidney beans. This allows the beans to continue cooking and absorb more flavors in the residual heat. It also helps to avoid excessive splitting of the beans.
- Add Seasonings After Cooking: Seasonings such as salt, acidic ingredients, and spices should be added after the beans are fully cooked. Adding them before cooking can result in toughening the skins and increased cooking time.
- Avoid Overcooking: As cooking times may vary depending on the size and freshness of the kidney beans, it’s important to monitor the cooking process. Be cautious not to overcook the beans, as they can become mushy or lose their shape.
- Experiment with Flavors: Don’t be afraid to experiment with different flavor combinations and seasonings when cooking kidney beans. They are versatile and can adapt to various cuisines and culinary styles.
- Take Safety Precautions: Always follow the safety instructions and guidelines provided by your electric pressure cooker’s manufacturer. Ensure proper handling and releasing of pressure to avoid any potential accidents or injuries.
By following these tips and tricks, you’ll be able to cook kidney beans to perfection in your electric pressure cooker. Enjoy the versatility and nutritional benefits of this delicious legume in your favorite recipes.
Recipes and Ideas for Using Cooked Kidney Beans
Once you have cooked kidney beans in your electric pressure cooker, there are countless delicious recipes and creative ways to use them. Here are some ideas to inspire your culinary adventures:
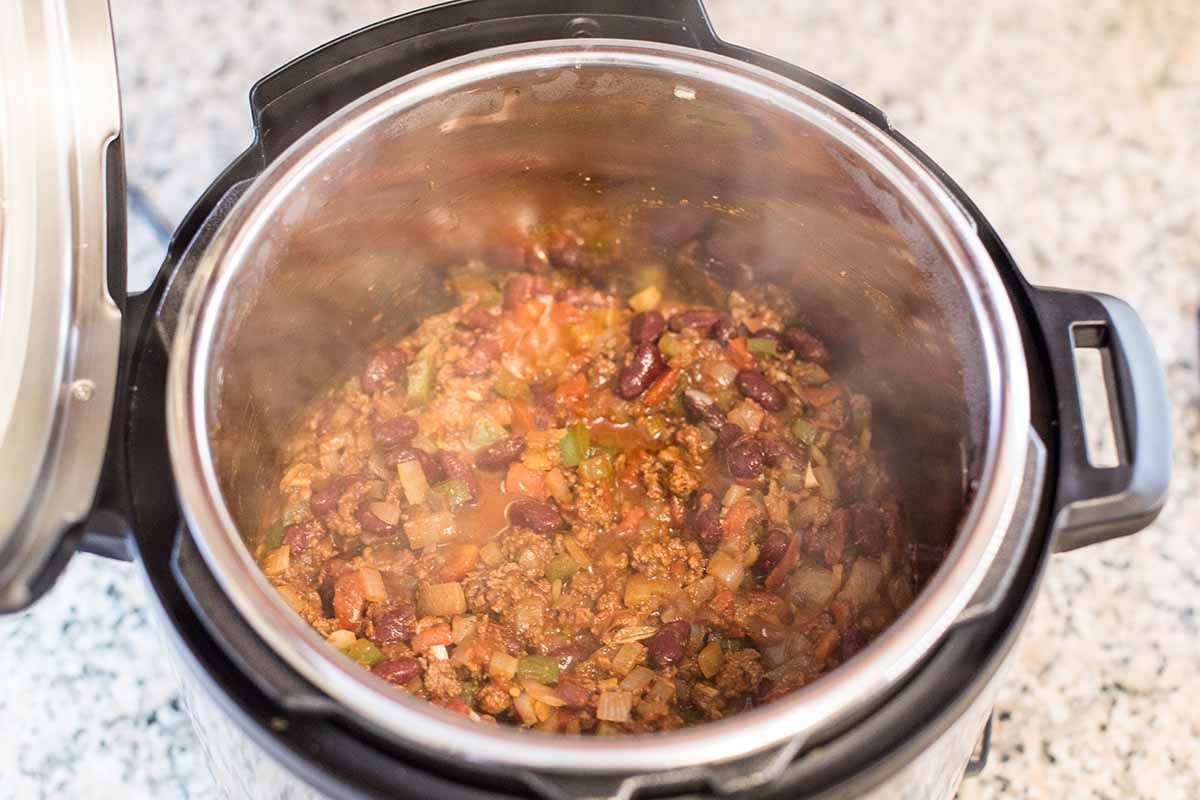
1. Classic Chili: Use cooked kidney beans as the base for a hearty and flavorful chili. Combine them with ground meat or plant-based protein, onions, garlic, tomatoes, and an array of spices to create a comforting and satisfying meal.
2. Bean Salad: Toss cooked kidney beans with diced bell peppers, red onions, cherry tomatoes, and a zesty vinaigrette for a refreshing and protein-rich salad. Add other vegetables such as cucumbers or avocado and herbs like cilantro or parsley for added freshness.
3. Bean Tacos or Burritos: Fill tortillas with seasoned kidney beans, sautéed vegetables, shredded cheese, and your favorite toppings for a delicious and vegetarian-friendly taco or burrito filling.
4. Bean Burgers: Blend cooked kidney beans with breadcrumbs, onions, garlic, and spices to make flavorful and protein-packed veggie burgers. Serve on a bun with your favorite toppings for a satisfying meatless meal.
5. Bean Dip or Hummus: Puree cooked kidney beans with garlic, lemon juice, tahini, and olive oil for a tasty and nutritious bean dip or hummus. Enjoy it as a dip with vegetables, pita chips, or spread it on sandwiches and wraps.
6. Bean Soup: Use cooked kidney beans as an ingredient in comforting and nourishing soups. Combine them with vegetables, broth, spices, and herbs to create a hearty and comforting meal.
7. Bean and Grain Bowl: Create a satisfying and wholesome grain bowl by combining cooked kidney beans with cooked grains like quinoa, brown rice, or barley. Add roasted vegetables, greens, and a flavorful dressing for a nutritious and filling meal.
8. Bean Stew: Add cooked kidney beans to a rich and hearty stew with ingredients like potatoes, carrots, celery, and your choice of protein. Allow the flavors to meld together for a comforting and satisfying meal.
9. Bean and Pasta Dish: Combine cooked kidney beans with your favorite pasta, vegetables, and a flavorful sauce for a quick and easy weeknight meal. Top it with grated cheese, herbs, or a drizzle of olive oil for added indulgence.
10. Bean and Veggie Stir-fry: Sauté cooked kidney beans with a variety of colorful vegetables and your choice of sauce for a quick and nutritious stir-fry. Serve over rice or noodles for a complete meal.
These are just a few ideas to help you get started, but feel free to get creative and experiment with your own recipes and flavor combinations. Kidney beans are versatile and provide a great source of protein, fiber, and nutrients to enhance any dish you create!