Introduction
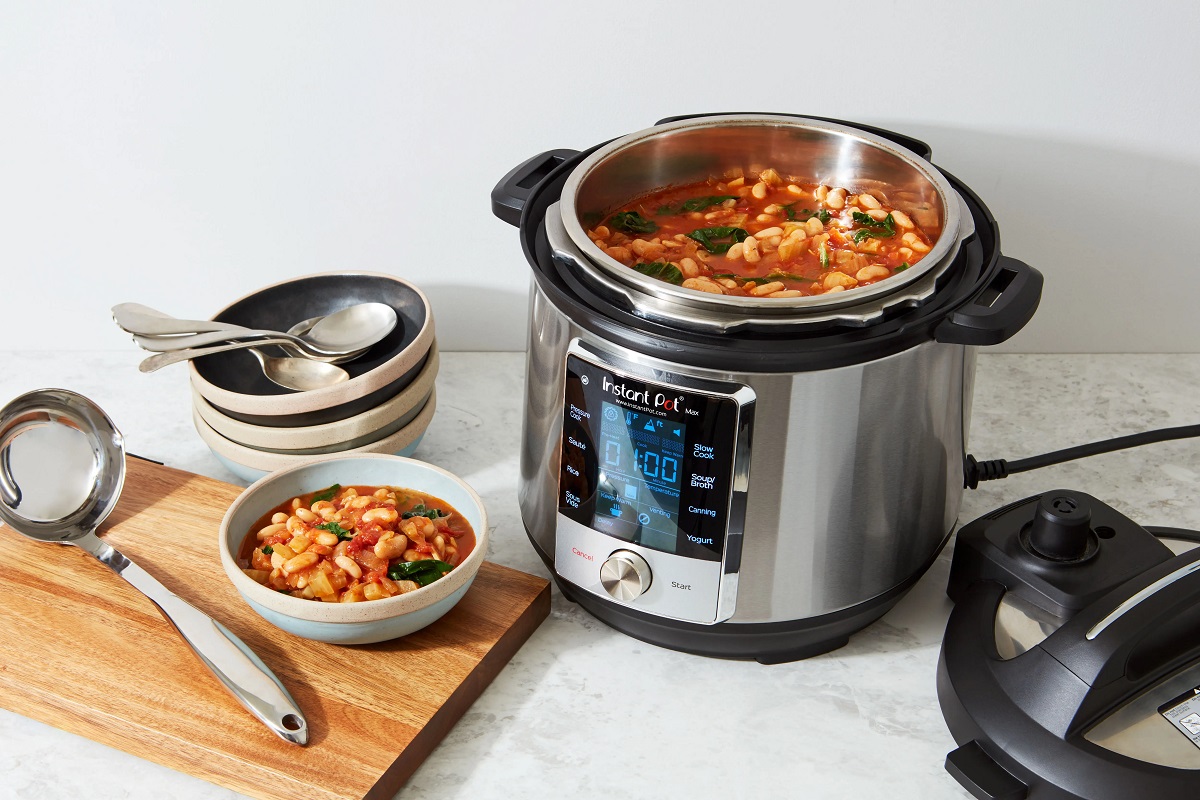
Welcome to the world of electric pressure cooking! If you’re a chili enthusiast looking for a quick and convenient way to make a hearty and flavorful chili, an electric pressure cooker is your new best friend. This kitchen appliance not only cuts down on cooking time but also infuses rich flavors into your chili that will keep you coming back for more.
With its sealed and pressurized cooking environment, an electric pressure cooker allows for faster cooking by trapping steam inside, which raises the boiling point of water and speeds up the cooking process. It also retains more nutrients in your ingredients, resulting in healthier and more flavorful meals.
In this article, we will guide you through the step-by-step process of making chili in an electric pressure cooker. From selecting the right ingredients to serving up a mouthwatering bowl of chili, we’ll cover it all. Whether you’re a beginner or a seasoned cook, this guide will help you achieve chili perfection with your electric pressure cooker.
So, dust off your electric pressure cooker, grab your apron, and let’s get cooking!
Choosing the Right Ingredients for Electric Pressure Cooker Chili
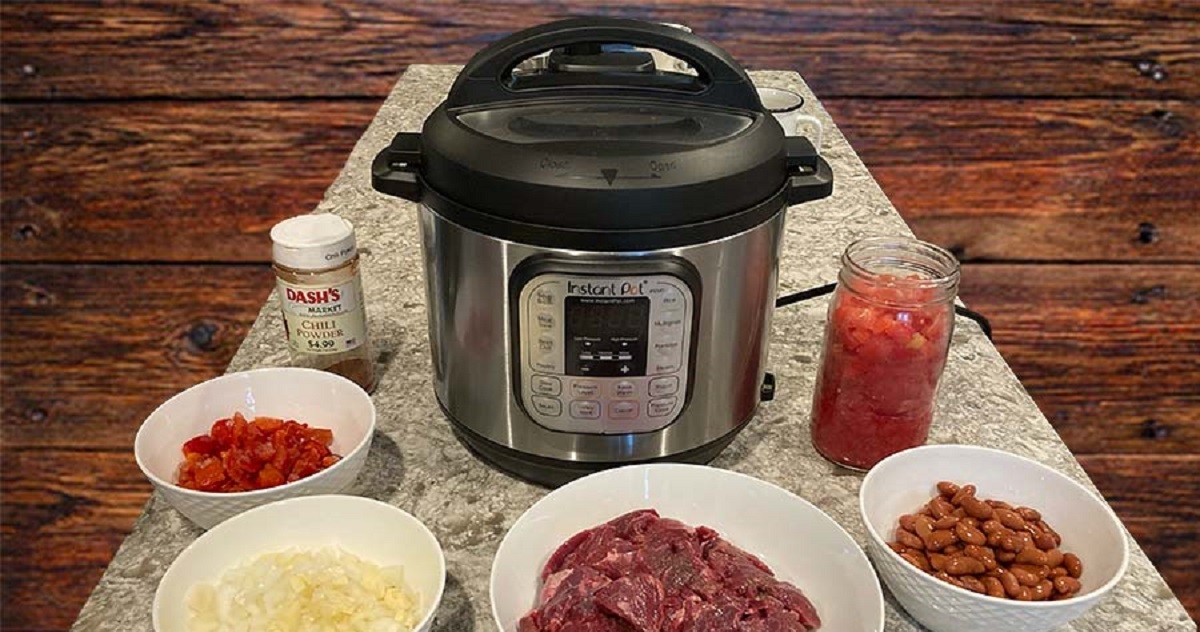
The foundation of a delicious chili starts with high-quality ingredients. When selecting your ingredients for electric pressure cooker chili, keep in mind the flavors you want to incorporate and the level of heat you prefer. Here are some key ingredients to consider:
1. Meat: Opt for well-marbled cuts like beef chuck or pork shoulder, as they will become tender and flavorful during the pressure cooking process. If you prefer a leaner chili, you can use lean ground beef or turkey.
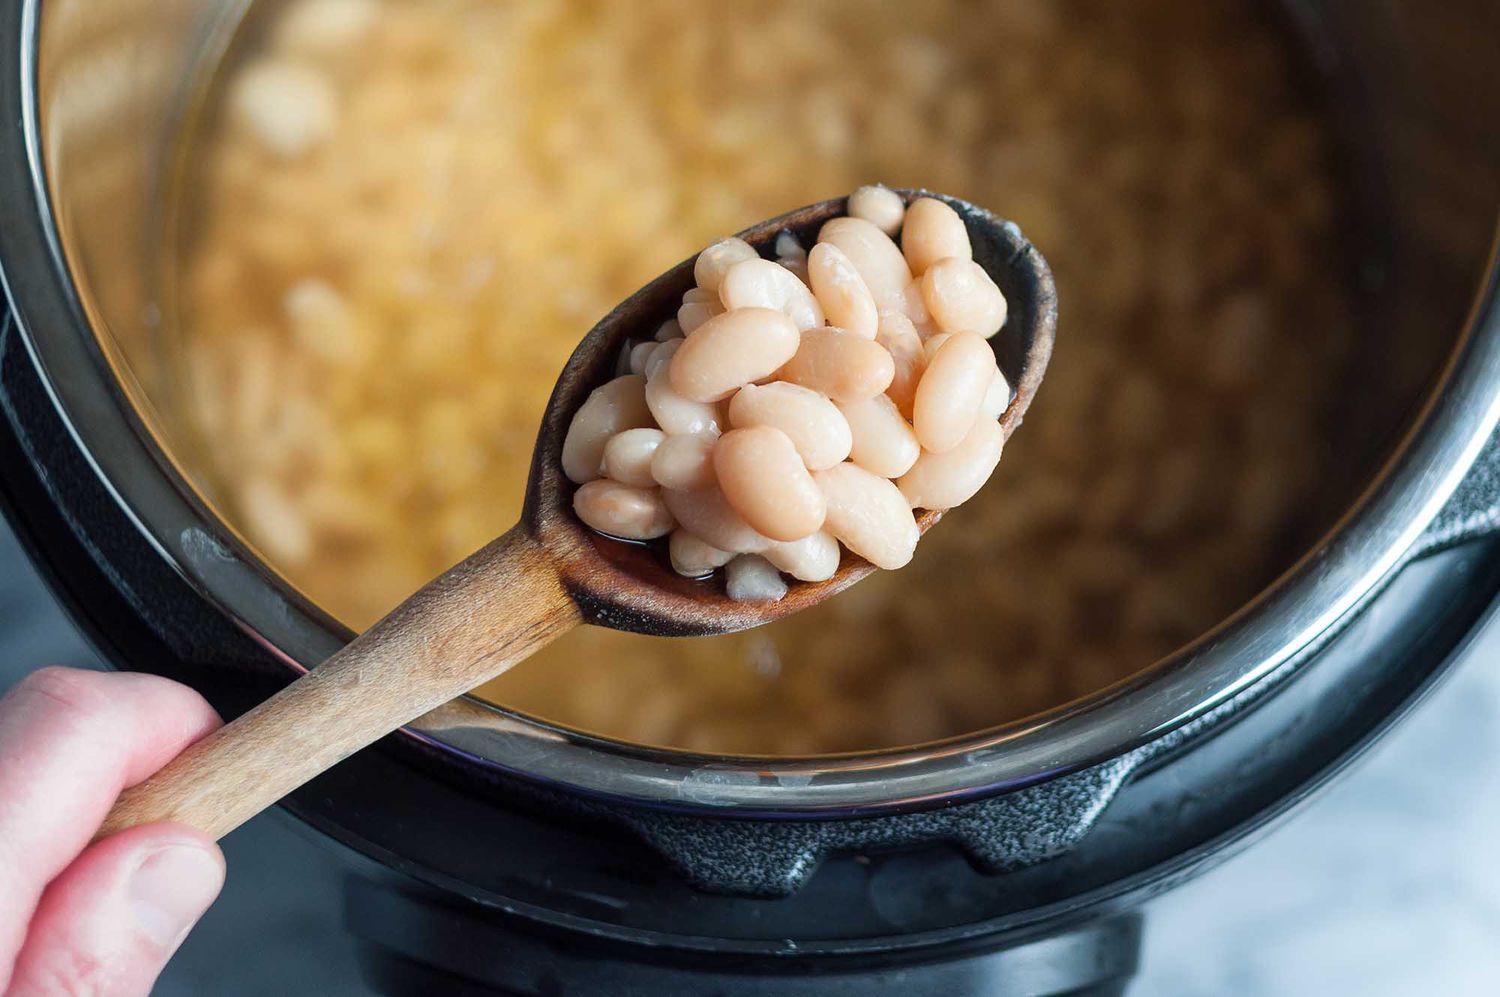
2. Beans: Choose your favorite type of beans, such as kidney beans, black beans, or pinto beans. If using dried beans, make sure to soak them overnight or use the quick soak method prior to cooking.
3. Vegetables: Onions, garlic, and bell peppers are classic ingredients that add depth and flavor to chili. Feel free to add other vegetables like corn, carrots, or celery to enhance the nutritional value and texture of your chili.
4. Tomatoes: Canned diced tomatoes or tomato sauce form the base of the chili. You can also use fresh tomatoes, but make sure to remove the skin and seeds before adding them to the pressure cooker.
5. Spices and Seasonings: Chili powder, cumin, paprika, oregano, and cayenne pepper are essential spices that give chili its distinctive flavor. Adjust the quantity of spices according to your taste preferences and desired level of spiciness.
It’s important to note that the amount of ingredients may vary depending on your electric pressure cooker’s capacity. Be sure not to exceed the maximum fill line to prevent any issues during the cooking process.
Now that you’ve gathered your ingredients, it’s time to prepare them for your electric pressure cooker chili. Let’s move on to the next step!
Preparing the Ingredients for Electric Pressure Cooker Chili
Before diving into the cooking process, it’s important to properly prepare your ingredients for electric pressure cooker chili. Follow these steps to ensure a seamless and delicious chili-making experience:
1. Meat: If using beef chuck or pork shoulder, trim any excess fat and cut it into bite-sized cubes. If using ground beef or turkey, break it into crumbles.
2. Beans: If using dried beans, soak them overnight in water or use the quick soak method by bringing them to a boil for a few minutes, then letting them sit for an hour. Drain and rinse the soaked beans before adding them to the pressure cooker. If using canned beans, drain and rinse them as well before adding them to the chili.
3. Vegetables: Dice the onions, mince the garlic, and chop the bell peppers and any other vegetables you plan to include in your chili.
4. Tomatoes: If using fresh tomatoes, blanch them in boiling water for a minute, then transfer them to ice water to easily remove the skin. Cut the tomatoes in half, remove the seeds, and dice the flesh. If using canned diced tomatoes or tomato sauce, you can skip this step.
5. Spices and Seasonings: Measure out the spices and seasonings according to your recipe or taste preference. You can either combine them in a small bowl or add them directly to the pressure cooker later on.
By preparing your ingredients ahead of time, you’ll be able to focus on the cooking process without any interruptions. Once everything is prepped and ready to go, it’s time to move on to the next exciting step of sautéing and browning in the electric pressure cooker!
Sautéing and Browning in the Electric Pressure Cooker
Now that your ingredients are prepared, it’s time to add some depth of flavor to your electric pressure cooker chili by sautéing and browning. Follow these steps to achieve perfectly caramelized meat and veggies:
1. Turn on the sauté function on your electric pressure cooker and heat a small amount of oil. If your pressure cooker doesn’t have a sauté function, you can use a separate skillet on the stovetop.
2. Add the diced onions, minced garlic, and chopped bell peppers to the heated oil. Sauté them until they become fragrant and slightly softened, stirring occasionally to prevent burning.
3. Once the veggies are sautéed, push them to one side of the pressure cooker and add the meat to the other side. Allow the meat to brown for a few minutes, stirring occasionally to ensure even cooking.
4. If using ground meat, break it into crumbles as it cooks until it is browned all over. If using cubed meat, make sure each piece gets a nice sear on all sides.
5. Once the meat is browned, you can mix it with the sautéed vegetables or leave them separated, depending on your preference.
Sautéing and browning the ingredients not only enhances the flavors but also adds a beautiful color to your chili. It’s an important step that should not be skipped, as it helps to develop a rich and complex taste in the final dish.
With the sautéing and browning completed, it’s time to move on to the next step of adding seasonings and liquid to your electric pressure cooker chili. Let’s keep the flavors coming!
Adding Seasonings and Liquid to the Electric Pressure Cooker
With the sautéing and browning step completed, it’s time to bring in the flavors to your electric pressure cooker chili. Follow these steps to add the perfect combination of seasonings and liquid:
1. Begin by adding the spices and seasonings to the sautéed meat and vegetables in the electric pressure cooker. This includes chili powder, cumin, paprika, oregano, and cayenne pepper. Adjust the quantities according to your desired level of spiciness and flavor.
2. Stir the spices and seasonings into the meat and vegetables to evenly distribute the flavors. Allow them to cook for a minute or two to release their aromas and enhance the overall taste of the chili.
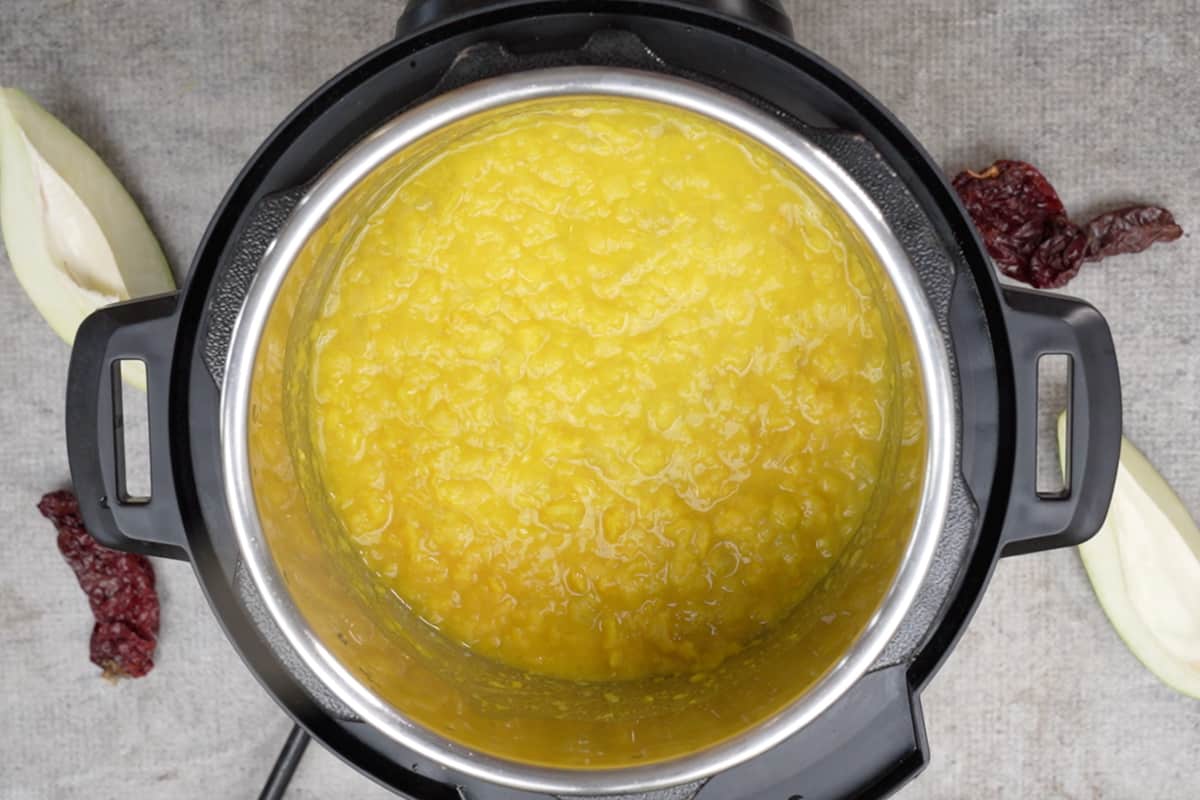
3. Next, pour in the liquid component of your electric pressure cooker chili. This can be in the form of broth, tomato sauce, diced tomatoes, or a combination of these. The liquid helps to create the necessary steam and pressure inside the cooker, resulting in tender and flavorful chili.
4. Make sure that the liquid covers the ingredients but doesn’t exceed the maximum fill line of your electric pressure cooker. Too much liquid may result in a soupy consistency, while too little liquid may cause the chili to burn or not cook properly.
5. Give the mixture a good stir to combine all the ingredients and ensure that nothing is stuck to the bottom of the pressure cooker.
Adding the right combination of seasonings and liquid is crucial to achieving a well-balanced and flavorful electric pressure cooker chili. It’s time to seal the cooker and let the magic happen as we move on to the cooking process!
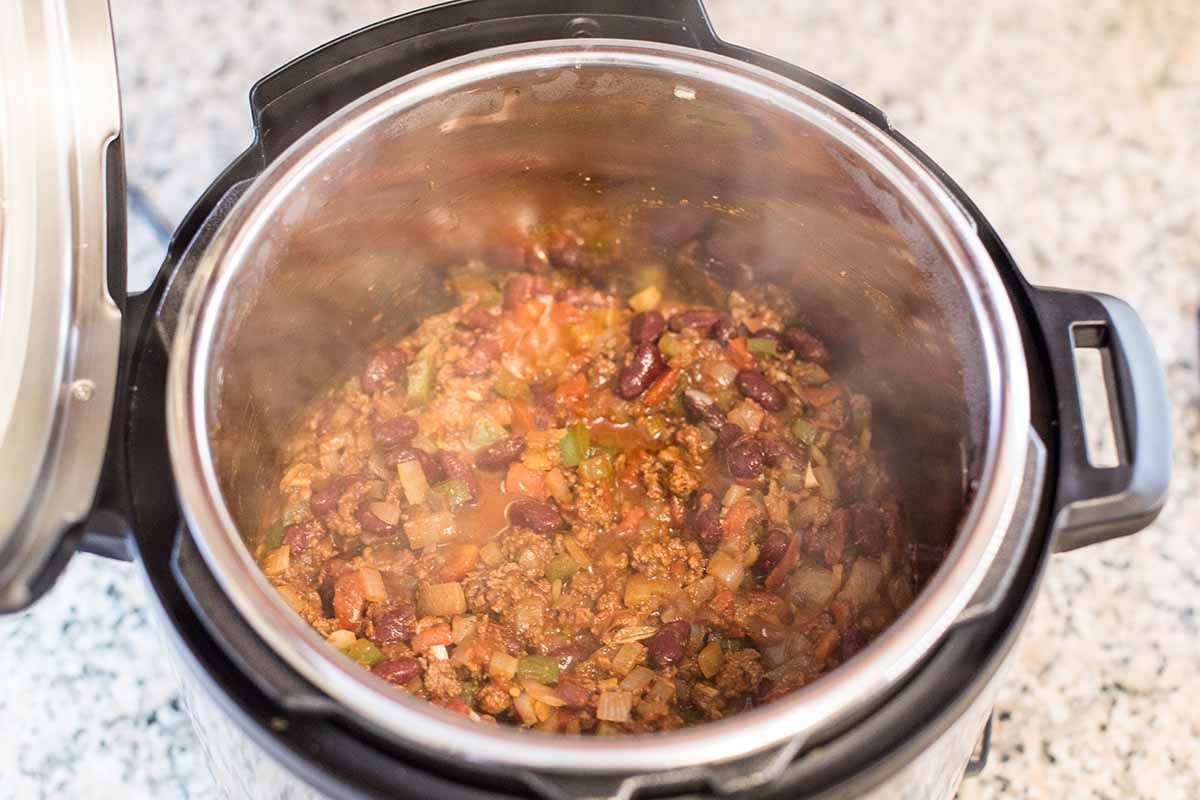
Cooking Chili in the Electric Pressure Cooker
Now that all the ingredients, including the seasonings and liquid, are in the electric pressure cooker, it’s time to cook the chili. Follow these steps for a perfectly cooked and flavorful electric pressure cooker chili:
1. Securely close the lid of the electric pressure cooker and ensure that it is properly sealed. Set the cooking mode to “pressure cook” or “manual” and adjust the cooking time according to your recipe. Typically, chili takes around 20-30 minutes to cook under high pressure.
2. Once the cooking time is set, the pressure cooker will start building up pressure. You will see the pressure indicator rise and lock into place, indicating that it’s reached the desired pressure level.
3. The cooking time countdown will begin, and the chili will cook under pressure. This process allows all the flavors to meld together while tenderizing the meat and fully cooking the beans and vegetables.
4. Once the cooking time is complete, the electric pressure cooker will automatically switch to the “keep warm” mode. At this point, you have two options:
- a. Natural Release: Allow the pressure to release naturally, which typically takes around 10-15 minutes. This gradual release helps to retain the flavors and juices within the chili.
- b. Quick Release: If you’re short on time, you can perform a quick release of the pressure by carefully turning the pressure release valve from sealing to venting. Be cautious of the hot steam and use a long utensil to avoid direct contact.
5. Once the pressure is released, carefully unlock and remove the lid. Give the chili a good stir to mix all the flavors together.
With the cooking process complete, it’s now time to check the consistency of the chili and make any necessary adjustments. Let’s move on to the next step!
Releasing Pressure and Checking Chili Consistency
Now that the electric pressure cooker has finished cooking the chili, it’s time to release the pressure and check the consistency. Follow these steps for a successful pressure release and to ensure your chili reaches the desired thickness:
1. If you performed a natural release, allow the pressure to release on its own for about 10-15 minutes. During this time, the pressure will slowly decrease, and the float valve will drop.
2. If you opted for a quick release, use caution when handling the pressure release valve. Avoid placing your hand directly over the valve and instead use a long utensil to turn it from sealing to venting. Be prepared for a rush of hot steam.
3. Once the pressure has fully released, carefully remove the lid from the electric pressure cooker. Take a moment to appreciate the rich aroma that will greet you.
4. Check the consistency of your chili. If you find that it is too thin, you can thicken it by simmering it uncovered on the sauté function of the pressure cooker. This will allow excess liquid to evaporate and result in a thicker chili. Stir occasionally to prevent scorching.
5. Conversely, if your chili is too thick, you can add some additional liquid such as broth, water, or tomato sauce. Stir well and simmer for a few minutes to incorporate the added liquid.
6. During this step, also taste-test your chili for seasoning adjustments. Add more salt, pepper, or additional spices according to your preference. Remember, flavors tend to intensify during the cooking process, so go easy and adjust gradually if needed.
By releasing the pressure and checking the consistency of your chili, you can ensure that it has the perfect thickness and flavor profile. Now, it’s time to serve it up and add some finishing touches!
Serving and Garnishing Electric Pressure Cooker Chili
With your electric pressure cooker chili cooked to perfection, it’s time to serve it up and add some delicious garnishes. Follow these steps to create a beautiful and flavorful presentation:
1. Ladle the hot chili into serving bowls. Make sure to distribute both the meat and the beans evenly for a balanced serving.
2. Now comes the fun part – adding garnishes to enhance the flavors and textures of your chili. Here are some popular garnishing options:
- a. Shredded Cheese: Sprinkle a generous amount of shredded cheese on top of the hot chili. Cheddar, Monterey Jack, or Mexican blend cheeses work well and add a creamy richness.
- b. Sour Cream: Add a dollop of sour cream to the center of each bowl. The cool and tangy flavor of the sour cream complements the spiciness of the chili.
- c. Fresh Herbs: Finely chop some fresh herbs like cilantro, green onions, or parsley, and sprinkle them over the chili for a burst of freshness.
- d. Diced Avocado: Add some creamy and nutritious diced avocados on top of the chili for a buttery texture and a touch of color.
- e. Jalapenos: For those who love an extra kick of heat, thinly slice some jalapenos and place them on top of the chili.
- f. Tortilla Chips: Serve a handful of tortilla chips on the side for scooping up the chili. The crunchy chips provide a satisfying contrast to the hearty chili.
3. Serve the electric pressure cooker chili with your desired garnishes and accompaniments. Consider adding a side of cornbread, a fresh salad, or even a bowl of rice to complete the meal.
By adding these garnishes, you’ll not only enhance the appearance of the chili but also elevate the taste and provide a variety of textures and flavors. It’s time to dig in and enjoy your homemade electric pressure cooker chili!
Tips for Perfect Electric Pressure Cooker Chili
To ensure that your electric pressure cooker chili turns out perfect every time, consider these helpful tips:
1. Browning for Flavor: Take the time to sauté and brown the meat and vegetables before pressure cooking. This step adds depth of flavor and enhances the overall taste of the chili.
2. Layer Flavors: For even more complexity, consider adding additional ingredients like diced bacon, smoky chipotle peppers, or a splash of Worcestershire sauce to your chili recipe. These layers of flavors will take your chili to the next level.
3. Don’t Overfill: When using an electric pressure cooker, make sure not to fill it beyond the maximum fill line. Overfilling can cause the chili to expand and potentially clog the vent, resulting in uneven or undercooked chili.
4. Adjust Seasoning: Remember that flavors can intensify during the cooking process. Start with a conservative amount of spices and seasonings, and gradually add more to adjust to your taste preference.
5. Simmer for Thicker Consistency: If you prefer a thicker chili, simmer the cooked chili on the sauté function of your electric pressure cooker. This allows excess liquid to evaporate, resulting in a thicker and more concentrated chili.
6. Use Quick Release for Vegetables: If your chili contains delicate vegetables like bell peppers or zucchini, opt for a quick pressure release to prevent them from becoming overly soft or mushy.
7. Experiment with Beans: Don’t be afraid to experiment with different types of beans in your chili. Each variety brings a unique texture and flavor to the dish. Feel free to mix and match beans to find your favorite combination.
8. Let it Rest: Like most stews and chilis, allowing your electric pressure cooker chili to rest for a few minutes after cooking helps to meld the flavors and achieve a more harmonious taste.
9. Safety First: Always follow the manufacturer’s instructions and guidelines for your specific electric pressure cooker model to ensure safe and proper usage.
10. Enjoy the Leftovers: Chili often tastes even better the next day as the flavors continue to develop. Refrigerate any leftovers and enjoy them as a quick and satisfying meal later in the week.
By following these tips, you’ll be well on your way to creating a perfect bowl of electric pressure cooker chili that is bursting with flavor and satisfaction.
Conclusion
Congratulations! You’ve learned all the essential steps and tips for cooking delicious chili in an electric pressure cooker. With its time-saving capabilities and ability to infuse rich flavors, the electric pressure cooker is a fantastic tool for creating hearty and satisfying chili.
From choosing the right ingredients and preparing them properly, to sautéing and browning for maximum flavor, to adding the perfect combination of seasonings and liquid, you have all the knowledge you need to make a mouthwatering batch of chili.
Remember, the cooking process involves releasing pressure, checking consistency, and adding your favorite garnishes. These final touches not only enhance the presentation but also add layers of flavor and texture to your chili.
Whether you prefer a classic beef and bean chili or like to experiment with different variations, the electric pressure cooker provides a convenient and efficient way to prepare a satisfying meal for yourself, your family, or even a gathering of friends.
So, grab your electric pressure cooker, gather your ingredients, and start creating your own signature chili recipe. With practice and experimentation, you’ll be able to perfect your chili-making skills and delight your taste buds with the incredible flavors that emerge from your pressure cooker.
Enjoy the journey of cooking, and savor every spoonful of your homemade electric pressure cooker chili!