Introduction
Cooking a delicious and hearty soup has never been easier than with an electric pressure cooker. Whether you’re a seasoned chef or a novice in the kitchen, using an electric pressure cooker can save you time and effort while still producing a flavorful and comforting meal.
With its ability to cook food quickly under high pressure, an electric pressure cooker is perfect for making soups. Not only does it reduce the cooking time significantly, but it also allows flavors to develop and meld together, creating a rich and satisfying dish.
In this article, we will guide you through the step-by-step process of making soup in an electric pressure cooker. We’ll cover everything from gathering the necessary ingredients to serving and garnishing your soup. Whether you prefer a classic tomato soup, a hearty chicken noodle soup, or a spicy chili, the techniques discussed here can be easily adapted to suit your favorite soup recipes.
So, if you’re ready to dive into the world of pressure cooker soup making, let’s get started!
Ingredients
Before you start making soup in an electric pressure cooker, it’s essential to gather all the necessary ingredients. The great thing about soup recipes is that they are versatile, and you can customize them according to your preferences. Here are some common ingredients you might need:
- 1-2 pounds of protein: This can be chicken, beef, pork, or even tofu for a vegetarian option.
- Assorted vegetables: Carrots, celery, onions, bell peppers, and potatoes are commonly used, but feel free to use any vegetables you like.
- Broth or stock: Chicken, beef, vegetable, or even mushroom stock can add depth of flavor to your soup. Alternatively, you can use water and bouillon cubes or paste.
- Canned or fresh tomatoes: Depending on your recipe, you may need diced tomatoes, crushed tomatoes, or tomato sauce.
- Herbs and spices: Common choices include garlic, thyme, rosemary, bay leaves, paprika, chili powder, and salt and pepper. Adjust the quantities to suit your taste.
- Pasta, rice, or grains: If you want your soup to be heartier, consider adding pasta, rice, or grains like barley or quinoa.
- Garnish: Fresh herbs, grated cheese, sour cream, or croutons can add a finishing touch to your soup.
Remember to check the specific recipe for any additional ingredients you may need. It’s also important to prepare all the ingredients beforehand, chopping vegetables and trimming meats, so that they are ready to be added to the pressure cooker.
Now that you have all your ingredients assembled, let’s move on to the next step in making soup in an electric pressure cooker: preparing the equipment.
Equipment Needed
Before you begin making soup in an electric pressure cooker, it’s crucial to have the necessary equipment on hand. Here are the main items you’ll need:
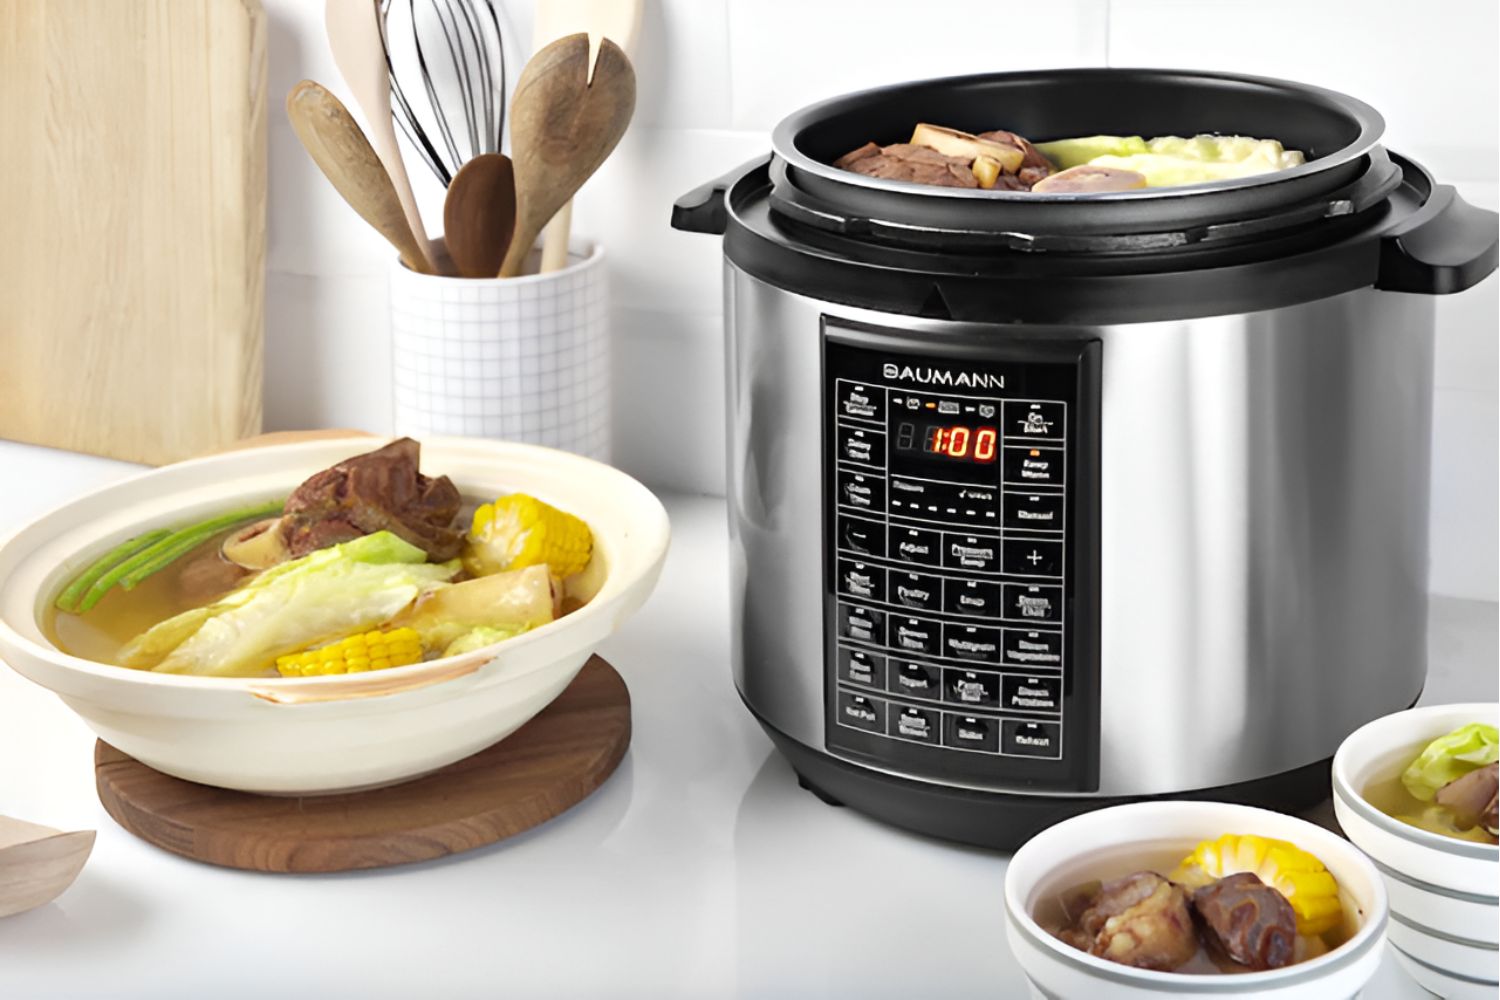
- Electric Pressure Cooker: Make sure you have a reliable and properly functioning electric pressure cooker. Different models may have different buttons and settings, so refer to the user manual for specific instructions.
- Cutting Board and Knife: To chop and prepare your ingredients, you’ll need a sturdy cutting board and a sharp knife.
- Measuring Spoons and Cups: Accurately measuring your ingredients is crucial for a well-balanced soup. Make sure you have measuring spoons and cups on hand.
- Wooden Spoon or Silicone Spatula: These utensils are useful for stirring and scraping the bottom of the pressure cooker when sautéing ingredients.
- Ladle or Soup Spoon: You’ll need a ladle or soup spoon to serve your delicious soup.
- Blender or Immersion Blender (optional): If you prefer a smooth and creamy soup texture, having a blender or immersion blender can be handy. However, it’s not necessary if you prefer a chunky soup.
Make sure all your equipment is clean and in good working condition before you start cooking. Having everything ready to go will make the soup-making process much smoother and more enjoyable.
Now that you have all the necessary equipment, it’s time to move on to the exciting part: preparing the ingredients for your delicious soup!
Step 1: Prepare the Ingredients
The first step in making soup in an electric pressure cooker is to prepare all the ingredients. Here’s how you can get started:
- Cut and Chop: Begin by cutting and chopping all the vegetables and protein for your soup. Dice onions, carrots, celery, bell peppers, and any other vegetables you plan to include. Cut the protein, such as chicken or beef, into bite-sized pieces. This preparation step will save you time later when you’re ready to cook.
- Season: If you’re using meat or tofu, season them with salt and pepper or any other desired spices. This will help enhance the flavor of the protein as it cooks in the pressure cooker.
- Measure Ingredients: It’s essential to measure out the broth or stock, canned tomatoes, spices, and any other ingredients according to your recipe. This ensures the right balance of flavors in your soup.
- Organize: Once everything is cut, seasoned, and measured, organize the ingredients in separate bowls or containers. This step will make it easier to add them to the pressure cooker during the cooking process.
By preparing the ingredients ahead of time, you’ll have a smooth cooking experience and prevent any last-minute scrambling for ingredients while your soup is cooking.
Now that the ingredients are ready, it’s time to move on to the next step: sautéing the ingredients in the electric pressure cooker.
Step 2: Sauté the Ingredients
Once you have prepared all the ingredients for your soup, the next step is to sauté them in the electric pressure cooker. Sautéing the ingredients not only adds depth of flavor to your soup but also helps release aromas and enhance the overall taste. Here’s how you can do it:
- Select the Sauté Function: On your electric pressure cooker, select the sauté function and adjust the heat to medium or high, depending on your model.
- Heat the Oil: Add a small amount of cooking oil, such as olive oil or vegetable oil, to the pressure cooker. Allow it to heat for a minute or two.
- Add the Aromatics: Start by adding the aromatic ingredients, such as onions, garlic, and other spices, to the hot oil. Sauté them for a few minutes until they become fragrant and slightly softened.
- Sauté the Vegetables and Protein: Add the remaining vegetables and the protein to the pressure cooker. Sauté them for a few more minutes, stirring occasionally, until the vegetables begin to soften and the protein starts to brown.
- Deglaze the Pot (optional): If there are any browned bits stuck to the bottom of the pressure cooker, you can deglaze the pot by adding a small amount of liquid, such as broth or wine, and using a wooden spoon or spatula to scrape them off.
- Turn off the Sauté Function: Once the ingredients are sautéed to your desired level, turn off the sauté function on the electric pressure cooker. This will prevent the ingredients from overcooking while under pressure.
Sautéing the ingredients in the electric pressure cooker adds wonderful flavor and sets the foundation for a delicious soup. Plus, it’s a convenient way to cut down on dirty dishes since you can do the sautéing directly in the pressure cooker.
Now that the ingredients are nicely sautéed, it’s time to move on to the next step: adding the broth and seasonings to your soup.
Step 3: Add the Broth and Seasonings
After sautéing the ingredients in the electric pressure cooker, it’s time to add the broth and seasonings to your soup. This step will help create a flavorful base for your soup. Here’s what you need to do:
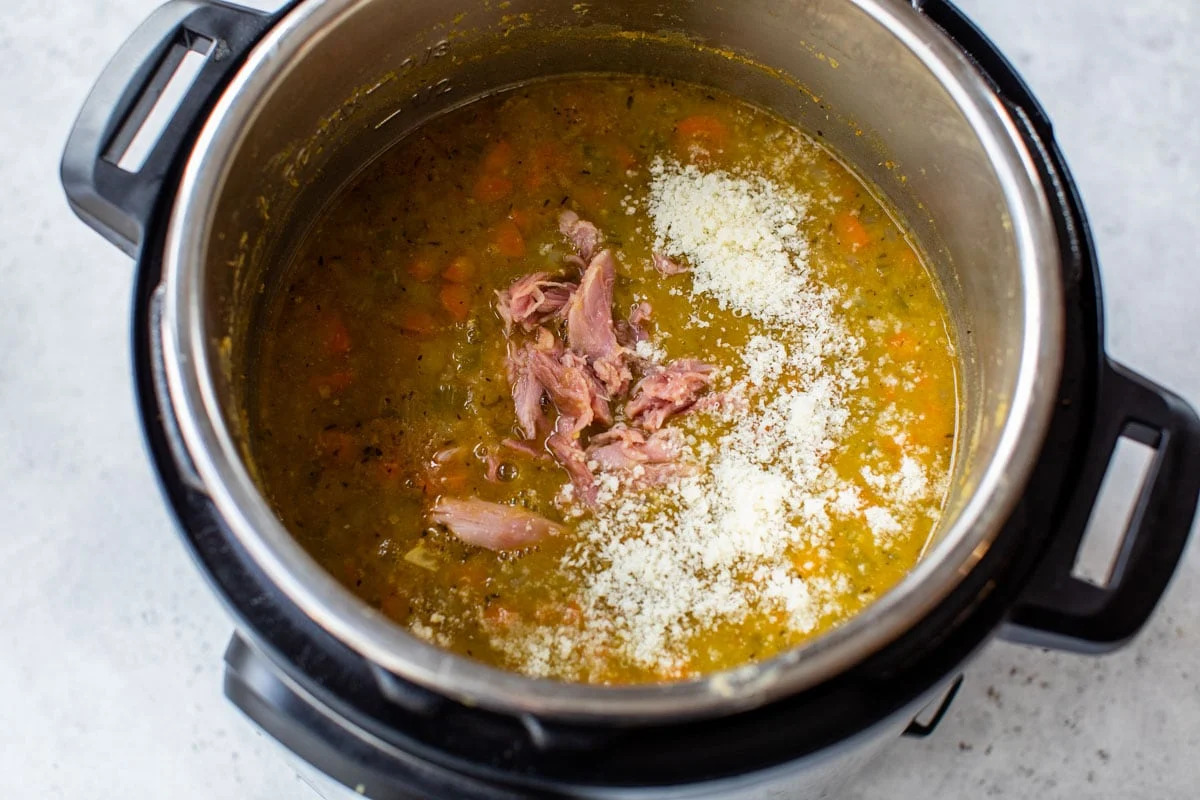
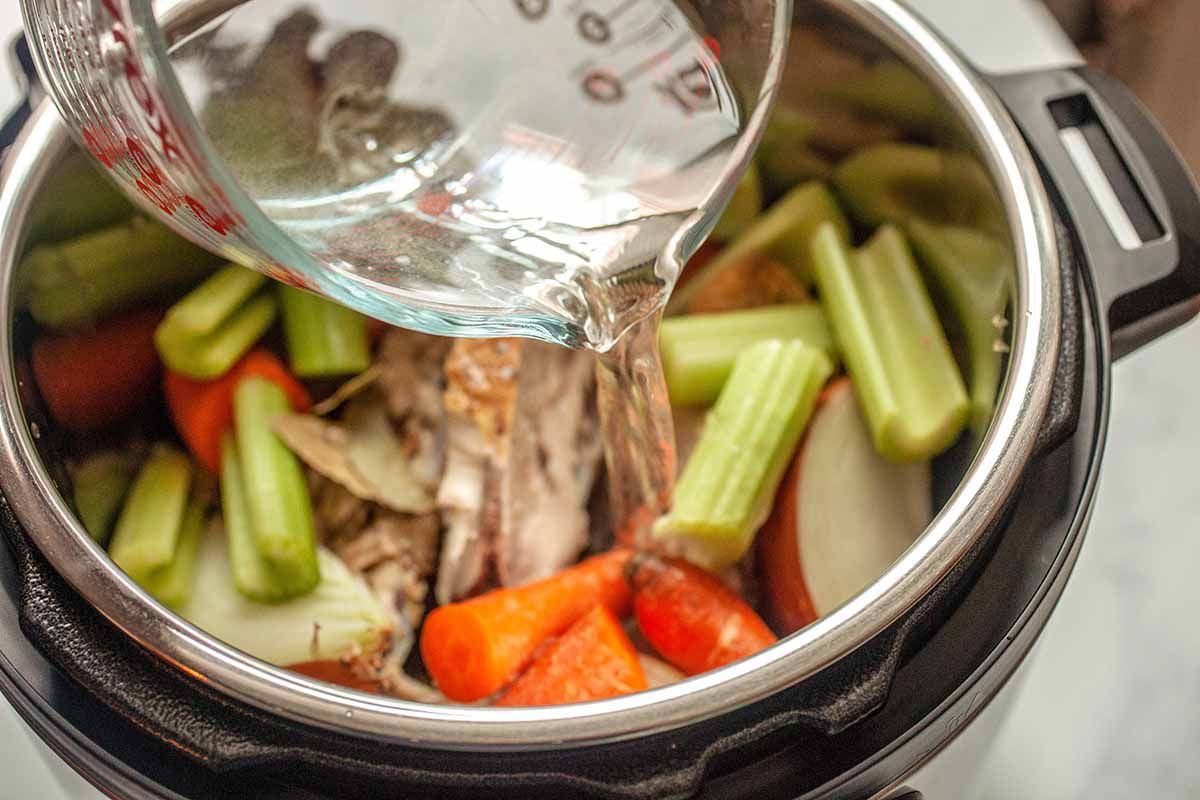
- Add the Broth: Pour the desired amount of broth or stock into the pressure cooker, covering the sautéed ingredients. The amount of broth you need will depend on the recipe and the desired thickness of your soup.
- Add the Seasonings: Now it’s time to add your preferred seasonings and spices. This could include herbs like thyme, rosemary, bay leaves, and spices like paprika, chili powder, or any other flavors that complement your soup recipe. Adjust the quantities according to your taste preferences.
- Stir Well: Give the soup a good stir to ensure that the broth and seasonings are evenly distributed throughout the mixture. This will help enhance the overall flavor of the soup.
- Check the Liquid Level: Ensure that the liquid level is not exceeding the maximum fill line indicated on your pressure cooker. It’s important not to overfill the pressure cooker to avoid any issues during the cooking process.
Adding the broth and seasonings is a crucial step to infuse your soup with delicious flavors. The broth serves as the base, while the seasonings add depth and complexity to the overall taste.
Now that your soup is ready to be cooked, it’s time to move on to the next step: setting the pressure cooker.
Step 4: Set the Pressure Cooker
Now that you have added the broth and seasonings to your electric pressure cooker, it’s time to set the cooker to start the cooking process. Setting the pressure cooker correctly is crucial for achieving optimal results. Here’s what you need to do:
- Secure the Lid: Ensure that the lid of the electric pressure cooker is securely in place and properly sealed. This is important for creating the necessary pressure inside the cooker to cook the soup.
- Select the Pressure Setting: Most electric pressure cookers have different pressure settings, such as high or low. Select the appropriate pressure setting according to your recipe instructions. High pressure is commonly used for most soup recipes.
- Set the Cooking Time: Depending on the type of soup and ingredients, set the cooking time as recommended in your recipe. The pressure cooker will automatically start counting down once it reaches the desired pressure.
- Start the Pressure Cooking: Once you have set the pressure and cooking time, start the pressure cooking process according to the instructions of your electric pressure cooker. This may involve pressing a specific button or turning a dial to begin the cooking process.
- Wait for the Pressure: The electric pressure cooker will take some time to build pressure inside before it starts the actual cooking process. This time may vary depending on the model and the amount of liquid and ingredients in the cooker.
Setting the pressure cooker correctly is essential to ensure that your soup is cooked thoroughly and all the flavors are infused. Pay attention to the recommended pressure settings and cooking times in your recipe for the best results.
Now that your pressure cooker is set and your soup is cooking, it’s time to move on to the next step: deciding whether to perform a quick release or a natural release of the pressure.
Step 5: Quick Release or Natural Release?
Once the cooking time is complete, you have two options for releasing the pressure in your electric pressure cooker: quick release or natural release. The method you choose will depend on the recipe and your personal preference. Here’s a breakdown of each option:
- Quick Release: In a quick release, you manually release the pressure from the pressure cooker by turning the pressure release valve. This allows the steam to escape rapidly, and the pressure drops quickly. It’s a great option if you’re short on time and want to enjoy your soup sooner. However, be cautious when using this method, as hot steam will forcefully escape from the valve. Always use a long utensil or oven mitt to turn the valve to avoid any burns.
- Natural Release: In a natural release, you allow the pressure to naturally release over a period of time. Depending on the recipe, this could take anywhere from 10 to 20 minutes or even longer. During this time, the pressure cooker gradually cools down, and the pressure releases naturally. This method is ideal for delicate ingredients or recipes where a longer cooking time is desired to further develop flavors.
When deciding between quick release and natural release, consider the ingredients in your soup and their sensitivity to extreme temperature changes. For example, if your soup contains delicate vegetables or seafood, a natural release may help prevent overcooking and keep the ingredients tender. On the other hand, heartier ingredients like root vegetables or cuts of meat can withstand a quick release without losing texture or flavor.
It’s important to follow the specific instructions in your recipe regarding the release method to ensure optimal results. Once the pressure has been released, and it’s safe to open the pressure cooker, move on to the next step: determining whether to blend the soup or serve it chunky.
Step 6: Blend or Leave Chunky
At this stage, you have the option to either blend your soup for a smooth and creamy consistency or leave it chunky for a heartier texture. The decision will depend on personal preference and the type of soup you’re making. Here’s how you can proceed:
- Blending: If you prefer a silky-smooth texture, you can use a blender or an immersion blender to puree the soup. Carefully transfer the cooked soup, in batches if necessary, to a blender or use an immersion blender directly in the pot. Blend until the desired consistency is achieved. Be cautious when blending hot liquids, as they can create steam and pressure in the blender. Leave room for the steam to escape and hold down the lid with a kitchen towel to prevent any accidents.
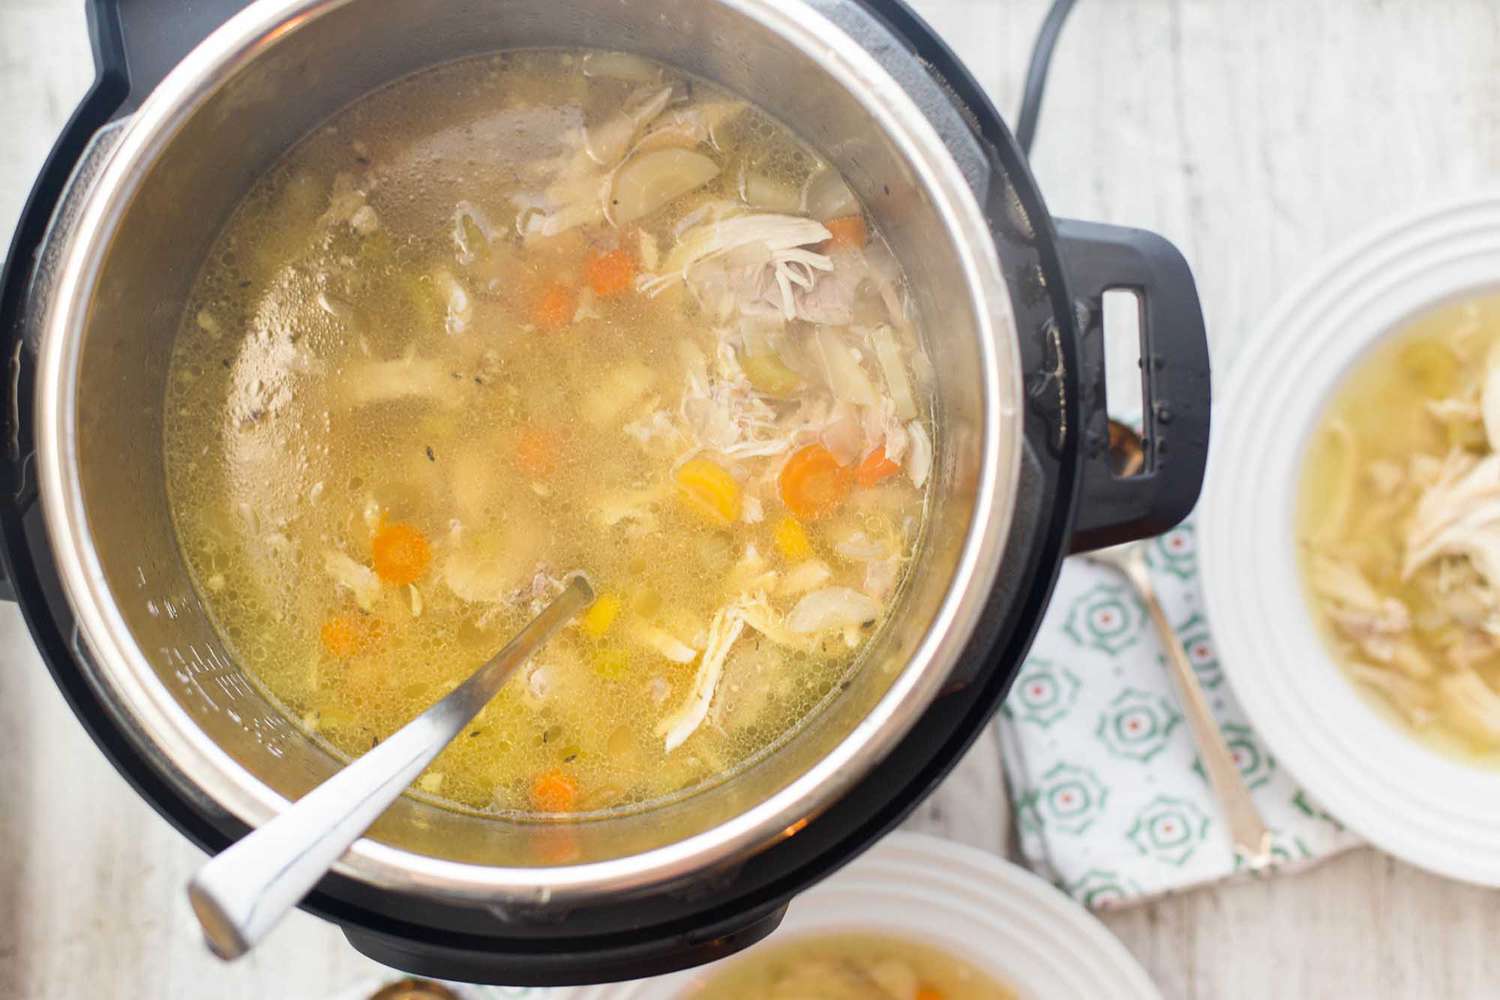
- Leaving Chunky: If you enjoy a more rustic and chunky soup, you can simply leave it as is. The tender vegetables and protein will be deliciously cooked and maintain their texture. You can use a wooden spoon to gently mash some of the vegetables against the side of the pot to naturally thicken the soup while still maintaining a chunky consistency.
The decision to blend or leave the soup chunky is entirely up to you. Consider the flavors, ingredients, and the overall experience you want to create. Smooth and creamy soups work well for certain recipes like butternut squash or tomato bisque, while chunky soups are perfect for hearty options like minestrone or chicken noodle.
Once you’ve achieved your desired consistency, it’s time for the final step: serving and garnishing your delicious homemade soup.
Step 7: Serve and Garnish
Now that your soup is ready, it’s time to serve it up and add some final touches with garnishes. Here’s how you can make your soup presentation even more delightful:
- Serving the Soup: Ladle the hot soup into bowls, ensuring that you distribute the vegetables, protein, and broth evenly. Take care not to overfill the bowls, allowing enough room for garnishes and easy handling.
- Garnish Options: Enhance the flavors and visual appeal of your soup by adding some garnishes. Here are a few popular options:
- Fresh Herbs: Sprinkle some freshly chopped herbs like parsley, cilantro, or chives on top of the soup. This adds a burst of freshness and a pop of vibrant color.
- Grated Cheese: For a creamy and indulgent touch, sprinkle some grated cheese such as Parmesan, cheddar, or mozzarella over the hot soup. Allow it to melt slightly and add a savory richness.
- Sour Cream or Yogurt: A dollop of sour cream or yogurt can provide creamy tanginess to balance the flavors of the soup. Swirl it gently into the soup or place it on top as a garnish.
- Croutons or Bread: Add some crunch and texture by sprinkling homemade or store-bought croutons over the soup. Alternatively, serve the soup with a side of crusty bread for dipping and savoring.
Get creative with your garnishes and select options that complement the flavors and style of your soup. Garnishing not only adds visual appeal but also enhances the overall taste and texture of the dish.
Now that your soup is beautifully garnished, it’s time to enjoy and savor the warm and comforting flavors!
Tips and Tricks
When making soup in an electric pressure cooker, here are some helpful tips and tricks to ensure the best results:
- Use the Sauté Function: Taking the extra step to sauté the ingredients before pressure cooking adds depth of flavor to your soup.
- Adjust Cooking Time: Customize the cooking time based on the specific soup recipe, ingredients, and desired texture. Some ingredients may require longer cooking times, while others can become overcooked if cooked for too long.
- Layer Ingredients: Layer ingredients in the pressure cooker with the protein on the bottom and the delicate vegetables on top. This helps prevent overcooking of tender vegetables.
- Measure Liquid Properly: Follow the recipe guidelines for the proper amount of liquid (broth or stock) to ensure the soup has the right consistency and flavor.
- Do Not Overfill: Adhere to the maximum fill line indicated in your pressure cooker to prevent any mishaps or blockages during the cooking process.
- Season Gradually: Adjust the seasoning of your soup gradually, tasting as you go. You can always add more salt, spices, or herbs, but it’s more difficult to remove them if the soup becomes overly seasoned.
- Allow for Natural Pressure Release: For recipes with large pieces of meat or tough vegetables, a natural pressure release can help improve tenderness and retain flavor.
- Add Pasta or Rice Separately: It’s best to cook pasta or rice separately and add them to the soup after the pressure cooking process. This prevents them from becoming overly mushy or absorbing too much liquid.
- Refrigerate Overnight: Soups often taste even better the next day as the flavors have had more time to meld together. Consider letting your soup cool and refrigerating it overnight before reheating and enjoying.
- Experiment with Flavors: Don’t be afraid to experiment with different herbs, spices, and vegetables to create unique flavor profiles in your soups.
By following these tips and tricks, you’ll be well on your way to creating delicious and satisfying soups in your electric pressure cooker.
Conclusion
Making soup in an electric pressure cooker is a convenient and efficient way to prepare a delicious and flavorful meal. With the ability to cook food quickly under high pressure, the electric pressure cooker allows flavors to develop and meld together, resulting in a rich and satisfying soup.
In this article, we’ve covered the step-by-step process of making soup in an electric pressure cooker, from gathering the ingredients to serving and garnishing the final dish. By following these steps and incorporating the tips and tricks provided, you can create a variety of soups tailored to your taste preferences.
Remember to gather all the necessary ingredients, prepare them accordingly, and sauté them to enhance the flavors. Adding the broth and seasonings sets the foundation for a delicious soup. Setting the pressure cooker correctly, deciding between quick release and natural release, and choosing to blend or leave the soup chunky are essential steps in the process. Lastly, garnishing the soup adds a final touch of flavor and visual appeal.
Whether you prefer a velvety smooth tomato bisque, a hearty chicken noodle soup, or a spicy chili, the electric pressure cooker can help you achieve your desired results with ease and efficiency.
So, grab your electric pressure cooker and get ready to embark on a journey of creating delectable soups that will warm your heart and satisfy your taste buds. Enjoy the process, experiment with flavors, and savor the comforting bowl of soup you’ve prepared!