Introduction
Welcome to the world of canning soups with an electric pressure cooker! If you’re a soup lover looking to preserve your favorite recipes for later enjoyment, using an electric pressure cooker can be a convenient and efficient method. Canning soups not only allows you to enjoy homemade goodness even when you’re short on time, but it also provides an excellent way to store and share your culinary creations with family and friends.
In this guide, we’ll walk you through the step-by-step process of canning soups using an electric pressure cooker. Whether you’re a beginner or have some experience in canning, this method is easy to follow and yields fantastic results.
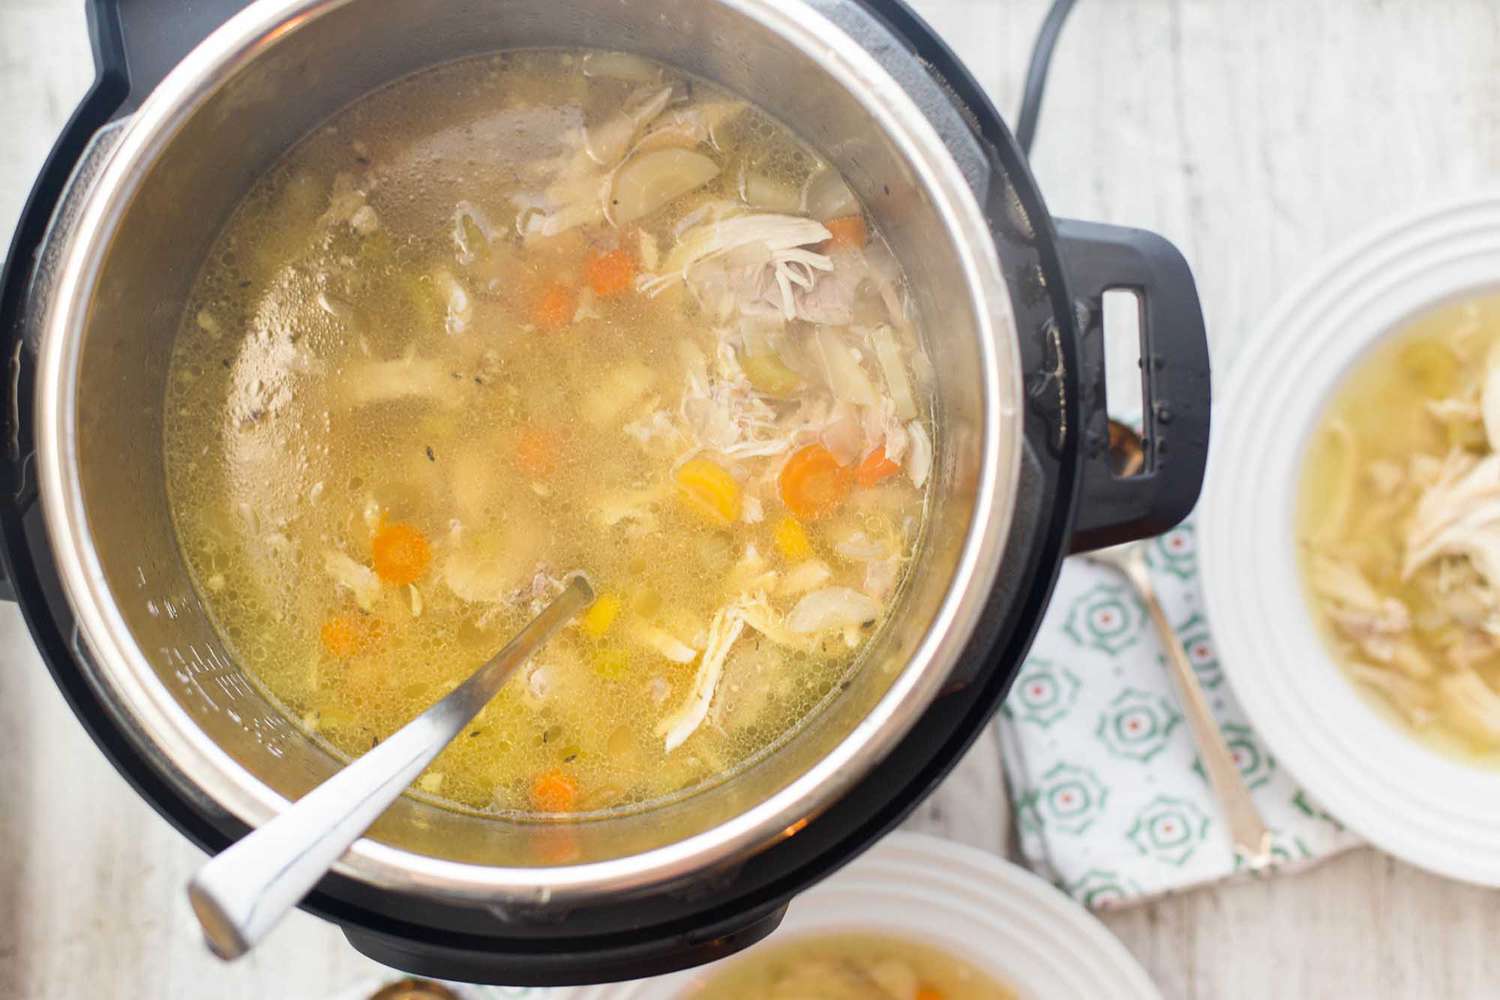
Creating delicious, homemade soups is the first step to canning. You can choose your favorite soup recipes or experiment with new flavors and combinations. From hearty vegetable soups to comforting chicken noodle soups, the possibilities are endless. Once you have your ingredients, it’s time to gather the necessary equipment, including an electric pressure cooker, canning jars, lids, and other canning essentials. Make sure to check that your equipment is clean and in good condition before starting the canning process.
By canning your soups, you not only extend their shelf life but also lock in the flavors and nutrients. The pressure cooker creates a high-temperature environment that sterilizes the contents of the jars, eliminating any harmful bacteria and ensuring the safety of your canned goods. With proper storage, your canned soups can last for months or even up to a year, allowing you to savor the taste of homemade soup whenever you desire.
So, grab your electric pressure cooker, gather your ingredients, and get ready to embark on a culinary adventure. With the following steps, you’ll be able to can soups like a pro in no time. Let’s dive in!
Step 1: Gather the Ingredients and Equipment
Before you begin the canning process, it’s important to gather all the necessary ingredients and equipment. This ensures a smooth and efficient canning experience. Here’s what you’ll need:
- Soup ingredients: Select your preferred soup recipe and gather all the necessary ingredients. This can include vegetables, meats, spices, herbs, and broth.
- Canning jars: Choose jars specifically designed for canning with airtight seals. Opt for glass jars rather than plastic, as glass is more suitable for heat processing.
- Lids and bands: Ensure you have enough canning lids and bands to fit the number of jars you will be using.
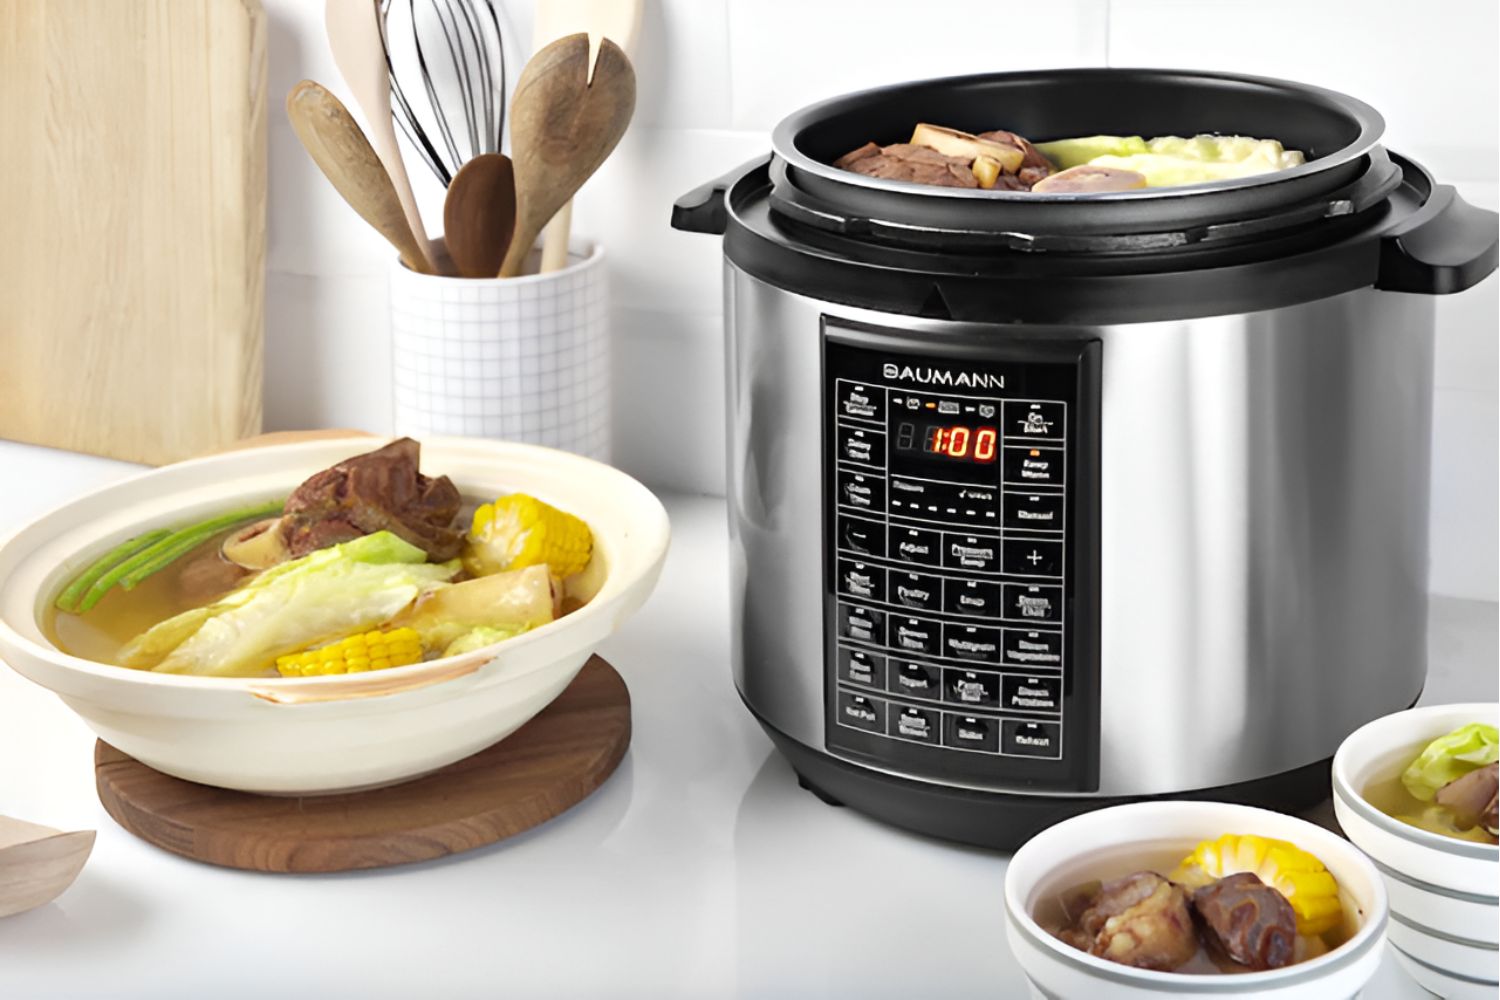
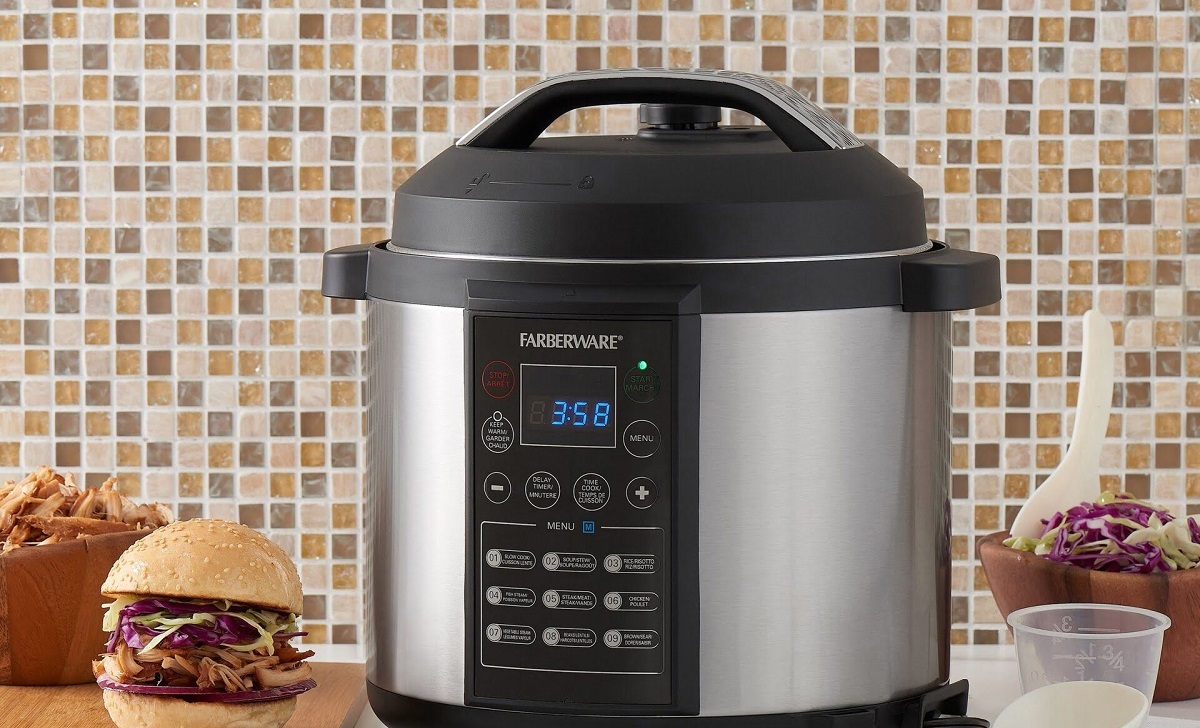
- Electric pressure cooker: Make sure you have a reliable electric pressure cooker with a canning function. Read the instruction manual to familiarize yourself with its features and specifications.
- Jar lifter: A jar lifter is a handy tool that allows you to safely lift and handle hot jars during the canning process.
- Canning funnel: This funnel assists in pouring the soup into the jars without creating a mess.
- Knife and cutting board: These tools are necessary for chopping and preparing the ingredients for your soup.
- Measuring tools: Have measuring cups and spoons on hand to ensure accurate measurements of the ingredients.
- Utensils and mixing bowls: Gather spoons, ladles, and mixing bowls for stirring and combining the soup ingredients.
- Towels and dishcloths: Keep towels and dishcloths nearby for cleaning and drying the jars and equipment.
Once you have gathered all the ingredients and equipment, it’s time to move on to the next step: preparing the soup ingredients. Remember, proper preparation is essential for a successful canning process!
Step 2: Prepare the Soup Ingredients
Now that you have gathered all the necessary ingredients and equipment, it’s time to prepare the soup ingredients. The way you prepare your ingredients will impact the final taste and texture of your canned soup. Here’s what you need to do:
- Wash and chop the vegetables: Thoroughly wash all the vegetables you plan to use in your soup. Peel and chop them into bite-sized pieces. This ensures even cooking and easy spooning.
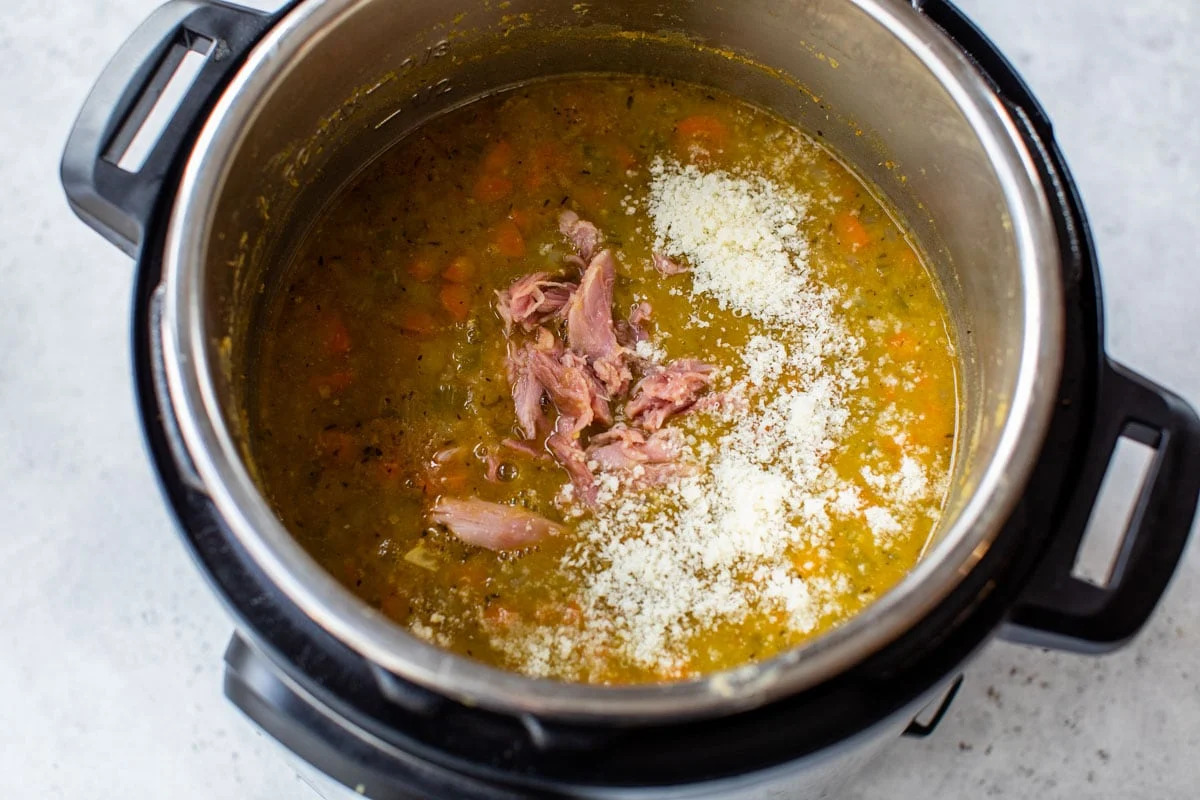
- Prepare the meats: If your soup recipe calls for meats such as chicken or beef, trim off any excess fat and cut them into small chunks. Pre-cook or brown the meats if necessary.
- Measure out the spices and herbs: Get all your spices and herbs ready, measuring them out according to your recipe. This ensures that the flavors are well-balanced in the finished soup.
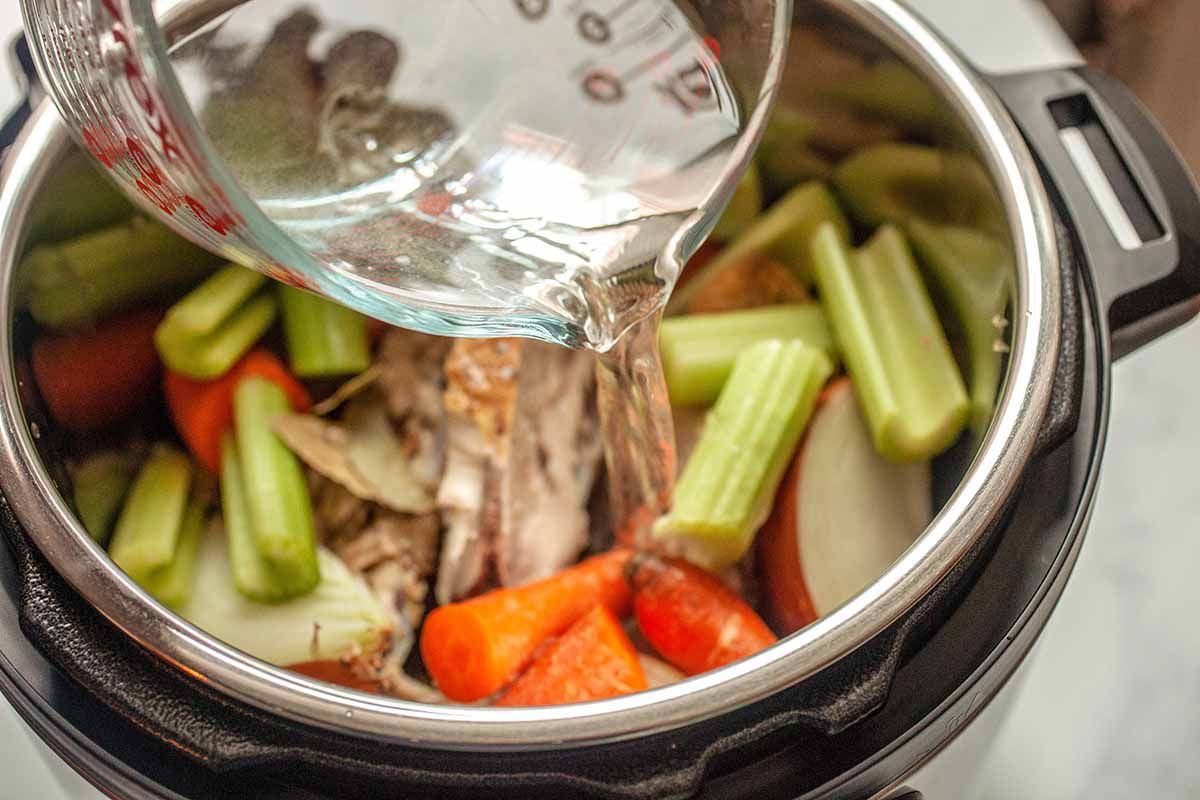
- Prepare the broth: If you’re using homemade broth, make sure it’s strained and free of impurities. If you’re using store-bought broth, check that it’s not expired.
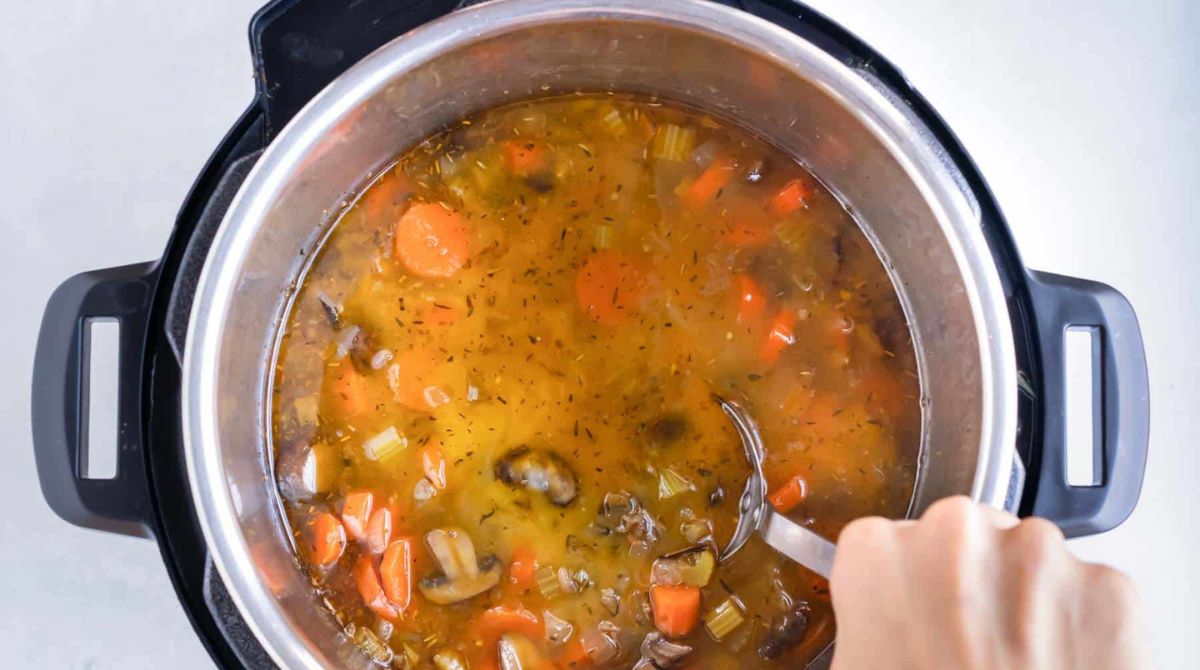
- Combine the prepared ingredients: In a mixing bowl or directly in the pressure cooker, combine the chopped vegetables, meats, spices, herbs, and broth. Give it a good stir to evenly distribute the flavors.
As you prepare the soup ingredients, pay attention to the freshness and quality of the ingredients. Using fresh and high-quality ingredients will enhance the taste and overall appeal of your canned soup.
Remember to follow the recipe instructions and measurements precisely. This will help maintain the desired balance of flavors and ensure the soup turns out delicious. If you’re feeling adventurous, you can also customize the ingredients and adjust the seasonings according to your preferences.
With the soup ingredients prepared, you are ready to move on to the next step: loading the pressure cooker with the ingredients for canning.
Step 3: Load the Pressure Cooker
Now that your soup ingredients are properly prepared, it’s time to load them into the electric pressure cooker. The way you load the cooker will affect the cooking process and ensure the soup is evenly cooked. Follow these steps:
- Add the soup ingredients: Carefully transfer the prepared soup ingredients into the electric pressure cooker. Make sure not to overfill the cooker, as the ingredients need enough room to expand during the cooking process.
- Leave headspace: Ensure that you leave the recommended headspace between the soup and the rim of the jars. This space allows for expansion during the canning process and helps prevent the jars from cracking or breaking.
- Remove air bubbles: Run a non-metallic spatula or a bubble remover tool along the sides of the jar to release any trapped air bubbles. This step helps maintain the quality and stability of the canned soup.
- Wipe the jar rims: Take a clean, damp cloth or paper towel and wipe the rims of the jars. Remove any food particles or residue that may interfere with the sealing process.
- Place the lids and bands: Open your canning lids and place them on top of the jars. Secure the lids in place by placing the bands over them. Do not overtighten the bands, as air needs to escape during the canning process.
By properly loading the pressure cooker, you ensure that the soup is evenly distributed and that there is enough space for the ingredients to expand. It’s important to follow these steps to maintain the safety and quality of your canned soup.
Once you have loaded the pressure cooker with the soup ingredients, you are ready to set the electric pressure cooker according to the appropriate instructions. This will be covered in the next step.
Step 4: Set the Electric Pressure Cooker
Now that your electric pressure cooker is loaded with the soup ingredients, it’s time to set it up for the canning process. Properly setting the pressure cooker ensures that your soup is cooked and preserved at the correct temperature and pressure. Follow these steps:
- Refer to the manufacturer’s instructions: Consult the instruction manual of your electric pressure cooker for the specific canning guidelines. Different models may have slightly different settings and functions for canning.
- Select the appropriate pressure: Determine the recommended pressure level for canning soups and set your electric pressure cooker accordingly. Typically, the pressure is set to 10 to 15 psi (pounds per square inch) for canning purposes.
- Adjust the cooking time: Set the cooking time based on your specific soup recipe and the manufacturer’s recommendations. Different types of soups may require different cooking times to ensure proper canning and sterilization.
- Activate the canning mode: If your electric pressure cooker has a dedicated canning mode, select it to ensure that the appliance is optimized for canning. If not, use the appropriate cooking mode and adjust the settings as needed.
Make sure to follow the recommended settings and instructions provided by your electric pressure cooker’s manufacturer. This will ensure that your soup is cooked at the right temperature, pressure, and time to achieve safe and delicious results.
Once you have set the electric pressure cooker, you are ready to start the canning process and bring your soup to the desired temperature and pressure. The next step will guide you through this important stage of the canning process.
Step 5: Start the Canning Process
With your electric pressure cooker set to the appropriate settings, it’s time to start the canning process and let the magic begin. Follow these steps to ensure a successful canning of your delicious soup:
- Place the loaded pressure cooker in a safe location: Find a stable and heat-resistant surface for your pressure cooker. Ensure that it is placed away from any flammable materials and that there is enough space for steam to escape.
- Secure the pressure cooker lid: Carefully close and lock the lid of the pressure cooker in place. Ensure that the sealing ring is properly fitted and that the pressure release valve is closed.
- Start the canning process: Activate the canning process by pressing the appropriate button or setting on your electric pressure cooker. The cooker will now begin to heat up and build pressure.
- Monitor the pressure and temperature: Keep an eye on the pressure and temperature gauge on your electric pressure cooker. It should steadily rise as the cooker reaches the desired level for canning.
- Adjust heat if necessary: Depending on your pressure cooker model, you may need to adjust the heat source to maintain a steady pressure during the canning process. Follow the manual instructions for any heat adjustments.
During the canning process, it’s important to avoid any sudden movements or interference with the pressure cooker. This will ensure that the pressure builds and maintains at the recommended level for the duration of the canning process.
It’s crucial to adhere to the recommended processing time for your specific soup recipe and the guidelines provided by your pressure cooker manufacturer. This ensures that the soup is properly cooked, sterilized, and safe for consumption.
As the canning process continues, you will notice steam escaping from the pressure release valve. This is normal and indicates the build-up of pressure within the cooker. Do not attempt to release the pressure manually unless instructed to do so by your pressure cooker’s manual.
Once the required processing time has elapsed, you can move on to the next step: allowing the pressure cooker to naturally release the pressure before handling the jars.
Step 6: Allow the Pressure Cooker to Naturally Release
After the canning process is complete, it’s important to allow the pressure cooker to naturally release the pressure before proceeding to handle the canned soup jars. This natural release ensures that the pressure inside the cooker reduces gradually, preventing any sudden changes that could impact the safety and quality of the canned soup. Follow these steps:
- Turn off the heat: Once the recommended processing time has elapsed, turn off the heat source and allow the pressure cooker to cool down naturally. Avoid any attempts to release the pressure manually.
- Let the pressure drop slowly: It may take some time for the pressure inside the cooker to drop naturally. Be patient and allow the pressure to release slowly. This can take anywhere from 10 to 30 minutes or longer depending on your specific pressure cooker model.
- Be cautious of hot steam: As the pressure cooker continues to release pressure, be cautious of any hot steam that may escape from the pressure release valve. Avoid placing your face or hands in close proximity to the steam to prevent burns.
- Wait for the float valve to drop: Many electric pressure cookers have a float valve that indicates when it’s safe to open the cooker. Wait for the float valve to drop completely before attempting to open the pressure cooker lid.
It’s important to note that opening the pressure cooker before the pressure has fully released could result in sudden releases of steam or pressure, which can be dangerous. Always follow the specific instructions provided by your pressure cooker’s manufacturer regarding the natural release process.
Once the pressure has been fully released and it is safe to open the pressure cooker lid, move on to the next step: checking the seals on the jars to ensure the safety of the canned soup.
Step 7: Check the Seals on the Jars
Checking the seals on the jars is a crucial step in ensuring the safety and quality of your canned soup. The seals indicate that a proper vacuum seal has formed, preventing any air or contaminants from entering the jars. Follow these steps to check the seals:
- Allow the jars to cool: After the pressure cooker has naturally released and the float valve has dropped, allow the jars to cool down completely. This can take several hours.
- Remove the bands: Carefully remove the bands from the jars. Gently try to lift the lid of each jar to check if it is securely sealed in place.
- Inspect the lids for bulging: Inspect the lids for any signs of bulging, as this can indicate a failed seal. A properly sealed lid should be slightly concave and not bulge outwards.
- Test the seals: To further ensure the seals are intact, press down on the center of each lid. If the lid remains firmly in place and does not move or make a popping sound, the seal is secure.
- Reprocess or refrigerate if necessary: If you find any jars with lids that are not sealed properly, refrigerate the soup immediately and consume it within a few days. You can choose to reprocess the jars following proper canning techniques or use the soup right away if the seal failure is detected early.
The process of checking the seals is crucial for identifying any potential issues and ensuring the safety of your canned soup. It’s important to note that even if the lids appear to be sealed properly, it’s still essential to consume the canned soup within the recommended timeframe (usually 1 year) and inspect each jar before use.
Once you have checked the seals and determined that the majority of the jars are properly sealed, it’s time to move on to the final step: storing the canned soup properly for future enjoyment.
Step 8: Store the Canned Soup Properly
Proper storage is essential for maintaining the quality and safety of your canned soup. By following the correct storage methods, you can ensure that your soup remains delicious and safe to consume for an extended period. Here’s how to store your canned soup properly:
- Check the seals one last time: Before storing the canned soup, double-check the seals to ensure they are still intact and secured. Discard any jars with broken or compromised seals.
- Clean the jars: Wipe down the jars with a clean, damp cloth to remove any residue or spills. This helps prevent mold or bacterial growth on the exterior of the jars.
- Label the jars: Use waterproof labels to clearly mark the date of canning and the contents of each jar. This ensures that you can easily identify and rotate your canned soup for future use.
- Choose a cool and dark storage space: Find a cool, dry, and dark area for storing your canned soup. Avoid direct sunlight or areas with extreme temperature fluctuations, as they can degrade the quality of the soup.
- Organize the cans: Arrange the canned soup in an organized manner, stacking them without putting excessive weight on the jars. Consider using shelves or a pantry specifically designated for your canned goods.
- Rotate and use within recommended timeframe: While canned soup generally has a long shelf life, it’s still important to rotate your stock and consume the oldest jars first. Aim to use your canned soup within 1 year for optimal taste and quality.
By storing your canned soup properly, you can enjoy the fruits of your labor for an extended period. Regularly check the stored soup for any signs of spoilage, such as mold, unpleasant odors, or unusual colors. If you notice any abnormalities, it’s best to discard the jar to ensure your safety.
Canning your own soup provides a convenient and satisfying way to enjoy homemade meals year-round. By following these steps and storing your canned soup properly, you can relish the flavors of your favorite soup recipes whenever you desire.
Conclusion
Canning soup with an electric pressure cooker is a fantastic way to preserve the flavors and goodness of homemade soup for later enjoyment. By following the step-by-step process outlined in this guide, you can successfully can soups that will last for months, providing you with convenient and delicious meals whenever you desire.
From gathering the ingredients and equipment to properly preparing the soup and loading the pressure cooker, each step plays a crucial role in ensuring the safety and quality of your canned soup. Always refer to the manufacturer’s instructions for your specific electric pressure cooker model to achieve the best results.
Remember to check the seals on the jars, store the canned soup in a cool and dark place, and rotate your stock to consume the oldest jars first. By doing so, you can enjoy the fruits of your labor while maintaining optimal taste and quality.
Canning soups with an electric pressure cooker not only allows you to have homemade goodness on hand but also provides an opportunity to get creative with flavors and share your culinary creations with others. Experiment with different recipes, spices, and ingredients to create unique soups that cater to your taste preferences and dietary needs.
So grab your electric pressure cooker, gather your ingredients, and embark on the journey of canning delicious and comforting soups. With the knowledge and skills gained from this guide, you’ll be able to confidently can soups like a pro and savor the taste of homemade soup any time you want.