Introduction
There’s nothing quite like sinking your teeth into tender, juicy baby back ribs. While traditional methods of slow cooking in the oven or on the grill are popular, using an electric pressure cooker can offer a quick and convenient alternative. With its ability to lock in flavors and reduce cooking time, an electric pressure cooker is a game-changer when it comes to cooking ribs.
Whether you’re a seasoned chef or a cooking novice, this guide will walk you through the steps of preparing and cooking baby back ribs in an electric pressure cooker. From choosing the right ribs to adding the perfect seasonings, you’ll learn everything you need to know to create mouthwatering ribs that will impress your family and friends.
Before we dive into the details, let’s talk about the importance of selecting the right ribs for your recipe. Baby back ribs, also known as pork loin ribs, are a popular choice due to their tender meat and flavorful profile. These ribs are shorter in size and leaner compared to other rib cuts, making them ideal for pressure cooking.
So, if you’re ready to embark on a delicious culinary adventure, let’s gather our ingredients and get started on cooking some finger-licking baby back ribs in an electric pressure cooker!
Choosing the Right Ribs
When it comes to cooking baby back ribs in an electric pressure cooker, choosing the right ribs is key to ensuring a delicious and tender result. Here are a few factors to consider when selecting your ribs:
- Rib Quality: Look for ribs that have a good amount of meat and marbling. Meat with visible fat will impart flavor and keep the ribs moist during cooking.
- Freshness: Opt for fresh ribs rather than frozen ones, as fresh ribs tend to produce better results and have a more satisfying texture.
- Size: Baby back ribs are relatively smaller compared to other rib cuts, which makes them perfect for pressure cooking. Choose ribs that are of consistent size to ensure even cooking.
- Handling: Inspect the packaging to ensure that the ribs have been handled properly, with no signs of leakage or damage.
While baby back ribs are the most common choice, you may also find other types of ribs, such as spare ribs or St. Louis style ribs. These ribs have a higher fat content and may require adjustments to cooking times and seasoning to achieve the best results in the pressure cooker.
It’s worth noting that you can ask your local butcher for recommendations on the best ribs available. They can provide insights on the quality and freshness of different cuts, as well as offer tips on how to achieve optimal results with your specific electric pressure cooker.
Now that you understand the importance of choosing the right ribs, let’s move on to the next step: preparing the ribs for cooking.
Preparing the Ribs
Before you start cooking the baby back ribs in the electric pressure cooker, it’s important to properly prepare them to enhance the flavors and ensure a tender end result. Follow these steps to prepare the ribs:
- Cleaning: Rinse the ribs under cold water to remove any bone fragments or debris. Pat them dry with paper towels.
- Membrane Removal: On the backside of the ribs, locate the thin membrane covering the bone. Using a sharp knife or your fingers, carefully peel and remove the membrane. This step is crucial as it allows the seasonings to penetrate the meat, resulting in a more flavorful dish.
- Trimming: If desired, trim any excess fat from the ribs. While some fat adds flavor, too much can make the ribs greasy. Use a sharp knife to carefully remove any excess fat, leaving a thin layer for moisture and taste.
Once you have cleaned, removed the membrane, and trimmed the ribs, you’re ready to move on to the next step: seasoning the ribs to perfection.
Seasoning the Ribs
Now that you’ve prepared the baby back ribs, it’s time to add delicious flavors through seasoning. The right combination of spices and seasonings will elevate the taste of your ribs. Here’s how to season them:
- Dry Rub: Create a flavorful dry rub by combining your favorite spices. Classic options include paprika, garlic powder, onion powder, brown sugar, salt, and black pepper. Apply the dry rub generously on both sides of the ribs, ensuring to fully coat the meat.
- Marinade: For an extra punch of flavor, you can marinate the ribs in a liquid-based marinade. You can use a combination of ingredients such as soy sauce, Worcestershire sauce, apple cider vinegar, honey, and spices. Place the ribs in a shallow dish and pour the marinade over them. Allow them to marinate in the refrigerator for at least 2-4 hours, or preferably overnight.
When applying the dry rub or marinade, be sure to thoroughly coat the ribs, getting into all the nooks and crannies. This will ensure that the flavors penetrate the meat and enhance its taste.
Once you’ve seasoned the ribs to your liking, let them sit for about 15-30 minutes. This allows the flavors to meld and infuse into the meat. While the seasoned ribs rest, it’s time to preheat your electric pressure cooker.
Preheating the Electric Pressure Cooker
Before you begin cooking the seasoned baby back ribs in the electric pressure cooker, it’s essential to preheat the appliance. Preheating not only helps in achieving even cooking, but it also reduces the overall cooking time. Follow these simple steps to preheat your electric pressure cooker:
- Ensure the electric pressure cooker’s inner pot is clean and dry, free from any residue from previous cooking.
- Place the inner pot back into the electric pressure cooker.
- Add a small amount of cooking oil to the inner pot and spread it around to coat the bottom evenly. This prevents the ribs from sticking to the pot.
- Close the lid securely and set the electric pressure cooker to “Sauté” or “Brown” mode.
- Allow the pot to heat up for a few minutes until you start to see the oil shimmer or hear a sizzling sound.
It’s important to note that different electric pressure cookers may have slight variations in their preheating instructions. Always refer to the manufacturer’s manual for specific preheating guidelines for your model.
Once the electric pressure cooker is preheated, it’s time to add the seasoned baby back ribs and begin the cooking process. So, let’s move on to the next step: adding the ribs to the pressure cooker.
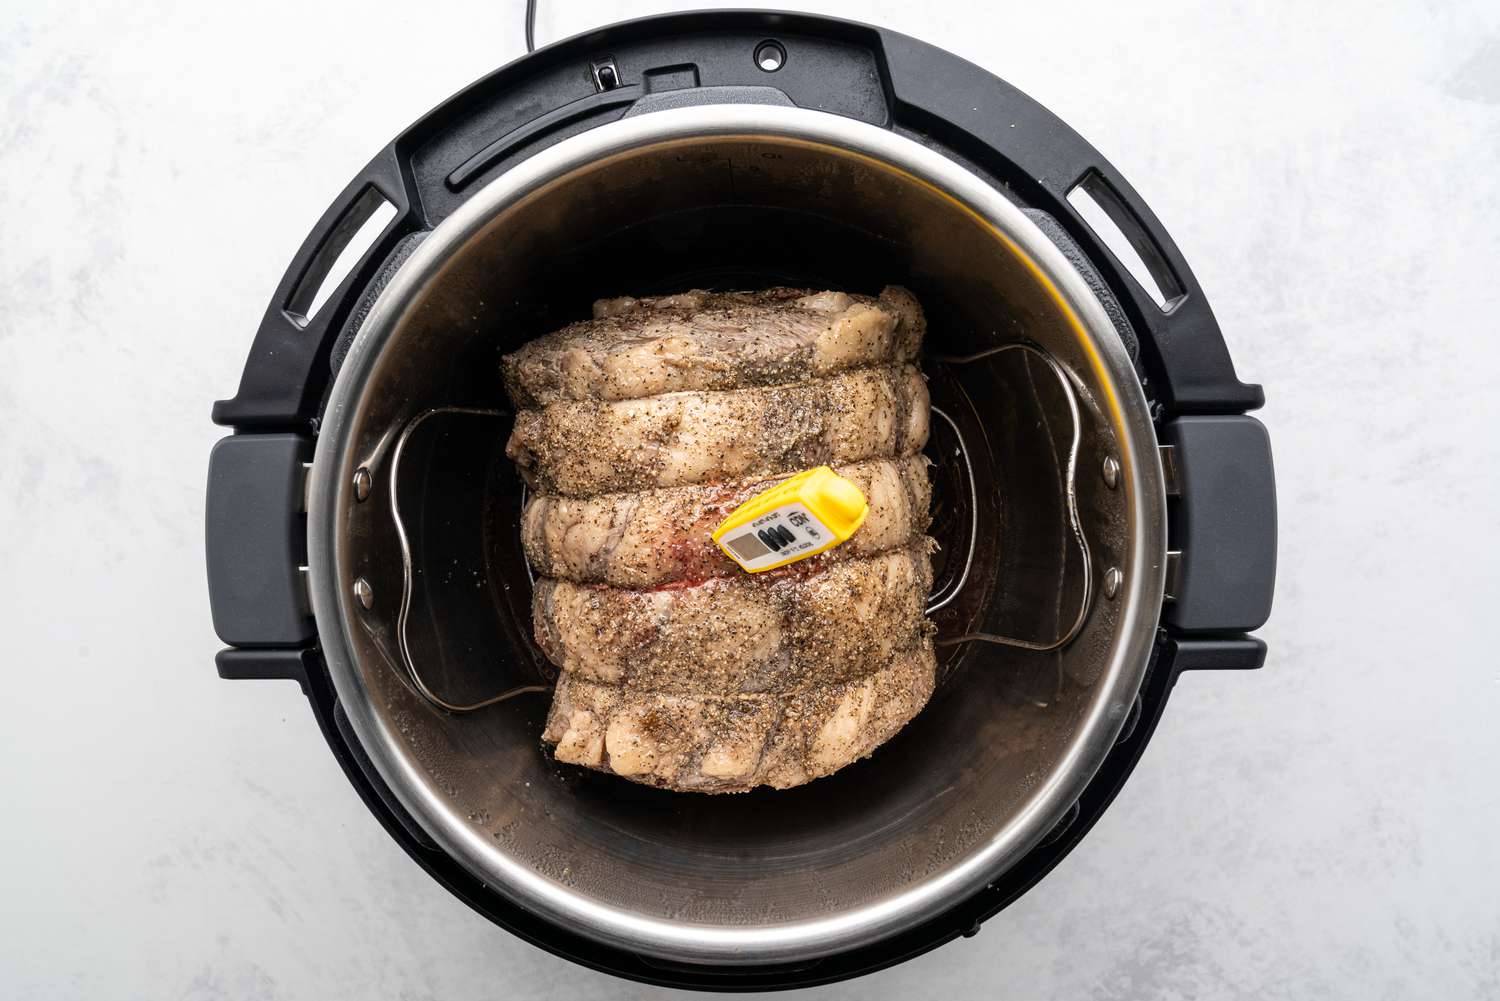
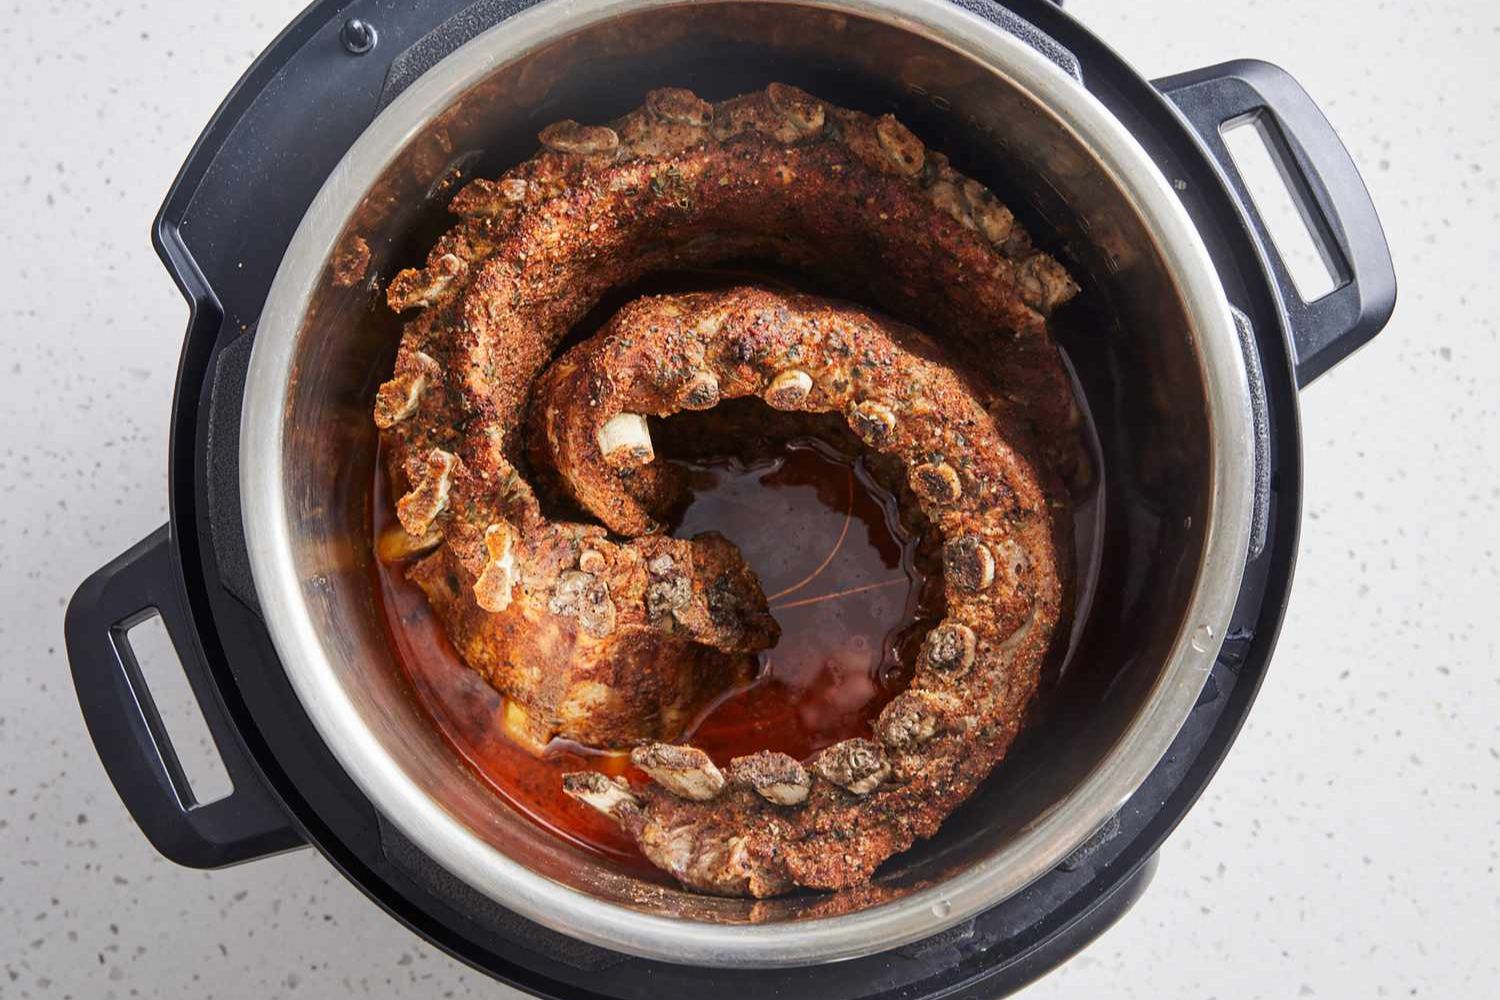
Adding the Ribs to the Pressure Cooker
With the electric pressure cooker preheated, it’s time to add the seasoned baby back ribs to the pot. Follow these steps to ensure proper placement and optimal cooking:
- Using tongs, carefully transfer the seasoned ribs to the preheated electric pressure cooker. Place the ribs on their sides, bone-side facing the center of the pot.
- Arrange the ribs in a single layer, avoiding overlapping as much as possible. If needed, it’s better to cook the ribs in batches rather than overcrowding the pressure cooker.
- Close the lid securely, following the manufacturer’s instructions for proper sealing.
Ensuring that the ribs are arranged in a single layer allows for even cooking and prevents them from sticking together. It’s important to follow the maximum capacity guidelines of your specific electric pressure cooker to avoid any issues during the cooking process.
Once the ribs are securely placed in the pressure cooker, it’s time to set the cooking time and begin the pressure cooking process. The next section will cover the cooking time and methods in detail to achieve tender and flavorful baby back ribs.
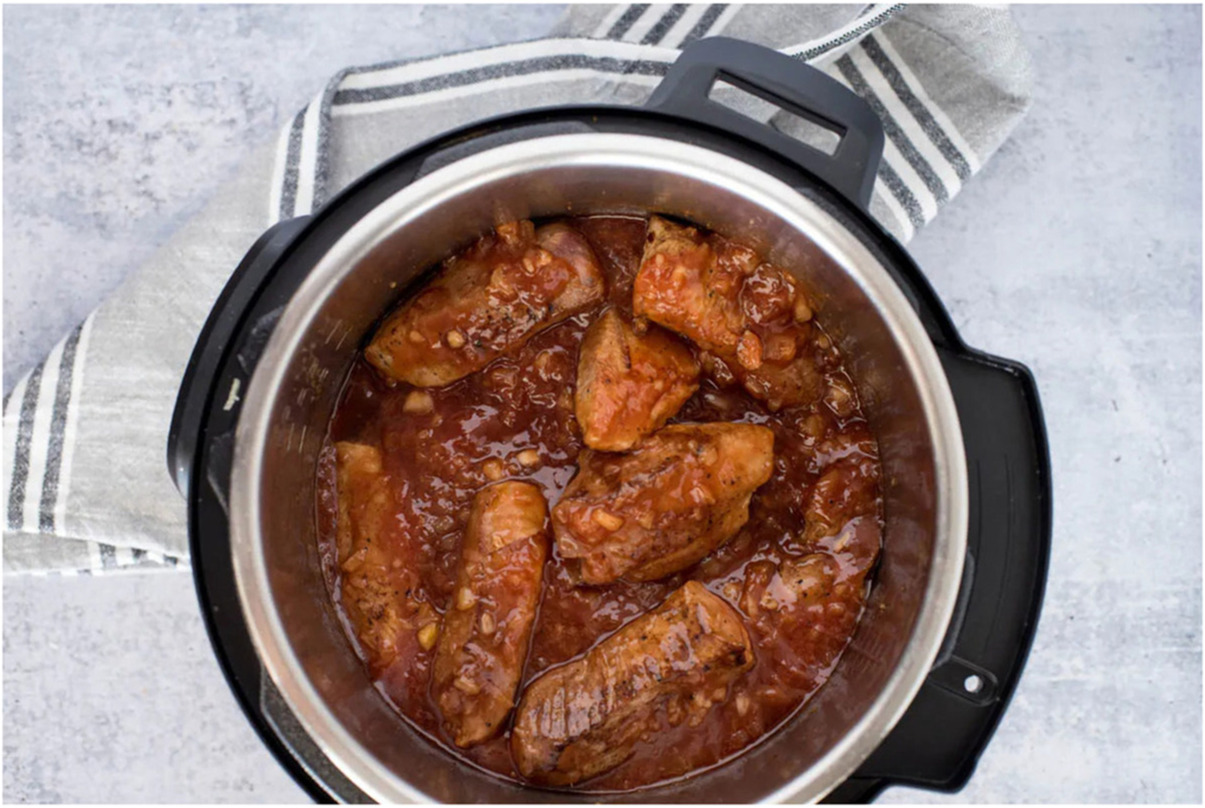
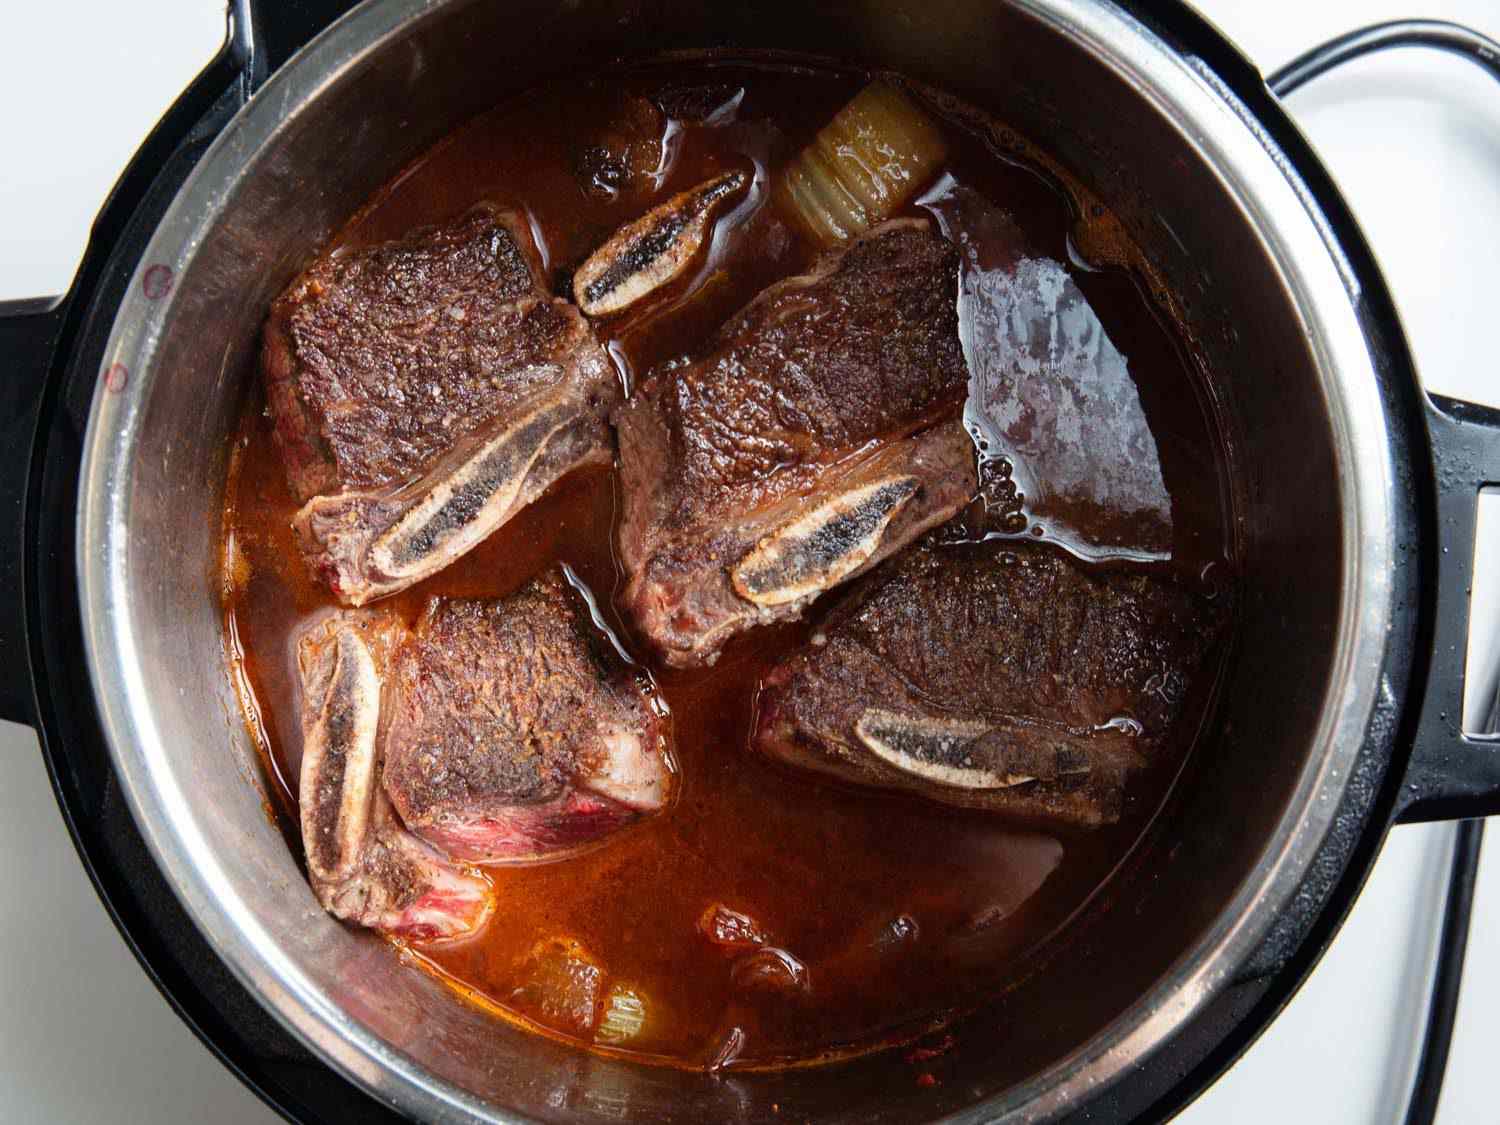
Cooking the Ribs
Now that the seasoned baby back ribs are in the preheated pressure cooker, it’s time to set the cooking time and method. The cooking time may vary depending on the size and thickness of the ribs, as well as the specific model of your electric pressure cooker. Follow these guidelines to cook the ribs to perfection:
- Set the electric pressure cooker to “Pressure Cook” or “Manual” mode.
- Adjust the cooking time according to the size and thickness of the ribs. As a general rule of thumb, for tender baby back ribs, cook them on high pressure for about 20-25 minutes.
- Once the cooking time is set, let the pressure cooker come to pressure. This will take a few minutes, depending on your model.
- Once the electric pressure cooker has reached pressure, the cooking process will begin, and the timer will start counting down.
- Allow the ribs to cook undisturbed until the cooking time is complete.
It’s important to note that the cooking time can vary based on personal preference. If you prefer your ribs to be fall-off-the-bone tender, you can cook them for a few minutes longer. However, be cautious not to overcook the ribs, as they may become mushy or lose their texture.
After the cooking time is complete, the electric pressure cooker will automatically switch to a “Keep Warm” mode or indicate that the cooking process is finished. At this point, you have a choice between natural release and quick release methods to release the pressure.
The next section will cover the differences between natural release and quick release, allowing you to choose the method that best suits your preferences and schedule.
Natural Release vs. Quick Release
After cooking the baby back ribs in the electric pressure cooker, you have two options for releasing the pressure: natural release and quick release. Understanding the differences between these methods will help you choose the one that suits your needs and recipe requirements:
Natural Release: Natural release is a passive method where the pressure is released slowly and naturally over time. To perform a natural release, simply let the pressure cooker sit undisturbed after the cooking time is complete. The built-up pressure gradually decreases, and the float valve will drop on its own. This process can take anywhere from 10 to 20 minutes or even longer depending on the amount of pressure in the cooker.
Natural release is ideal for delicate cuts of meat, such as baby back ribs. It allows for more gentle cooking while retaining the meat’s tenderness and preventing any sudden pressure changes that could lead to overcooking or toughening of the ribs.
Quick Release: Quick release is an active method that allows the pressure to be released rapidly. To perform a quick release, carefully move the pressure release valve to the venting position. This lets the steam escape quickly, resulting in the pressure dropping within a few minutes.
Quick release is convenient when you’re short on time or want to stop the cooking process immediately. However, be cautious when performing a quick release, as the steam can be hot and cause burns. Always use a long utensil or oven mitts to avoid direct contact with the steam.
After the pressure has been completely released through either method, it’s safe to open the electric pressure cooker and check the doneness of the ribs. The meat should be tender and easily separate from the bone.
Now that the pressure has been released, we can move on to the final steps to add those finishing touches to the baby back ribs before serving.
Finishing Touches
Now that the baby back ribs are cooked and the pressure has been released, it’s time to add some final touches to enhance the flavor and presentation of the dish. Here are a few ideas for adding those finishing touches:
- Basting: For extra flavor, you can baste the cooked ribs with your favorite barbecue sauce or glaze. Brush the sauce onto the ribs and place them under the broiler for a few minutes until the sauce caramelizes and forms a delicious glaze.
- Grilling: If you prefer a smoky flavor and charred exterior, you can transfer the cooked ribs to a preheated grill. Grill them over medium heat for a few minutes on each side until they develop a beautiful char.
- Reducing the Sauce: If there are juices or cooking liquid left in the electric pressure cooker, you can strain them and reduce them over medium heat on the stovetop. This will concentrate the flavors and create a flavorful sauce to drizzle over the ribs.
- Garnishing: To add a pop of freshness and color, garnish the baby back ribs with chopped fresh herbs, such as parsley, cilantro, or green onions. This not only adds visual appeal but also adds a touch of freshness to the dish.
These finishing touches are optional and can be customized to your personal preferences. Whether you choose to baste, grill, reduce the sauce, or garnish, these final steps elevate the overall taste and presentation of the baby back ribs.
Now that the ribs are beautifully finished, it’s time to serve and enjoy the delicious fruits of your labor. Let’s move on to the next section to learn how to plate and serve the baby back ribs.
Serving and Enjoying the Baby Back Ribs
Congratulations, you’ve successfully cooked a mouthwatering batch of baby back ribs! Now it’s time to plate, serve, and savor the delectable flavors of your creation. Here’s how to serve and enjoy the baby back ribs:
- Plating: Carefully transfer the cooked ribs to a serving platter. Arrange them in an appealing manner, making sure to show off their succulent texture and delicious glaze.
- Sauce on the Side: Serve any additional barbecue sauce or glaze on the side, allowing guests to drizzle or dip the ribs according to their taste preferences.
- Accompaniments: Baby back ribs pair perfectly with a variety of side dishes. Consider serving them with classic barbecue sides like coleslaw, cornbread, baked beans, or grilled vegetables for a well-rounded meal.
- Garnish: Before serving, sprinkle some freshly chopped herbs over the ribs for an added burst of freshness and visual appeal.
Once the plates are ready, gather your family and friends around the table, and dig into the tantalizing baby back ribs. Sink your teeth into the tender, flavorful meat, savoring each and every bite. Allow the richness of the seasonings and the juiciness of the meat to transport you to a state of pure culinary bliss.
Remember, eating ribs can sometimes be a messy affair, so don’t be afraid to get your hands dirty! Enjoy the experience of savoring the ribs with your loved ones, sharing stories, laughter, and good times together.
And there you have it – a guide on how to cook baby back ribs in an electric pressure cooker, from choosing the right ribs to adding the perfect finishing touches. With these tips and techniques, you can confidently whip up a delicious batch of tender and flavorful baby back ribs that will leave everyone wanting more.
So go ahead, indulge in this BBQ classic, and relish the joy of a well-prepared meal enjoyed amidst the company of those you cherish.
Conclusion
Cooking baby back ribs in an electric pressure cooker is a convenient and efficient way to achieve tender, flavorful ribs. By following the steps outlined in this guide, you can create a delectable dish that will impress your family and friends. Remember these key points:
- Choose the right ribs for pressure cooking, ensuring quality and freshness.
- Properly prepare the ribs by cleaning, removing the membrane, and trimming excess fat.
- Season the ribs with a dry rub or marinade to enhance the flavors.
- Preheat the electric pressure cooker before adding the seasoned ribs.
- Cook the ribs on high pressure for the appropriate amount of time, adjusting for size and thickness.
- Select either natural release or quick release to release the pressure.
- Add finishing touches such as basting, grilling, reducing the sauce, and garnishing to elevate the flavor and presentation.
- Serve and enjoy the baby back ribs alongside delicious side dishes.
Now that you have the knowledge and skills to cook baby back ribs in an electric pressure cooker, it’s time to get cooking! Experiment with different seasonings, marinades, and techniques to create your perfect rib recipe. With practice and creativity, you can become a master at cooking tender, juicy, fall-off-the-bone baby back ribs that will leave your taste buds dancing with delight.
So fire up your electric pressure cooker, gather your ingredients, and embark on a culinary adventure to savor the deliciousness of perfectly cooked baby back ribs!