Introduction
Welcome to the world of mouthwatering ribs made effortlessly in the electric pressure cooker! If you’re a fan of tender, juicy, fall-off-the-bone ribs, then you’re in for a treat. The electric pressure cooker is a game-changer when it comes to cooking ribs, offering convenience, speed, and incredible flavor.
Gone are the days of spending hours tending to a grill or smoker, trying to perfect the art of barbecuing ribs. With an electric pressure cooker, you can achieve the same delicious results in a fraction of the time. Whether you’re planning a family get-together, hosting a backyard barbecue, or simply craving some finger-licking ribs, this guide will help you make the most out of your electric pressure cooker.
In this article, we’ll walk you through the entire process of making ribs in the electric pressure cooker – from selecting the right type of ribs to adding the perfect rub and achieving mouthwatering tenderness. Whether you’re a seasoned chef or a beginner in the kitchen, with these steps, you’ll be able to create ribs that will have your friends and family coming back for seconds.
Get ready to tantalize your taste buds as we dive into the world of easy, flavorful, and fall-off-the-bone ribs made in the electric pressure cooker. Let’s get cooking!
Choosing the Right Ribs
Before diving into the cooking process, it’s essential to choose the right type of ribs for your electric pressure cooker recipe. There are a few different types to consider, each with its own unique qualities and flavors. Here are the most common options:
- Pork Baby Back Ribs: These are smaller, curved ribs that come from the loin area of the pig. They are known for their tenderness and slightly sweeter flavor.
- Pork Spare Ribs: These larger and meatier ribs are taken from the belly area of the pig. They have more fat and connective tissue, resulting in a richer and more flavorful taste.
- Beef Short Ribs: These are beef ribs cut from the plate or chuck area of the cow. They are larger and meatier than pork ribs, with a bold and beefy flavor.
- Beef Back Ribs: These are beef ribs cut from the rib section of the cow. They have less meat compared to short ribs but still offer a delicious beef flavor.
Consider the flavors and textures you prefer when selecting the type of ribs. If you enjoy tender and slightly sweeter ribs, pork baby back ribs may be your best bet. For those who crave a richer and more intense flavor, pork spare ribs or beef short ribs might be the way to go. Beef back ribs are a great option if you want the taste of beef but prefer less meat on the bone.
When shopping for ribs, look for cuts that have well-marbled meat and are free from any foul odor. The color of the meat should be a vibrant red or pink, indicating freshness. If possible, buy your ribs from a trusted butcher who can guide you in choosing the best quality ribs for your electric pressure cooker recipe.
Now that you’re equipped with knowledge on choosing the right type of ribs, it’s time to move on to the next step – preparing the ribs for cooking!
Preparing the Ribs
Properly preparing the ribs is crucial to ensure they cook evenly and absorb the flavors of your chosen seasoning or marinade. Follow these steps to get your ribs ready for the electric pressure cooker:
- Trimming: Start by trimming any excess fat from the ribs. While a little fat adds flavor, too much can lead to greasy and overly fatty ribs. Trim off any large sections of visible fat using a sharp knife, being careful not to remove too much meat.
- Remove the Membrane: Next, remove the tough membrane on the bone side of the ribs. The membrane can prevent the seasonings from penetrating the meat and can result in chewy ribs. Gently lift one corner of the membrane using a butter knife or your fingers, then use a paper towel for better grip and pull it off in one swift motion.
- Pat Dry: Once the membrane is removed, pat the ribs dry with paper towels. This step helps the rub or marinade adhere better to the surface of the meat.
- Cut into Portions: Depending on the size of your electric pressure cooker and the ribs you have, you may need to cut them into smaller portions to fit. Use a sharp knife to carefully separate the ribs into individual sections, ensuring they can comfortably fit inside the cooker.
By following these preparation steps, you’ll be one step closer to achieving succulent and perfectly cooked ribs. Remember, the key is to remove excess fat, remove the membrane, and dry the ribs before adding the delicious flavors with your chosen rub or marinade.
Adding the Rub
Adding a flavorful rub is the secret ingredient to delicious and aromatic electric pressure cooker ribs. A rub is a combination of herbs, spices, and seasonings that will enhance the taste and texture of the meat. Here’s how you can create and apply the perfect rub to your ribs:
- Choose Your Seasonings: Start by selecting your favorite combination of seasonings for your rub. This can include ingredients like brown sugar, paprika, garlic powder, onion powder, chili powder, cumin, salt, and pepper. You can get creative and adjust the quantities to suit your personal preference.
- Mix the Rub: In a small bowl, mix all the chosen seasonings well to create a harmonious blend of flavors. Make sure everything is well combined to ensure an even distribution of flavors on the ribs.
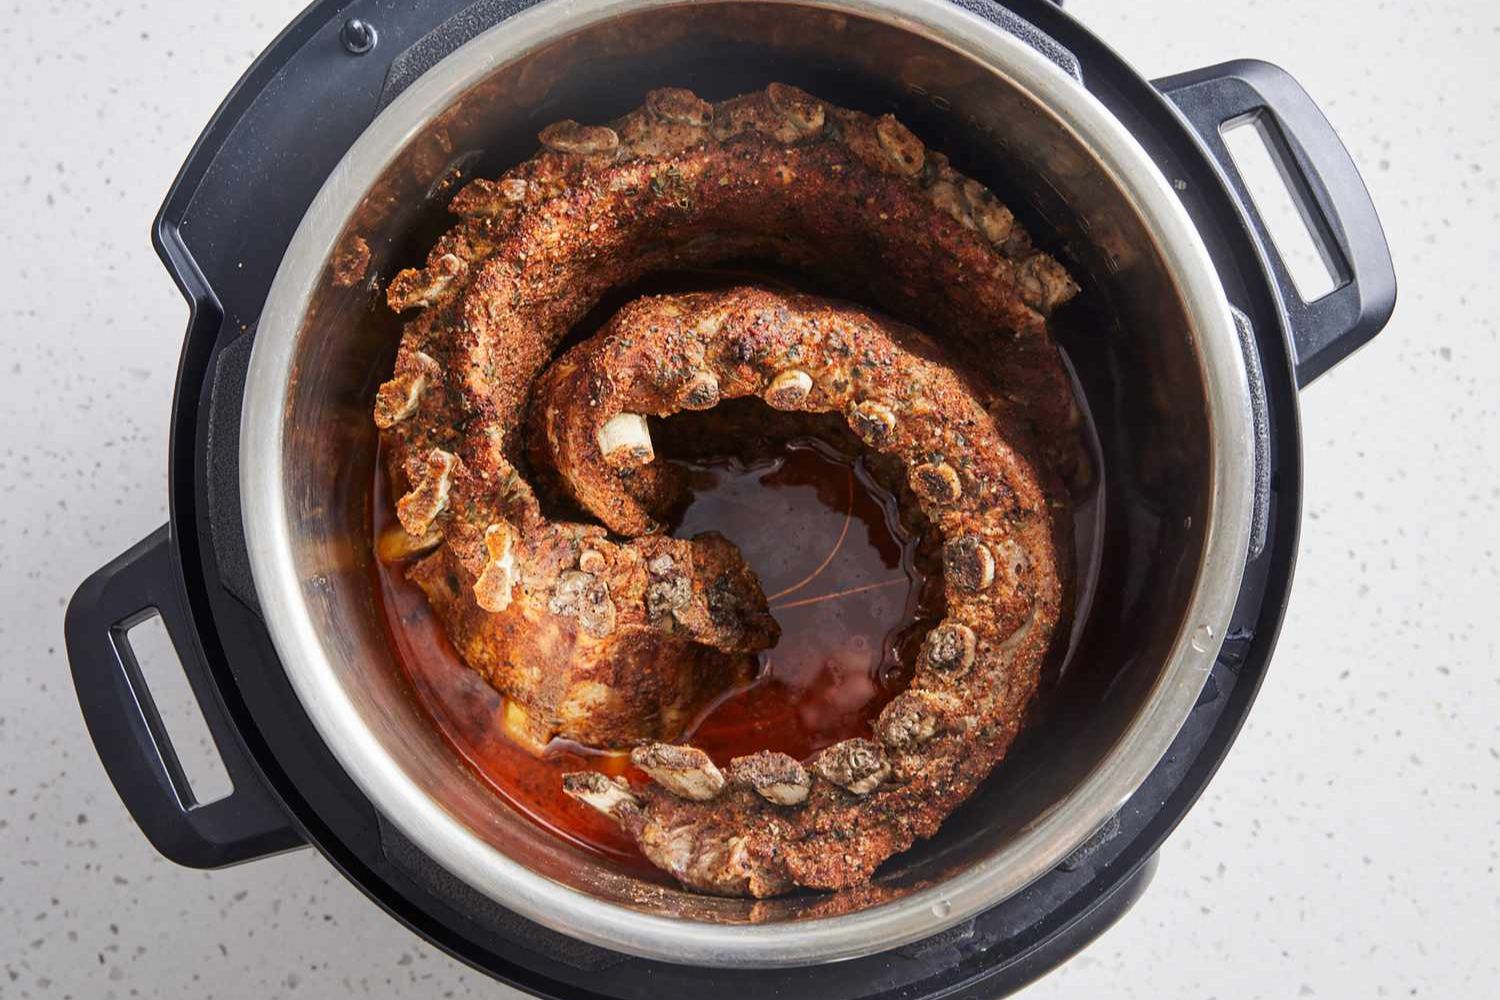
- Apply the Rub: Now it’s time to apply the rub to the ribs. Start by sprinkling the rub generously on both sides of the ribs, ensuring that each section is well coated. Use your hands to massage and press the rub onto the meat, allowing it to adhere properly.
- Let it Rest: Once the rub is applied, let the ribs sit for about 30 minutes to an hour. This resting time allows the flavors of the rub to penetrate the meat, resulting in a more intense and well-seasoned taste.
Remember, the rub is the key to infusing your electric pressure cooker ribs with incredible flavor. Don’t hesitate to experiment with different combinations of seasonings to suit your taste preferences. Whether you prefer a smoky, spicy, or sweet profile, a well-applied rub will elevate your ribs to a whole new level of deliciousness.
Now that your ribs are seasoned and ready to go, it’s time to prepare your electric pressure cooker for cooking. Continue reading to learn the next steps for making perfect ribs every time.
Preparing the Pressure Cooker
With your seasoned ribs waiting in anticipation, it’s time to prepare your electric pressure cooker for the cooking process. Here’s how to ensure your pressure cooker is set up correctly:
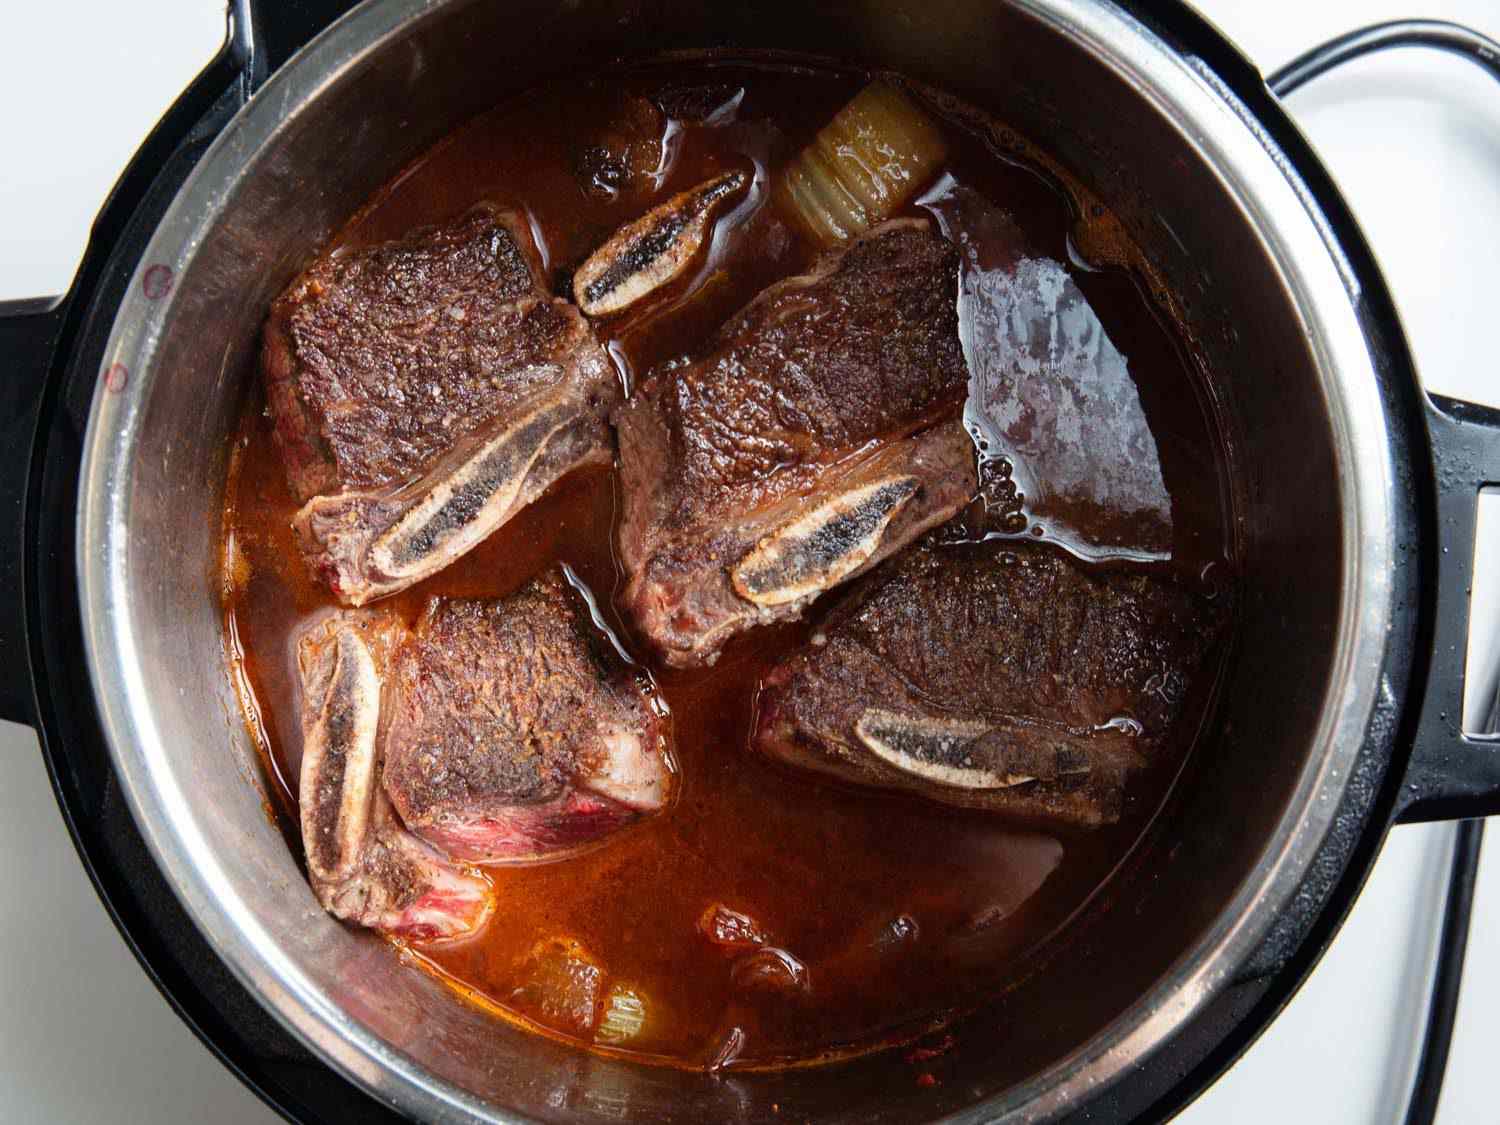
- Add Cooking Liquid: Start by pouring the recommended amount of cooking liquid into the bottom of the pressure cooker. This liquid helps create steam and maintains the necessary pressure for cooking the ribs. Options for cooking liquid include water, broth, apple juice, beer, or a combination of these.
- Insert Trivet: Place the trivet or steaming rack that came with your pressure cooker into the cooking liquid. This elevated platform prevents the ribs from sitting in the liquid directly, ensuring even cooking and preventing them from getting soggy.
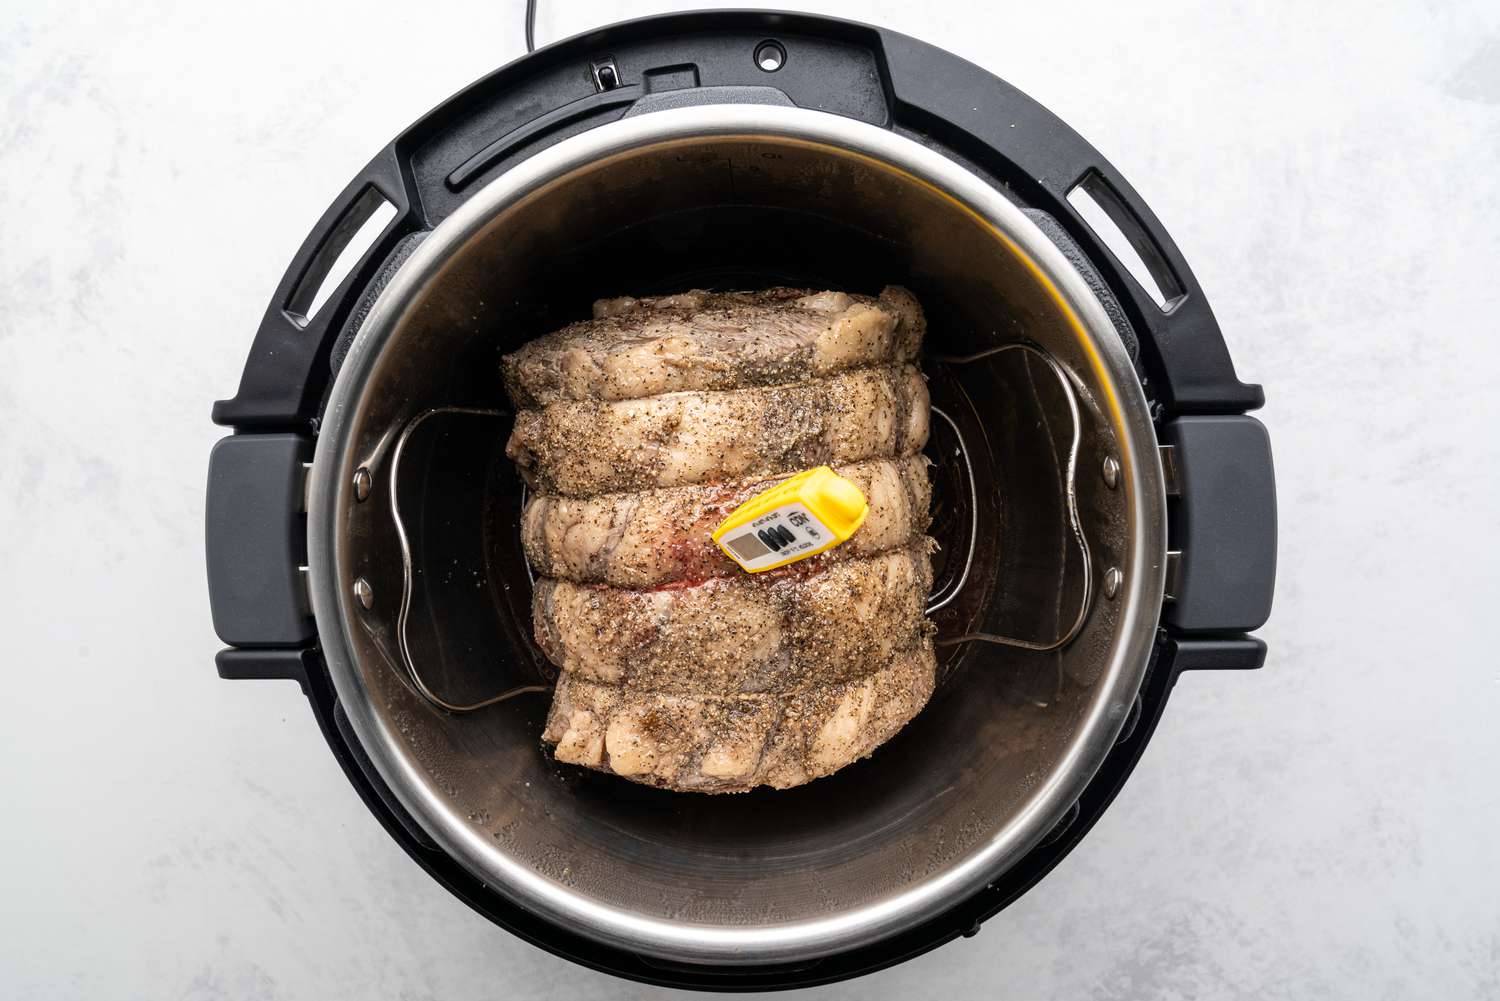
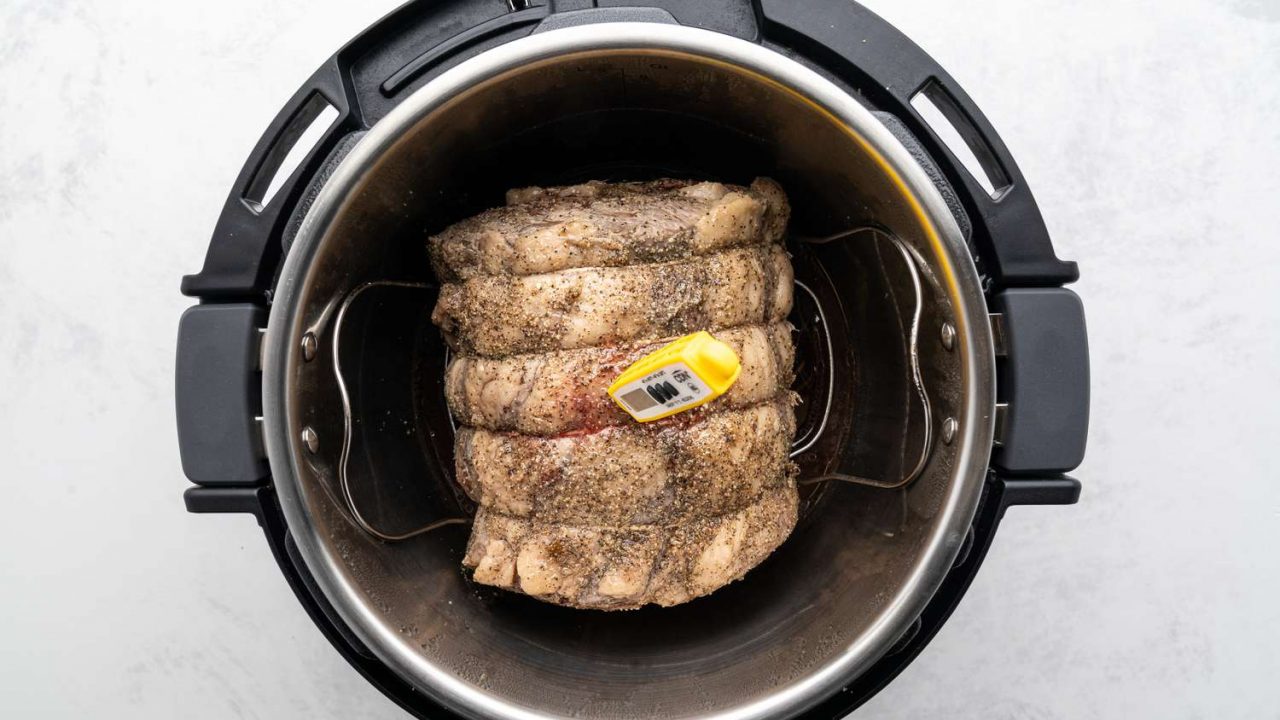
- Arrange the Ribs: Carefully place the seasoned ribs on top of the trivet or steaming rack in a single layer. If you have multiple racks of ribs, you can stack them on top of each other, but make sure they are not overcrowded to allow proper circulation of steam and heat.
- Secure the Lid: Ensure the lid is securely locked onto the pressure cooker, following the manufacturer’s instructions. This is important to create a tight seal and maintain the pressure needed for cooking.
Once you have completed these steps, your pressure cooker is ready to work its magic on the ribs. The cooking liquid, trivet, and proper arrangement of the seasoned ribs will play a crucial role in achieving tender, flavorful, and perfectly cooked ribs. Now, let’s move on to the next step – cooking the ribs in the electric pressure cooker.
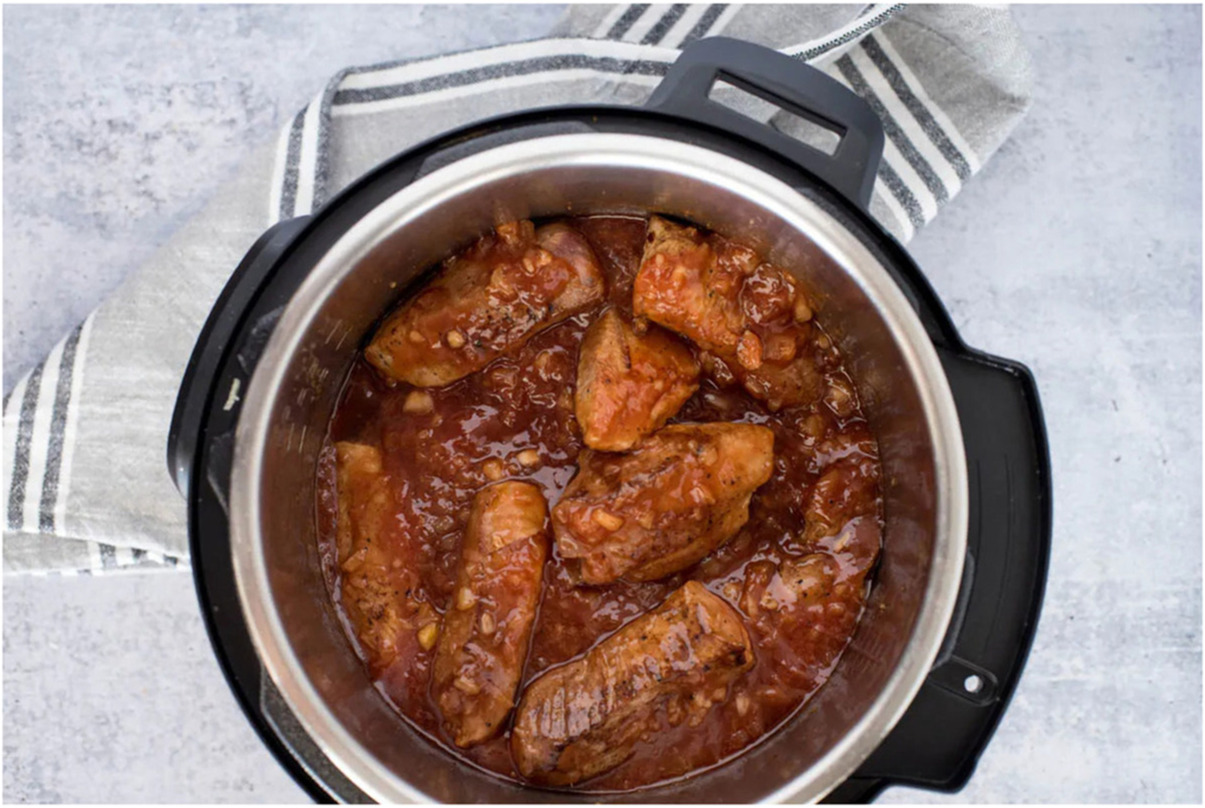
Cooking the Ribs
Now comes the exciting part – cooking the ribs in the electric pressure cooker. Follow these steps to ensure your ribs turn out tender, juicy, and full of flavor:
- Select the Cooking Time: Depending on the type of ribs you’re cooking and your desired tenderness, set the cooking time on your electric pressure cooker. As a general guideline, baby back ribs usually cook well in about 25-30 minutes, while spare ribs or beef short ribs may require 35-40 minutes. Refer to your pressure cooker’s manual for specific guidelines.
- Set the Pressure: Adjust the pressure setting on your electric pressure cooker according to the recommended guidelines for ribs. Most recipes recommend cooking ribs on high pressure for the best results.
- Start the Cooking Process: Press the “Start” button on your pressure cooker, and it will begin building pressure and cooking the ribs. It will take some time for the pressure to build up, so be patient during this phase.
- Cooking Time Begins: Once the desired pressure is reached, the cooking time will start counting down. Allow the ribs to cook for the recommended time without releasing the pressure.
- Natural Release or Quick Release: After the cooking time is complete, you have two options for releasing the pressure – natural release or quick release. Natural release involves letting the pressure release naturally, which can take anywhere from 10 to 20 minutes. Quick release involves carefully turning the pressure release valve to release the pressure quickly. Follow your pressure cooker’s instructions for the recommended release method.
- Opening the Lid: Once the pressure is fully released, carefully unlock and remove the lid of the pressure cooker. A cloud of delicious aromas will greet you as you uncover your perfectly cooked ribs.
It’s important to note that cooking times may vary depending on the size and thickness of your ribs. Ensure the internal temperature of the meat reaches a safe level before serving. Use a meat thermometer to check for an internal temperature of 145°F (63°C) for pork ribs, and 160°F (71°C) for beef ribs.
Now that your ribs are cooked to perfection, it’s time to add those final touches to enhance their flavor and presentation. Read on to discover the finishing touches that will take your electric pressure cooker ribs to the next level.
Natural Release vs. Quick Release
When cooking ribs in the electric pressure cooker, the method of releasing pressure after the cooking time is complete can impact the final texture and tenderness of the meat. Let’s explore the differences between natural release and quick release:
Natural Release: Natural release involves allowing the pressure to release gradually on its own without any intervention. After the cooking time is complete, simply leave the pressure cooker alone and let the pressure subside naturally. This process can take anywhere from 10 to 20 minutes or even longer, depending on the recipe and the amount of pressure built up. Natural release is a gentle method that allows the meat to continue cooking as the pressure decreases, resulting in tender and evenly cooked ribs.
Quick Release: Quick release involves manually releasing the pressure immediately after the cooking time is complete. This is done by carefully turning the pressure release valve on the pressure cooker to release the steam. Quick release rapidly lowers the pressure inside the cooker, and the steam is released forcefully. It is important to exercise caution when performing a quick release, as the hot steam can cause burns. Quick release is ideal when you want to stop the cooking process immediately and prevent the ribs from becoming overcooked or mushy.
Both methods have their benefits depending on the desired outcome and the recipe you’re following. Natural release is generally recommended for ribs as it allows for more tender and succulent results. However, in certain cases, quick release may be preferred to maintain a firmer texture or to prevent the ribs from becoming overly tender. Always refer to the specific recipe instructions to determine which method is recommended.
Now that you understand the differences between natural release and quick release, you can select the appropriate method for releasing pressure when cooking your electric pressure cooker ribs. It’s time to move on to the final steps to add those finishing touches and get ready to serve and enjoy your deliciously cooked ribs.
Finishing Touches
Now that your electric pressure cooker ribs are perfectly cooked, it’s time to add some finishing touches to elevate their flavor and presentation. Here are a few ideas to enhance your ribs:
- Basting with Sauce: If you prefer saucy ribs, brush your favorite barbecue sauce or glaze on the cooked ribs. Place the sauced ribs under the broiler or on the grill for a few minutes to caramelize the sauce and give it a glossy finish.
- Garnishing: Sprinkle chopped fresh herbs like parsley, cilantro, or green onions on top of the ribs for a burst of freshness. You can also add some sesame seeds or thinly sliced chili peppers for an extra kick.
- Grilling for Smoky Flavor: To add a hint of smokiness, finish the ribs on a hot grill for a few minutes. This step will create charred grill marks and infuse the meat with that prized smoky taste. Make sure to keep a close eye on them to prevent burning.
- Dipping Sauces: Serve your ribs with a variety of dipping sauces on the side. Classic choices include tangy barbecue sauce, spicy buffalo sauce, or a refreshing homemade tzatziki sauce.
- Serving Sides: Pair your succulent ribs with delicious side dishes, such as cornbread, coleslaw, macaroni and cheese, roasted vegetables, or a fresh green salad. These sides complement the flavors and textures of the ribs and create a well-rounded meal.
Feel free to get creative and experiment with different flavors and combinations to suit your taste preferences. The finishing touches not only add visual appeal but also contribute to the overall taste experience of the electric pressure cooker ribs.
Once you have added the final touches, it’s time to gather your loved ones, set the table, and serve up your delectable electric pressure cooker ribs. Enjoy the fruits of your labor and savor every succulent bite!
Serving and Enjoying the Ribs
The moment has finally arrived – it’s time to serve and enjoy your perfectly cooked electric pressure cooker ribs. Follow these tips to create a memorable dining experience:
- Slice and Plate: Carefully remove the ribs from the pressure cooker and place them on a cutting board. Use a sharp knife to slice the ribs into individual portions. Arrange the ribs on a serving platter or individual plates, taking care to maintain their attractive appearance.
- Showcase the Juices: Pour any accumulated juices or sauce from the pressure cooker over the sliced ribs. These savory liquids are packed with flavor and provide an additional burst of juiciness to every bite.
- Invite Guests to Help Themselves: Place serving utensils, napkins, and condiments within easy reach so that guests can help themselves to their desired amount of ribs and any accompanying side dishes. This interactive approach adds to the enjoyment of the meal.
- Provide Wet Wipes or Hand Towels: Ribs can be delightfully messy to eat, so be sure to offer wet wipes or hand towels to guests to clean up their hands after indulging in the finger-licking goodness.
- Savor Every Bite: Encourage your guests to savor each mouthwatering bite of the tender and flavorful electric pressure cooker ribs. The combination of perfectly cooked meat, well-seasoned rub, and finishing touches will undoubtedly impress their taste buds.
- Enjoy with Loved Ones: Food has a unique way of bringing people together. Take the time to enjoy the company of your loved ones as you indulge in the delicious ribs. Share stories, laughter, and create lasting memories over this delectable meal.
Remember, the beauty of electric pressure cooker ribs lies not only in their taste but also in the joy they bring to those who gather around the table. Celebrate the effort you put into creating this mouthwatering dish and relish the moments shared with loved ones.
Now that you know how to serve and enjoy your electric pressure cooker ribs, it’s time to savor this culinary masterpiece. Sit back, relax, and revel in the satisfaction of a meal well-prepared and thoroughly enjoyed.