Introduction
Are you craving tender, juicy, fall-off-the-bone pork ribs, but don’t have hours to spend slow-cooking them on the grill? Look no further than your electric pressure cooker! With the right technique and a few simple ingredients, you can achieve restaurant-quality pork ribs in a fraction of the time using your trusty electric pressure cooker.
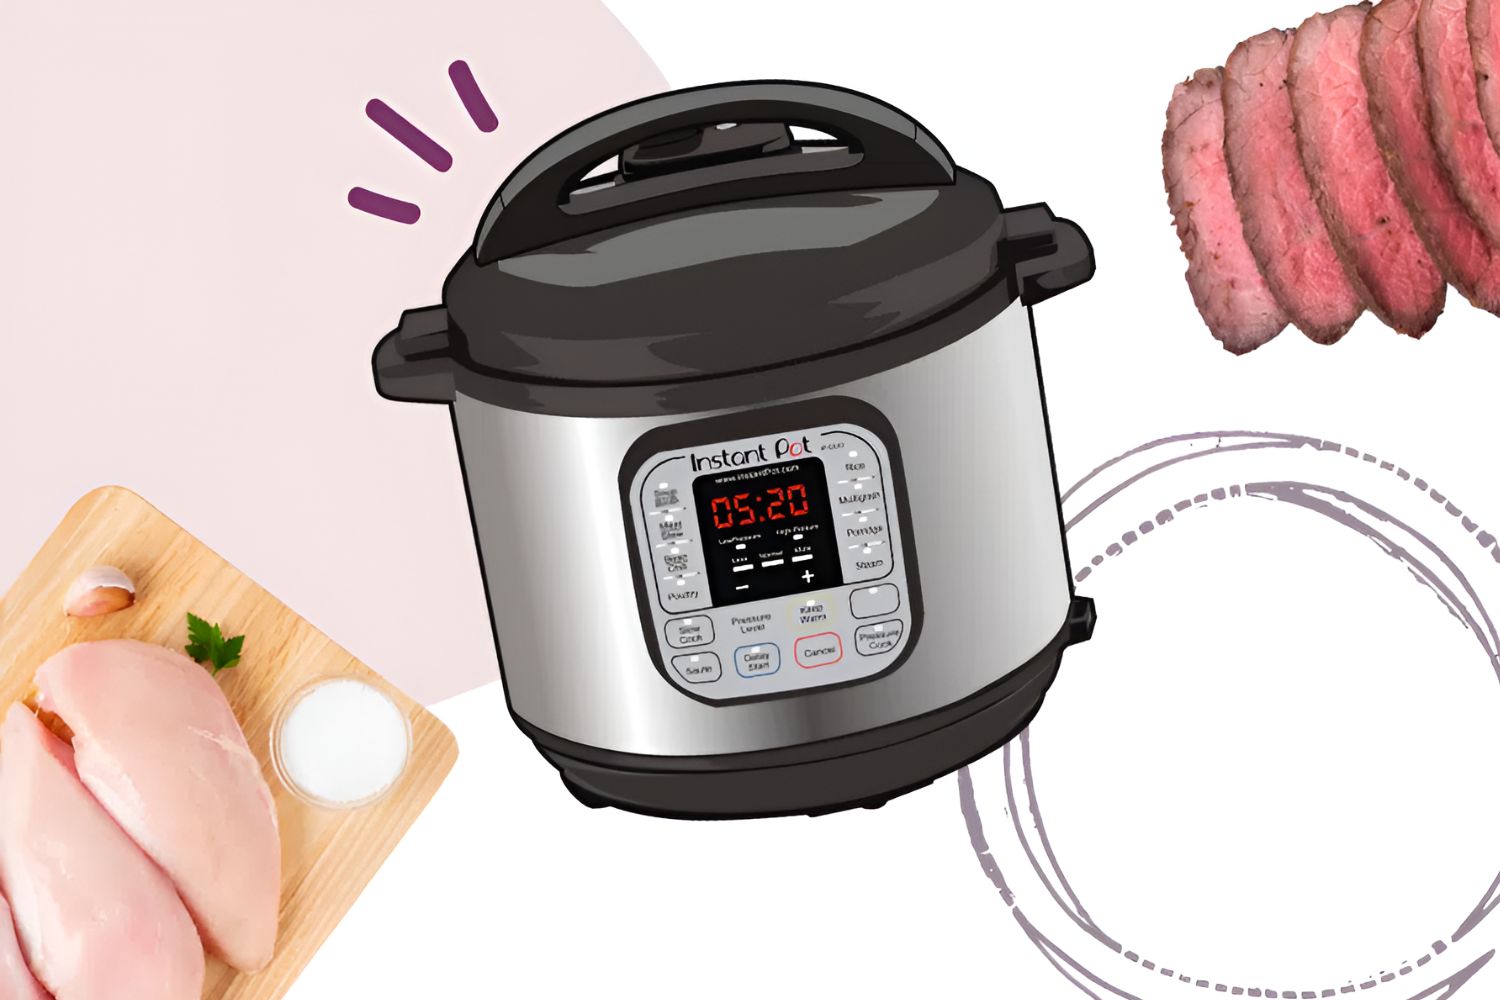
Electric pressure cookers have gained popularity in recent years for their ability to cook meals quickly and efficiently. These kitchen appliances work by trapping steam inside a sealed pot, resulting in high pressure and temperature that significantly reduces cooking time. The result? Flavorful, succulent ribs that will leave your taste buds craving more.
In this article, we will guide you through the process of cooking pork ribs in an electric pressure cooker. We’ll walk you through selecting the right ribs, seasoning them to perfection, preparing your pressure cooker, cooking the ribs, and even provide an optional finishing step in the oven to achieve that irresistible caramelization and crispness on the outside.
Whether you’re hosting a barbecue, craving comfort food, or simply looking for a delicious and hassle-free meal, this method of cooking pork ribs in an electric pressure cooker will not disappoint. So, let’s get started and learn how to make mouthwatering pork ribs that will have your friends and family begging for seconds!
Choosing and preparing the pork ribs
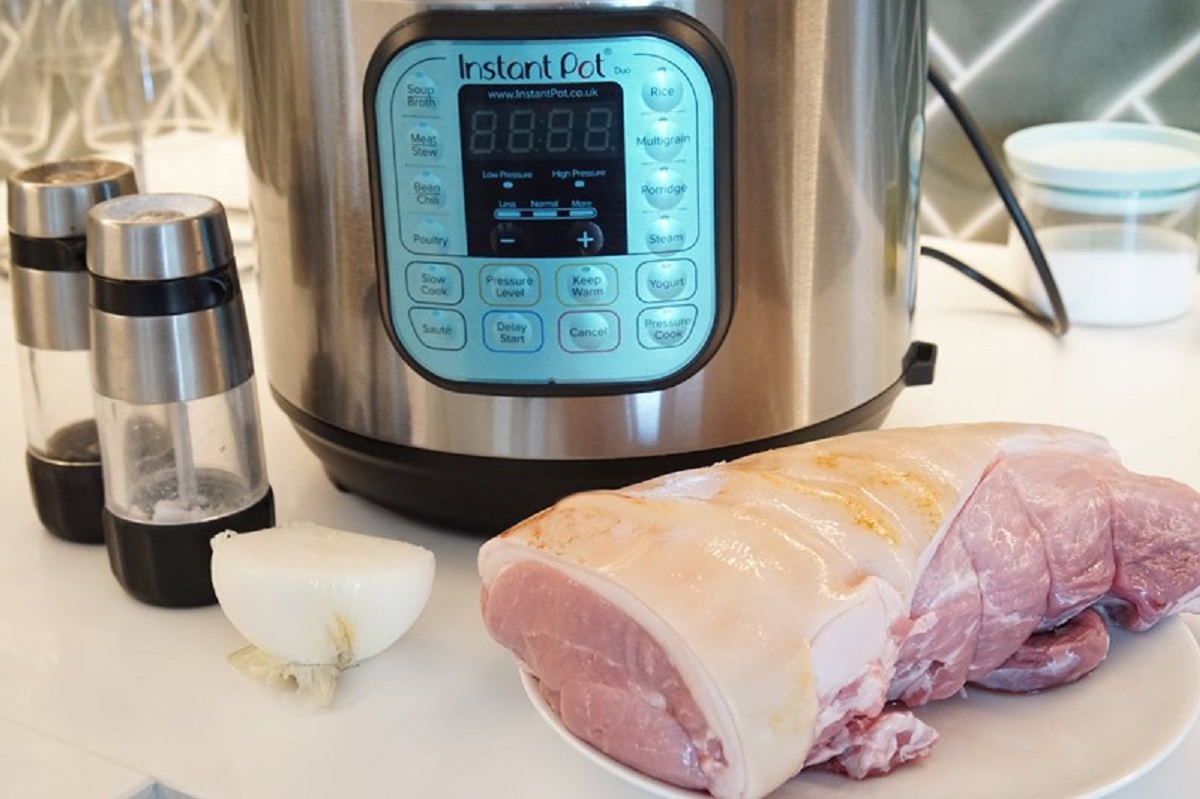
When it comes to preparing delicious pork ribs in an electric pressure cooker, choosing the right type of ribs is crucial. There are two main types of ribs you will come across: baby back ribs and spare ribs.
First, let’s discuss baby back ribs. These are the most tender and meaty ribs, located near the backbone of the pig. They are shorter in length compared to spare ribs and have a curved shape. Baby back ribs are a popular choice for their tenderness and flavor, making them ideal for cooking in an electric pressure cooker.
Spare ribs, on the other hand, come from the lower portion of the pig’s ribcage. They are larger in size and have a higher fat content, which gives them a rich and flavorful taste. Spare ribs require slightly longer cooking times to achieve that desired tender texture.
Once you’ve chosen the type of ribs you prefer, it’s time to prepare them for cooking. Start by removing the membrane on the underside of the ribs. This membrane can make the ribs chewy and prevent the flavors from fully penetrating the meat, so it’s essential to remove it. Gently slide a butter knife or your fingers under the membrane and peel it off in one piece.
Next, trim any excess fat from the ribs. While a little fat adds flavor and moisture, removing any large chunks will prevent the sauce from becoming greasy. Use a sharp knife to carefully trim the fat, leaving a thin layer to enhance the flavor and tenderness of the ribs.
After trimming, rinse the ribs under cold water and pat them dry with paper towels. This step helps remove any bone fragments or debris that may be clinging to the meat. Dry ribs will also allow the seasoning to adhere better, resulting in a more flavorful end product.
Now that your pork ribs are prepped and ready, it’s time to move on to the next step: seasoning. But before we do that, let’s make sure your electric pressure cooker is prepared for the cooking process.
Seasoning the pork ribs
Seasoning is a crucial step in bringing out the best flavors in your pork ribs. While you can use a range of seasonings and spices, a classic combination that works well with pork ribs includes salt, black pepper, garlic powder, onion powder, and paprika.
Start by generously sprinkling salt all over the ribs, ensuring that both sides are coated evenly. The salt will help to enhance the natural flavors of the meat and make it more tender. Next, add the black pepper, garlic powder, onion powder, and paprika. These seasonings will add depth and complexity to the overall flavor profile of the ribs.
For those who enjoy a hint of spice, you can also incorporate cayenne pepper or chili powder into the seasoning mix. This will give your ribs a pleasant kick and add some heat to the dish. Adjust the amount of spice according to your preference.
Once you have applied the seasonings, use your hands to massage the ribs, ensuring that the spices are evenly distributed. This step helps the flavors penetrate the meat and enhances the overall taste.
After seasoning the ribs, cover them with plastic wrap or place them in a sealable plastic bag. Allow the ribs to marinate in the refrigerator for at least 1 hour, or overnight if possible. Marinating the ribs will allow the flavors to intensify and will result in a more delicious end product.
When you’re ready to start cooking, remove the ribs from the refrigerator and let them sit at room temperature for about 15 minutes. This step helps to ensure that the ribs cook more evenly.
Now that your ribs are seasoned to perfection, it’s time to move on to the next step: preparing the electric pressure cooker.
Preparing the electric pressure cooker
Before you begin cooking your pork ribs in the electric pressure cooker, it’s essential to prepare the appliance properly. This will help ensure that the ribs cook evenly, tenderize to perfection, and avoid any potential safety hazards.
Start by checking the sealing ring of your pressure cooker. Over time, this ring can wear out or retain odors from previous cooking sessions. Inspect it for any signs of wear and tear. If it’s damaged, replace it with a new one to ensure a tight seal during the cooking process.
Next, insert the trivet or metal rack that came with your pressure cooker into the bottom. This will elevate the ribs, preventing them from sitting in the liquid that will accumulate during cooking. The trivet helps the ribs cook more evenly and prevents them from becoming overly moist.
Now, add the cooking liquid to the electric pressure cooker. You can use water, broth, or a combination of both. The liquid will create steam, which is what builds the pressure inside the cooker and helps cook the ribs quickly. The amount of liquid will depend on the size of your pressure cooker, but a general rule of thumb is to use about 1 to 1.5 cups of liquid.
If desired, you can add additional flavors to the cooking liquid. For example, you can add a few cloves of garlic, a sliced onion, or some herbs such as rosemary or thyme to enhance the flavor of the ribs. These flavors will infuse into the meat as it cooks, resulting in a more aromatic and delicious end result.
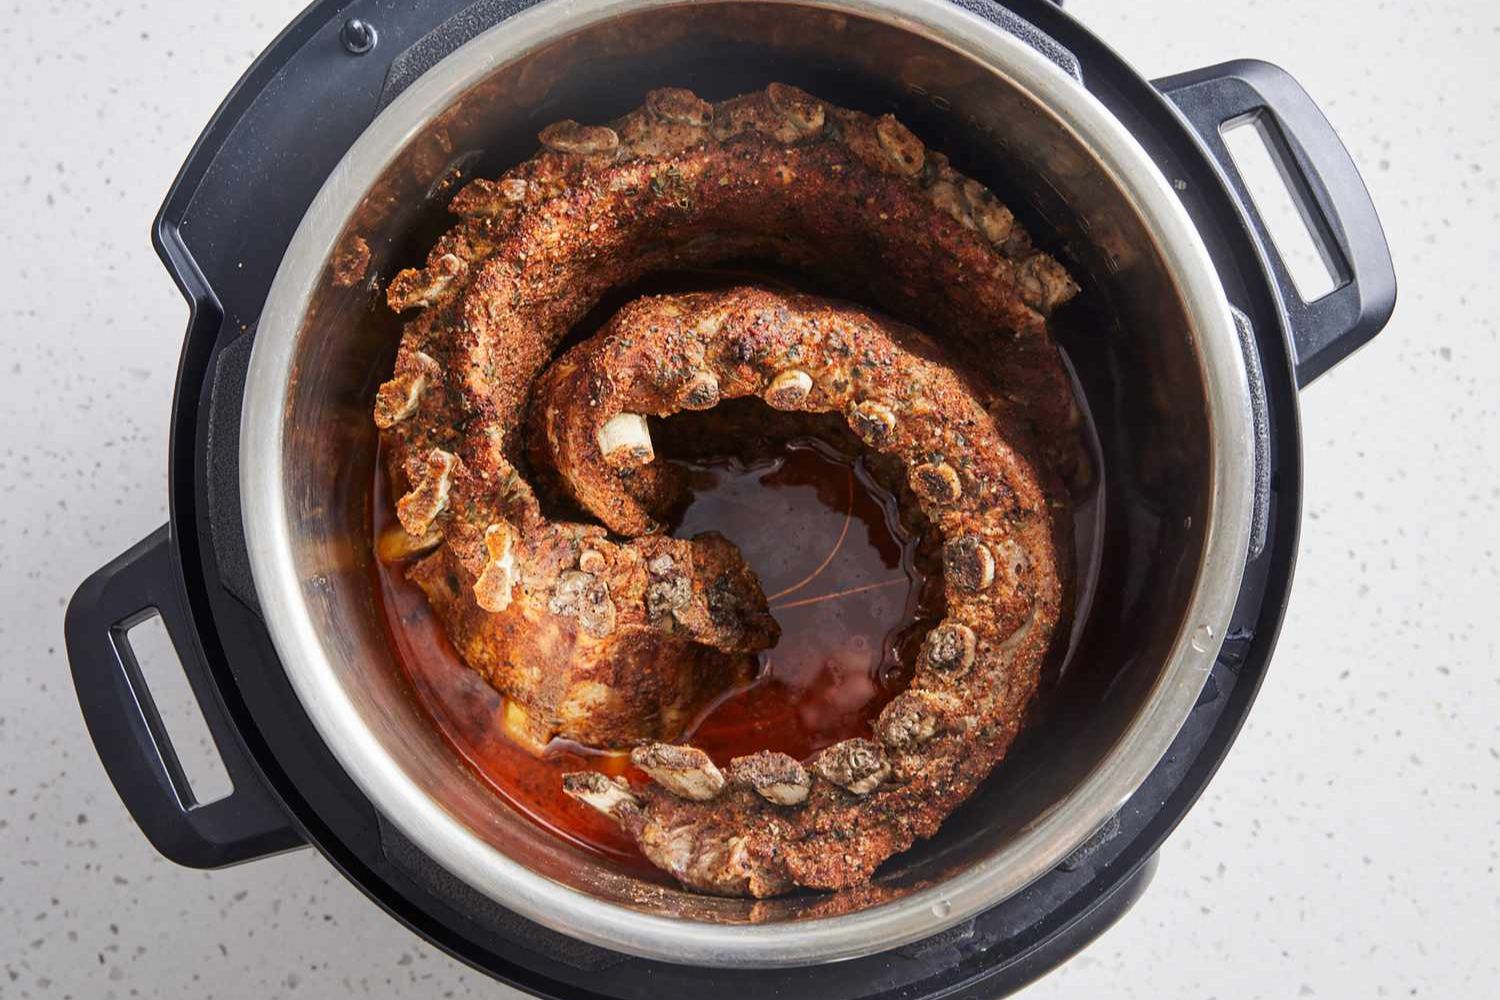
Once the trivet and cooking liquid are in place, it’s time to carefully place the seasoned pork ribs into the electric pressure cooker. Arrange the ribs in a single layer on top of the trivet, making sure they are not stacked or overcrowded. Overcrowding the ribs can lead to uneven cooking and less tender results.
After placing the ribs, secure the lid firmly onto the pressure cooker. Make sure the pressure release valve is in the sealed position to maintain the pressure inside the cooker while cooking.
With the electric pressure cooker prepared and the ribs in place, it’s time to move on to the next step: cooking the pork ribs to perfection.
Cooking the pork ribs in the electric pressure cooker
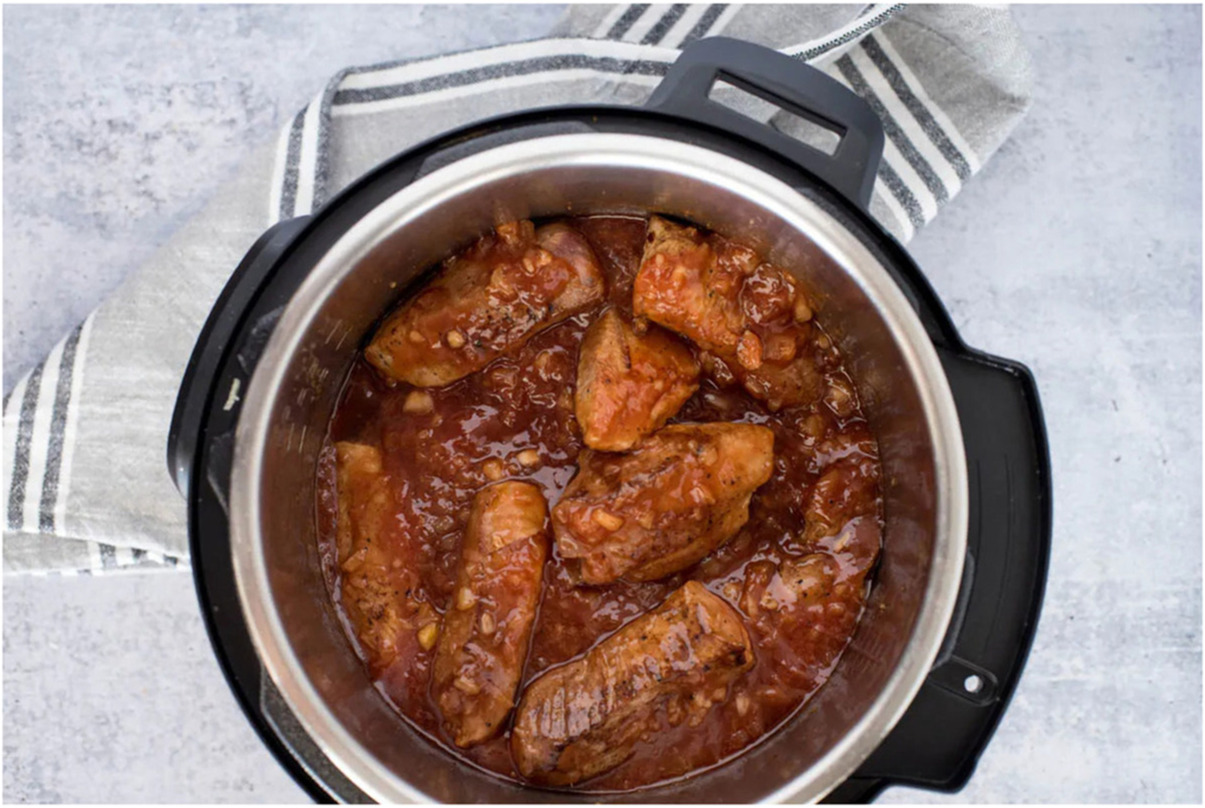
Now that your electric pressure cooker is prepared and the pork ribs are seasoned and ready to go, it’s time to start the cooking process. When cooking pork ribs in an electric pressure cooker, the goal is to achieve tender, succulent meat that easily falls off the bone.
Start by plugging in your electric pressure cooker and selecting the “Pressure Cook” or “Manual” setting. Set the cooking time to 25-30 minutes for baby back ribs and 30-35 minutes for spare ribs. Keep in mind that the actual cooking time may vary depending on the size and thickness of the ribs, as well as the brand and model of your pressure cooker.
As the pressure cooker comes to pressure and the ribs cook, you’ll notice the steam escaping from the pressure release valve. This is normal and part of the cooking process. Once the pressure is built, the cooking time will begin counting down.
During the cooking process, it’s important to avoid opening the pressure cooker unless necessary. Opening the cooker will release the pressure and prolong the cooking time, resulting in less tender ribs.
Once the cooking time has elapsed, turn off the pressure cooker and let the pressure naturally release for 10-15 minutes. This allows the ribs to continue cooking in the residual heat and ensures that they are tender and fully cooked.
After the natural pressure release, it’s time to perform a quick release by carefully moving the pressure release valve to the “Venting” position to release any remaining pressure. Be cautious of the hot steam and use a long utensil or a heat-resistant glove to avoid any burns.
Once the pressure has been fully released, it’s safe to remove the lid. Carefully lift the ribs out of the pressure cooker using tongs or a fork, and place them on a baking sheet or a plate.
At this stage, the ribs are cooked and ready to be enjoyed. However, if you prefer a caramelized and slightly charred exterior, you can opt to finish the ribs under the broiler or on the grill for a few minutes. This will give the ribs a delightful smoky flavor and a beautiful charred appearance.
Now that your pork ribs are perfectly cooked, tender, and ready to be served, it’s time to move on to the next step: releasing the pressure and removing the ribs from the electric pressure cooker.
Releasing the pressure and removing the ribs
After the cooking process in the electric pressure cooker, it’s important to release the pressure safely before removing the ribs. This step ensures that you can handle the ribs without the risk of steam burns.
First, check if the pressure indicator on your electric pressure cooker has dropped, indicating that the pressure has been released. This may take a few minutes, depending on the model of your cooker. Once the pressure indicator has dropped, it’s safe to proceed.
Carefully move the pressure release valve to the “Venting” position, either using a utensil or a heat-resistant glove to protect your hand from the hot steam. This will release any remaining pressure inside the cooker.
Once all the pressure has been released, you can safely unlock and remove the lid from the electric pressure cooker. Set the lid aside, being cautious of any remaining steam that may escape. The ribs will be hot, so use tongs or a fork to carefully lift them out of the pressure cooker.
Place the cooked ribs on a cutting board or a serving platter. They should be tender, juicy, and moist. If desired, you can brush the ribs with your favorite barbecue sauce or glaze for an added burst of flavor. Allow the ribs to rest for a few minutes before serving to ensure the juices redistribute throughout the meat.
If there is any excess liquid in the bottom of the pressure cooker, you can strain and save it to use as a sauce or stock for future recipes. The flavorful liquid can add a delicious touch to other dishes.
Now that you have successfully released the pressure and removed the pork ribs from the electric pressure cooker, it’s time to move on to the optional finishing step: giving the ribs a delightful charred exterior in the oven or on the grill.
Optionally finishing the ribs in the oven
While the pork ribs cooked in the electric pressure cooker are already tender and flavorful, you can take them to the next level by giving them a delicious caramelized crust in the oven. This optional step adds a depth of flavor and texture that many barbecue enthusiasts love.
To finish the ribs in the oven, preheat the oven to a broil setting or a high temperature of around 450°F (232°C). This high heat will help achieve the desired charred and crispy exterior.
Line a baking sheet with aluminum foil or parchment paper to make cleanup easier. Place the cooked pork ribs on the prepared baking sheet, making sure they are in a single layer and not overlapping.
Brush or glaze the ribs with your favorite barbecue sauce, marinade, or glaze. Use a basting brush to apply an even layer, ensuring that all parts of the ribs are coated. This sauce will help caramelize the ribs and add an additional layer of flavor.
Place the baking sheet with the sauced ribs in the preheated oven. Keep a close eye on them, as the high heat can cause the sauce to burn quickly. If needed, you can rotate the ribs or adjust the rack position in the oven to ensure even browning.
Allow the ribs to cook in the oven for about 5-10 minutes, or until the sauce has thickened and developed a sticky glaze. The exact cooking time will depend on your oven’s broil setting and the proximity of the ribs to the heat source, so keep a close eye on them to prevent burning.
Once the sauce has caramelized and the ribs have developed a beautiful charred exterior, remove them from the oven. Let them rest for a few minutes before serving to allow the juices to redistribute within the meat.
Finishing the ribs in the oven gives them a delightful smoky flavor and adds a layer of texture that perfectly complements the tender meat. Serve the finished ribs with your favorite sides, such as coleslaw, cornbread, or grilled vegetables.
Now that the pork ribs are fully cooked and optionally finished in the oven, it’s time to move on to plating, serving, and savoring the mouthwatering results of your labor!
Serving and enjoying the pork ribs
Now that your perfectly cooked pork ribs are ready, it’s time to serve them up and enjoy the mouthwatering flavors you’ve created. With their tender texture and delightful seasoning, these ribs are sure to be a hit at any gathering or family meal.
Start by transferring the finished ribs to a serving platter or individual plates. They can be served as a full slab, cut into smaller portions, or even individually separated into riblets for easier serving.
Garnish the ribs with some fresh herbs, such as chopped parsley or cilantro, to add a pop of color and freshness. This not only enhances the presentation but also complements the flavors of the ribs.
Pair the pork ribs with your favorite side dishes to create a complete and satisfying meal. Classic sides like coleslaw, baked beans, macaroni and cheese, or roasted vegetables are excellent choices that complement the rich and savory flavors of the ribs.
When serving, consider providing extra barbecue sauce, hot sauce, or any other condiments that your guests might enjoy. This allows everyone to customize their ribs according to their personal taste preferences.
As you gather around the table, take a moment to appreciate the delicious aroma and the effort that went into creating these mouthwatering pork ribs. Sink your teeth into the tender and juicy meat, and savor the explosion of flavors with each bite.
The combination of the perfectly cooked pork ribs, the seasoning, and the optional finishing touch in the oven creates a dish that is sure to please. Whether it’s a casual backyard barbecue, a family dinner, or a special occasion, these electric pressure cooker pork ribs are a crowd-pleasing choice.
Enjoy the company of loved ones as you indulge in the delectable ribs. Be prepared for compliments and requests for the recipe, as these ribs are bound to impress anyone fortunate enough to try them.
So, gather around, grab a napkin, and savor the flavors of these tender and flavorful pork ribs. Let every bite bring joy, satisfaction, and the proud feeling of mastering the art of cooking ribs in an electric pressure cooker.