Introduction
Welcome to the world of cooking with an electric pressure cooker! If you’re looking to elevate your culinary skills and create a mouthwatering dish, you’ve come to the right place. In this article, we will guide you on how to cook a 5 lbs rib eye roast in an electric pressure cooker.
An electric pressure cooker is a versatile and efficient kitchen appliance that can help you achieve succulent and tender results in a fraction of the time compared to traditional cooking methods. With the right techniques and seasoning, you can transform a plain cut of meat into a delectable dish that will impress your family and guests.
Before we dive into the details of preparing and cooking the rib eye roast, let’s ensure you have all the necessary equipment on hand. To embark on this culinary adventure, you will need:
- An electric pressure cooker
- A 5 lbs rib eye roast
- Seasonings and spices
- Utensils for searing and carving
Once you have these essentials, you’ll be ready to embark on this flavorful journey of preparing and cooking a succulent rib eye roast. Whether you’re a seasoned cook or a beginner in the kitchen, this guide will provide you with the step-by-step instructions needed to achieve a delicious result.
So put on your apron, get your ingredients ready, and let’s delve into the world of cooking a 5 lbs rib eye roast in an electric pressure cooker!
Equipment Needed
Cooking a 5 lbs rib eye roast in an electric pressure cooker requires a few essential pieces of equipment to ensure a successful and seamless cooking process. Here’s what you’ll need:
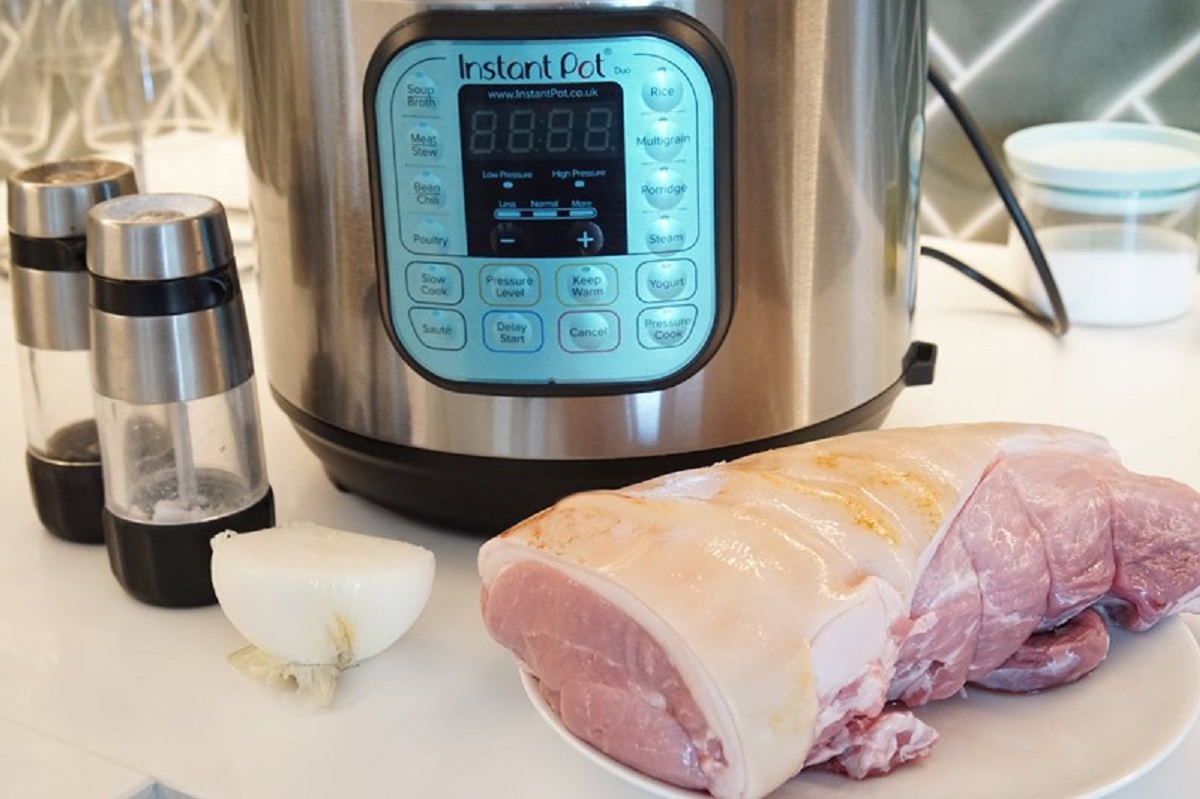
- Electric Pressure Cooker: The star of the show is, of course, the electric pressure cooker. Make sure you have a reliable and properly functioning pressure cooker before you begin. It should have a large enough capacity to accommodate a 5 lbs rib eye roast.
- 5 lbs Rib Eye Roast: Look for a high-quality rib eye roast that weighs approximately 5 lbs. It’s important to choose a roast with good marbling and a uniform shape to ensure even cooking and maximum flavor.
- Seasonings and Spices: To enhance the flavor of your rib eye roast, you’ll need a variety of seasonings and spices. Some popular choices include salt, black pepper, garlic powder, onion powder, paprika, and dried herbs like rosemary or thyme.
- Utensils for Searing and Carving: Searing the roast before pressure cooking it helps to develop a rich crust and seal in the juices. For searing, you’ll need a hot skillet or a separate cooking appliance like an electric griddle. Additionally, make sure you have a sharp carving knife, a cutting board, and serving utensils for carving and serving the roast.
While these are the key equipment items needed for cooking a rib eye roast in an electric pressure cooker, it’s also a good idea to have basic kitchen tools such as measuring spoons and cups, tongs, a meat thermometer, and aluminum foil for covering the cooked roast during the resting period.
Having all the necessary equipment ready and within reach will make the cooking process seamless and enjoyable. Now that you have your gear prepared, it’s time to move on to the next step: gathering the mouthwatering ingredients needed for your rib eye roast masterpiece.
Ingredients
To bring out the delectable flavors of your 5 lbs rib eye roast, you’ll need a well-curated selection of ingredients. Here are the key components:
- 5 lbs Rib Eye Roast: As the star of the dish, the rib eye roast should be the centerpiece of your ingredient list. Look for a roast that is well-marbled and of high quality.
- Salt and Pepper: These basic seasonings are essential for enhancing the natural flavors of the meat. Use a generous amount of sea salt and freshly ground black pepper to season the roast.
- Garlic and Onion Powder: Add depth and aroma to the roast by incorporating garlic and onion powder. These flavors will infuse throughout the meat during the cooking process.
- Paprika: This spice adds a touch of smokiness and a vibrant reddish color to the roast. It complements the richness of the rib eye perfectly.
- Dried Herbs: Choose aromatic herbs like rosemary, thyme, or a combination of both to bring a lively herbal essence to the roast.
These ingredients form the foundation of a flavorful and succulent rib eye roast. However, feel free to experiment and customize the seasoning to suit your taste preferences. You can add additional spices or herbs that you enjoy to make the dish uniquely your own.
Remember, the quality of the ingredients is crucial for achieving a delicious end result, so purchase the freshest and highest-quality meat and spices available to you.
With your electric pressure cooker ready and the ingredients gathered, you’re one step closer to cooking a mouthwatering 5 lbs rib eye roast. In the next sections, we will guide you through the preparation and cooking process, ensuring that every step leads you closer to a sensational dining experience.
Preparing the Rib Eye Roast
Before you can start cooking your 5 lbs rib eye roast in the electric pressure cooker, it’s important to properly prepare the meat to ensure optimal flavor and tenderness. Here’s how to get the roast ready:
- Remove from Refrigerator: Take the rib eye roast out of the refrigerator and let it sit at room temperature for about 30 minutes. This allows the meat to come to room temperature, resulting in more even cooking.
- Trim Excess Fat: Trim any excess fat from the roast, leaving a thin layer on the top to enhance the flavor and moisture of the meat during cooking.
- Tie the Roast: To ensure the roast retains its shape during cooking, tie it with kitchen twine at regular intervals. This will help the meat cook evenly and maintain its juiciness.
- Score the Fat: Use a sharp knife to score the fat on top of the roast in a crosshatch or diamond pattern. This allows the fat to render and helps to create a beautifully caramelized crust.
By following these steps, you’ll ensure that the rib eye roast is properly prepped and ready for seasoning and cooking in the electric pressure cooker. Preparing the roast takes only a few minutes but can significantly impact the final result.
Once the roast is prepared, it’s time to move on to the next step—seasoning the meat. The right combination of seasonings will elevate the flavor of the rib eye and make it an unforgettable culinary experience. So, let’s dive into the world of tantalizing flavors in the next section.
Seasoning the Roast
Seasoning is a crucial step in bringing out the rich flavors of your 5 lbs rib eye roast. By using a combination of spices and herbs, you can elevate the taste profile and create a truly mouthwatering dish. Here’s how to season the roast:
- Pat Dry: Before applying the seasonings, make sure the surface of the roast is dry. Use a paper towel to pat it dry gently. This helps the seasonings adhere better to the meat.
- Salt and Pepper: Start by generously seasoning the entire surface of the roast with salt and freshly ground black pepper. This will enhance the natural flavors of the meat.
- Garlic and Onion Powder: Sprinkle garlic powder and onion powder evenly over the roast. These spices add depth and aroma to the meat.
- Paprika and Dried Herbs: Sprinkle a moderate amount of paprika over the roast for a touch of smokiness and appealing color. Next, sprinkle dried herbs such as rosemary or thyme over the roast to infuse it with their aromatic essence.
Gently press the seasonings into the surface of the roast to ensure they adhere well. The flavors will penetrate the meat as it cooks in the electric pressure cooker, resulting in a deliciously seasoned rib eye roast.
Remember that seasoning is subjective, and you can adjust the amount of each spice according to your taste preferences. Feel free to experiment with different seasonings, including spices like cumin or smoked paprika, to create your own unique flavor profile.
Now that the roast is perfectly seasoned, it’s time to move on to the next step—searing the meat to develop a flavorful crust. We’ll explore the searing process in detail in the following section.
Searing the Roast
Searing the 5 lbs rib eye roast before pressure cooking it is an essential step to achieve a beautifully caramelized crust and enhance the flavors of the meat. Follow these steps to sear the roast:
- Heat a Skillet: Place a skillet or a separate cooking appliance like an electric griddle over medium-high heat. Allow it to heat up for a few minutes until hot.
- Add Cooking Oil: Drizzle a bit of cooking oil, such as vegetable or canola oil, onto the hot skillet. Swirl the oil to coat the surface evenly.
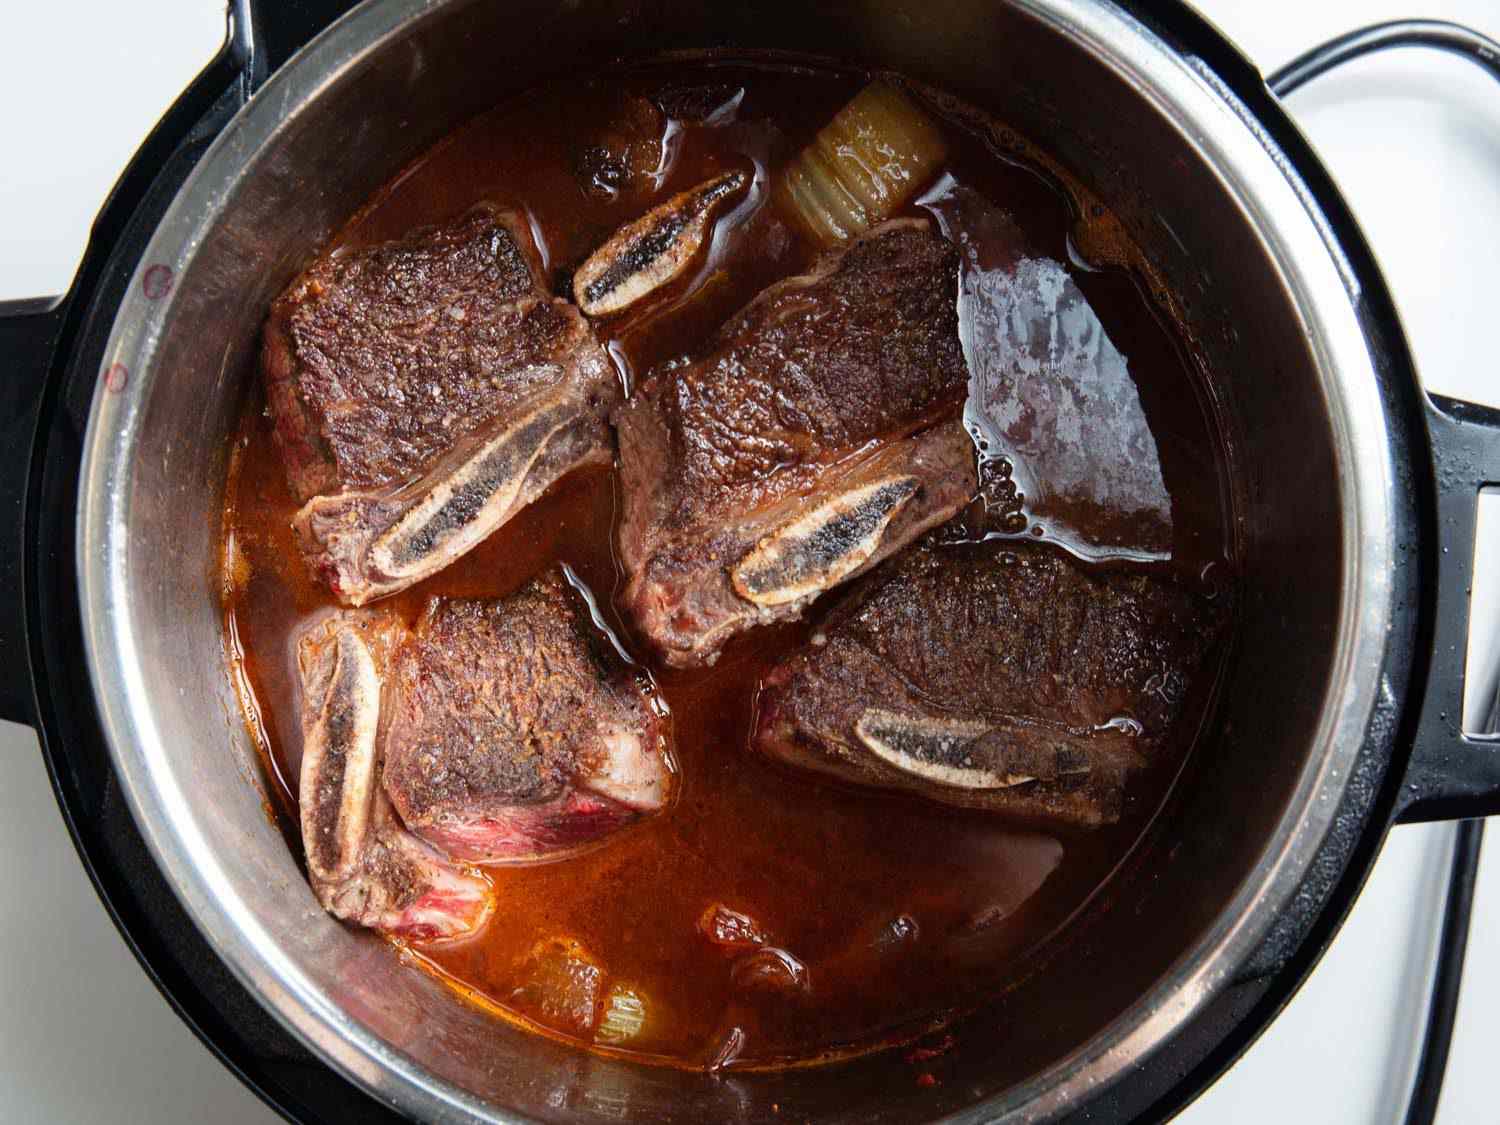
- Place the Roast: Carefully place the seasoned rib eye roast on the hot skillet. It should make a sizzling sound upon contact, indicating that the searing process has begun.
- Sear on All Sides: Let the roast sear undisturbed for a few minutes until a golden brown crust forms. Use tongs to gently flip the roast and repeat the searing process on all sides, including the ends. This process should take about 8-10 minutes in total.
While searing, it’s important to maintain medium-high heat to achieve a proper caramelization without burning the outer layer of the meat. The searing process helps to lock in the juices and enhance the overall flavor and texture of the rib eye roast.
Once the roast is seared to perfection, it’s ready to be transferred to the electric pressure cooker for the cooking process. In the next section, we will guide you on how to set up the pressure cooker and determine the ideal cooking time for your tender and succulent rib eye roast.
Setting up the Electric Pressure Cooker
Now that your 5 lbs rib eye roast is seared to perfection, it’s time to transfer it to the electric pressure cooker for the cooking process. Setting up the pressure cooker correctly ensures that your roast cooks evenly and to the desired doneness. Follow these steps to get your pressure cooker ready:
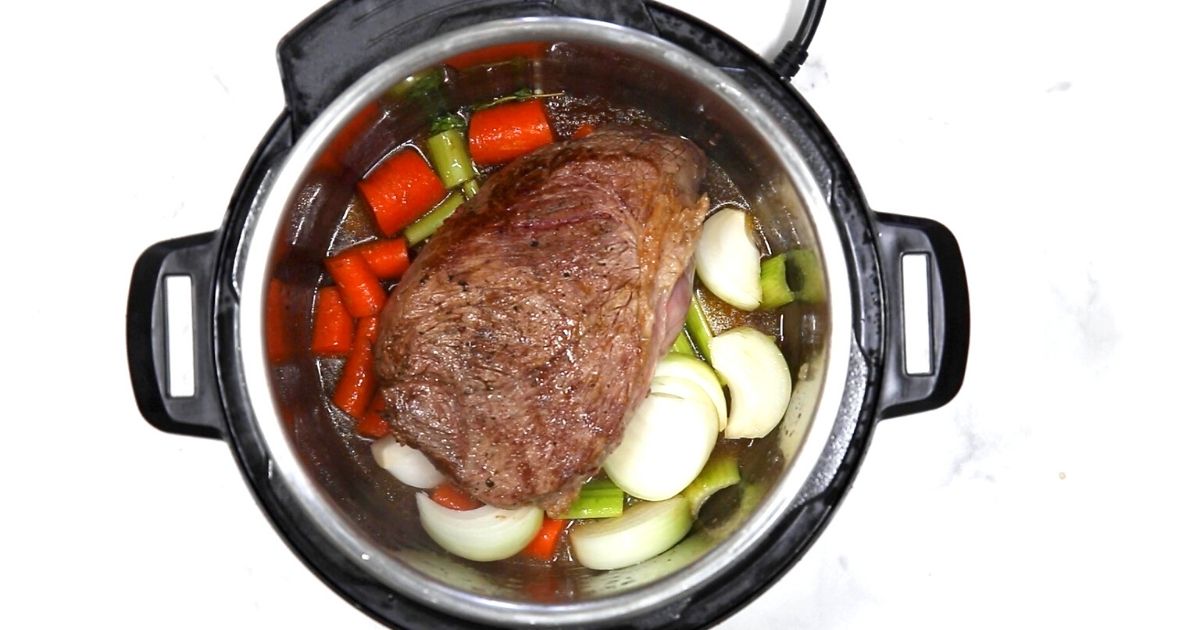
- Add Liquid: Begin by adding a liquid of your choice, such as beef broth or water, to the bottom of the pressure cooker. This liquid helps create the necessary steam for pressure cooking and prevents the meat from drying out.
- Place a Trivet: Insert a trivet or a rack into the pressure cooker, ensuring it is stable and sits above the liquid. This will elevate the roast and prevent it from sitting directly in the liquid, promoting even cooking.
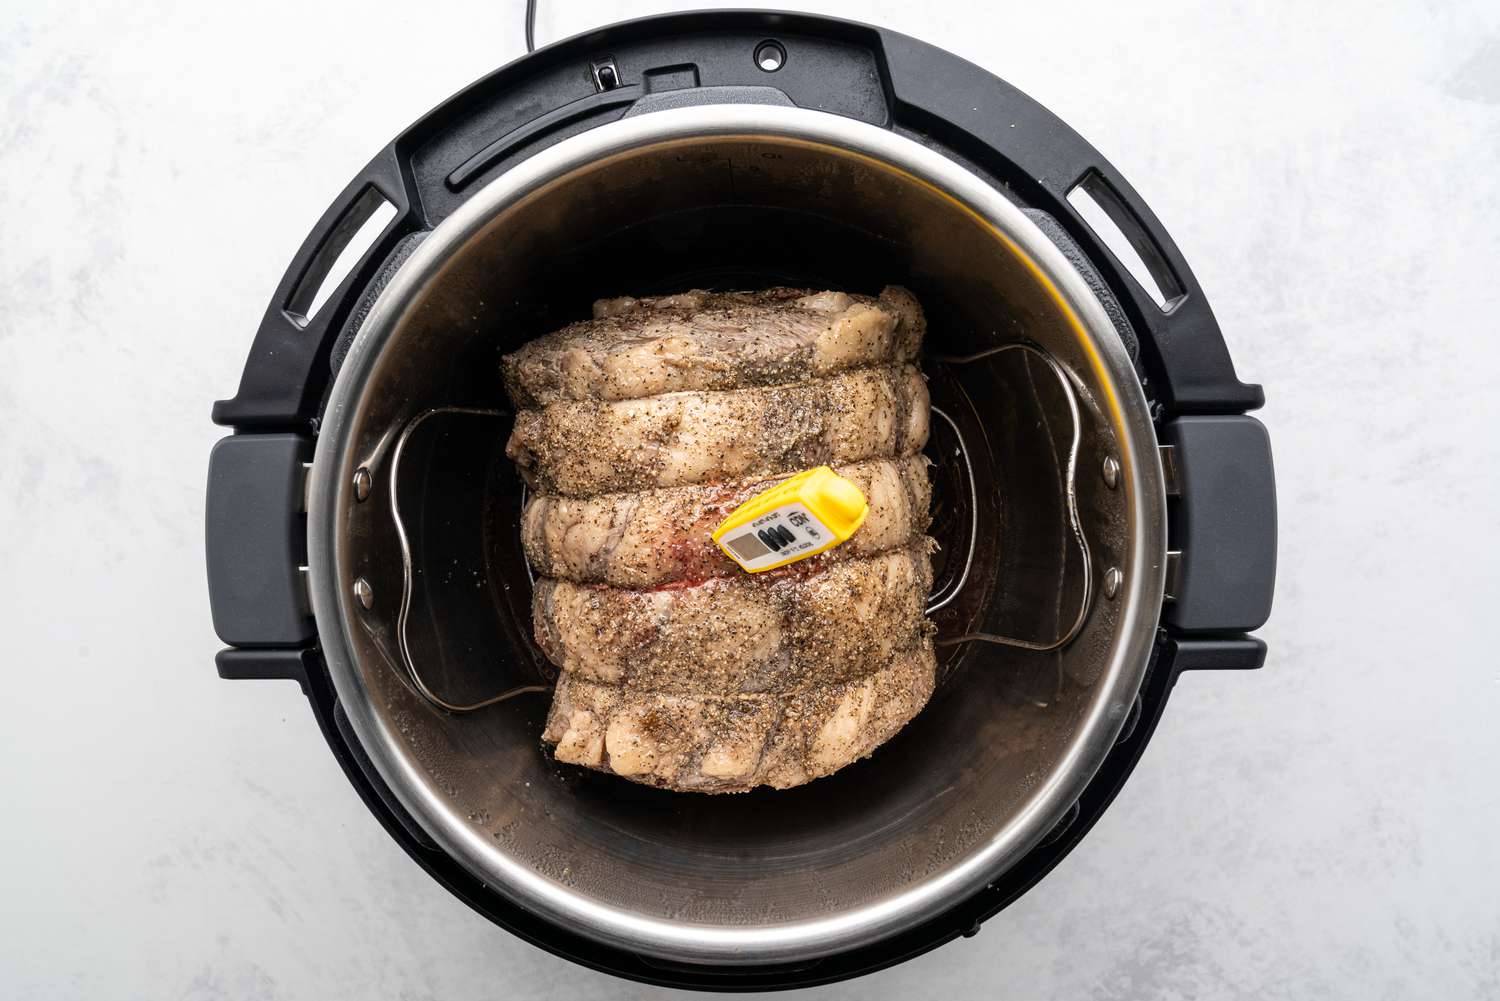
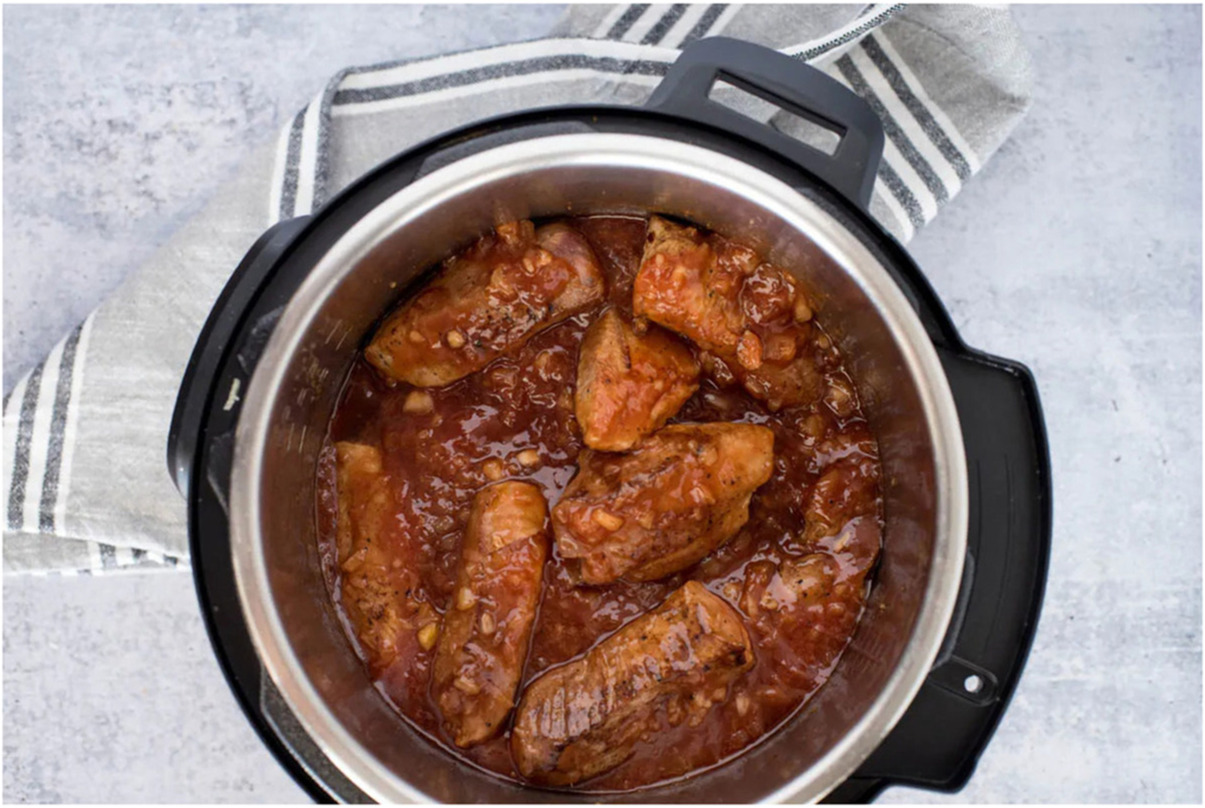
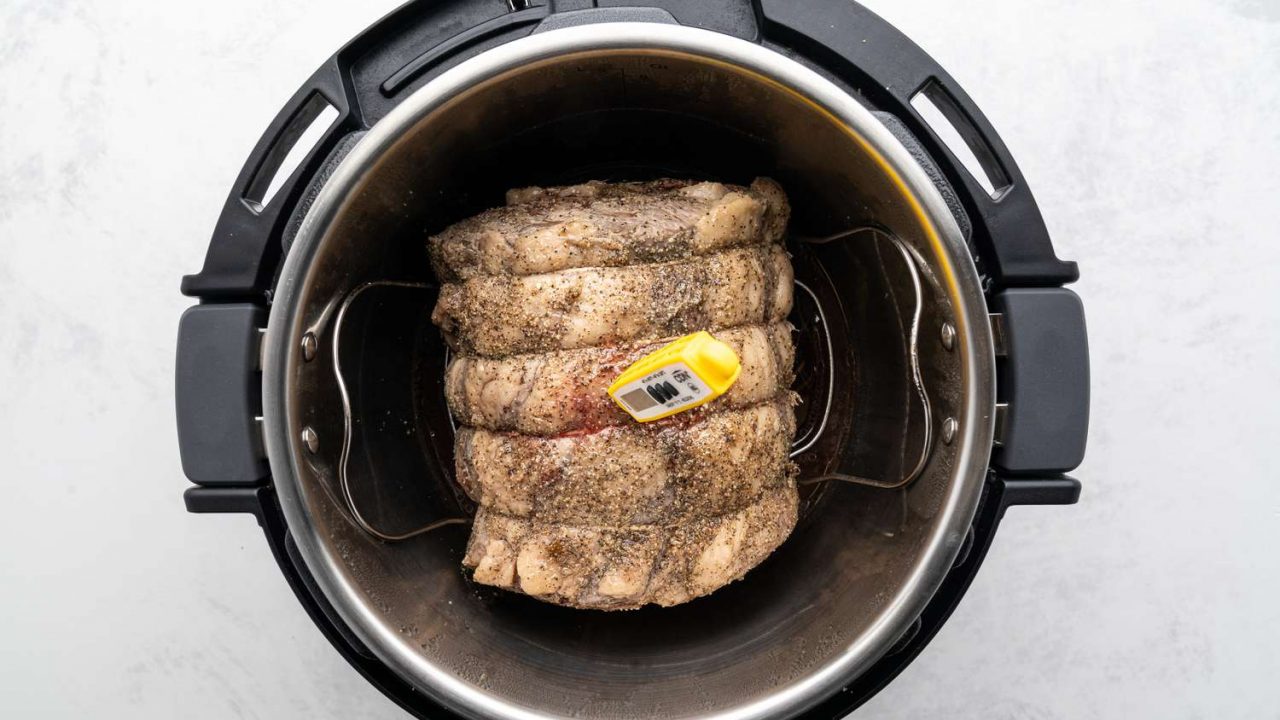
- Transfer the Roast: Carefully place the seared rib eye roast onto the trivet inside the pressure cooker. Position it with the fat side facing up for optimal flavor and tenderness.
It’s important to ensure the pressure cooker is sealed properly before beginning the cooking process. Follow the manufacturer’s instructions to securely seal the lid and set the pressure release valve to the desired position (either sealing or venting) depending on your pressure cooker model.
Check the pressure cooker’s manual for the recommended cooking settings for beef or roasts. Adjust the cooking time according to the weight of your rib eye roast—typically, it will take about 20 minutes per pound for medium-rare to medium doneness.
With the pressure cooker set up and the roast ready to cook, it’s time to move on to the exciting part—pressure cooking the rib eye roast. In the next section, we will guide you through the cooking process to achieve a juicy and flavorful end result.
Pressure Cooking the Roast
Now that you have the seared rib eye roast in the electric pressure cooker, it’s time to begin the pressure cooking process. This step will infuse the meat with flavor, tenderize it, and lock in the juices. Follow these steps to pressure cook your roast:
- Set the Cooking Time: Refer to the manufacturer’s instructions for your specific electric pressure cooker model to determine the appropriate cooking time for a 5 lbs rib eye roast. Typically, it will take around 20 minutes per pound for medium-rare to medium doneness.
- Select the Pressure Cooking Mode: Set the pressure cooker to the appropriate pressure cooking mode, such as “Meat” or “Roast.” This setting will ensure the roast cooks at the correct temperature and pressure.
- Start the Cooking Process: Once you’ve set the cooking time and mode, start the pressure cooking process. The pressure cooker will begin to build up pressure and reach cooking temperature.
- Cook at High Pressure: Once the pressure cooker has reached the desired temperature, the timer will start counting down the cooking time. The high pressure will break down the meat’s fibers and tenderize the roast.
During the pressure cooking process, it’s essential to avoid opening the pressure cooker unnecessarily. This can cause a loss of pressure and disrupt the cooking time. Trust the cooking time indicated by your pressure cooker and be patient as the roast transforms into a succulent and flavorful dish.
Once the cooking time is complete, it’s time to safely release the pressure and allow the roast to rest. In the next section, we will guide you through the natural release and resting phase to ensure maximum tenderness and juiciness.
Natural Release and Resting the Roast
After pressure cooking the 5 lbs rib eye roast, it’s crucial to allow for a natural release of pressure and a resting period. These final steps play a significant role in achieving optimum tenderness and juiciness in the meat. Follow these steps to complete the cooking process:
- Natural Pressure Release: Once the cooking time is complete, resist the urge to open the pressure cooker immediately. Instead, allow for a natural release of pressure. This can take anywhere from 10 to 20 minutes as the pressure inside gradually subsides.
- Remove the Roast: Once the pressure has fully released, carefully open the pressure cooker. Use tongs or a pair of oven mitts to gently remove the rib eye roast from the cooker and transfer it to a cutting board.
- Cover and Rest: To allow the juices to redistribute and the meat to reach its desired doneness, cover the roast loosely with aluminum foil and let it rest for about 10-15 minutes. This resting period allows for a more even distribution of the meat’s natural juices, resulting in a tender and juicy roast.
During the resting period, it’s important to resist the temptation to cut into the roast immediately. Patience is key, as this phase completes the cooking process and ensures a flavorful and moist end result.
While the roast is resting, take the opportunity to prepare any accompanying sides or sauces. This way, everything will be ready to serve when it’s time to carve the roast.
Now that the rib eye roast has been cooked, pressure released, and rested, it’s time to move on to the final step—carving and serving the succulent roast.
Carving and Serving the Roast
The moment has arrived to carve and serve the 5 lbs rib eye roast that has been meticulously prepared and cooked in the electric pressure cooker. Follow these steps to ensure a beautifully presented and flavorful dining experience:
- Prepare Carving Tools: Gather a sharp carving knife, a carving fork, and a cutting board. This will make the carving process smooth and efficient.
- Remove the Trussing: If you used kitchen twine to tie the roast before cooking, carefully remove the twine using a pair of kitchen scissors or a knife. Make sure not to cut into the meat.
- Carve Against the Grain: Begin by slicing the roast against the grain for maximum tenderness. Cutting against the grain helps to shorten the meat fibers and makes each slice more tender and flavorful.
- Adjust Thickness: Slice the roast to your desired thickness. For a classic presentation, aim for slices that are about 1/4 to 1/2 inch thick. Adjust the thickness according to personal preference.
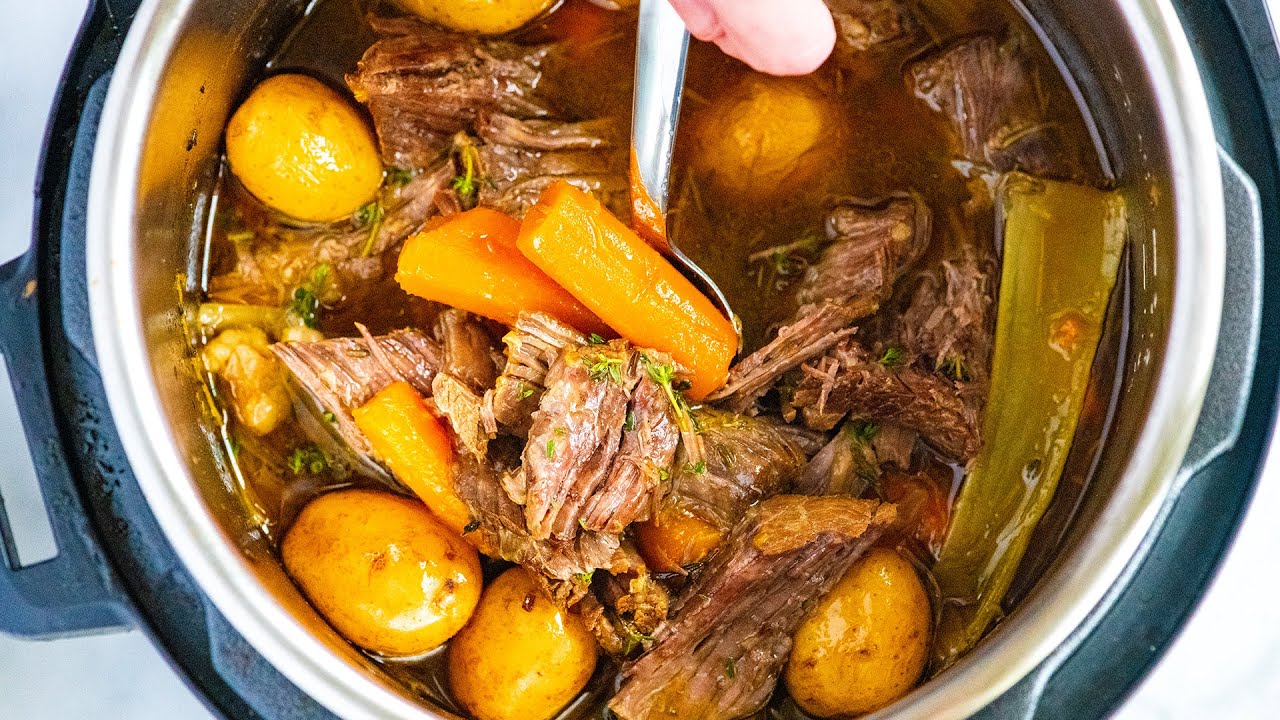
- Arrange and Serve: Arrange the carved slices of the rib eye roast on a serving platter or individual plates. Serve with your choice of accompanying sides, such as roasted vegetables, mashed potatoes, or a fresh salad.
Remember to work at a steady pace while carving. Take your time to ensure each slice is cut neatly and with precision.
For an elegant touch, garnish the serving platter with fresh herbs or a sprinkle of chopped parsley. This adds a pop of color and enhances the visual appeal of the dish.
Now, it’s time to call everyone to the table and enjoy the succulent and delicious rib eye roast that you have prepared with love and skill.
Conclusion
Cooking a 5 lbs rib eye roast in an electric pressure cooker is a remarkable culinary adventure. With the right equipment, proper preparation, and careful seasoning, you can create a tender, juicy, and flavorful roast that will impress family and guests alike.
Starting with the proper equipment, such as an electric pressure cooker and essential kitchen tools, ensures a seamless cooking process. Preparing the rib eye roast by trimming the fat, tying it, and scoring the surface sets the foundation for a beautifully cooked roast.
The seasoning step is an opportunity to infuse the meat with a combination of spices and herbs that complement the natural flavors of the rib eye. Searing the roast before pressure cooking develops a caramelized crust, enriching the taste and texture.
Setting up the electric pressure cooker correctly, including adding liquid and using a trivet, promotes even cooking and maximizes flavor. Under the high pressure of the cooker, the rib eye roast becomes tender and succulent.
After the cooking process, allowing for a natural pressure release and resting period guarantees a moist and flavorful end result. Lastly, carving the roast against the grain and serving it alongside delicious sides completes the culinary journey.
Now that you have all the knowledge and steps necessary, it’s time to embark on your own rib eye roast cooking adventure. Enjoy the process, savor the flavors, and have a memorable dining experience with your perfectly cooked rib eye roast!