Introduction
Welcome to the world of cooking with an electric pressure cooker! If you’re wondering how long to cook a Boston Butt in this versatile kitchen appliance, you’ve come to the right place.
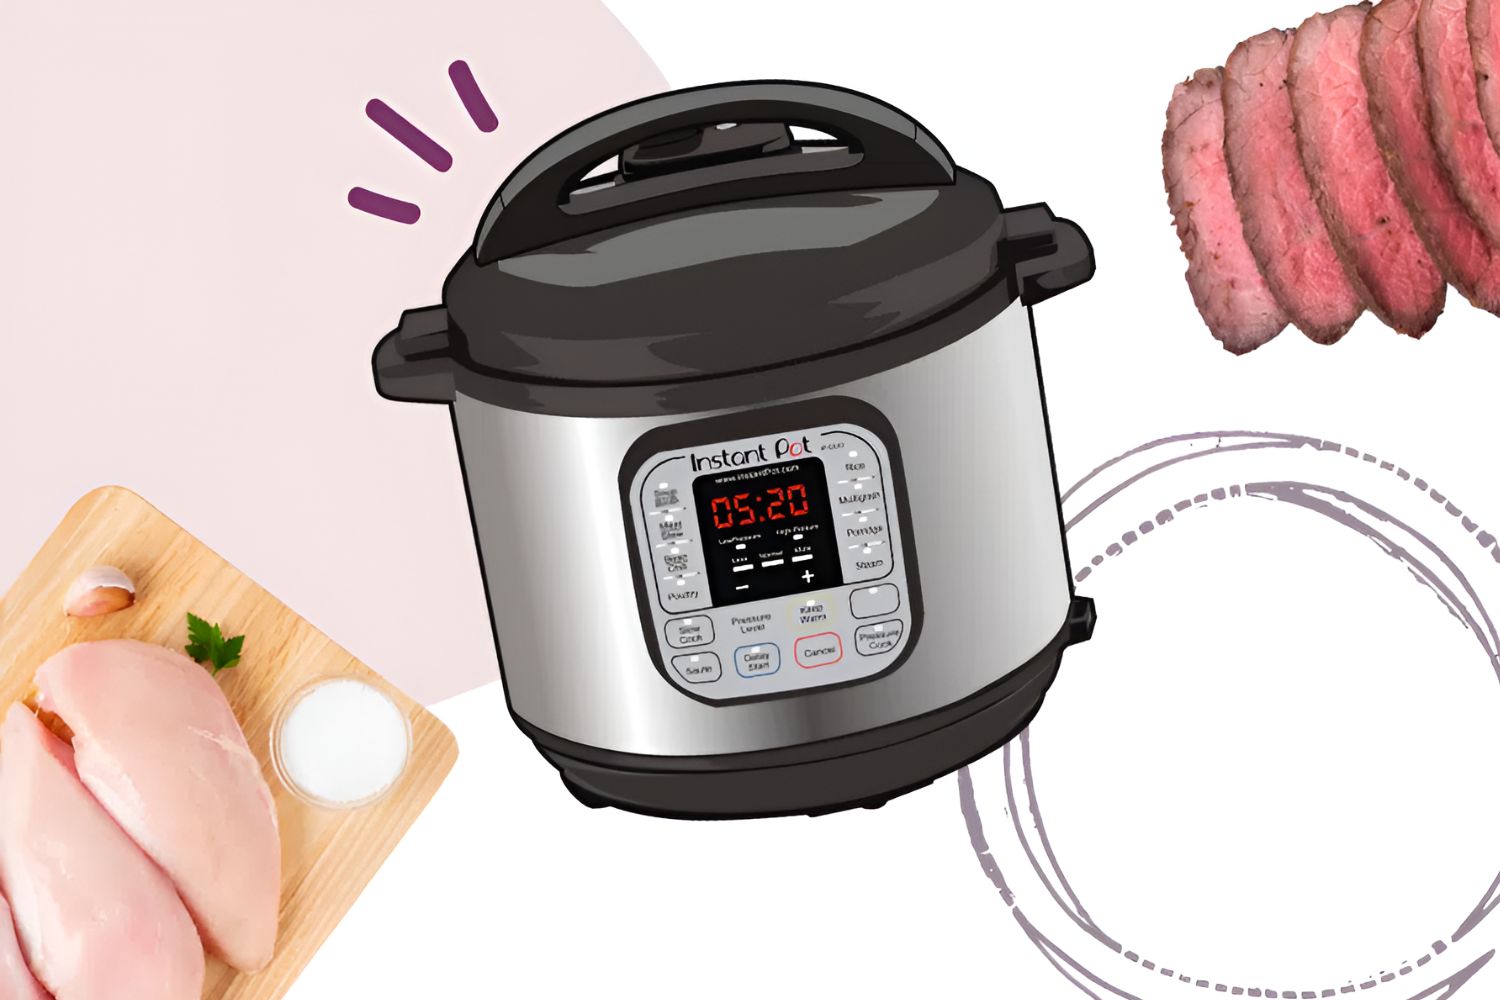
An electric pressure cooker is a great tool for busy individuals who want to create delicious, tender meals without spending hours in the kitchen. With its sealed cooking environment and high-pressure settings, it can significantly reduce cooking time compared to traditional methods.
A Boston Butt, also known as a pork shoulder, is a popular cut of meat that is perfect for slow cooking. It’s marbled with flavorful fat and contains connective tissues that break down during cooking, resulting in succulent, tender meat.
In this article, we’ll walk you through the process of cooking a Boston Butt in an electric pressure cooker, providing you with valuable tips and guidelines to ensure a perfect result every time.
Whether you’re hosting a gathering, preparing a family meal, or simply craving some delicious pulled pork, an electric pressure cooker will be your secret weapon in creating the most flavorful and mouthwatering Boston Butt.
So, let’s dive into the world of electric pressure cooking and discover the best techniques for cooking a Boston Butt in this fantastic appliance!
Benefits of Using an Electric Pressure Cooker
Using an electric pressure cooker offers a range of benefits that make it an essential tool in any kitchen. Here are some of the advantages:
- Time-Saving: One of the primary advantages of using an electric pressure cooker is the significant reduction in cooking time. The high-pressure environment inside the cooker allows food to cook faster than conventional methods. For example, cooking a Boston Butt that would typically take hours in the oven can be done in a fraction of the time using an electric pressure cooker.
- Energy Efficient: Electric pressure cookers are designed to operate using minimal energy. Unlike cooking on a stove or in the oven, where heat can escape and be wasted, the sealed cooking environment of the pressure cooker ensures that heat is retained, resulting in less energy consumption.
- Retains Nutrients: The shorter cooking time in an electric pressure cooker helps retain the nutritional value of the ingredients. The trapped steam and sealed environment prevent the loss of vitamins and minerals, ensuring that your meals are not only delicious but also packed with essential nutrients.
- Flavorful and Tender Meat: When it comes to cooking a Boston Butt, an electric pressure cooker excels in producing tender, juicy, and flavorful meat. The high-pressure environment helps break down the connective tissues, making the meat incredibly tender. Additionally, the sealed environment enhances the absorption of flavors, resulting in a more delicious end product.
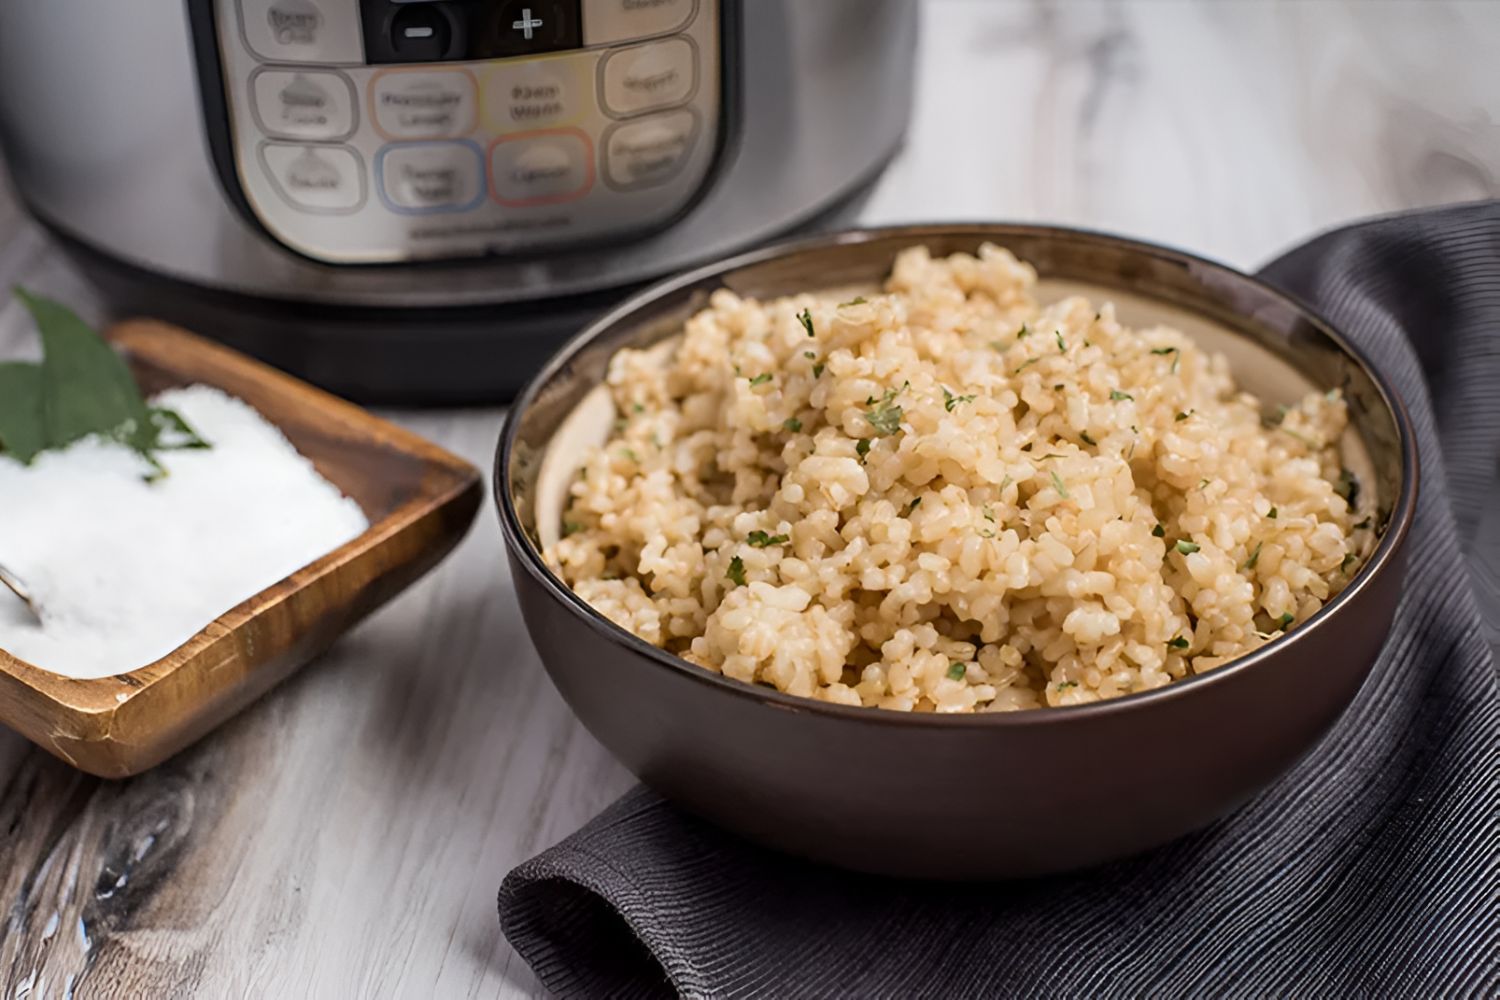
- Versatile Cooking: Electric pressure cookers are incredibly versatile appliances. Aside from cooking meats, they can be used for various other cooking tasks, including steaming vegetables, making soups and stews, and even cooking grains and beans. Having an electric pressure cooker in your kitchen opens up a world of culinary possibilities.
- Convenience and Ease of Use: Electric pressure cookers offer the convenience of a set-it-and-forget-it cooking method. Once you’ve set up the cooker and selected the appropriate cooking time, you can leave it to work its magic while you attend to other tasks. Many electric pressure cookers also have pre-programmed settings for different types of recipes, making it even simpler to cook a variety of dishes.
These are just a few of the many benefits of using an electric pressure cooker. Now that you know the advantages, let’s move on to understanding the Boston Butt and how to prepare it for cooking in the electric pressure cooker.
Understanding the Boston Butt
Before diving into the cooking process, it’s essential to understand what exactly a Boston Butt is. Despite its name, the Boston Butt is not derived from the rear end of the pig but rather from the upper shoulder area. It’s a versatile and flavorful cut of meat that is perfect for slow cooking.
The Boston Butt is well-marbled with fat, which adds to the richness and juiciness of the meat. This fat slowly melts during cooking, infusing the meat with delicious flavors and ensuring a moist and tender end result.
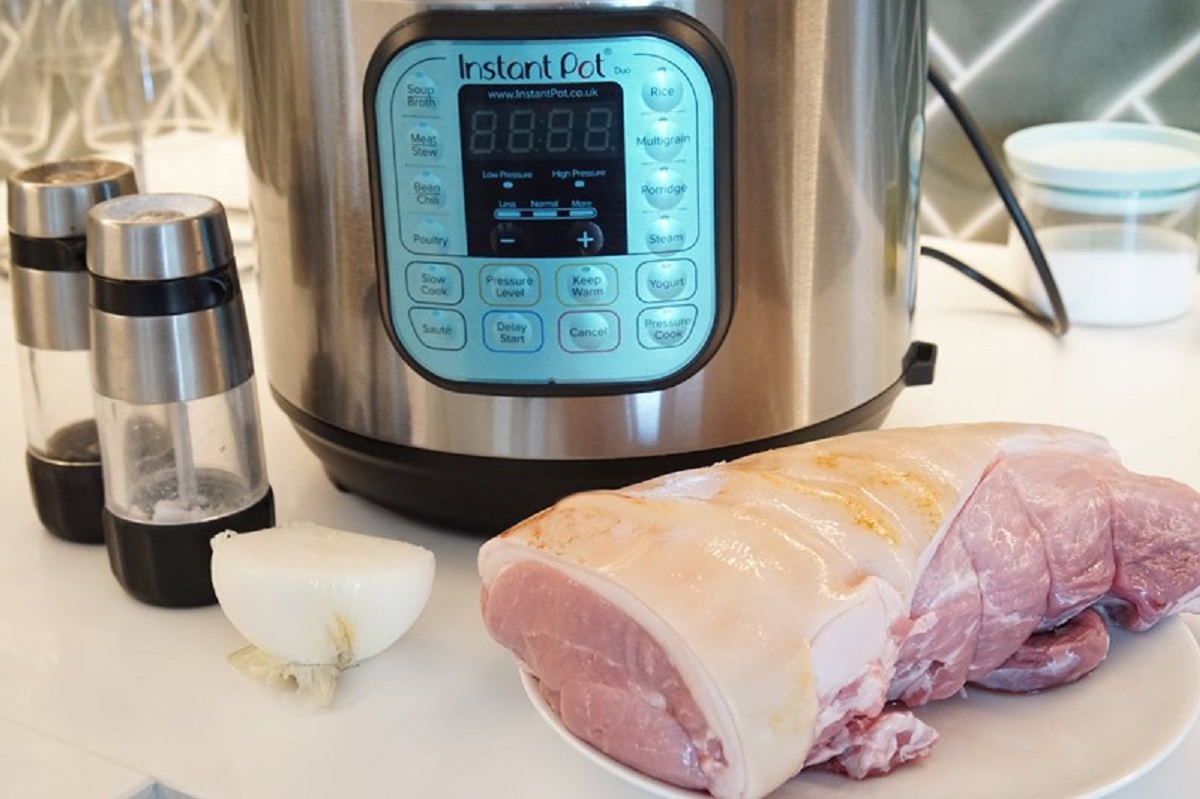
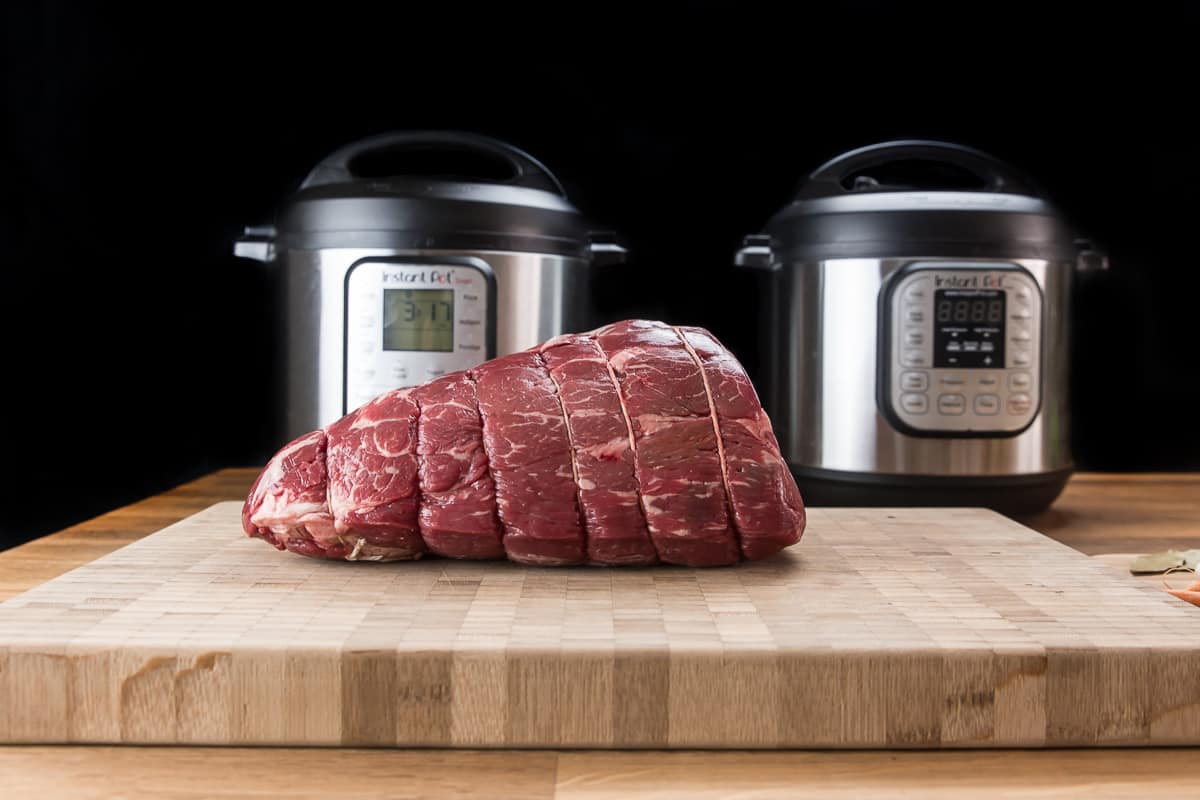
When purchasing a Boston Butt, look for one with a good amount of marbling, as this will contribute to the taste and texture. A bone-in Boston Butt is also an excellent option as the bone can add additional flavor to the surrounding meat.
Prior to cooking, it’s recommended to trim any excessive fat from the Boston Butt, leaving a thin layer to enhance the flavor and moisture. Some recipes may call for a rub or marinade to be applied to the meat to further enhance the taste and create a delicious crust.
The size of the Boston Butt will determine the cooking time. As a reference, a four to six-pound Boston Butt is a common size, which usually serves a generous number of people. However, if you’re cooking for a smaller gathering or have specific portions in mind, adjust the cooking time accordingly.
Now that we have a good understanding of the Boston Butt, let’s move on to the steps involved in preparing it for cooking in the electric pressure cooker.
Preparing the Boston Butt for Cooking
Properly preparing the Boston Butt before cooking is essential to ensure the best results. Here are some key steps to follow:
- Trimming: Start by trimming any excessive fat from the Boston Butt. Leaving a thin layer of fat will add flavor and moisture, but removing any thick layers will prevent the meat from becoming greasy.
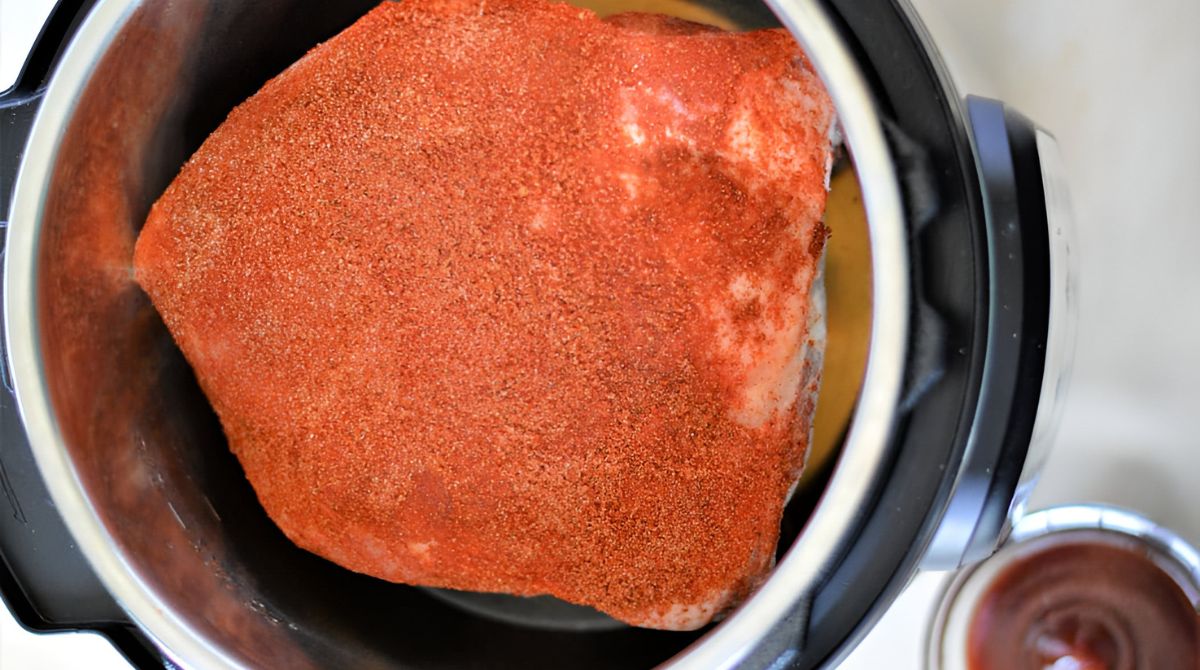
- Seasoning: Apply a rub or marinade to enhance the flavor of the Boston Butt. You can use store-bought rubs or create your own. The rub should contain a combination of salt, pepper, herbs, and spices to add depth and deliciousness to the meat.
- Marinating (optional): If time allows, marinating the Boston Butt overnight can further enhance the flavors. Place the seasoned meat in a resealable bag or covered container and refrigerate overnight. This step is optional but can take the taste to the next level.
- Brining (optional): Another option to consider is brining the Boston Butt. This involves soaking the meat in a saltwater solution for a few hours. Brining helps to tenderize and add moisture to the meat. If you choose to brine, ensure you rinse the meat before applying the rub.
- Allowing the Meat to Reach Room Temperature: Before cooking the Boston Butt, allow it to come to room temperature. This ensures more even cooking and helps preserve the meat’s tenderness and juiciness.
Once you have prepared the Boston Butt, it’s time to set up your electric pressure cooker and get ready to cook. In the next section, we will walk you through the steps of setting up the cooker and determining the cooking time for your Boston Butt.
Setting up the Electric Pressure Cooker
Now that you have prepared the Boston Butt, it’s time to set up your electric pressure cooker for cooking. Follow these steps to ensure a successful cooking process:
- Ensure the Sealing Ring is in Place: The sealing ring is a crucial component that creates a tight seal during pressure cooking. Make sure it is correctly positioned in the lid of the electric pressure cooker.
- Add Liquid: Most electric pressure cookers require a minimum amount of liquid to build up steam and create the necessary pressure. Check your cooker’s manual for the recommended amount of liquid required. Typically, water, broth, or a combination of both is used.
- Place the Trivet: The trivet is a metal rack that sits above the liquid in the cooker. It helps elevate the Boston Butt, preventing it from sitting directly in the liquid. This allows for more even cooking and helps maintain the texture of the meat.
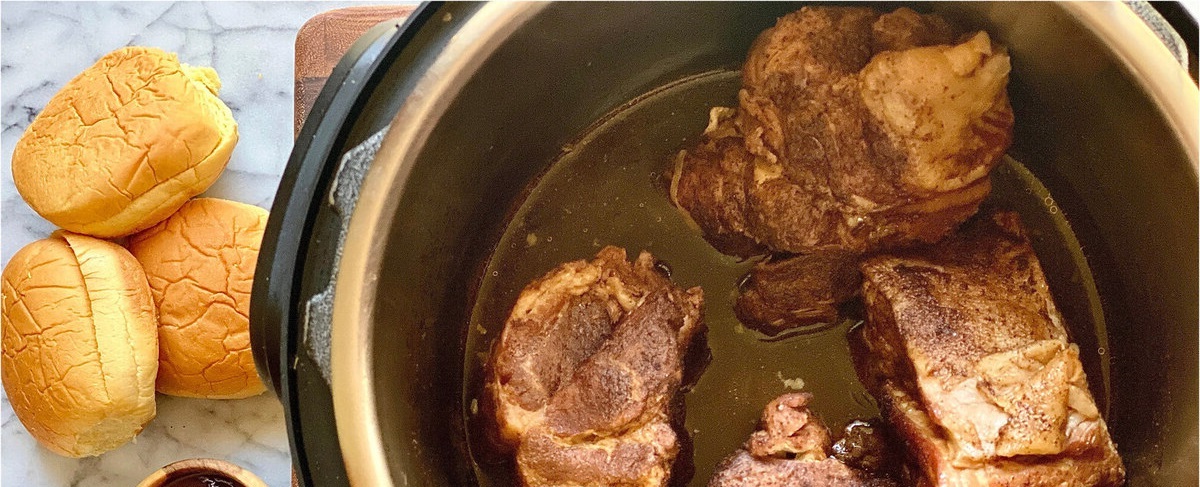
- Insert the Boston Butt: Carefully place the seasoned and prepared Boston Butt onto the trivet inside the electric pressure cooker. Position it so that it is not touching the sides of the cooking pot, allowing for proper circulation of heat.
- Secure the Lid: Ensure the lid is securely locked in place on the electric pressure cooker. Different models may have different mechanisms for locking the lid, so refer to your cooker’s manual for specific instructions.
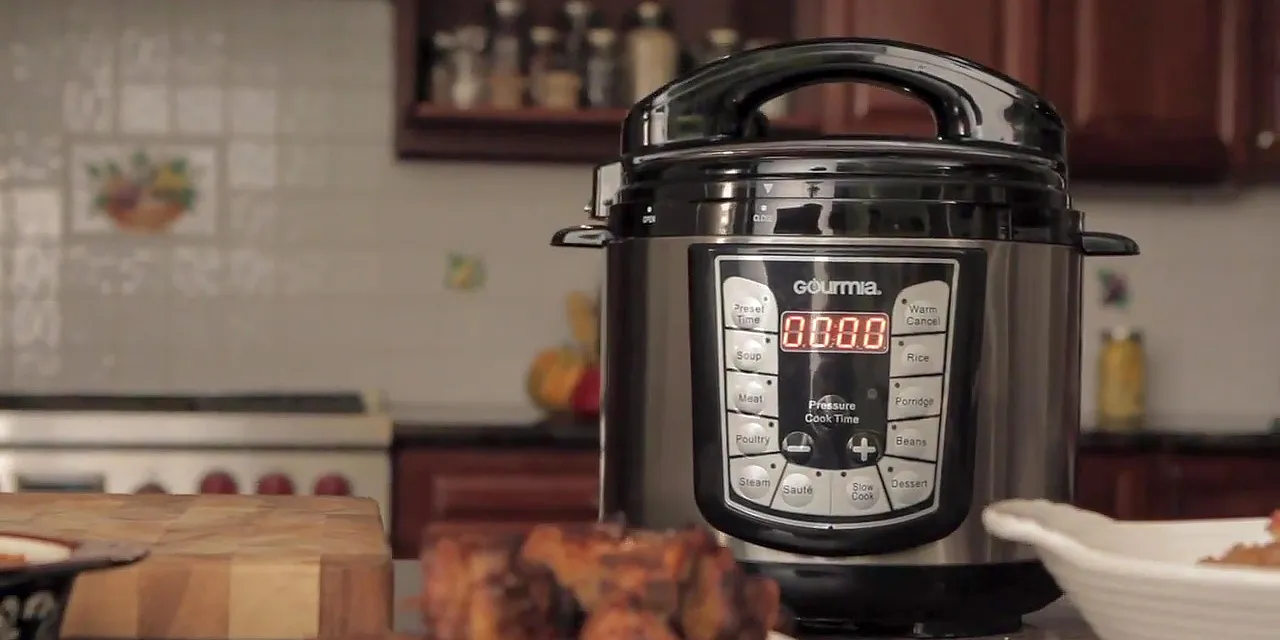
- Select the Cooking Time and Pressure Level: Depending on your electric pressure cooker model, you may have pre-programmed settings or manual settings to choose from. For a Boston Butt, select the appropriate cooking time and pressure level. Consult your recipe or manual for specific recommendations, as cooking times may vary based on the size of the cut.
- Start Cooking: Once you have set the cooking time and pressure level, start the cooking process. The electric pressure cooker will begin to build up pressure, and the cooking timer will countdown the set time.
With the electric pressure cooker set up and the Boston Butt cooking away, it’s important to understand the recommended cooking times for a Boston Butt in an electric pressure cooker, which we’ll explore in the next section.
Cooking Times for a Boston Butt in an Electric Pressure Cooker
The cooking time for a Boston Butt in an electric pressure cooker will depend on various factors, such as the size of the cut and the desired level of tenderness. Here are some general guidelines to help you determine the cooking time:
- Size of the Boston Butt: As a general rule of thumb, calculate the cooking time based on 15-20 minutes per pound of meat. For example, a four-pound Boston Butt would require a cooking time of approximately 60-80 minutes.
- Desired Tenderness: The cooking time can also be adjusted depending on how tender you prefer the meat. If you want the meat to be fall-apart tender, you can increase the cooking time by 5-10 minutes per pound.
- Bone-in vs. Boneless: When cooking a bone-in Boston Butt, the cooking time may need to be slightly longer compared to a boneless cut. The bone can slow down the cooking process, so factor in an additional 5-10 minutes per pound.
- Initial Sautéing: Some electric pressure cookers have a sauté function, allowing you to brown the Boston Butt before pressure cooking. If you choose to sear the meat, adjust the cooking time accordingly.
- Altitude: If you live at a high altitude, you may need to increase the cooking time slightly. The higher the altitude, the longer it takes for the pressure to build up inside the cooker.
Remember to always refer to the specific instructions and recommendations provided by your electric pressure cooker’s manufacturer. The cooking times mentioned here are guidelines and may vary based on individual models and recipe requirements.
Once the cooking time is complete, the next step is to release the pressure from the cooker. There are two methods to choose from: the quick-release method and the natural release method. We’ll explore these methods in the next section.
Quick-Release vs Natural Release Methods
After the cooking time for the Boston Butt is complete, you have two options for releasing the pressure in the electric pressure cooker: the quick-release method and the natural release method. Here’s what you need to know about each method:
- Quick-Release Method: The quick-release method involves manually releasing the pressure from the cooker. To do this, carefully move the pressure release valve from the sealed position to the venting position. This will allow the steam and pressure to escape rapidly. It’s important to exercise caution while performing the quick-release method, as hot steam will be released. Use a long utensil or oven mitt to avoid getting burned by the steam.
- Natural Release Method: The natural release method involves letting the pressure naturally decrease in the cooker without intervention. After the cooking time is complete, leave the electric pressure cooker untouched and allow the pressure to decrease on its own. This can take anywhere from 10 to 20 minutes. Once the pressure has fully released, the lid of the cooker can be safely opened.
When deciding between the two methods, consider the following factors:
- If you’re in a hurry and want to quickly release the pressure to check the doneness of the meat or proceed with the next steps of your recipe, the quick-release method is the way to go.
- If you have some additional time and prefer a more hands-off approach, the natural release method is a good option. It allows the meat to continue cooking in the residual heat, which can result in even more tender and flavorful results.
Once the pressure has been released, it’s time to check the readiness of the Boston Butt and proceed with the final steps of resting and shredding the meat, which we’ll cover in the next section.
Testing the Meat for Doneness
Before proceeding with the final steps of resting and shredding the Boston Butt, it’s important to test the meat for doneness to ensure it has cooked to perfection. Here are a few methods to determine if the meat is done:
- Visual Inspection: Start by visually inspecting the Boston Butt. The meat should be tender and easily pull apart with a fork. Look for signs of browning on the edges and a moist appearance. If the meat is still tough and doesn’t easily shred, it may need more cooking time.
- Internal Temperature: Use a meat thermometer to check the internal temperature of the Boston Butt. The temperature should reach around 195°F (90°C) for the meat to be fully cooked and fork-tender. Insert the thermometer into the thickest part of the meat, ensuring it doesn’t touch the bone if you’re cooking a bone-in cut.
- Fork Test: Another way to check doneness is to use a fork. Insert a fork into the meat and give it a twist. If the meat easily shreds and pulls apart, it’s most likely done. However, if there is resistance and the meat is still tough, it needs more cooking time.
Keep in mind that the size of the Boston Butt and the desired level of tenderness can affect the cooking time, so use these methods as a general guideline. If the meat is not yet fully cooked, you can continue cooking it for a few more minutes as needed.
Once you are confident that the Boston Butt is done, it’s time to proceed with the final steps of resting and shredding the meat. We’ll discuss these steps in the next section.
Resting and Shredding the Boston Butt
After the Boston Butt is cooked to perfection, it’s important to allow it to rest before shredding. Resting the meat helps to retain its juices and allows the fibers to relax, resulting in a more flavorful and tender end result. Here’s how to properly rest and shred the Boston Butt:
- Remove from the Pressure Cooker: Carefully remove the cooked Boston Butt from the electric pressure cooker using tongs or a slotted spoon. Place it on a cutting board or a large platter.
- Resting Time: Let the Boston Butt rest for about 10-15 minutes. This resting period allows the juices to redistribute throughout the meat, creating a more moist and flavorful result.
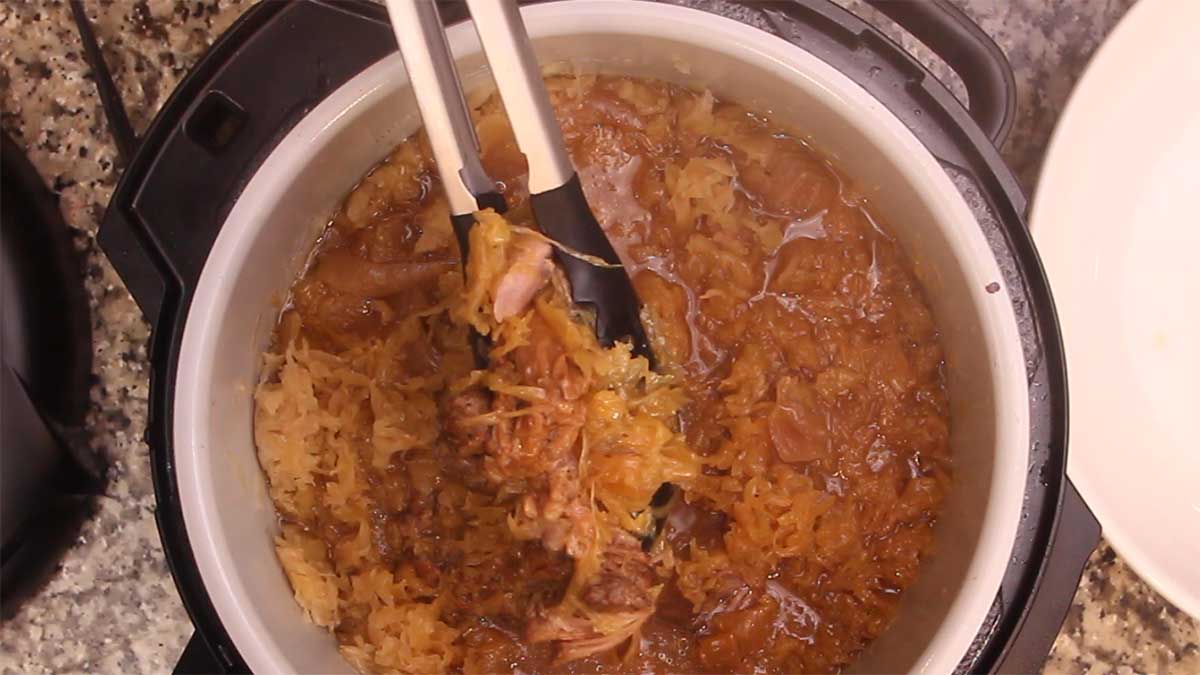
- Shredding the Meat: Once the resting time is complete, use two forks or your hands (if it’s cooled enough to handle) to shred the Boston Butt. Pull the meat apart, separating it into smaller pieces. The natural tenderness of the fully cooked Boston Butt should make the shredding process relatively effortless.
- Optional Sauce or Seasoning: If desired, you can toss the shredded Boston Butt with your favorite barbecue sauce or additional seasoning to enhance the flavor. However, this step is optional, as the meat is already packed with delicious flavors from the cooking process.
Your perfectly cooked and beautifully shredded Boston Butt is now ready to be served and enjoyed. Use the shredded meat in a variety of dishes such as pulled pork sandwiches, tacos, wraps, or as a topping for salads or baked potatoes.
Remember to store any leftover shredded Boston Butt in an airtight container in the refrigerator. It can be refrigerated for a few days or frozen for longer-term storage.
With these simple steps, you now have all the knowledge to cook a succulent Boston Butt in an electric pressure cooker and transform it into a mouthwatering culinary delight. Experiment with different rubs and seasonings to find your signature flavor and enjoy the versatility and convenience that an electric pressure cooker offers.
Conclusion
Cooking a Boston Butt in an electric pressure cooker is a convenient and efficient way to achieve tender, juicy, and flavorful results. The high-pressure environment of the cooker allows for shorter cooking times while retaining moisture and enhancing the deliciousness of the meat. By following a few simple steps, you can create a mouthwatering Boston Butt that will impress your family and friends.
Throughout this guide, we explored the benefits of using an electric pressure cooker, broke down the process of preparing and setting up the cooker, discussed cooking times, and covered essential techniques such as testing for doneness, resting, and shredding the meat. Each step is crucial in ensuring a successful cooking experience and a delectable end result.
Remember to trust your senses when cooking a Boston Butt in an electric pressure cooker. Visual cues, internal temperature, and the ability to shred the meat easily with a fork are all indicators of when the meat is cooked to perfection.
As you become more comfortable with the process, feel free to experiment with different seasonings, rubs, and cooking times to customize the flavor and tenderness of your Boston Butt. With practice and a bit of culinary creativity, you can perfect your own signature recipe.
So, go ahead, unleash the power of your electric pressure cooker, and prepare a succulent Boston Butt that will delight your taste buds and leave your guests impressed. Whether you’re hosting a backyard barbecue or enjoying a cozy family dinner, cooking a Boston Butt in an electric pressure cooker will surely satisfy your cravings for tender and flavorful meat.
Enjoy the journey of creating delicious meals with your electric pressure cooker, and savor every flavorful bite of your perfectly cooked Boston Butt!