Introduction
Welcome to the world of electric pressure cooking! If you’re a fan of hearty and flavorful chili, then you’re in for a treat. In this article, we’ll guide you through the process of making chili in an electric pressure cooker, providing you with all the tips and techniques you need to create a delicious meal that will warm your soul.
Using an electric pressure cooker to make chili is not only convenient, but it also allows you to infuse deep flavors into your dish in a fraction of the time compared to traditional stovetop methods. The pressure cooking process helps to tenderize the meat, meld the flavors, and develop a rich and satisfying chili.
Whether you’re a seasoned chef looking to explore new cooking techniques or a busy individual seeking a quick and easy dinner option, an electric pressure cooker is a fantastic tool to have in your kitchen arsenal. So, let’s dive in and discover the secrets to creating a mouthwatering chili that will please your taste buds and impress your guests.
Choosing the Right Ingredients
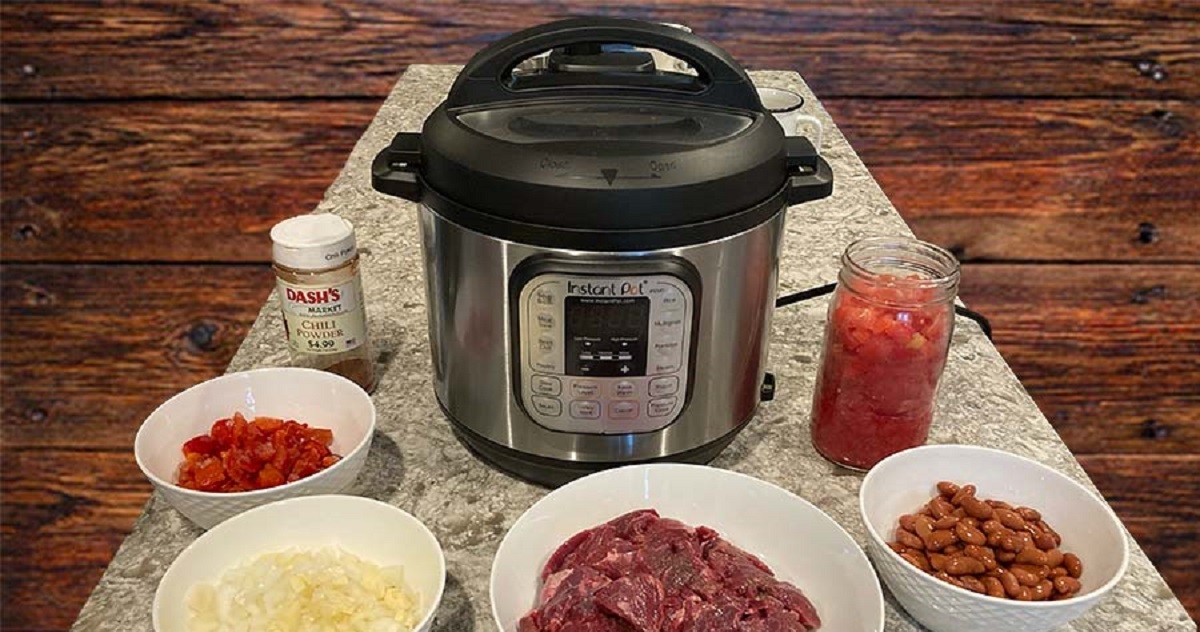
When it comes to making chili, selecting high-quality ingredients is key to achieving a delicious and flavorful dish. Here are some essential ingredients to consider:
- Meat: Start with a good quality cut of meat for your chili. Ground beef is a classic choice, but you can also use ground turkey, chicken, or even vegetarian alternatives like lentils or textured vegetable protein (TVP) for a meatless version.
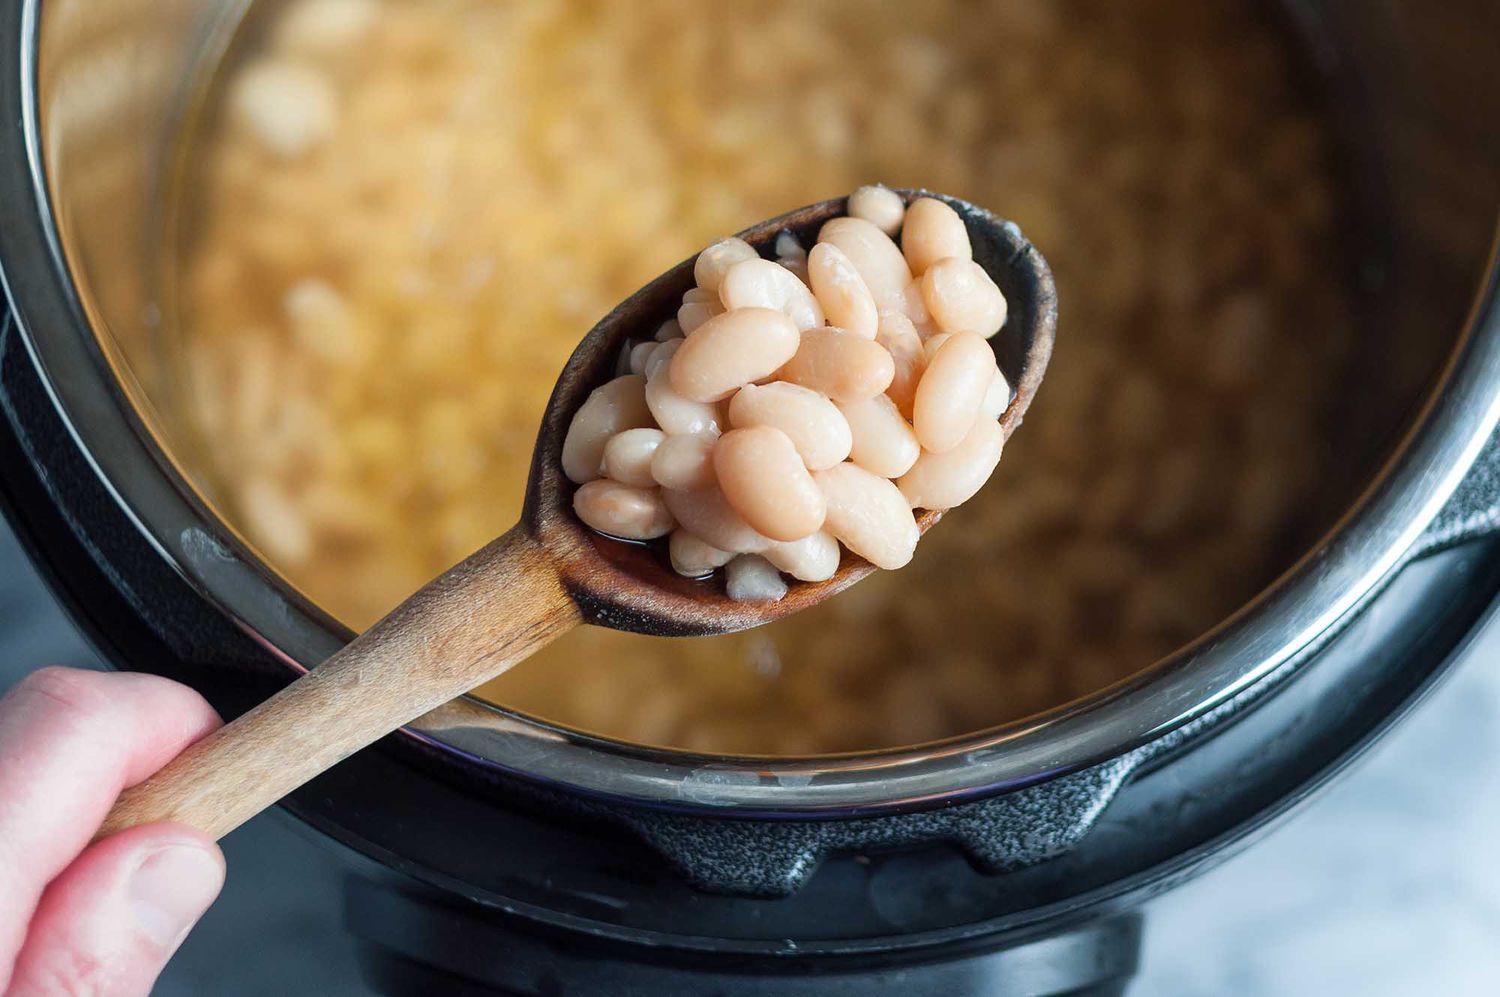
- Beans: The choice of beans is a matter of personal preference. Common options include kidney beans, black beans, pinto beans, or a combination thereof. Canned beans are convenient, but you can also use dried beans if you have the time to soak and cook them.
- Vegetables: Onions, garlic, and bell peppers are classic chili ingredients that provide depth of flavor. You can also add other vegetables like carrots, celery, or corn to enhance the nutritional value and texture of your chili.
- Tomatoes: Crushed tomatoes, diced tomatoes, or tomato sauce serve as the base for the chili. If you prefer a chunkier texture, go for diced tomatoes. For a smoother consistency, opt for crushed tomatoes or tomato sauce.
- Spices and Herbs: Chili powder, cumin, paprika, oregano, and cayenne pepper are common spices that give chili its distinctive flavor. Adjust the quantities depending on your preferred level of heat and intensity.
- Liquid: You’ll need some type of liquid to cook the chili in the electric pressure cooker. Beef or vegetable broth, water, or even beer can be used to add moisture and extra flavor to your chili.
- Optional Additions: Get creative with additional ingredients like diced tomatoes with green chilies, chipotle peppers in adobo sauce, Worcestershire sauce, cocoa powder, or even a splash of coffee to add depth and complexity to your chili.
Remember, the quality and freshness of the ingredients will greatly impact the final taste of your chili, so choose the best ingredients within your budget. With the right combination of flavors, your electric pressure cooker chili will be a hit at your next gathering or simply a comforting meal for you and your family.
Prepping the Ingredients
Before diving into the cooking process, it’s important to properly prep your ingredients for the electric pressure cooker. Here are a few steps to follow:
- Meat: If you’re using meat in your chili, brown it beforehand. This will enhance the flavor and texture of the dish. Heat a small amount of oil in the pressure cooker on the sauté setting and cook the meat until browned. Remove the meat from the cooker and set it aside.
- Vegetables: Chop your onions, garlic, bell peppers, and any other vegetables you plan to include in your chili. This will ensure even cooking and distribution of flavors throughout the dish.
- Beans: If you’re using dried beans, remember to soak them overnight and cook them separately before adding them to the chili. Canned beans can be rinsed and drained before use.
- Spices: Combine your spices in a small bowl or container, known as a spice blend. This will make it easier to add them to the chili quickly and evenly when the time comes.
- Tomatoes: If you’re using fresh tomatoes, dice or crush them according to your preference. If using canned tomatoes, ensure they are ready to be added directly to the chili.
Properly prepping your ingredients in advance allows for a smooth cooking process and ensures that all the flavors come together harmoniously. By taking the time to prep your ingredients, you’ll set yourself up for success when it’s time to start cooking your chili in the electric pressure cooker.
Cooking the Chili in an Electric Pressure Cooker
Now that your ingredients are prepped, it’s time to start cooking your chili in the electric pressure cooker. Follow these steps for a flavorful and effortless cooking process:
- Sauté: Set your electric pressure cooker to the sauté mode and add a small amount of oil. Sauté the onions, garlic, and bell peppers until they become soft and fragrant.
- Spices: Add your spice blend to the sautéed vegetables and cook for a minute, stirring constantly. This will help to release the aromas and flavors of the spices.
- Meat and Tomatoes: Add the browned meat (if using) back into the pressure cooker, along with the diced or crushed tomatoes. Stir well to combine all the ingredients.
- Liquid: Pour in your liquid of choice, such as broth or water, to ensure adequate moisture for cooking. This will prevent the chili from burning or sticking to the bottom of the pot.
- Beans: Add your beans to the pressure cooker. If using canned beans, make sure they are rinsed and drained before adding them to the chili.
- Pressure Cook: Secure the lid on the electric pressure cooker and set it to the appropriate pressure cooking setting. Follow the manufacturer’s instructions for cooking times and pressure levels based on your specific model.
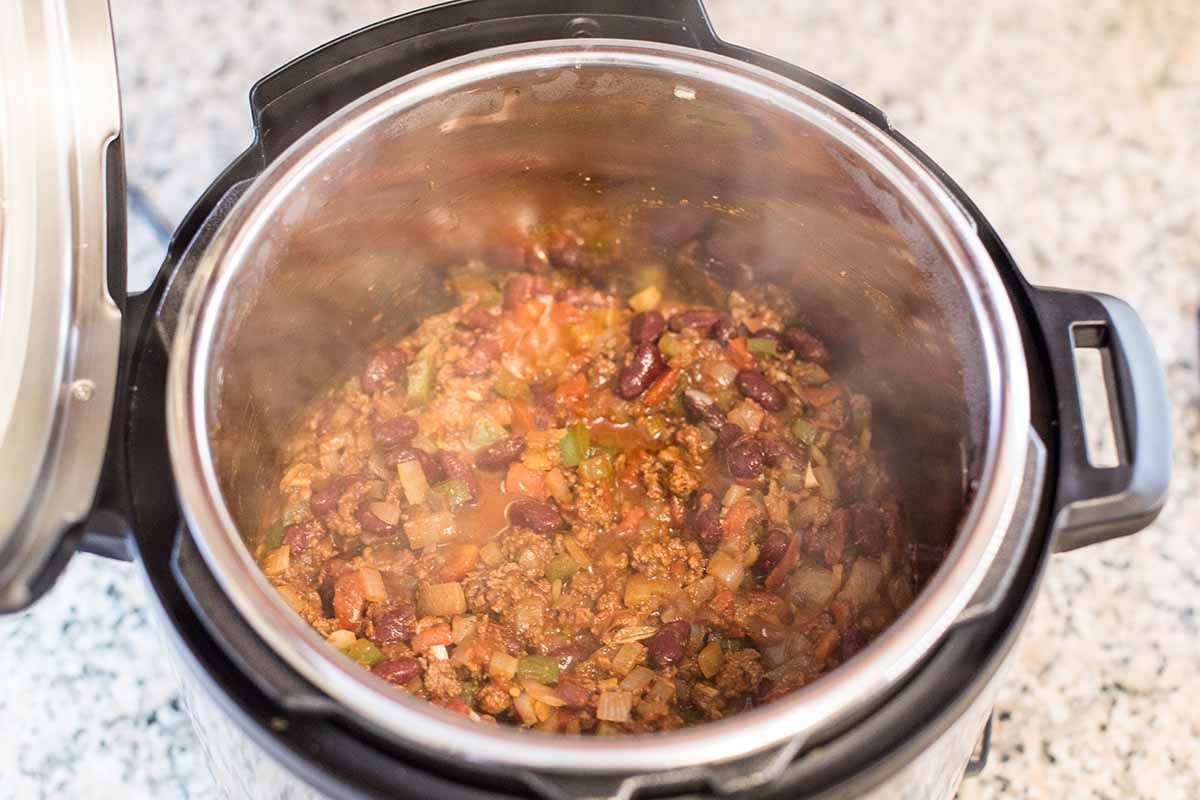
- Cooking Time: Once the pressure cooker comes to pressure, the chili will cook under high pressure for a set amount of time. This will allow the flavors to meld together and the meat to become tender.
- Natural Release or Quick Release: After the cooking time is complete, you can choose between a natural release or a quick release method. Natural release involves allowing the pressure to release slowly on its own, while quick release involves manually venting the pressure.
By cooking your chili in an electric pressure cooker, you’ll save valuable time without compromising on taste. The pressure cooking process infuses the flavors of the ingredients, resulting in a perfectly cooked and flavorful chili in a fraction of the time compared to traditional cooking methods.
Natural Release vs. Quick Release
Once the cooking time for your chili is complete in the electric pressure cooker, you have the option to use either a natural release or a quick release method to release the pressure. Here’s what you need to know about each method:
Natural Release:
Natural release involves allowing the pressure to subside on its own without any intervention. After the cooking time is complete, simply turn off the heat and let the pressure cooker sit for a designated amount of time. This can range from 10 to 20 minutes, depending on the recipe and quantity of food.
The natural release method has its advantages. It allows the food to continue cooking gently as the pressure gradually decreases, which can be beneficial for dishes that require additional cooking time or for delicate ingredients that may become overcooked with a quick release method.
However, it’s important to note that the natural release method does take longer to complete. It requires additional patience as you wait for the pressure to naturally dissipate before being able to open the pressure cooker.
Quick Release:
Quick release involves manually releasing the pressure from the electric pressure cooker using the pressure release valve. This allows the hot steam to quickly escape, resulting in a rapid decrease in pressure inside the cooker.
The quick release method is ideal for those times when you want to rapidly stop the cooking process, especially for dishes that are prone to becoming overcooked or for recipes that require precise timing. It can also be useful when you’re short on time and need to get dinner on the table quickly.
However, be cautious when using the quick release method for recipes with a lot of liquid or foods that tend to foam, as there is a risk of hot liquid or food particles spurting out from the vent. To prevent this, you can place a towel over the pressure release valve and carefully turn it to a venting position, ensuring you’re protected from any potential steam or liquid spray.
Ultimately, the choice between natural release and quick release will depend on the specific recipe and your preferences. Both methods can yield delicious results, so feel free to experiment and determine which option works best for you and your electric pressure cooker chili.
Adjusting the Flavors
Tasting your chili before serving is essential to ensure it has the perfect balance of flavors. Here are some tips to help you adjust the flavors of your electric pressure cooker chili:
- Salt and Pepper: Season your chili with salt and pepper to enhance the overall taste. Start with a small amount, and gradually add more if needed.
- Spices: If your chili is lacking depth or heat, consider adding more spices. Chili powder, cumin, paprika, or cayenne pepper can be added in small increments until you achieve the desired flavor profile.
- Acidity: If your chili tastes overly rich or heavy, a splash of acidity can help balance the flavors. Add a squeeze of fresh lime juice or a splash of vinegar to give your chili a bright and tangy kick.
- Sweetness: If your chili is too spicy or acidic, a touch of sweetness can help mellow the flavors. Consider adding a small amount of sugar, honey, or even a dollop of molasses to round out the taste.
- Herbs: Fresh herbs can provide a burst of freshness and aroma to your chili. Finely chop some cilantro, parsley, or green onions to sprinkle on top as a garnish or add them directly to the chili during the cooking process.
Remember, adjusting the flavors of your chili is a matter of personal preference. Taste along the way and trust your palate to guide you. Don’t be afraid to experiment and make adjustments as needed to create a chili that suits your taste buds perfectly.
Serving and Garnishing Your Chili
Now that your electric pressure cooker chili is cooked to perfection, it’s time to serve it up and add some final touches to enhance the presentation and taste. Here are some ideas for serving and garnishing your chili:
- Bowl or Plate: Choose a deep bowl or plate that can hold your chili comfortably. Make sure it’s heat-safe and visually appealing.
- Toppings: Consider adding a variety of toppings to allow your guests to customize their chili. Some popular options include shredded cheese, sour cream, diced avocado, sliced jalapeños, chopped green onions, or crushed tortilla chips.
- Herbs and Greens: Fresh herbs like cilantro or parsley can be sprinkled on top to add a pop of color and freshness. You can also include some chopped lettuce or baby spinach for added texture and a nutritious boost.
- Sides: Serve your chili with some delicious accompaniments such as cornbread, rice, tortilla chips, or a side salad. These can complement the flavors of the chili and provide a well-rounded meal.
- Heat: If you and your guests prefer a spicier chili, offer hot sauce or chili flakes on the side. This allows everyone to customize the heat level according to their preference.
When it comes to serving and garnishing your chili, the possibilities are endless. Don’t be afraid to get creative and experiment with different combinations to find what you enjoy the most. Remember to present your chili beautifully, create a welcoming spread, and let your guests dig in!
Tips and Tricks for Perfect Chili Every Time
While making chili in an electric pressure cooker is already quite easy, here are some additional tips and tricks to ensure that your chili turns out perfect every time:
- Browning the meat: Taking the time to brown the meat before pressure cooking adds depth of flavor to your chili. Don’t skip this step if you’re using meat.
- Layering the flavors: Sautéing the vegetables and spices before adding the meat and tomatoes helps to enhance the overall taste of the chili.
- Don’t overfill the cooker: To prevent any potential issues with the pressure cooker, avoid filling it more than two-thirds full, especially when cooking ingredients that expand, such as beans.
- Adjust liquid levels: Too much liquid can result in a watery chili, while too little liquid can lead to burn warnings. Follow your electric pressure cooker’s guidelines to ensure the right amount of liquid for your recipe.
- Deglaze the pot: After sautéing the vegetables or browning the meat, deglaze the pot by adding a small amount of liquid and scraping up any browned bits from the bottom. This will enhance the flavor of your chili.
- Let it rest: Allowing your chili to sit for a few minutes after cooking will help the flavors meld together even more, resulting in a richer and more delicious dish.
- Use the sauté function after cooking: If your chili is too thin or you would like to thicken the sauce, use the sauté function to cook it down and reduce the liquid to your desired consistency.
- Make it ahead of time: Chili often tastes better the next day as the flavors have more time to develop and marry together. Consider making your chili a day in advance and reheating it when you’re ready to serve.
- Experiment with different ingredients: Don’t be afraid to switch up the ingredients in your chili. Add different types of beans, try different meats or meat alternatives, and play around with spices to create unique and flavorful variations.
- Make a large batch and freeze: Chili freezes well, so consider making a big batch and portioning it out for future meals. It’s a convenient and delicious option for quick and easy dinners in the future.
With these tips and tricks in mind, you’ll be well-equipped to create the perfect electric pressure cooker chili every time. Remember to have fun, get creative, and make the recipe your own by adjusting the flavors and ingredients to suit your taste preferences.
Conclusion
Congratulations! You now have all the knowledge and guidance you need to make delicious chili in an electric pressure cooker. By choosing the right ingredients, prepping them properly, and utilizing the pressure cooking function, you can create a flavorful and comforting dish in a fraction of the time compared to traditional cooking methods.
Remember to adjust the flavors to suit your taste preferences and have fun with different variations and garnishes. Whether you prefer a classic meat chili or a vegetarian alternative, the electric pressure cooker provides a convenient and efficient way to satisfy your cravings.
With the provided tips and tricks, you can confidently experiment with different ingredients, spices, and cooking techniques to create your own signature chili recipe. Whether you’re cooking for yourself, your family, or hosting a gathering, your electric pressure cooker chili is sure to impress.
So, don’t hesitate to fire up your electric pressure cooker and embark on the journey of making mouthwatering chili. Enjoy the process, savor the flavors, and delight in the satisfaction of a job well done. Happy cooking!