Introduction
Welcome to the world of electric pressure cooking, where convenience meets healthy eating. If you’re new to using an electric pressure cooker, you might be surprised at the versatility and time-saving benefits it offers. One dish that you can easily cook to perfection is quinoa.
Quinoa is a nutrient-rich grain that is packed with protein, fiber, and essential vitamins and minerals. It has gained popularity in recent years as a healthy alternative to rice and other grains due to its numerous health benefits. By using an electric pressure cooker, you can easily achieve perfectly cooked quinoa every time.
Unlike traditional stovetop cooking methods, the electric pressure cooker allows for faster cooking times and better retention of nutrients. With precise temperature control and the ability to build pressure within the cooking chamber, the electric pressure cooker ensures that your quinoa is cooked evenly, resulting in fluffy grains with a delightful texture.
In this article, we will guide you through the process of cooking quinoa in an electric pressure cooker. We will cover everything from choosing the right cooker to the best ways to season and serve your quinoa. Whether you’re a seasoned cooking enthusiast or just starting your culinary journey, this article will provide you with the necessary steps and tips to enjoy a delicious quinoa dish with minimum effort.
So, let’s dive into the world of electric pressure cooking and discover how easy it is to prepare quinoa that will satisfy your taste buds and nourish your body.
Choosing the Right Electric Pressure Cooker
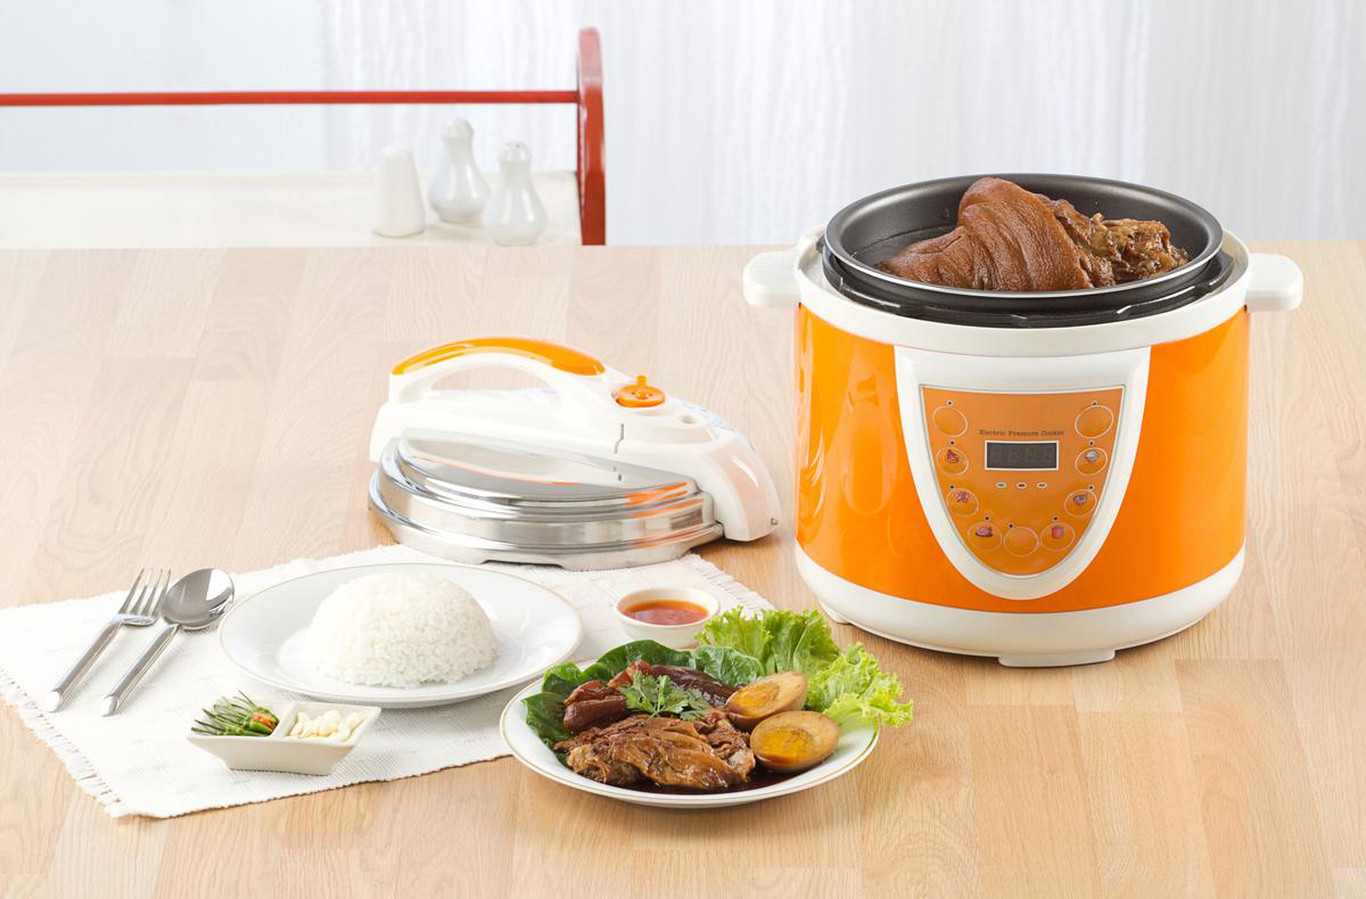
When it comes to cooking quinoa in an electric pressure cooker, selecting the right appliance is crucial. Here are some factors to consider when choosing the perfect electric pressure cooker for your quinoa cooking needs:
1. Size: Electric pressure cookers come in various sizes, ranging from small to extra-large. Consider the quantity of quinoa you usually cook and the number of servings you need. If you cook for a smaller household, a 6-quart cooker should suffice. For larger families or if you like to batch cook, opt for a larger capacity cooker.
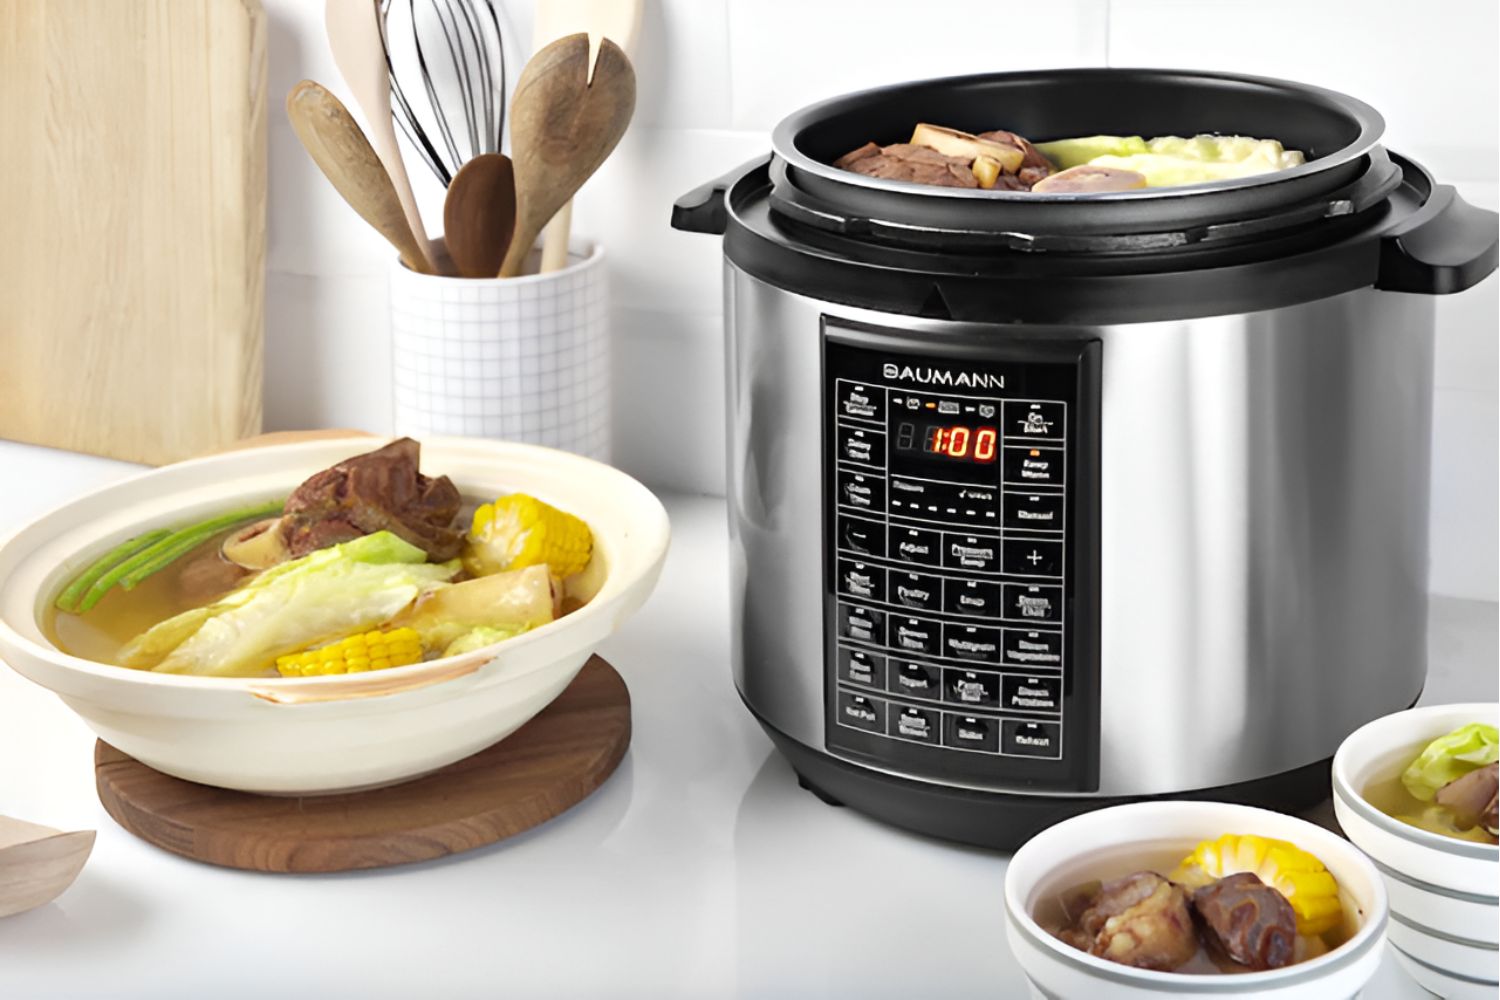
2. Safety Features: Safety is paramount when working with pressure cookers. Make sure the model you choose has important safety features such as a locking lid, pressure release valve, and a pressure indicator to ensure a secure cooking experience.
3. Programmable Settings: Look for an electric pressure cooker with programmable settings that include a specific option for cooking grains. This will ensure that your quinoa is cooked to perfection without any guesswork.
4. Durability: Investing in a high-quality electric pressure cooker will pay off in the long run. Look for a model made from sturdy materials that can withstand regular use and last for years to come.
5. Easy to Clean: Quinoa can sometimes leave a sticky residue on the cooking pot. Choose a pressure cooker with a non-stick cooking pot or one that is dishwasher safe for effortless cleaning.
By carefully considering these factors, you can select an electric pressure cooker that meets your specific cooking needs and ensures a seamless quinoa cooking experience. Now that you have the right cooker, let’s move on to the next step: preparing the quinoa.
Preparing the Quinoa
Before you begin cooking quinoa in your electric pressure cooker, it’s essential to properly prepare the grains. Follow these steps to ensure the best results:
1. Rinse the Quinoa: Place the desired amount of quinoa in a fine-mesh sieve and rinse it under cold running water. This step removes any bitterness or residue on the seeds.
2. Drain the Quinoa: After rinsing, drain the quinoa thoroughly to remove excess water. You can gently shake the sieve or pat the quinoa dry with a clean kitchen towel.
3. Toast the Quinoa (Optional): For a nutty flavor, you can toast the quinoa before cooking it. Heat a dry skillet over medium heat and add the drained quinoa. Toast it for a couple of minutes while stirring until it becomes slightly golden and fragrant.
4. Measure the Water: The general rule for cooking quinoa is using a 1:2 ratio of quinoa to water. For example, if you’re cooking 1 cup of quinoa, you will need 2 cups of water. Adjust the quantity as per your recipe or personal preference.
5. Seasoning (Optional): At this stage, you can add flavor to the quinoa by adding a pinch of salt, a drizzle of olive oil, or other desired herbs and spices.
Now that you have properly prepared the quinoa, it’s time to move on to the cooking process using your electric pressure cooker. Whether you’re using a stovetop or programmable pressure cooker, the cooking steps remain relatively the same. Let’s explore the cooking methods in the next section.
Cooking Quinoa in the Electric Pressure Cooker
Now that your quinoa is prepped and ready, it’s time to cook it in your electric pressure cooker. Follow these steps for a foolproof quinoa cooking experience:
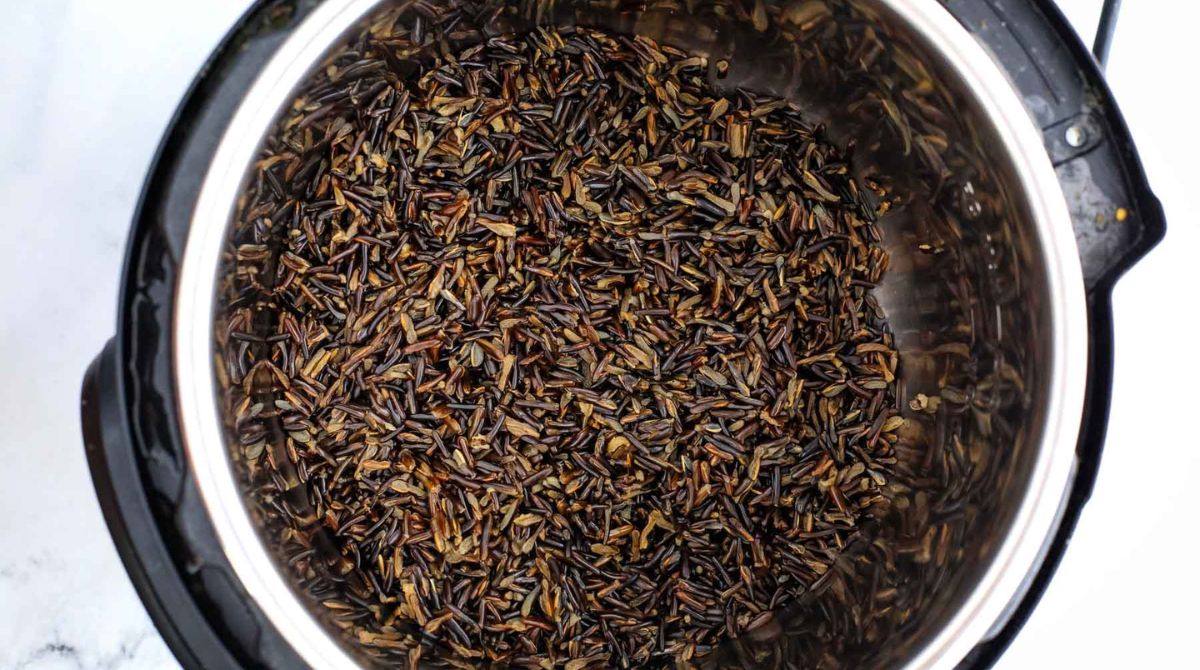
1. Add Quinoa and Water: Place the rinsed and drained quinoa in the cooking pot of your electric pressure cooker. Add the measured amount of water or broth, following the 1:2 quinoa-to-water ratio.
2. Secure the Lid: Ensure that the sealing ring on the lid is properly in place and close the lid securely on your electric pressure cooker.
3. Set the Cooking Time: Depending on your electric pressure cooker model, select the appropriate cooking function or preset for quinoa. If there is no specific quinoa setting, set the cooker to cook on high pressure for 1 minute.
4. Start Cooking: Begin the cooking process by pressing the start button on your electric pressure cooker. The cooker will take a few minutes to come up to pressure before the cooking time begins.
5. Cooking Time: Once the cooking time is complete, your electric pressure cooker will automatically switch to a “keep warm” mode. Allow the pressure to release naturally for about 10-15 minutes. This slow release helps the quinoa to continue cooking gently and evenly.
6. Release the Remaining Pressure: After the natural release, if there is still pressure inside the cooker, you can use the quick release method. Carefully move the pressure release valve to the “venting” position to release the remaining pressure. Be cautious of the hot steam, and use a long utensil to avoid burning your hand.
7. Open the Lid: Once all the pressure is released, carefully open the lid of your electric pressure cooker. Fluff the quinoa with a fork to break up any clumps and ensure even texture.
With these simple steps, you can achieve perfectly cooked quinoa in your electric pressure cooker that is fluffy, tender, and ready to be served or used as the base for various recipes. In the next section, we will discuss different methods for releasing the pressure in your electric pressure cooker.
Natural Release Method
When cooking quinoa in an electric pressure cooker, the natural release method is a popular way to allow the pressure to release gradually on its own. This method helps the quinoa to continue cooking gently and evenly, resulting in perfectly fluffy grains. Follow these steps for the natural release method:
1. Cooking Completion: Once the cooking time for quinoa is complete, your electric pressure cooker will automatically switch to a “keep warm” mode. Do not manually release any pressure at this point.
2. Natural Release Time: Allow the pressure to release naturally for about 10-15 minutes. During this time, the pressure will gradually decrease, and the quinoa will continue to absorb any remaining moisture.
3. Pressure Indicator: Check the pressure indicator on your electric pressure cooker to ensure that all the pressure has been released. The indicator will drop when it is safe to open the cooker.
4. Open the Lid: Once all the pressure is released and the pressure indicator has dropped, carefully open the lid of your electric pressure cooker. Be cautious of the hot steam that may escape when opening the lid.
5. Fluff the Quinoa: Use a fork to gently fluff the quinoa, breaking up any clumps and ensuring an even texture. The quinoa is now ready to be served or used in your favorite recipes.
The natural release method is particularly beneficial for grains like quinoa, as it helps to prevent overcooking and ensures that the grains remain separate and fluffy. However, it is important to note that the natural release method does take a bit more time compared to the quick release method. If you’re short on time, you can consider using the quick release method, which we will discuss in the next section.
Quick Release Method
The quick release method is an alternative way to release the pressure in your electric pressure cooker after cooking quinoa. This method allows for a faster release of pressure and can be useful when you’re short on time. Follow these steps for the quick release method:
1. Cooking Completion: Once the cooking time for quinoa is complete, your electric pressure cooker will automatically switch to a “keep warm” mode. Do not manually release any pressure at this point.
2. Quick Release: To release the pressure quickly, carefully move the pressure release valve to the “venting” position. Be cautious of the hot steam and use a long utensil like a wooden spoon or tongs to avoid burning your hand. The pressure will be released rapidly, and the pressure indicator will drop once all the pressure is released.
3. Open the Lid: Once all the pressure is released and the pressure indicator has dropped, it is safe to open the lid of your electric pressure cooker. Be careful when opening the lid as hot steam may still escape.
4. Fluff the Quinoa: Use a fork to gently fluff the quinoa, breaking up any clumps and ensuring an even texture. The quinoa is now ready to be served or used in your desired recipes.
The quick release method is ideal when you need to quickly stop the cooking process or if you’re running short on time. However, keep in mind that the quick release method may result in slightly softer grains compared to the natural release method. Choose the method that best suits your needs and preferences.
Now that you’re familiar with both the natural release method and the quick release method, you can select the method that suits your time constraints and desired quinoa texture. In the next section, we will discuss an important step in the quinoa cooking process: fluffing the quinoa.
Fluffing the Quinoa
After cooking quinoa in your electric pressure cooker, it’s important to fluff the grains to achieve a light and airy texture. Fluffing the quinoa helps to separate the grains and enhance the overall presentation of your dish. Follow these steps to properly fluff the quinoa:
1. Open the Lid: Once the pressure has been released and it is safe to do so, carefully open the lid of your electric pressure cooker.
2. Use a Fork: Use a fork to gently fluff the quinoa. Insert the tines of the fork into the cooked quinoa and gently scrape and lift the grains. This will help to break up any clumps and separate the grains for a light and fluffy texture.
3. Gentle Mixing: As you fluff the quinoa, you can gently mix in any additional seasonings or ingredients that you may have added during the cooking process. This will ensure that the flavors are evenly distributed throughout the quinoa.
4. Avoid Over-Mixing: Be careful not to over-mix the quinoa, as this can cause the grains to become mushy. Use a light hand and gently toss the quinoa with the fork to maintain the individual grain structure.
Fluffing the quinoa is a crucial step in the cooking process, as it helps to create a light and fluffy texture and ensures that each grain is separate and distinct. Properly fluffed quinoa not only looks appetizing but also contributes to a pleasant eating experience.
Now that you’ve fluffed the quinoa to perfection, it’s time to explore the different seasoning and serving options to add even more flavor and creativity to your dish. We’ll discuss these options in the next section.
Seasoning and Serving Options
Quinoa is a versatile grain that can be customized to suit various flavors and cuisines. Once you have cooked and fluffed the quinoa in your electric pressure cooker, you can enhance its taste with a variety of seasonings and serve it in creative ways. Here are some options to consider:
1. Simple Seasoning: For a classic and clean flavor, season the quinoa with a pinch of salt, a drizzle of extra-virgin olive oil, and a squeeze of fresh lemon juice. This simple seasoning enhances the natural nutty flavor of the quinoa.
2. Herb and Spice Blend: Experiment with different herb and spice blends to add depth and complexity to your quinoa. Some popular options include a mix of dried herbs like thyme, rosemary, and oregano, or spices like cumin, paprika, and turmeric.
3. Vegetable Broth: Instead of using plain water, cook the quinoa in vegetable broth for added flavor. The broth will infuse the grains with savory notes and create a delightful taste profile.
4. Stir-fry: Use the cooked quinoa as a base for a colorful stir-fry. Sauté your favorite vegetables, such as bell peppers, carrots, and snow peas, and mix them into the quinoa. Add a dash of soy sauce or sesame oil for an Asian-inspired twist.
5. Salad: Chill the cooked quinoa and use it as the foundation for a refreshing salad. Combine it with diced cucumbers, cherry tomatoes, fresh herbs, and a tangy vinaigrette dressing for a light and satisfying meal.
6. Stuffed Peppers: Fill bell peppers with a flavorful mixture of quinoa, sautéed onions, garlic, and your choice of protein (such as ground turkey or black beans). Top with cheese and bake until the peppers are tender and the filling is heated through.
7. Buddha Bowl: Create a nourishing Buddha bowl by layering cooked quinoa with roasted vegetables, avocado slices, leafy greens, and a drizzle of tahini dressing or your favorite sauce. This colorful and balanced meal is sure to be a hit.
Remember, the seasoning and serving options for quinoa are endless, so feel free to experiment with different ingredients and techniques to suit your taste preferences. Get creative and enjoy the versatility of this nutritious grain.
In the next section, we’ll provide you with some helpful tips to ensure your quinoa turns out perfect every time you cook it in the electric pressure cooker.
Tips for Perfect Quinoa in the Electric Pressure Cooker
To achieve consistently perfect results when cooking quinoa in your electric pressure cooker, consider these helpful tips and tricks:
1. Rinse the Quinoa: Always rinse the quinoa before cooking to remove any debris or bitterness. This step ensures cleaner and tastier grains.
2. Use Proper Water-to-Quinoa Ratio: The general rule is to use a 1:2 ratio of quinoa to water. However, for a softer texture, you can increase the water slightly. Adjust the ratio to your preferred consistency.
3. Toast the Quinoa (Optional): Toasting the quinoa before cooking can add a delightful nutty flavor. While it’s not necessary, it can enhance the overall taste of your dish.
4. Avoid Overcooking: Be cautious of the cooking time as quinoa can easily become mushy if overcooked. Follow the recommended cooking time and release the pressure promptly to preserve the texture.
5. Let it Rest: After cooking, allow the quinoa to rest for a few minutes before fluffing it with a fork. This helps to further separate the grains and maintain their individual texture.
6. Customize the Seasonings: Experiment with different herbs, spices, and seasonings to add your own unique flavors to the quinoa. Have fun exploring different combinations to suit your taste preferences.
7. Adjust Cooking Time for Varieties: Different varieties of quinoa may require slight adjustments in cooking times. Red, black, and tri-color quinoa varieties generally need a bit more cooking time compared to white quinoa.
8. Use High-Quality Quinoa: Start with high-quality quinoa for the best results. Look for brands that offer organic, pre-washed, and well-packaged quinoa to ensure freshness and taste.
9. Double-Check the Sealing Ring: Before starting the pressure cooking process, ensure that the sealing ring is properly in place to prevent any steam from escaping.
10. Clean the Pressure Valve: Regularly clean the pressure release valve to remove any residue that may affect its function. This helps to maintain optimal pressure during cooking.
By following these tips, you’re sure to achieve perfectly cooked, fluffy quinoa every time you use your electric pressure cooker. Feel free to adjust and personalize the methods based on your preferences and desired results.
Let’s wrap up this article and summarize the key points we have covered so far.
Conclusion
Cooking quinoa in an electric pressure cooker offers a convenient and efficient way to prepare this nutritious grain. With the right techniques and a few helpful tips, you can achieve perfectly cooked, fluffy quinoa every time.
Starting with the selection of the right electric pressure cooker, it’s important to consider factors such as size, safety features, and programmable settings. Preparing the quinoa by rinsing, draining, and toasting (if desired) helps to enhance its flavor and texture.
Cooking quinoa in the electric pressure cooker can be done using either the natural release method or the quick release method. Both methods have their advantages, so choose the one that suits your time constraints and desired texture.
After the quinoa is cooked, fluffing the grains with a fork helps to separate them and create a light and airy texture. Seasoning and serving options are limitless, allowing you to customize the quinoa to suit your taste and dietary preferences.
Remember to follow helpful tips such as rinsing the quinoa, using the right water-to-quinoa ratio, avoiding overcooking, and adjusting cooking times for different quinoa varieties. These tips will assist you in achieving consistently delicious results.
Whether you enjoy quinoa as a side dish, in salads, stir-fries, or stuffed peppers, the versatility of this ancient grain is sure to impress!
So, bring out your electric pressure cooker and embark on a culinary journey with quinoa. Enjoy the convenience, health benefits, and delicious meals that this versatile grain can offer.