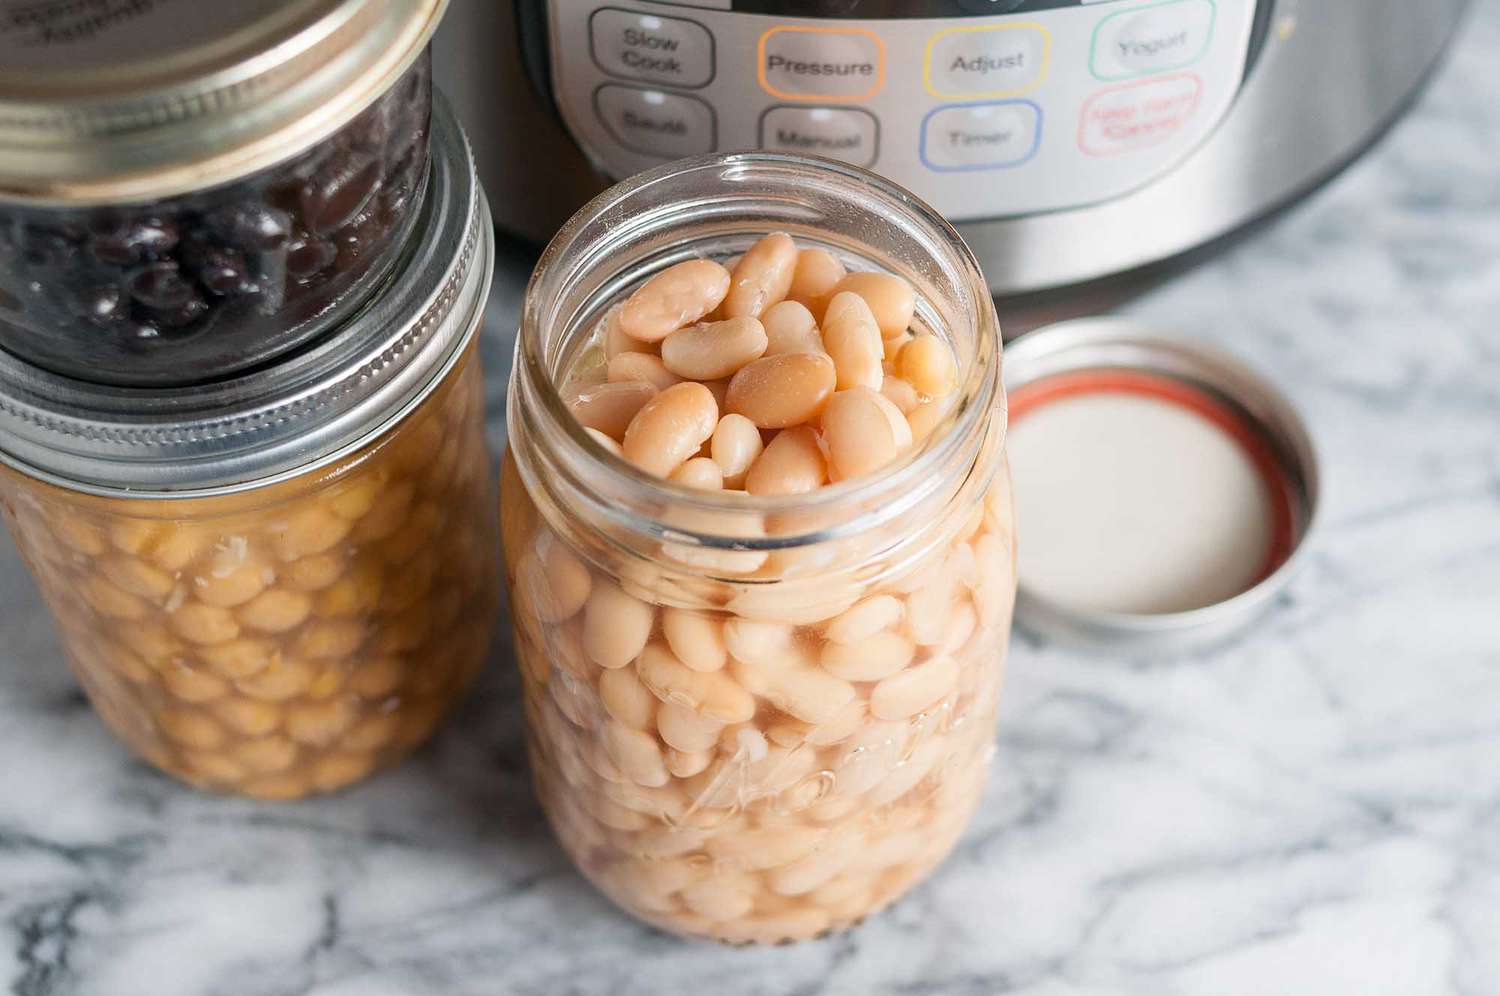
Soaking the Beans
Soaking dry beans before cooking is an essential step that helps in reducing cooking time and improving their texture. It also aids in removing some of the complex sugars that can cause gas and bloating. Here’s how you can properly soak the beans:
1. Start by selecting the right beans: Choose high-quality dry beans, such as kidney beans, black beans, chickpeas, or pinto beans. Look for beans that are uniform in size, with no signs of discoloration or damage.
2. Measure the desired amount: Take into consideration that beans will roughly double in size after soaking. Measure the amount you need for your recipe, keeping this in mind.
3. Rinse the beans: Rinse the dry beans thoroughly under cold running water to remove any dirt or debris that may be present.
4. Choose a soaking method: There are two common methods for soaking beans:
- Traditional overnight soak: Place the rinsed beans in a large bowl and cover them with water, ensuring there’s at least 2 inches of water above the beans. Soak them overnight, or for a minimum of 4-6 hours.
- Quick soak: Alternatively, you can opt for a quick soak method. Place the rinsed beans in a large pot and cover them with water. Bring the water to a boil and let the beans cook for 2-3 minutes. Remove the pot from heat, cover it, and let it stand for 1 hour.
5. Discard the soaking water: After the beans have soaked, drain and discard the soaking water. This will help remove some of the compounds responsible for causing gas.
Now that you’ve successfully soaked the beans, they are ready to be cooked. Whether you’re using an electric pressure cooker or another cooking method, the soaked beans will cook faster and have a better texture compared to unsoaked beans. Soaking is a simple step that can greatly enhance the cooking experience and ensure delicious and perfectly cooked beans for your recipes.
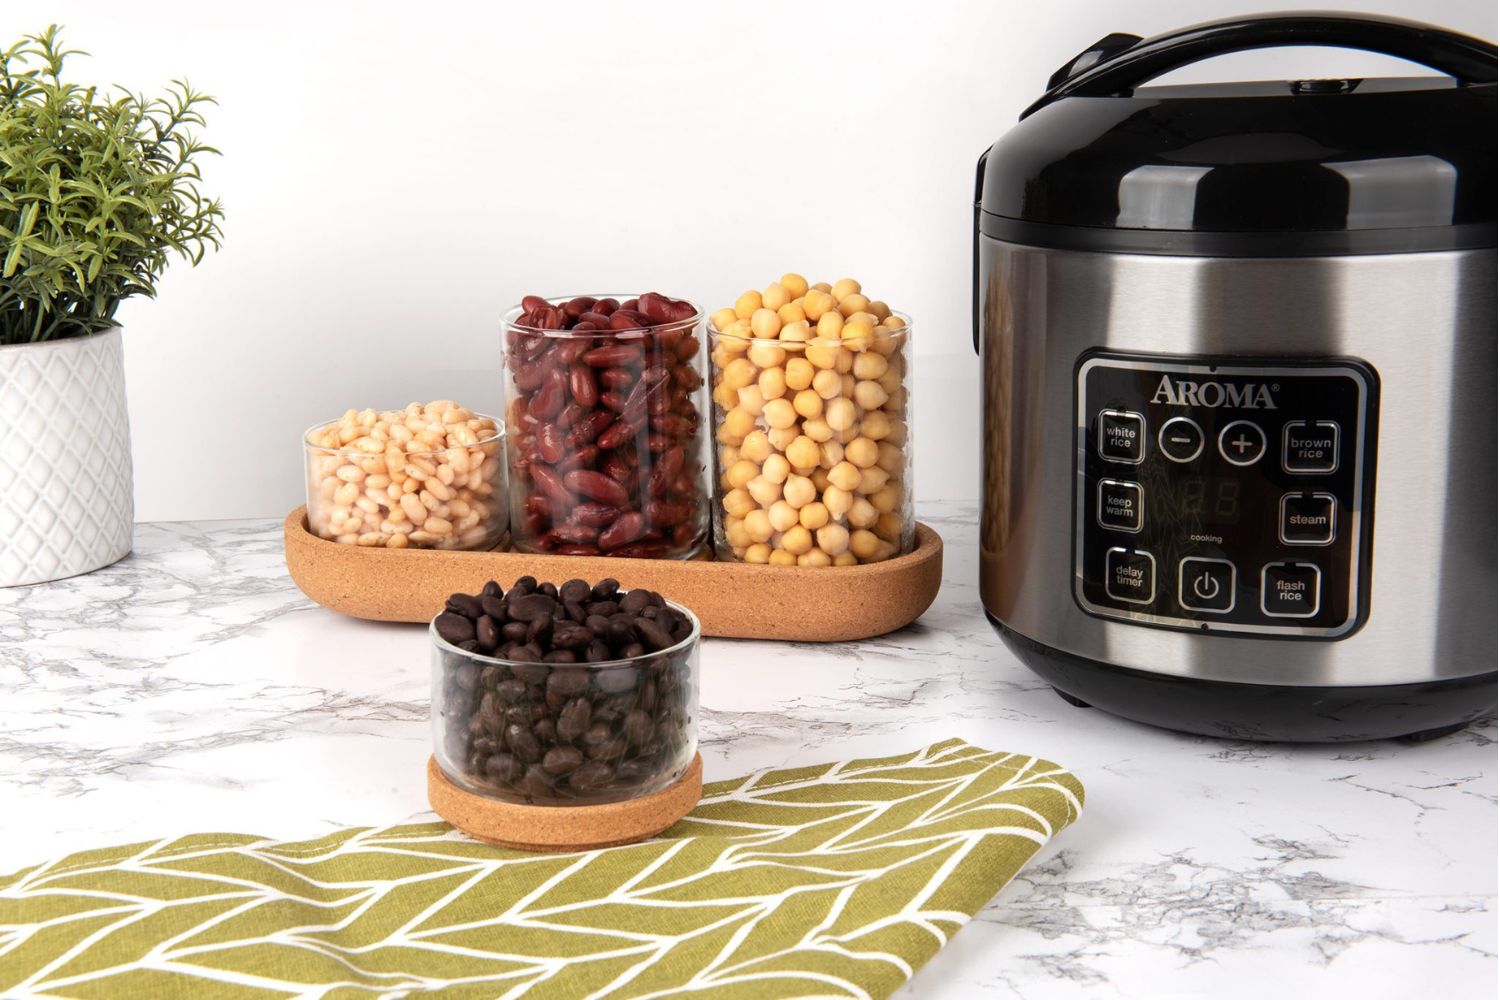
Selecting the Right Beans
Choosing the right beans is essential for achieving the best results when cooking with dry beans. With various options available, it’s important to consider a few factors while selecting your beans. Here’s a guide to help you choose the right beans:
1. Variety: Beans come in a wide range of varieties, each with its unique flavor, texture, and cooking time. Some popular types include black beans, kidney beans, chickpeas, navy beans, and pinto beans. Consider the recipe you’re preparing and choose the bean variety that complements the flavors and ingredients.
2. Freshness: Opt for fresh dry beans whenever possible. Fresh beans tend to have better texture and flavor compared to older ones. Check the packaging date or purchase from a reliable source to ensure you’re getting fresh beans.
3. Quality: Look for beans that are uniform in size and have a consistent color. Avoid beans that appear wrinkled, discolored, or damaged, as these can affect the taste and texture of the cooked beans.
4. Organic vs. Conventional: Consider your preference for organic or conventional beans. Organic beans are grown without synthetic pesticides or fertilizers, making them a healthier choice for those who prefer organic produce.
5. Packaging: Dry beans are usually available in both bulk bins and pre-packaged options. If you choose bulk bins, ensure that the bins are covered, and the beans are fresh and free from any contaminants. When purchasing pre-packaged beans, check for any signs of damage or leaks in the packaging.
By selecting the right beans, you can enhance the overall taste and texture of your dishes. Experiment with different bean varieties to discover your favorites and explore the endless possibilities that dry beans offer in your culinary adventures.
Preparing the Beans
Proper preparation of dry beans is crucial to ensure that they are clean, free from debris, and ready for cooking. Here are the steps to follow when preparing the beans:
1. Sorting: Spread the dry beans on a flat surface and remove any stones, broken beans, or other debris. This step is essential to prevent any unwanted elements from ending up in your cooked dish.
2. Rinsing: Thoroughly rinse the sorted beans under cold running water. This helps remove any remaining dirt or dust that may be present on the beans.
3. Optional: Some people choose to soak the beans after sorting and rinsing, as discussed in the previous section. Soaking can help reduce the cooking time and improve the texture of the beans. Consider your recipe and personal preference when deciding whether to soak the beans.
4. Check for Imperfect Beans: While sorting the beans, keep an eye out for any beans with mold, discoloration, or an off smell. Discard any beans that appear to be damaged or spoiled.
5. Additional Preparations: Depending on your recipe, you may need to perform additional preparations, such as removing any remaining debris or husks, or trimming the ends of certain bean varieties. Follow the recipe instructions or personal preference for any additional preparation steps.
Once you’ve prepared the beans by sorting, rinsing, and optionally soaking, they are ready to be cooked. Be sure to follow the cooking instructions specific to your recipe and cooking method to ensure perfectly cooked beans that are tender, flavorful, and ready to add a delightful element to your dishes.
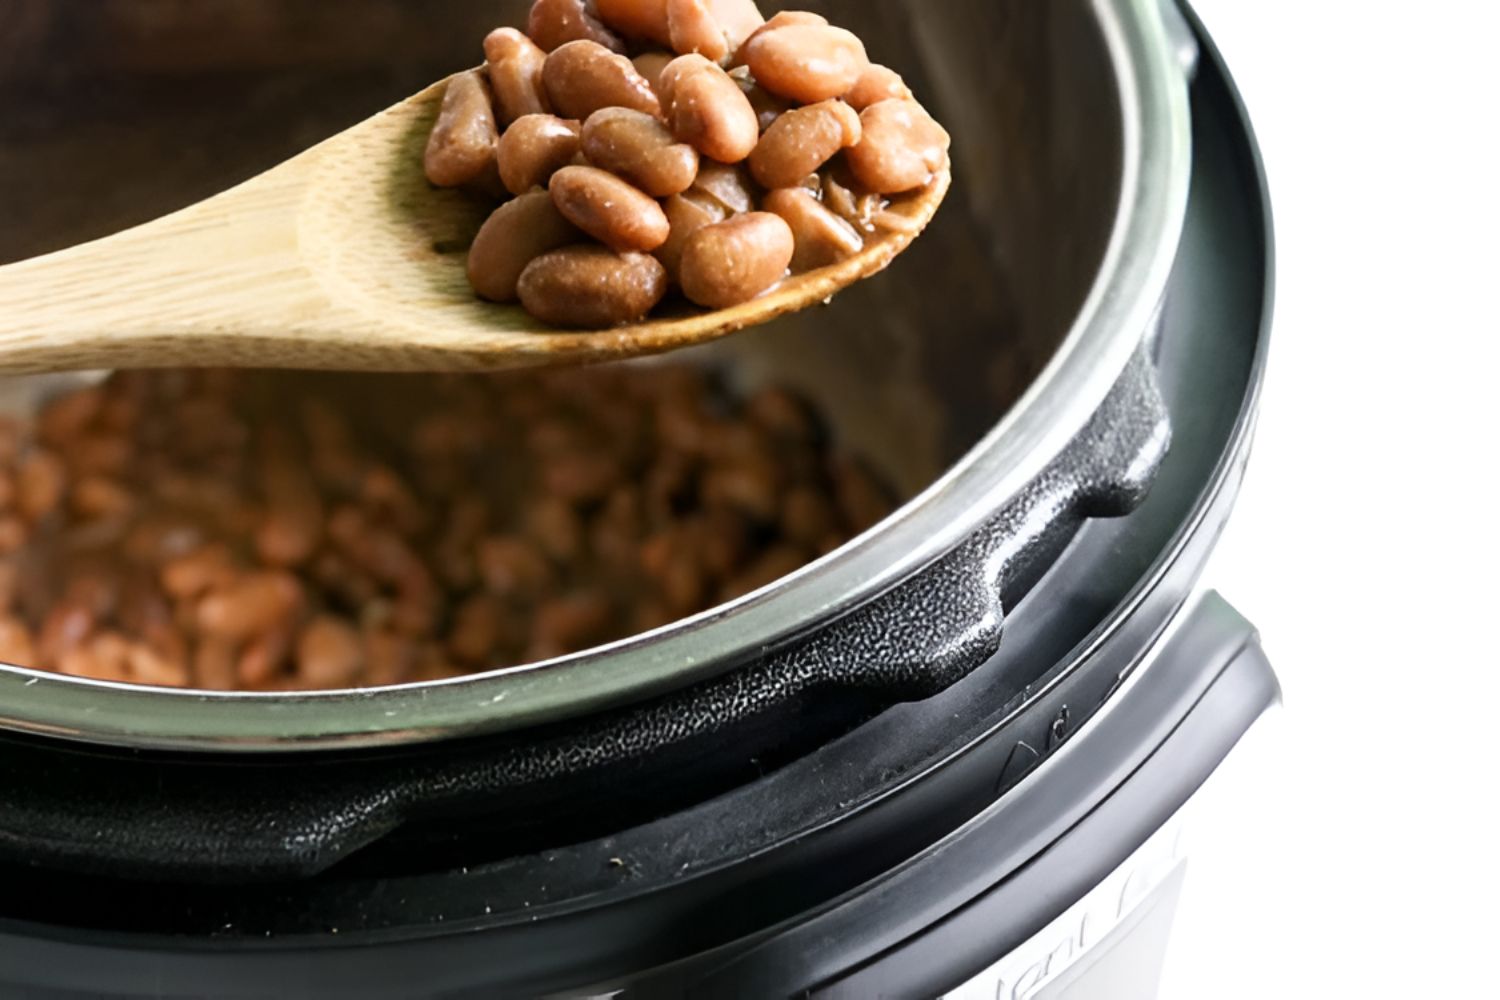
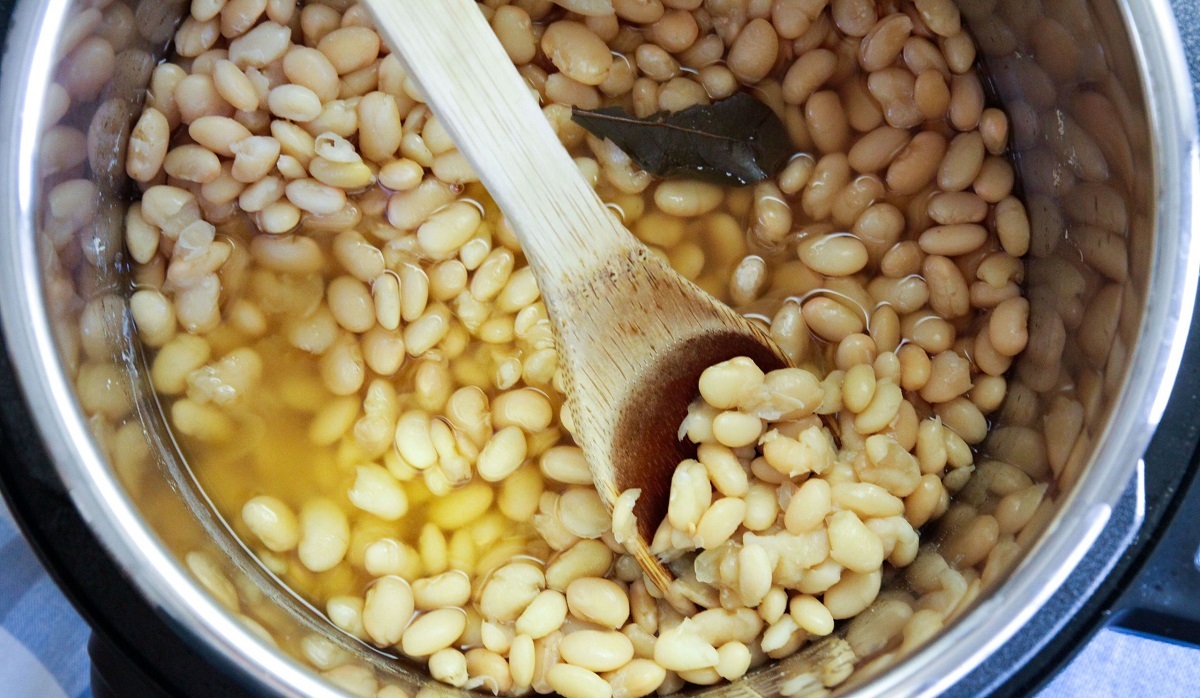
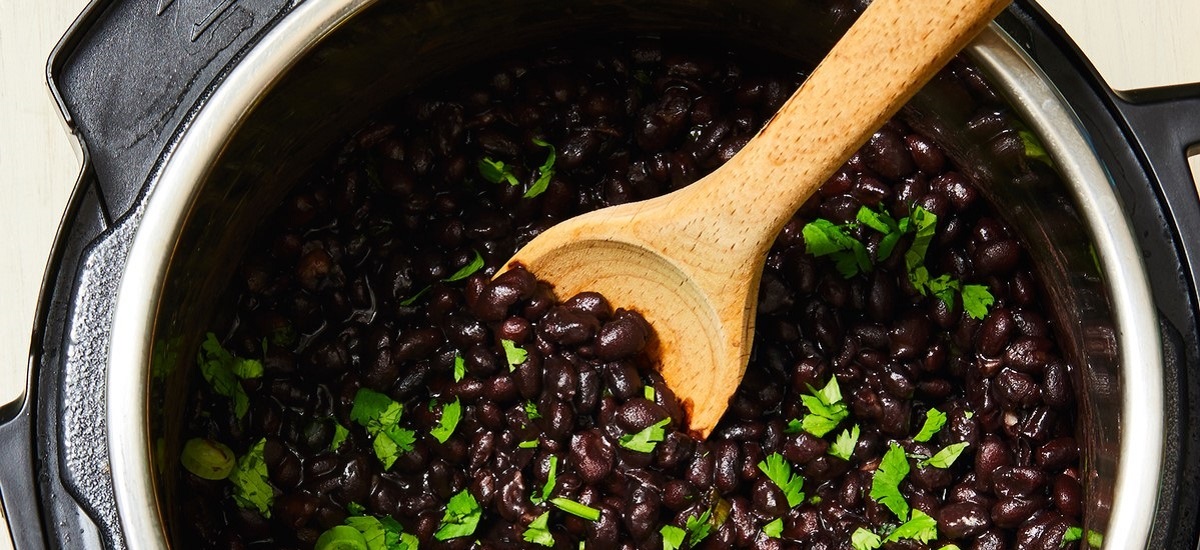
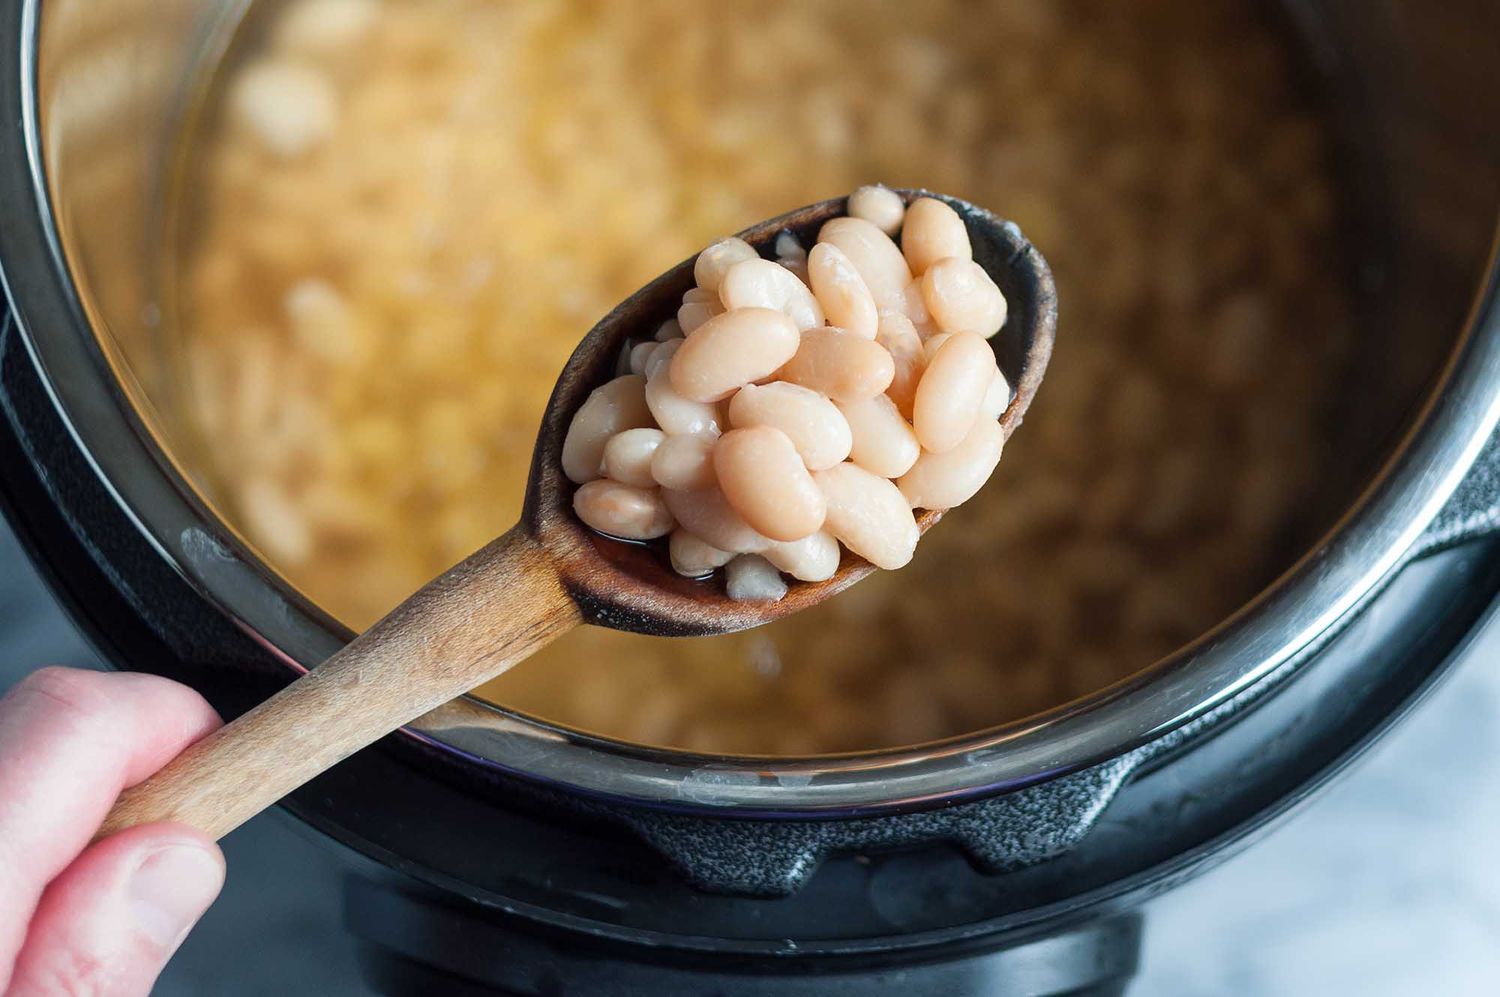
Cooking the Beans in an Electric Pressure Cooker
An electric pressure cooker is a convenient and efficient way to cook dry beans quickly and effortlessly. With its ability to create high pressure and evenly distribute heat, an electric pressure cooker ensures tender and perfectly cooked beans. Here’s how you can cook beans in an electric pressure cooker:
1. Rinse and sort the beans: Before cooking, rinse the beans under cold running water and remove any debris or imperfect beans.
2. Add the beans and liquid: Place the rinsed beans in the electric pressure cooker and add enough liquid to cover the beans. The liquid can be water, vegetable broth, or any other flavorful liquid of your choice.
3. Follow the recommended liquid-to-bean ratio: Different types of beans may require different amounts of liquid. Refer to the manual or recipe instructions to determine the appropriate liquid-to-bean ratio for your specific type of bean.
4. Close the lid and set the pressure cooker: Securely close the lid of the electric pressure cooker and set the cooking time according to the type of bean you’re cooking. Most beans require around 20-30 minutes of cooking time at high pressure.
5. Start the cooking process: Start the cooking process by selecting the appropriate setting on your electric pressure cooker. It may have preset buttons for beans or manual pressure cooking mode. Adjust the cooking time and pressure level as needed.
6. Allow for natural release or quick release: After the cooking time is complete, you can choose between natural release and quick release methods. Natural release allows the pressure to release gradually on its own, which is ideal for delicate beans. Quick release involves manually venting the pressure using the valve, which is suitable for firmer beans.
7. Test for doneness: Once the pressure has been released, carefully open the lid of the pressure cooker. Test a few beans to ensure they are cooked to your desired tenderness. If needed, you can continue cooking for a few more minutes.
Now that your beans are cooked, you can use them in various recipes or enjoy them as a simple side dish. Cooking beans in an electric pressure cooker saves time and yields consistent results, making it a convenient option for any bean lover.
Natural Release vs. Quick Release
When cooking beans in an electric pressure cooker, it’s important to understand the two main methods of releasing the pressure: natural release and quick release. Each method has its advantages and is suited for different types of beans and recipes. Here’s a breakdown of both methods:
1. Natural Release: Natural release involves allowing the pressure to naturally dissipate inside the pressure cooker without any intervention. This method is preferable for delicate beans, such as lentils or split peas, or when you want to avoid overcooking your beans. It is achieved by simply turning off the heat and letting the pressure cooker sit undisturbed until the pressure indicator drops, indicating that the pressure has been fully released. The natural release process can take anywhere from 10-20 minutes, depending on the cooker and the amount of pressure built up during cooking.
2. Quick Release: Quick release, as the name suggests, involves manually venting the pressure from the pressure cooker to release it quickly. This method is suitable for firmer beans, such as chickpeas or kidney beans, or when you’re short on time and want to limit the cooking process. To perform a quick release, carefully move the pressure release valve from the sealed position to the venting position. The steam will escape, and the pressure will drop rapidly. It’s important to exercise caution when performing a quick release to avoid any steam burns.
When deciding between natural release and quick release, consider the recipe and the desired texture of your beans. Delicate beans may benefit from natural release, as it allows for a gentle and gradual release of pressure, resulting in tender beans. On the other hand, firmer beans can withstand a quick release without becoming mushy.
Additionally, keep in mind that certain recipes may specifically call for a natural or quick release to achieve the desired texture and flavor. Always follow the instructions provided in the recipe to ensure the best results.
Overall, understanding the differences between natural release and quick release will help you tailor your cooking method to the specific type of beans and recipe you’re using. Experiment with both methods to find your preferred way of releasing pressure and achieving perfectly cooked beans each time.
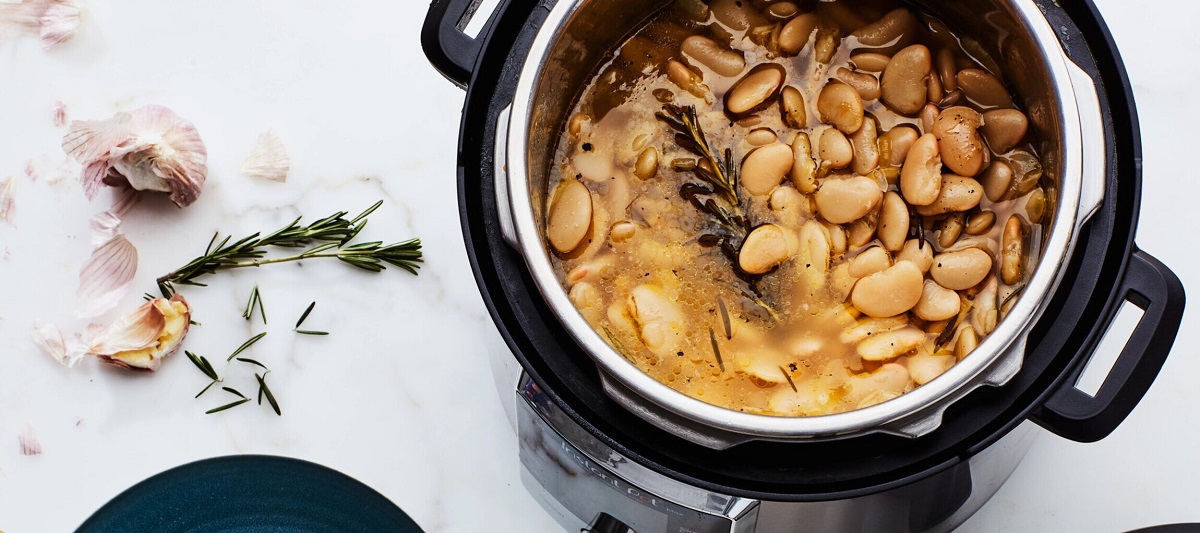
Seasoning and Flavoring the Beans
While beans have a naturally delicious flavor, seasoning and flavoring them can elevate their taste and make them even more enjoyable. Here are some ways to enhance the flavor of your cooked beans:
1. Salt: Adding salt to the beans while they are cooking helps to enhance their natural flavors. You can add salt at the beginning of the cooking process or once the beans are cooked, according to your taste preferences. Start with a small amount and adjust as needed.
2. Aromatics: Aromatics such as onions, garlic, and herbs can add depth and complexity to the flavor profile of the beans. Sauté diced onions and minced garlic before adding the beans to the pressure cooker or include dried or fresh herbs such as thyme, rosemary, or bay leaves during the cooking process.
3. Spices: Adding spices can transform the taste of your beans. Popular spice options include cumin, paprika, chili powder, turmeric, or even a pinch of cayenne pepper for a kick of heat. Experiment with different spices and combinations to create your own unique flavor profile.
4. Acidic Ingredients: Acidic ingredients like citrus juice, vinegar, or tomatoes can brighten the flavor of beans and add a tangy kick. Add a squeeze of lemon or lime juice or a splash of vinegar towards the end of the cooking process to bring out the flavors of the beans.
5. Broth or Stock: Instead of using plain water, you can cook your beans in vegetable or chicken broth to infuse them with extra flavor. The beans will absorb the savory flavors of the broth, resulting in a richer taste.
6. Umami Boosters: Umami-rich ingredients such as soy sauce, miso paste, or Worcestershire sauce can add depth and complexity to your beans. Use them sparingly to create a savory and satisfying taste.
Remember to adjust the seasoning and flavoring to suit your personal taste preferences. Taste the beans as they cook and add additional seasonings as necessary. Don’t be afraid to get creative and try new combinations of flavors to discover your favorite way of seasoning and flavoring your beans.
Storing Cooked Beans
Once you’ve cooked a batch of flavorful beans, you may find yourself with leftovers. Proper storage is key to ensure their freshness and maintain their quality. Here are some guidelines for storing cooked beans:
1. Cool Down: Allow the cooked beans to cool down completely before storing them. Leaving them at room temperature for 1-2 hours is usually sufficient. This helps prevent condensation, which can lead to bacterial growth.
2. Refrigeration: The most common method for storing cooked beans is refrigeration. Transfer the cooled beans to an airtight container or a sealable plastic bag. Label the container with the date for reference. Cooked beans can be stored in the refrigerator for up to 4-5 days.
3. Freezing: If you have a large quantity of cooked beans or want to extend their shelf life, freezing is a great option. Place the cooled beans in a freezer-safe container or a freezer bag, ensuring all the air is squeezed out. Label the container with the date and store in the freezer. Cooked beans can be frozen for up to 3 months without losing their quality.
4. Portioning: Consider portioning the cooked beans before storing them. This way, you can thaw only the amount you need without having to defrost the entire batch. Portioning also allows for more flexibility in using the beans in various recipes.
5. Thawing and Reheating: When ready to use the stored beans, thaw them in the refrigerator overnight or defrost them in the microwave using the defrost setting. Alternatively, you can add frozen beans directly to recipes during the cooking process. Reheat the thawed or defrosted beans gently on the stovetop or in the microwave until heated through.
It’s important to note that storing methods and times may vary depending on the specific recipe and the ingredients used. Check the recipe or use your judgment to determine the optimal storage guidelines for your cooked beans.
Properly stored cooked beans can be a time-saving and convenient ingredient for future meals. By following these storage guidelines, you can enjoy the flavor and nutritional benefits of cooked beans even days or weeks after preparing them.
Other Bean Cooking Tips and Ideas
When it comes to cooking with beans, there are plenty of tips and ideas that can help you create delicious meals and make the most out of this versatile ingredient. Here are some additional tips and ideas to enhance your bean cooking experience:
1. Bean Soaking Alternatives: If you’re short on time and didn’t have a chance to soak your beans overnight, there are a few alternatives you can consider. One option is to use the quick soak method mentioned earlier, where you boil the beans for a few minutes and then let them stand for an hour. Another option is to use canned beans, which are already cooked and ready to use.
2. Experiment with Bean Combinations: Don’t be afraid to mix different types of beans in your recipes. Combining different varieties, such as black beans and kidney beans or chickpeas and lentils, can add interesting flavors, textures, and colors to your dishes. Explore different combinations to discover new and exciting flavor profiles.
3. Bean Purees and Spreads: Blend cooked beans in a food processor to create creamy and delicious bean purees. These can be used as dips, spreads, or even as a base for soups and stews. Add your favorite herbs, spices, or ingredients like roasted garlic to elevate the flavors of the puree.
4. Bean Salads: Beans are a fantastic addition to salads, bringing protein, fiber, and texture. Mix cooked beans with fresh vegetables, herbs, and dressings for a hearty and nutritious salad. Experiment with different bean varieties and dressings to create unique combinations.
5. Bean Burgers or Patties: Create vegetarian or vegan-friendly bean burgers or patties using mashed or pureed beans as the base. Add in breadcrumbs, spices, and your favorite ingredients to form a mixture that can be shaped into patties and cooked on a stovetop or grilled.
6. Bean Soups and Stews: Beans are a staple ingredient in many comforting soups and stews. Combine cooked beans with vegetables, broth, and seasonings to create hearty and satisfying dishes. Slow cookers and pressure cookers are excellent tools for preparing bean-based soups and stews.
7. Bean Desserts: Yes, you read that right! Beans can also be used in sweet recipes. Pureed beans can be incorporated into brownies, cookies, or even cakes to add moisture, fiber, and a nutritious twist to your favorite desserts.
Remember to rinse canned beans well before using them to remove any excess sodium or liquid. Be creative and open-minded when cooking with beans, as they are incredibly versatile and can be enjoyed in a wide variety of dishes.
With these tips and ideas, you can explore the world of bean cooking and create delicious, nutritious meals that will impress your family and friends.