Introduction
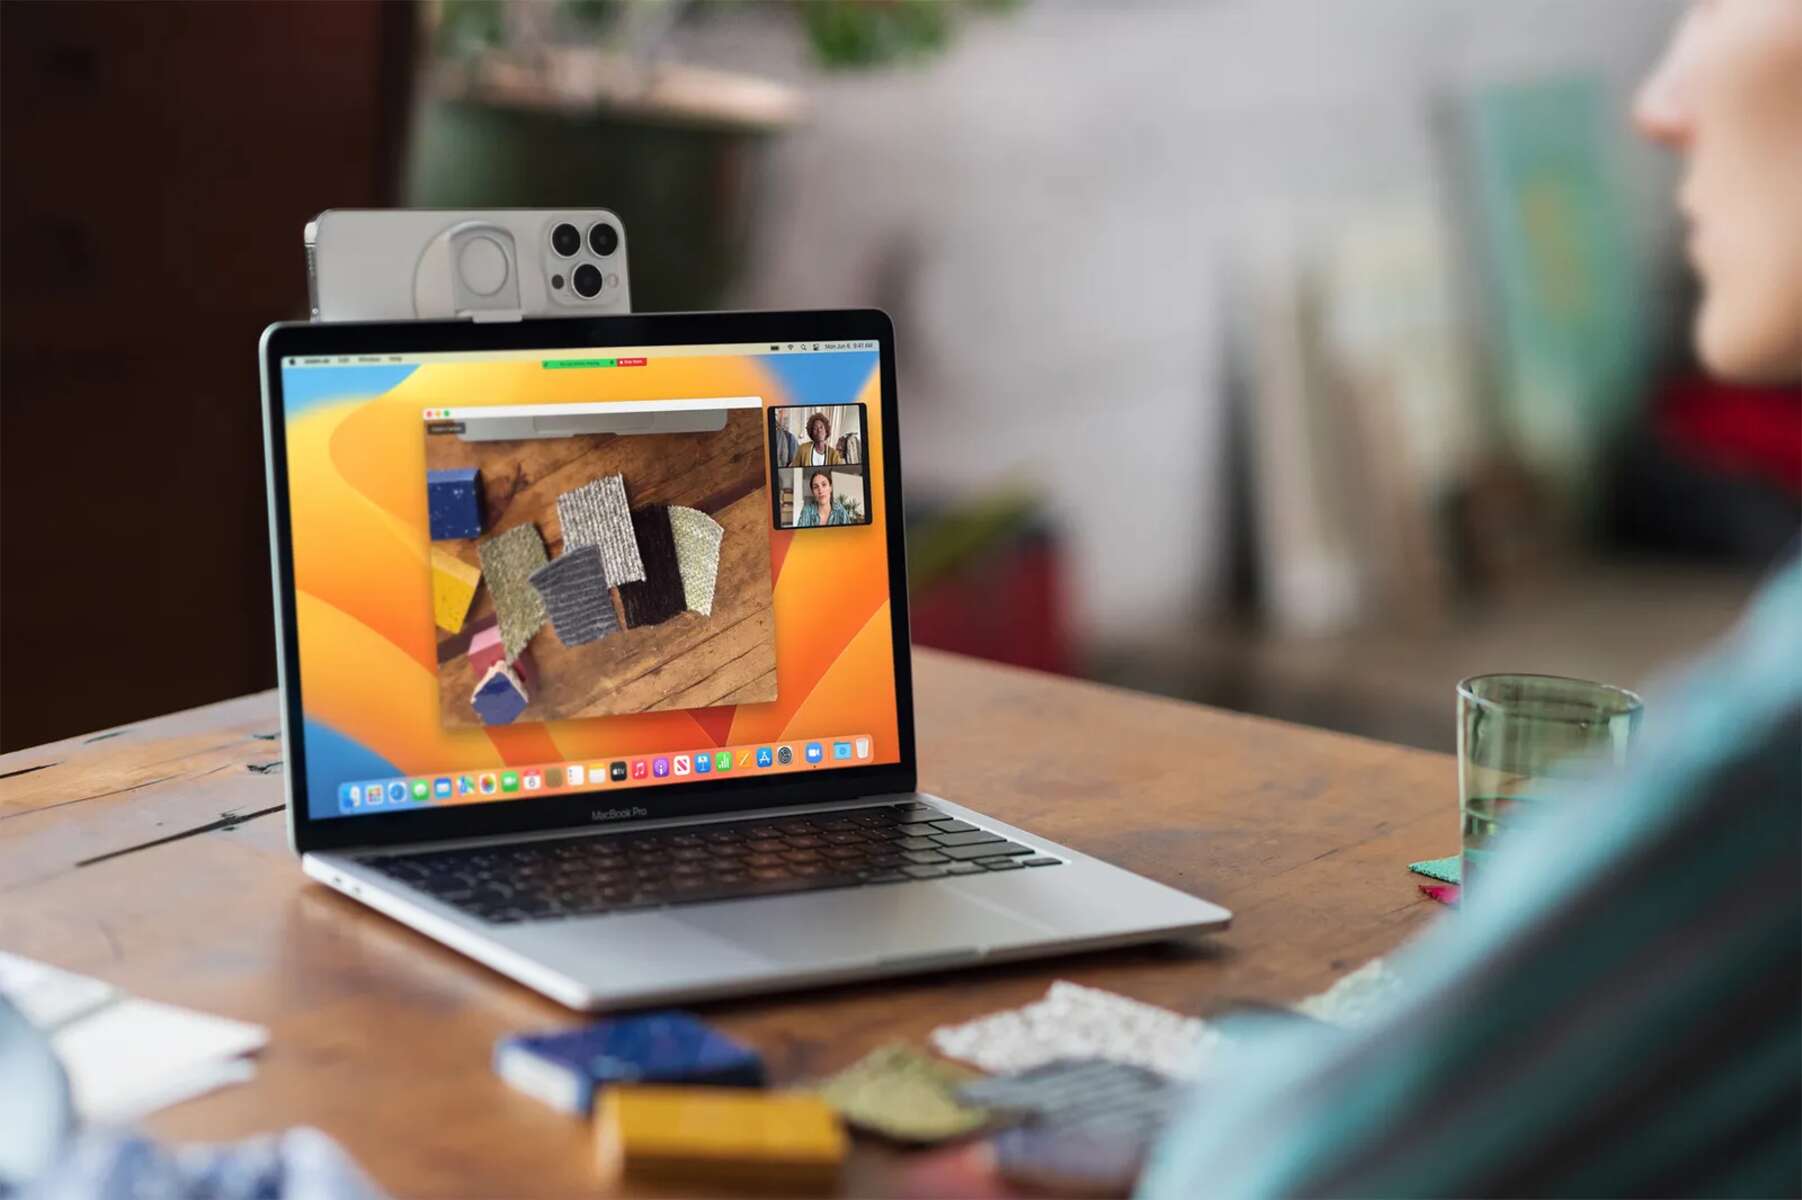
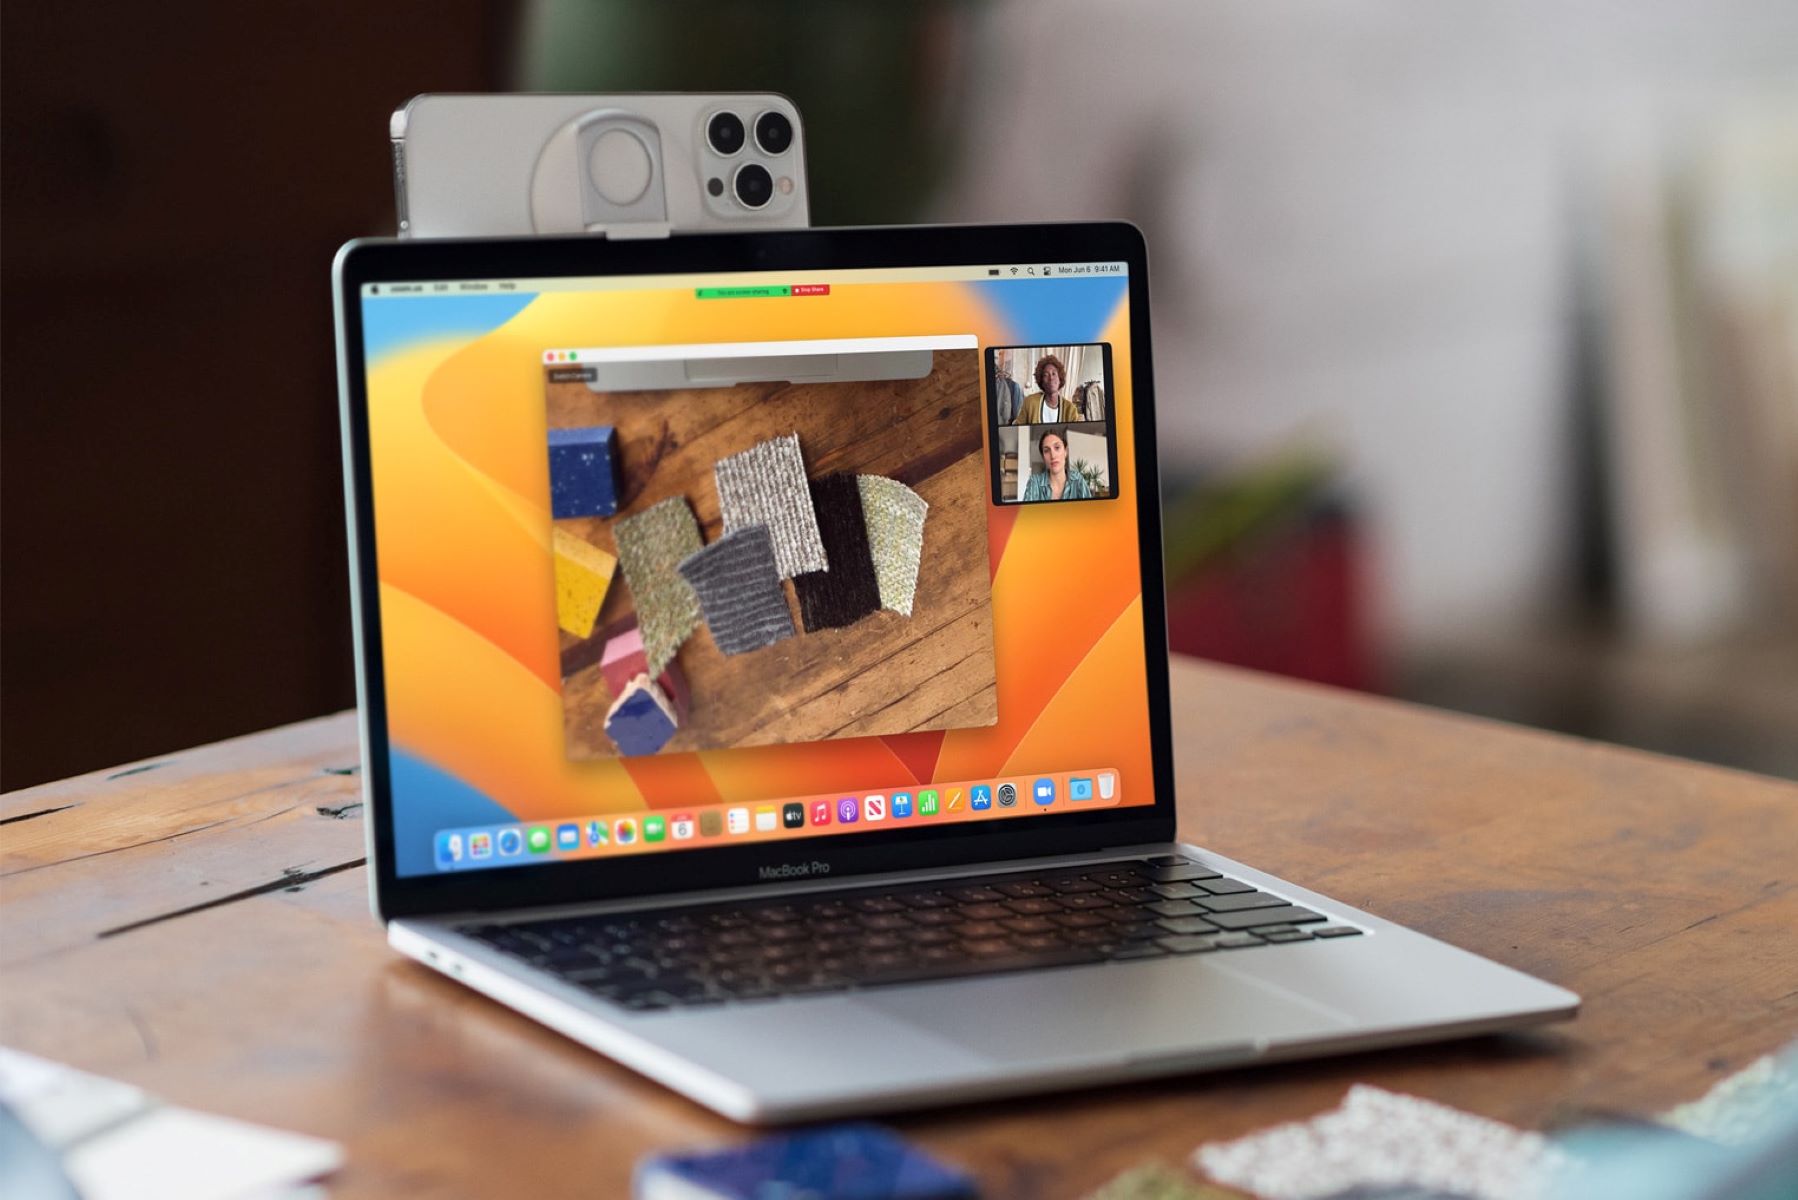
Connecting your phone as a webcam is a convenient and innovative solution that can level up your video conferencing, online meetings, live streaming, and more. With the advancements in technology and the availability of various apps and software, you can easily repurpose your smartphone into a high-quality webcam. This means you can enjoy better video quality, improved flexibility, and enhanced convenience without investing in an expensive external webcam.
Whether you’re a professional working from home, a content creator, or someone who enjoys video chatting with friends and family, using your phone as a webcam offers several benefits. Not only does it provide you with a portable and versatile webcam solution, but it also allows you to make the most out of the powerful camera technology found in modern smartphones.
In this article, we will explore the different methods you can use to connect your phone as a webcam. We’ll discuss the benefits of using your phone as a webcam, the prerequisites you need to meet, and the step-by-step process to connect it via various methods. We’ll also touch upon common troubleshooting issues you may encounter along the way.
By the end of this article, you’ll have a comprehensive understanding of how to connect your phone as a webcam and be able to confidently utilize this feature for your specific needs.
Benefits of Using Your Phone as a Webcam
There are several advantages to using your phone as a webcam:
- Improved Video Quality: The cameras on modern smartphones are often equipped with high resolution and advanced image sensors, surpassing the quality of many built-in webcams. By using your phone as a webcam, you can enjoy sharper, clearer, and more professional-looking videos.
- Flexibility and Portability: Your phone is always with you, making it a highly portable solution. Whether you’re working from different locations, traveling, or simply moving around your home or office, you can easily carry your phone and set it up as a webcam wherever you go.
- Zoom and Focus Control: Many webcam apps and software allow you to adjust zoom and focus settings, giving you additional control over your video output. This feature is especially useful during presentations or when showcasing objects up close.
- Extra Features: Some webcam apps provide additional features like background blur, filters, and virtual backgrounds. These features can help enhance the aesthetics of your video and provide a more professional or personalized touch.
- Cost Savings: Investing in a high-quality external webcam can be expensive. By utilizing your phone as a webcam, you can save money without compromising on video quality or functionality.
- Compatibility: Phone webcam apps and software are often compatible with various video conferencing platforms, streaming services, and video recording software. This means you can seamlessly integrate your phone as a webcam with your preferred applications.
Whether you’re a professional conducting business meetings, a content creator producing videos, or simply someone who wants to improve the quality of their video calls, using your phone as a webcam offers an array of benefits that can enhance your overall video experience.
Prerequisites for Using Your Phone as a Webcam
Before you can start using your phone as a webcam, there are a few prerequisites that you need to consider:
- Compatible Device: Ensure that your smartphone is compatible with the webcam app or software you plan to use. Check the requirements and compatibility information provided by the app developer or software provider.
- Stable Internet Connection: A stable and reliable internet connection is crucial for smooth video streaming. Make sure you have a strong Wi-Fi connection or a sufficient mobile data plan to support the video quality you desire.
- App or Software: Research and choose a suitable app or software that can turn your phone into a webcam. There are several options available, both free and paid, with varying features and compatibility.
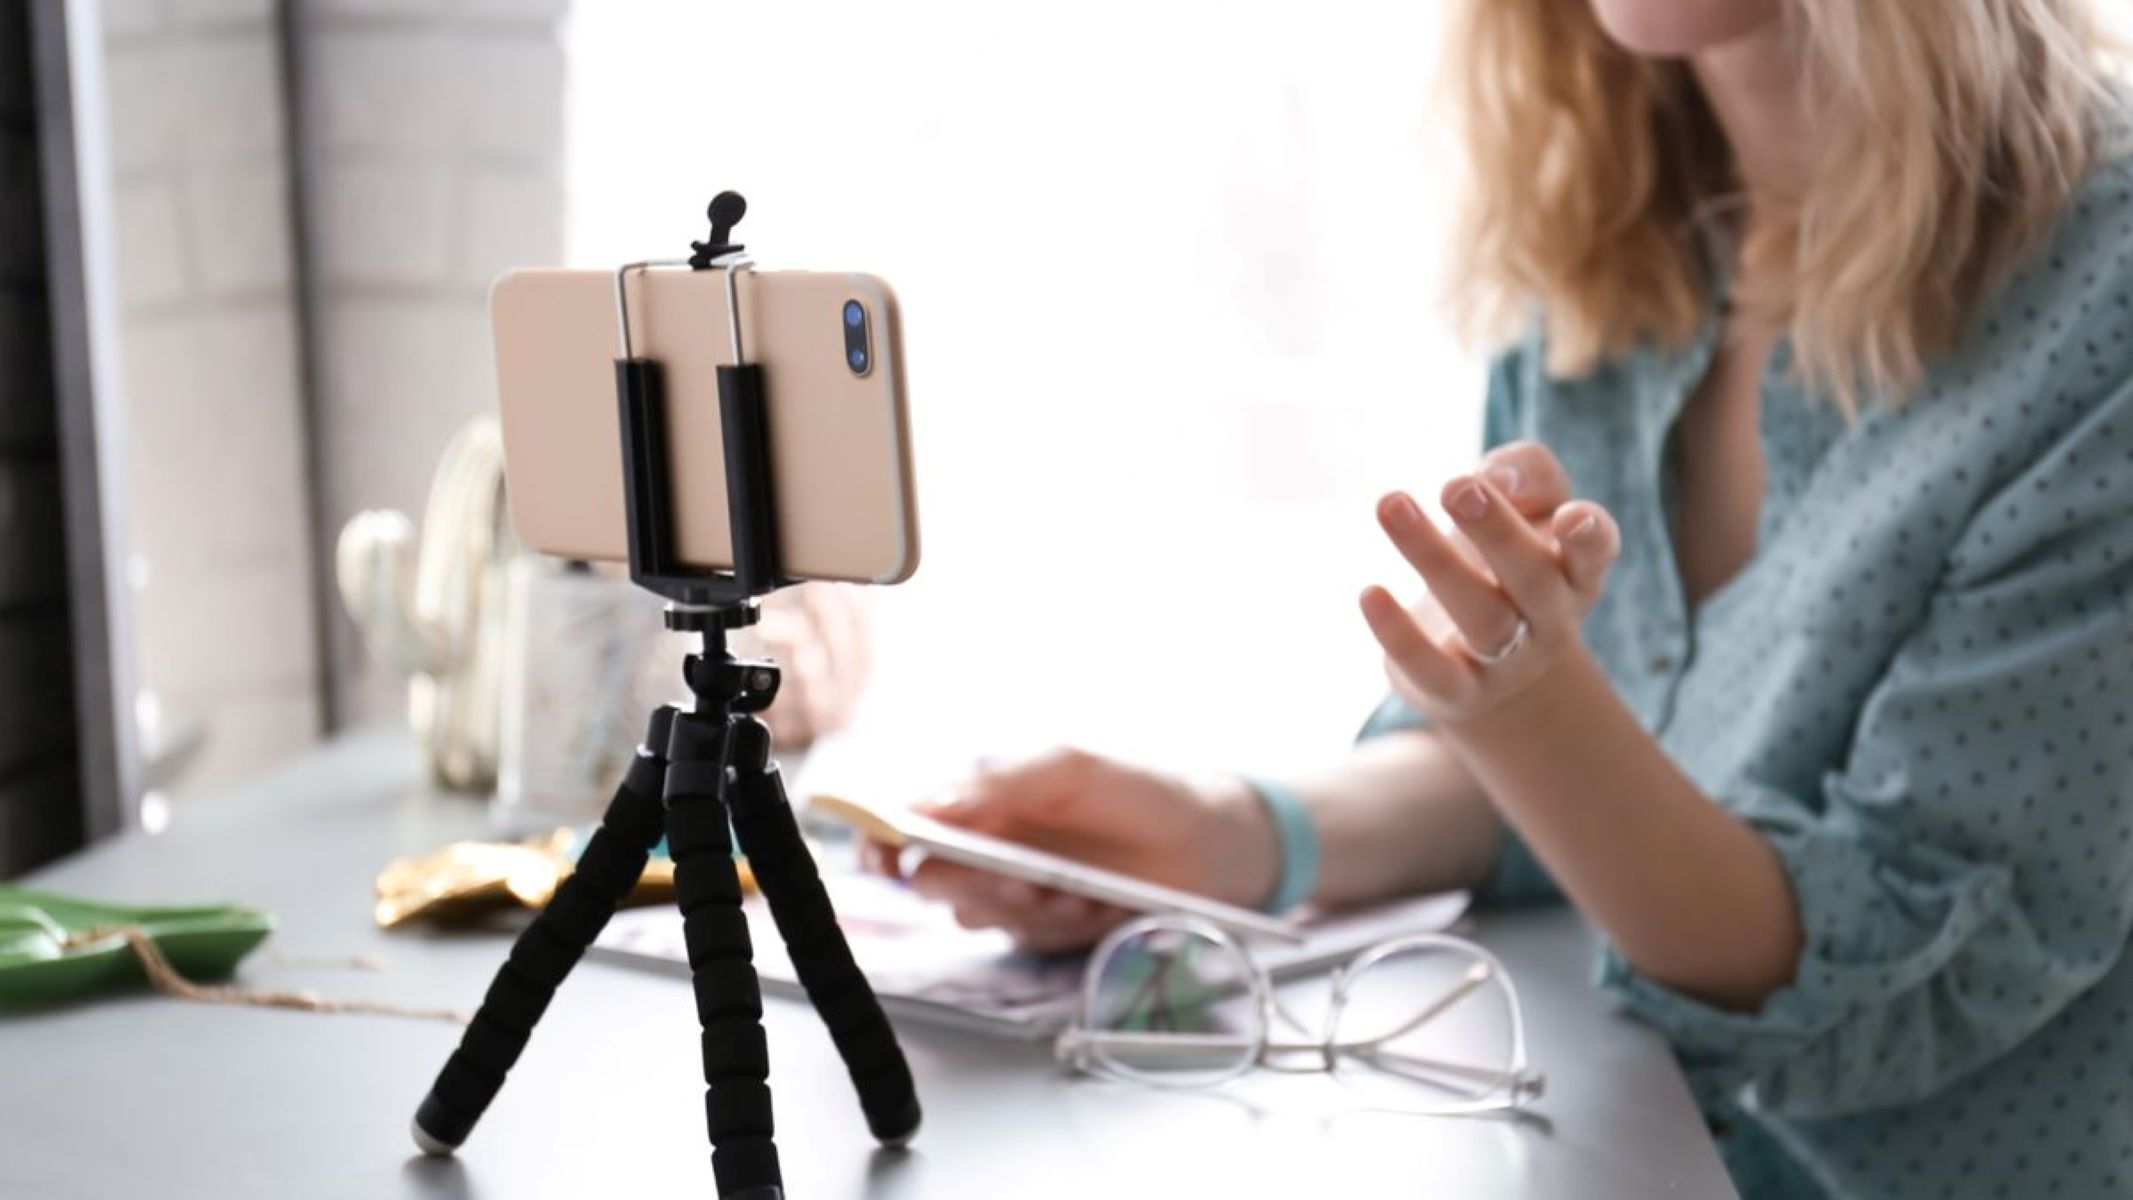
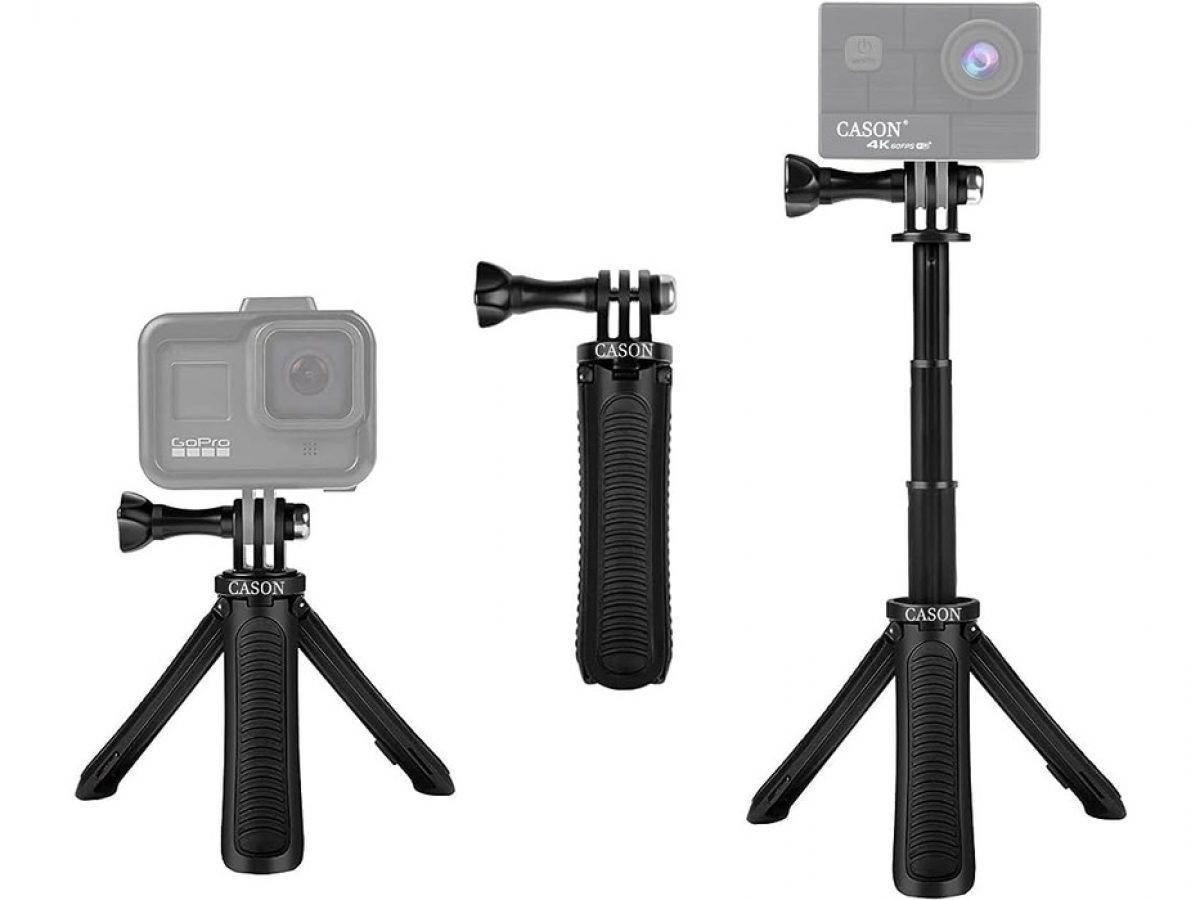
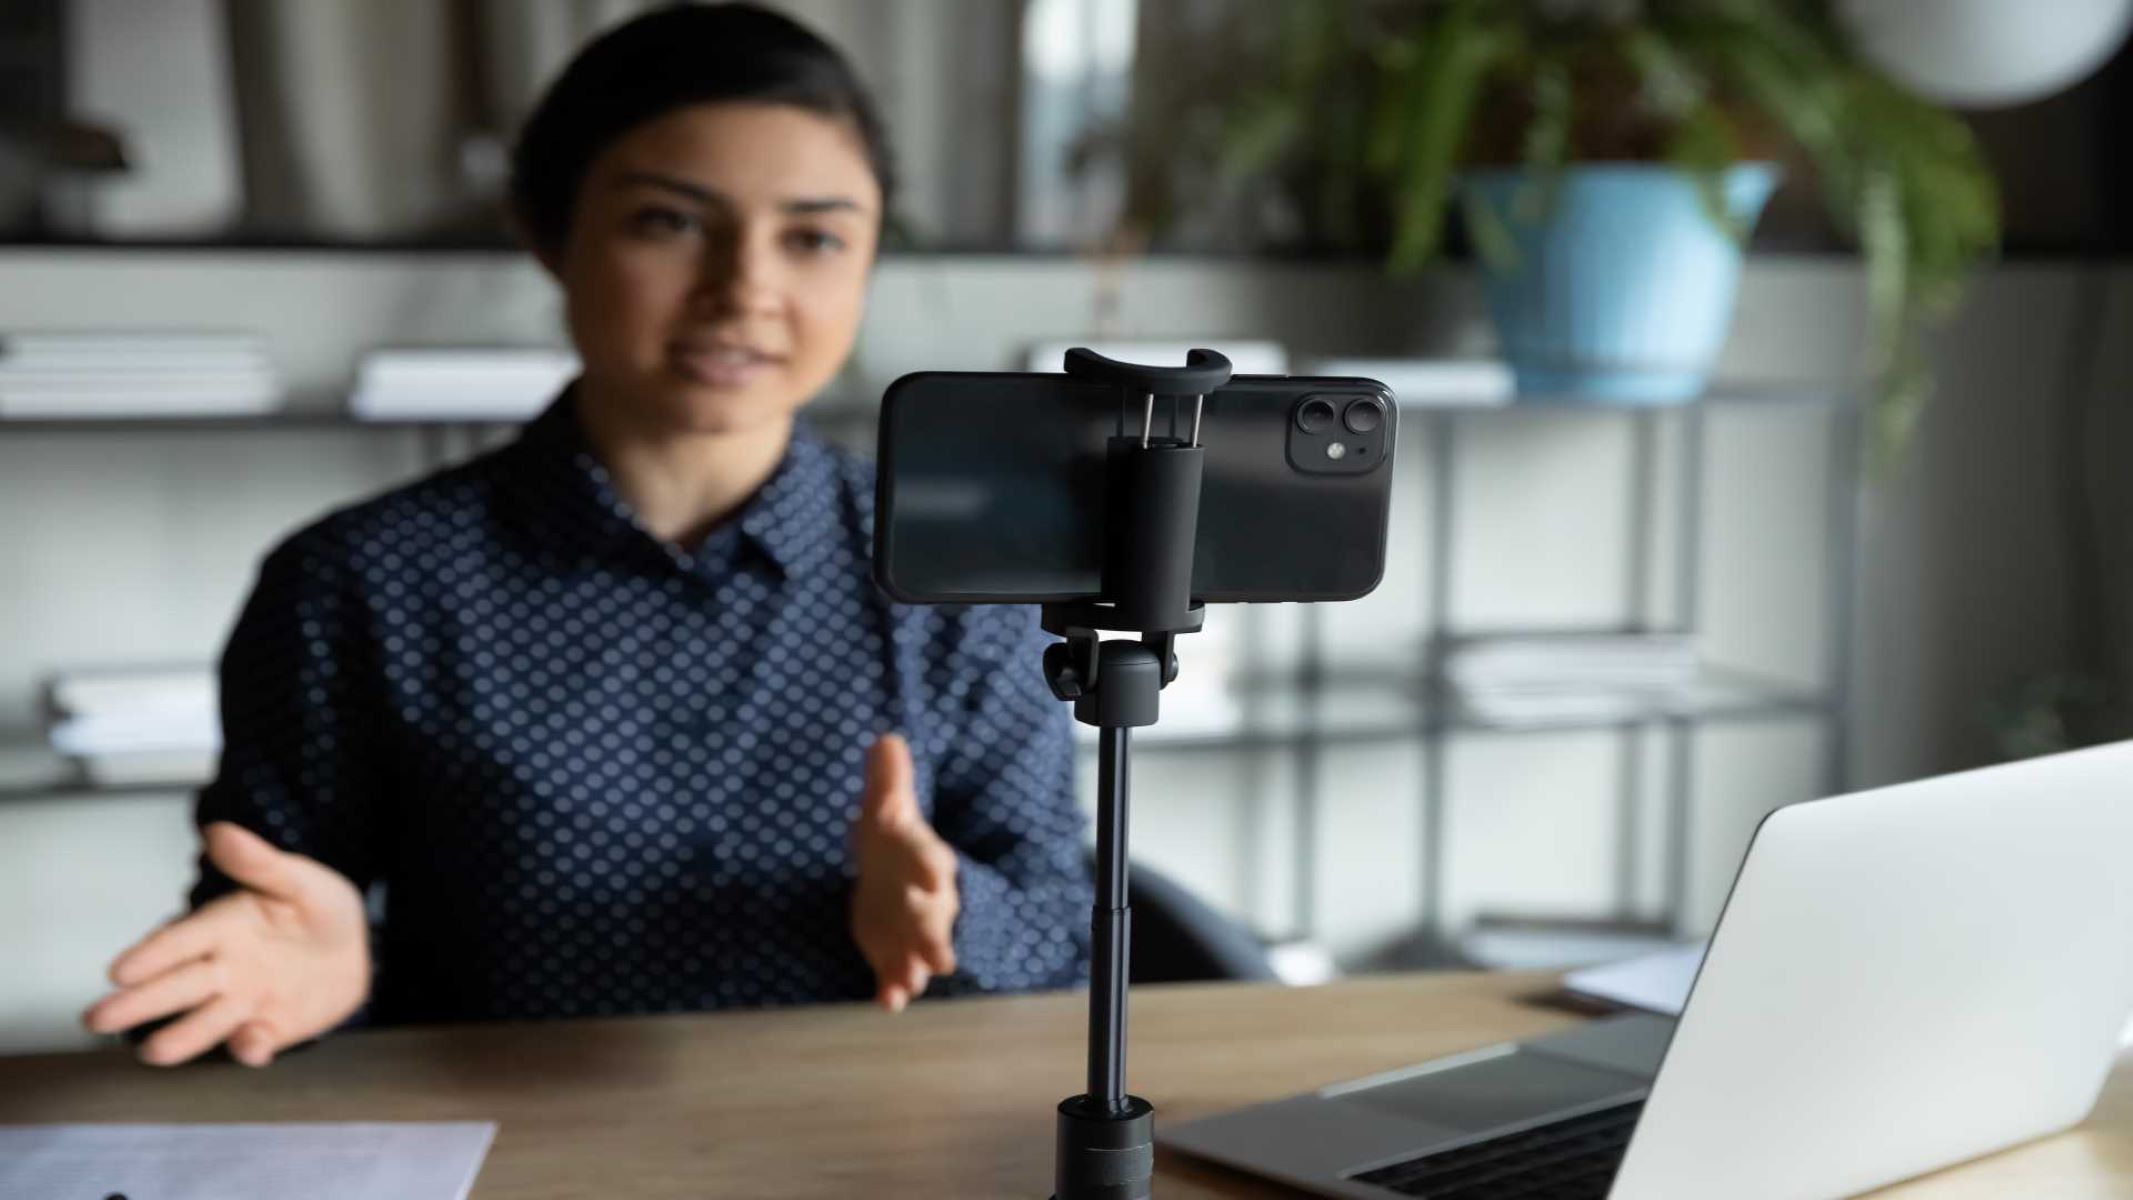
- Device Mount or Tripod: To use your phone as a webcam effectively, you’ll need a stable mounting solution. Invest in a phone tripod or a mount that can hold your phone securely in place, either on your desk or near your computer setup.
- Proper Lighting: Adequate lighting plays a significant role in video quality. Make sure you have sufficient lighting in your recording area to avoid grainy or dark footage. Consider using a ring light or other lighting equipment if necessary.
- Audio Considerations: While most phones have built-in microphones, the audio quality may not always be optimal for professional use. If high-quality audio is essential, consider using an external microphone or a headset for better clarity.
By fulfilling these prerequisites, you’ll be well-prepared to utilize your phone as a webcam effectively. Take the time to gather all the necessary equipment and ensure you have a suitable setup to achieve the best results.
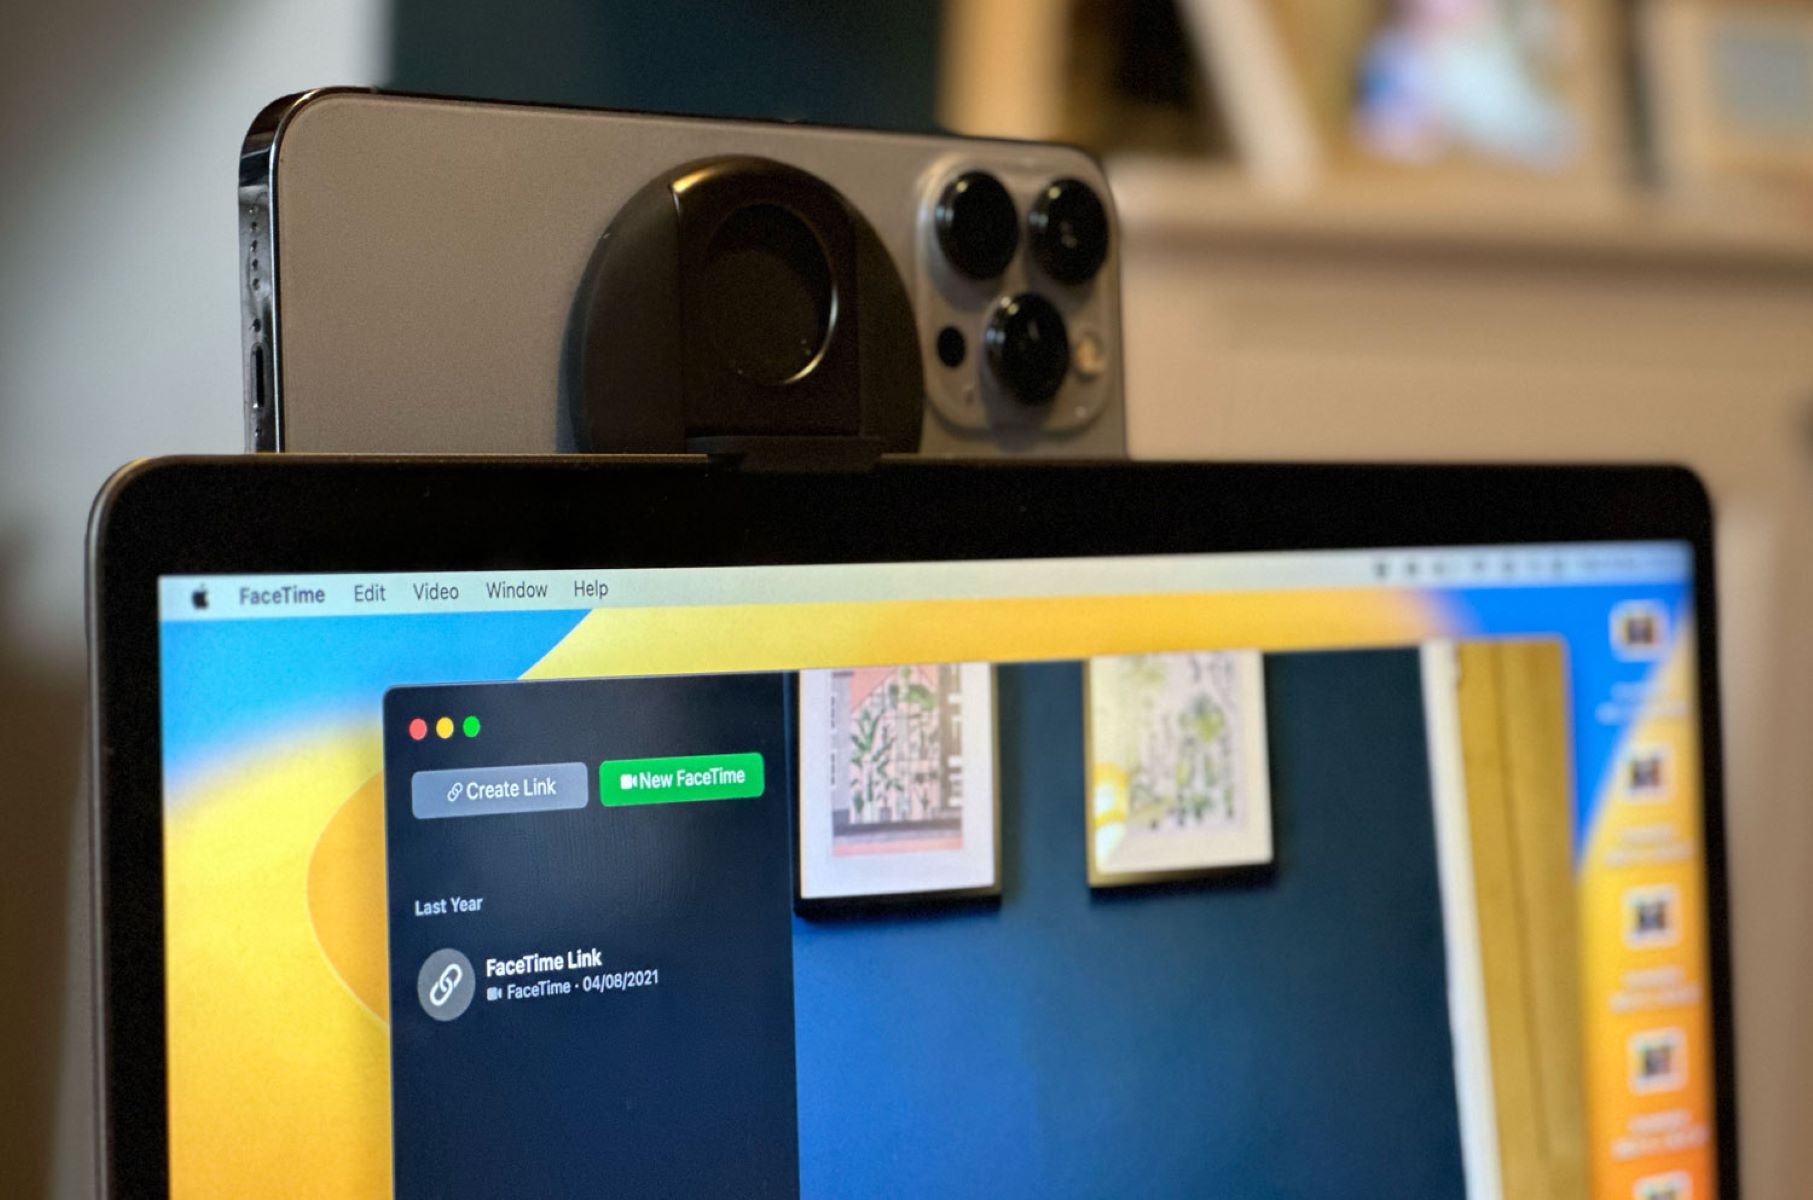
Method 1: Using a Dedicated App
One of the most straightforward ways to connect your phone as a webcam is by using a dedicated app. These apps are specifically designed to turn your smartphone into a webcam, offering features and settings tailored for optimal video quality. Here’s a step-by-step guide:
- Research and Choose an App: Start by researching and selecting a webcam app that is compatible with your phone’s operating system and offers the features you require. Some popular options include EpocCam, DroidCam, and iVCam.
- Install and Set Up the App: Download the app from the respective app store and follow the installation instructions. Once installed, open the app on both your phone and computer.
- Connect Your Phone to the Computer: Connect your phone and computer to the same Wi-Fi network. Most apps will provide instructions on how to establish a connection between the two devices using Wi-Fi.
- Adjust Camera Settings: In the app settings on your phone, you can adjust various camera settings such as resolution, frame rate, and autofocus. Experiment with these settings to find the optimal configuration for your needs.
- Select the App as Your Webcam: On your computer, open the video conferencing or streaming software you wish to use and navigate to the settings. Look for the option to select a webcam and choose the app you installed on your phone as the video source.
- Test and Fine-Tune: Start your video call or streaming session to test the connection and video quality. Make any necessary adjustments to lighting, framing, or audio settings to ensure the best possible experience.
Using a dedicated app is a convenient and reliable method to connect your phone as a webcam. These apps often come with additional features like zoom, background blur, and the ability to switch between front and rear cameras, providing you with more flexibility and control over your video feed.
Remember to explore the specific features offered by the app you choose and customize the settings to suit your preferences. With the right app and proper setup, you can transform your phone into a powerful webcam and elevate your video communication and content creation.
Method 2: Using Third-Party Software
If you prefer a more versatile approach to connect your phone as a webcam, you can consider using third-party software. These software solutions provide more advanced features and flexibility, allowing you to use your phone as a webcam across different platforms and applications. Follow these steps to set up your phone as a webcam using third-party software:
- Select and Install Software: Research and choose a reliable and feature-rich third-party software that enables phone-to-webcam functionality. Some popular options include OBS Studio, ManyCam, and XSplit.
- Download and Configure: Download and install the software on your computer, then launch it to begin the setup process. Follow the software’s instructions for setting up the connection between your phone and computer.
- Install Companion App: In most cases, you’ll need to install a companion app on your phone to establish the connection with the software on your computer. Look for the companion app in the app store, download it, and follow any necessary on-screen instructions.
- Connect Your Phone: Use a USB cable to connect your phone to the computer. Make sure to enable USB debugging mode on your phone to allow the software to access it as a webcam.
- Configure Video Settings: Open the third-party software on your computer and navigate to the video settings. Select your phone from the list of available webcams or video sources. Adjust additional settings like resolution, aspect ratio, and frame rate based on your preferences.
- Software Integration: Launch the video conferencing, streaming, or recording software you plan to use and select the third-party software as the webcam source within that particular software’s settings.
- Test and Adjust: Initiate a video call or start a recording to test the connection and ensure the video and audio quality meet your requirements. Make any necessary adjustments in lighting, framing, or software settings to optimize the performance.
By utilizing third-party software, you can harness the power of advanced features like scene transitions, overlays, and multi-camera setups. These software solutions offer a more comprehensive and customizable experience, making them ideal for content creators, gamers, and professionals looking for greater control over their video output.
Remember to explore the specific features offered by the software you choose and take advantage of the customization options available. With the right third-party software and proper configuration, you can unlock a whole new level of webcam versatility and elevate your video production and communication.
Method 3: Connecting via USB
If you prefer a wired connection and want a reliable and stable connection between your phone and computer, connecting via USB is an excellent option. This method allows for seamless data transfer and ensures minimal latency. Follow the steps below to connect your phone as a webcam via USB:
- Check USB Compatibility: Ensure that your phone supports USB tethering or USB webcam functionality. Check with your phone manufacturer or search for the specific model’s capabilities.
- Enable USB Debugging: On your phone, enable USB debugging mode by going to the developer options. Instructions to enable this option can vary depending on your phone’s make and model, so refer to the manufacturer’s instructions.
- Connect Your Phone to the Computer: Use a USB cable to connect your phone to the computer. Ensure that the cable is properly inserted into both ends for a secure connection.
- Select USB Webcam Mode: On your phone, a notification will appear indicating the USB connection. Swipe down to access the notification panel and select the USB option for webcam use. Tap on the notification to expand the options and select the webcam mode.
- Configure Webcam Settings: On your computer, open the video conferencing or live streaming software you intend to use. Go to the settings or preferences section and choose your phone from the list of available webcams or video sources. Adjust any additional settings such as resolution, frame rate, or autofocus as needed.
- Test the Connection: Start a video call or initiate a recording to test the connection and ensure that the video and audio quality meet your expectations. Make any necessary adjustments to lighting, framing, or software settings for optimal performance.
Connecting your phone as a webcam via USB offers a stable and reliable option for video communication and streaming. It eliminates any potential lag or latency associated with wireless connections and allows for faster data transfer between your phone and computer.
While this method requires a physical connection, it provides a secure and seamless experience, especially for long-duration video calls or streaming sessions. It is also an ideal option for situations where Wi-Fi connectivity may be unreliable or unavailable.
Ensure that your phone is compatible with USB webcam functionality and follow the steps carefully to establish a successful connection. By connecting your phone as a webcam via USB, you can enjoy high-quality video output and a more dependable experience for your video communication needs.
Method 4: Connecting Wirelessly
If you prefer the convenience of a wireless connection when using your phone as a webcam, connecting wirelessly is a viable option. This method allows you to eliminate the need for cables and provides greater flexibility in camera placement. Follow the steps below to connect your phone as a webcam wirelessly:
- Check App and Computer Compatibility: Ensure that the webcam app you choose supports wireless connectivity and that your computer is connected to the same Wi-Fi network as your phone.
- Install the Webcam App: Search for a suitable webcam app that offers wireless connectivity and download it from the respective app store. Popular options include DroidCam, EpocCam, and iVCam.
- Install Companion Software on Computer: Most webcam apps require companion software to be installed on your computer. Visit the app developer’s website and download the software. Follow the installation instructions provided.
- Launch the App on Phone and Computer: Once the app and companion software are installed on your devices, open them on both your phone and computer.
- Connect the Phone and Computer: Within the app on your phone, select the wireless connection option or scan the QR code that appears on your computer screen. This establishes a connection between your phone and computer.
- Configure Video Settings: Access the app settings on your phone and adjust the video settings, including resolution and frame rate, to suit your preferences.
- Select the Webcam in Software: Open the video conferencing, live streaming, or recording software on your computer and navigate to the settings or preferences section. Choose the wireless connection option provided by the app as the video source.
- Test the Connection: Initiate a video call or start a recording to ensure that the wireless connection is stable and that the video and audio quality meet your expectations. Make any necessary adjustments to lighting, framing, or software settings to achieve the best results.
Connecting wirelessly offers flexibility in camera placement and eliminates the need for cables, providing you with greater convenience. However, a stable Wi-Fi connection is crucial to ensure uninterrupted video streaming and communication.
With the right webcam app and companion software, you can unlock the potential of wireless connectivity and enjoy the benefits of using your phone as a webcam without the hassle of cables.
Ensure that your phone and computer are connected to the same Wi-Fi network and follow the app-specific instructions carefully to establish a successful wireless connection. By connecting your phone as a webcam wirelessly, you can enhance your video communication and streaming experience with the freedom to position your camera wherever you like.
Troubleshooting Common Issues
While connecting your phone as a webcam offers numerous benefits, there may be some common issues that you could encounter along the way. Here are some troubleshooting tips for addressing these issues:
- Connection Problems: If you’re experiencing difficulty connecting your phone as a webcam, restart both your phone and computer, ensure they are on the same network, and double-check that you’re following the correct instructions for the chosen method.
- Poor Video Quality: If the video quality isn’t up to par, ensure that your camera settings, such as resolution and frame rate, are set to the appropriate values for optimal performance. Additionally, check for any obstructions or glare that may be affecting the camera’s output.
- Inadequate Lighting: If your video appears dark or grainy, adjust the lighting in your recording area. Utilize natural light or invest in additional lighting equipment, such as a ring light, to enhance the clarity and overall quality of your video.
- Audio Issues: If the audio quality is subpar, ensure that the microphone on your phone is not obstructed and that it’s set as the audio source in your video conferencing or streaming software. Consider using an external microphone or headset for improved audio quality.
- Compatibility Problems: If you’re encountering compatibility issues with your chosen app or software, make sure you’re running the latest version of both your phone’s operating system and the app or software. Visit the developer’s website for updates or seek support from their customer service.
- Lag or Latency: If you’re experiencing lag or latency between the video and audio, ensure that you have a stable internet connection. Connect to a reliable Wi-Fi network, close any bandwidth-intensive applications running in the background, and consider prioritizing video conferencing or streaming traffic to minimize latency issues.
Remember to consult the documentation provided by the app or software developer, as they may have specific troubleshooting tips or knowledge bases to address common issues. Additionally, keeping your phone and computer up to date with the latest software updates can also help resolve any compatibility or performance issues.
If you continue to experience ongoing difficulties, consider reaching out to the support team for the app or software you’re using for further assistance. They will be able to provide additional troubleshooting steps or resolve any technical issues that may be hindering your webcam connection.
Conclusion
Connecting your phone as a webcam offers a convenient and cost-effective way to enhance your video communication, online meetings, live streaming, and content creation. With the availability of dedicated apps, third-party software, and various connection methods, you can easily repurpose your smartphone into a high-quality webcam.
By using your phone as a webcam, you can enjoy improved video quality, flexibility in camera placement, and additional features like zoom and focus control. Whether you’re a professional working remotely, a content creator producing videos, or someone who wants to enhance their video calls, using your phone as a webcam provides a range of benefits.
Throughout this guide, we’ve explored different methods for connecting your phone as a webcam, including using dedicated apps, third-party software, USB connection, and wireless connectivity. We’ve also discussed common troubleshooting issues and provided solutions to help you overcome any obstacles you may face.
Remember to consider the prerequisites, such as compatible devices and stable internet connections, for using your phone as a webcam. Additionally, take advantage of the customization options and advanced features offered by the webcam apps or software you choose.
By following the steps outlined in this guide and experimenting with different settings, you can harness the power of your phone’s camera to elevate your video experience. Whether for professional or personal use, connecting your phone as a webcam opens up new possibilities for seamless video communication and content creation.
Start exploring the world of phone-as-webcam technology today and unlock the full potential of your smartphone as a versatile video tool.