Introduction
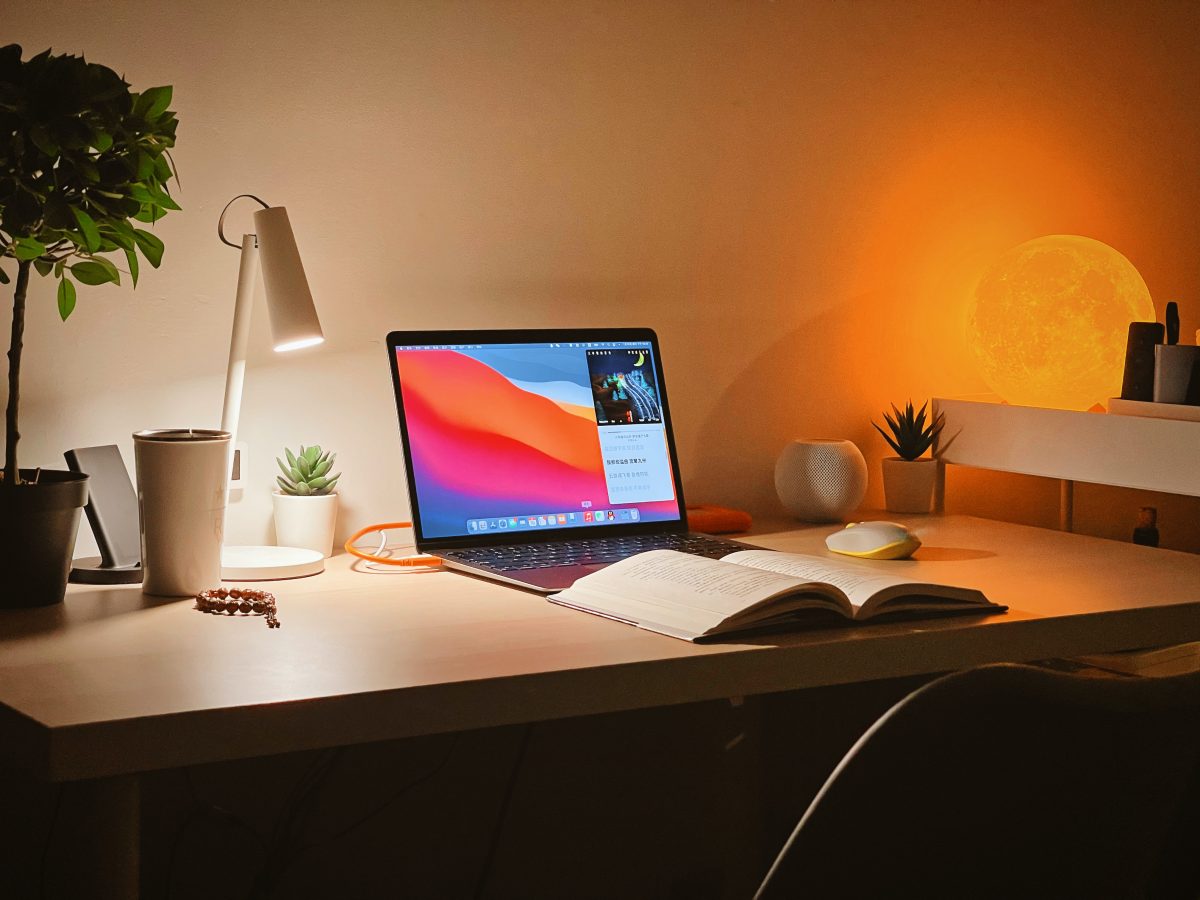
Welcome to the digital age, where smartphones have become an integral part of our lives. From messaging and social media to photography and entertainment, these devices have revolutionized the way we communicate and interact with the world around us. But did you know that your iPhone can also be used as a webcam for your PC? That’s right – no need to invest in additional hardware or download complicated software. With the right app and a few simple steps, you can turn your iPhone into a high-quality webcam, enhancing your video conferencing, streaming, and online communication experiences.
Using your iPhone as a webcam offers several advantages. Firstly, it provides superior image and video quality compared to most built-in webcams on PCs. The high-resolution camera capabilities of modern iPhones ensure that your video calls and streaming sessions are clear, sharp, and professional-looking. Additionally, utilizing your iPhone as a webcam allows for greater mobility and flexibility. You can position your iPhone wherever you like to achieve the best camera angles, ensuring that you always look your best on screen. Plus, with the vast array of camera settings and effects available on iPhones, you can easily customize your video stream to suit your needs and personal style.
In this guide, we will walk you through the process of using your iPhone as a webcam for your PC. We will outline the steps needed to choose the right app, set up your iPhone, connect it to your PC, and configure the webcam app. We will also cover adjusting camera settings and using your iPhone as a webcam in various applications. So, whether you are looking to upgrade your video conference calls, enhance your live streaming sessions, or simply have some fun online, let’s dive in and unleash the full potential of your iPhone as a webcam.
Choosing the Right App
When it comes to using your iPhone as a webcam for your PC, selecting the right app is crucial. There are several webcam apps available on the App Store, each with its own features and capabilities. Here are a few factors to consider when choosing the right app:
- Compatibility: Ensure that the app you choose is compatible with both your iPhone and your PC. Some apps may be specifically designed for Windows, while others work with both Windows and Mac systems. Check the app’s compatibility requirements before downloading.
- Video Quality: Look for an app that supports high-definition video streaming. Ideally, it should allow you to adjust the video resolution to ensure optimal video quality based on your internet connection and the capabilities of your iPhone’s camera.
- Audio Support: Consider whether the app supports audio transmission as well. If you plan on using your iPhone as a webcam for video conferencing or live streaming, having clear and synchronized audio is essential for effective communication.
- Ease of Use: Look for an app with a user-friendly interface and intuitive controls. A straightforward setup process and easy-to-navigate settings will save you time and frustration.
- Additional Features: Some webcam apps offer additional features such as filters, effects, and the ability to live stream directly to social media platforms. If you want to add some creative flair to your video stream or share your content online, consider apps that provide these features.
Before making your final decision, take the time to read user reviews and ratings of the apps you are considering. This will give you insights into other users’ experiences and help you gauge the app’s reliability and performance. Additionally, check if there are any trial versions or free versions available so you can test the functionalities before committing to a purchase.
By selecting the right app, you can ensure a seamless and enjoyable webcam experience with your iPhone and PC. Now that we’ve covered the basics of choosing the right app, let’s move on to setting up your iPhone and preparing it for use as a webcam.
Setting Up Your iPhone
Before you can use your iPhone as a webcam for your PC, there are a few steps you need to follow to ensure proper setup. Here’s how to get your iPhone ready:
- Check for App Requirements: Once you have chosen the webcam app that suits your needs, visit the App Store and make sure your iPhone meets the app’s minimum requirements. These may include specific iOS versions or certain hardware specifications.
- Download and Install the App: Open the App Store on your iPhone, search for the chosen webcam app, and proceed to download and install it. The app will guide you through the setup process, so follow the on-screen instructions.
- Grant Necessary Permissions: Webcam apps usually require access to the camera and microphone on your iPhone. To ensure the app functions properly, go to your iPhone’s settings, navigate to the Privacy section, and grant the necessary permissions for the webcam app.
- Connect to the Same Wi-Fi Network: Both your iPhone and PC need to be connected to the same Wi-Fi network for seamless communication. Make sure both devices are connected to the internet and can easily communicate with each other.
- Position Your iPhone: Determine the ideal position for your iPhone as a webcam. Depending on your needs, you may want to use a tripod or mounting system to keep your iPhone stable and at the desired angle.
- Ensure Sufficient Power: Webcam streaming can drain your iPhone’s battery quickly. To avoid interruptions during video calls or streaming sessions, make sure your iPhone is fully charged or connected to a power source.
By following these setup steps, you will have your iPhone ready to be used as a webcam for your PC. In the next section, we will guide you on how to connect your iPhone to your PC and configure the webcam app for seamless video communication.
Connecting Your iPhone to Your PC
Once you have set up your iPhone for use as a webcam, the next step is to connect it to your PC. Follow these steps to establish the connection:
- Connect via USB: The most common method of connecting your iPhone to your PC is using a USB cable. Plug one end of the USB cable into your iPhone and the other end into an available USB port on your PC.
- Trust the Computer: On your iPhone, you may see a prompt asking you to “Trust This Computer.” Tap “Trust” to authorize the connection and allow your PC to access your iPhone’s data.
- Recognize the iPhone: Your PC should now recognize your iPhone as a connected device. It may automatically install the necessary drivers for proper functionality. If any additional setup is required, follow the on-screen instructions.
- Check the Connection Status: Once connected, you can verify the connection status on your PC. Look for your iPhone in the list of recognized devices or check the system tray for any connection notifications.
- Open the Webcam App on Your PC: Launch the webcam app on your PC and navigate to the settings or preferences section. Look for an option to select the video source or camera. Choose your iPhone from the available options.
- Configure Connection Settings: In the webcam app settings, you may find additional connection settings to customize the video resolution, frame rate, and audio settings. Adjust these settings according to your preferences and application requirements.
Once you have successfully connected your iPhone to your PC and configured the webcam app, you are ready to use your iPhone as a webcam. In the next sections, we will cover how to adjust camera settings and provide tips on using your iPhone as a webcam effectively.
Configuring the Webcam App
After connecting your iPhone to your PC, the next step is to configure the webcam app to ensure optimal performance and functionality. Here are the key configurations you may need to adjust:
- Video Source: In the webcam app settings, locate the option to select the video source or camera. Choose your iPhone from the available options to ensure the app recognizes and utilizes your iPhone’s camera.
- Resolution and Aspect Ratio: Adjust the video resolution and aspect ratio settings based on your preferences and the capabilities of your iPhone’s camera. Higher resolutions generally result in better image quality but may require a stronger internet connection.
- Frame Rate: Set the desired frame rate for your video stream. Higher frame rates result in smoother motion but may require more bandwidth. Experiment with different frame rate settings to find the optimal balance between video quality and performance.
- Audio Settings: If your webcam app supports audio transmission, configure the audio settings accordingly. Ensure that the app is using the correct audio input source, such as the microphone on your iPhone.
- Camera Controls: Many webcam apps provide additional camera controls, such as zoom, focus, exposure, and white balance. Explore these options to fine-tune the image quality and adjust the camera settings to your liking.
- Green Screen Support: Some webcam apps offer green screen support, which allows you to replace your background with a virtual background image or video. If this feature is available, experiment with different backgrounds to enhance your video stream’s visual appeal.
It’s important to note that the configuration options may vary depending on the webcam app you are using. Refer to the app’s documentation or support resources for detailed instructions on configuring specific settings.
By properly configuring the webcam app, you can optimize your iPhone’s camera for video calls, streaming sessions, and other applications. In the next section, we will discuss how to adjust camera settings on your iPhone itself to enhance your webcam experience.
Adjusting Camera Settings
While the webcam app allows you to configure various settings, your iPhone itself also offers a range of camera settings that can enhance your webcam experience. Here are some key camera settings to consider adjusting:
- Exposure and Brightness: Adjust the exposure and brightness settings on your iPhone to ensure well-lit video footage. This can be particularly helpful in low-light conditions or when you want to achieve a specific visual effect.
- Focus and Depth of Field: Use the focus and depth of field settings to bring attention to specific elements in your video frame. This is especially useful for creating a professional-looking video with a clear and sharp subject.
- White Balance: Adjust the white balance settings to ensure accurate color reproduction in your video stream. This helps in maintaining natural-looking skin tones and overall image fidelity.
- Zoom and Framing: Utilize the zoom feature on your iPhone to frame yourself appropriately within the video frame. Experiment with different zoom levels to find the most flattering composition.
- Stabilization: If your iPhone supports optical or digital image stabilization, enable this feature to minimize camera shake and capture smoother video footage.
- Gridlines: Consider enabling gridlines on your iPhone’s camera settings to assist with framing and composition. The gridlines can help you align your face or other elements within the frame effectively.
- Orientation Lock: To ensure consistent video orientation, use the orientation lock feature on your iPhone to fix the screen orientation. This prevents the camera from rotating unintentionally during video calls or streaming sessions.
Experiment with these camera settings on your iPhone to find the optimal configuration that suits your needs and enhances your webcam experience. Remember to preview your video stream in the webcam app to ensure the adjustments made on your iPhone translate effectively to your PC.
Now that you have a solid understanding of how to configure your webcam app and adjust camera settings on your iPhone, let’s move on to using your iPhone as a webcam in different applications.
Using Your iPhone as a Webcam
Now that you have set up and configured your iPhone as a webcam, it’s time to explore how to make the most out of this functionality in various applications. Here are a few common scenarios where using your iPhone as a webcam can be advantageous:
- Video Conferencing: Whether it’s for professional meetings or catching up with friends and family, using your iPhone as a webcam can greatly enhance your video conferencing experience. Enjoy superior image quality and customizable camera settings to present yourself professionally and effectively communicate your message.
- Live Streaming: If you’re a content creator or a social media enthusiast, your iPhone’s high-quality camera can make your live streaming sessions more engaging. Stream directly from your iPhone to platforms like YouTube, Instagram, or Twitch, and use the additional features in the webcam app to add filters, effects, and other creative elements.
- Online Teaching and Webinars: If you’re an educator or frequently conduct webinars, using your iPhone as a webcam can elevate your teaching or presenting. Take advantage of the superior video quality and the ability to position your iPhone at the most flattering angles to create a more immersive and interactive learning experience for your audience.
- Content Creation: Your iPhone’s camera capabilities can also be beneficial for creating various types of content, such as product reviews, tutorials, or vlogs. The flexibility to position your iPhone and the ability to fine-tune camera settings can result in professionally shot videos that captivate your audience.
- Virtual Meetings and Interviews: Using your iPhone as a webcam can also be advantageous in virtual meetings and interviews. Ensure you come across as professional and presentable by leveraging the superior image quality and camera controls, leading to a more impactful and memorable impression.
Remember to consider your surroundings when using your iPhone as a webcam. Choose a well-lit area with minimal distractions in the background to maintain a clean and professional appearance on camera.
Lastly, regularly update your webcam app and iPhone’s software to ensure compatibility and access the latest features and improvements. Stay updated with the app’s support resources for any troubleshooting and to take advantage of any new developments.
Now that you’re equipped with the knowledge and understanding of how to use your iPhone as a webcam, go ahead and unlock the power of your device to enhance your video communication and online experiences.
Troubleshooting Tips
While using your iPhone as a webcam for your PC can be a convenient and valuable solution, you may encounter some challenges along the way. Here are some troubleshooting tips to help you address common issues:
- Check the Connection: Ensure that your iPhone and PC are both connected to the same Wi-Fi network and that they can communicate with each other. Check for any network-related issues or signal interference that may affect the connection quality.
- Restart Devices: If you’re experiencing connection or performance issues, try restarting both your iPhone and PC. This simple step can often resolve minor glitches or conflicts that may be hindering the proper functioning of the webcam app.
- Update Software: Regularly update both the webcam app and your iPhone’s software to ensure compatibility and access to the latest features and improvements. Outdated software versions may cause compatibility issues and hinder performance.
- Close Other Background Apps: Closing unnecessary background apps on your iPhone can free up system resources and improve performance. This ensures that the webcam app receives sufficient processing power and memory to deliver a smooth video streaming experience.
- Check Audio Settings: If you’re experiencing audio issues during video calls or streaming, check the audio settings in both the webcam app and your iPhone. Ensure that the correct audio input source is selected and that the volume is appropriately set.
- Reset Permissions: If you’re encountering issues with camera or microphone access, navigate to the privacy settings on your iPhone and reset the permissions for the webcam app. This allows you to grant the necessary permissions again and resolve any authorization related issues.
- Troubleshoot App-Specific Issues: Refer to the webcam app’s documentation or support resources for troubleshooting specific issues. Look for FAQs, user forums, or contact the app’s support team to seek assistance and find solutions to app-specific problems.
If you have tried these troubleshooting tips and are still experiencing issues, it may be helpful to seek assistance from technical support or reach out to the app’s customer service team. They can provide further guidance and resolve any complex issues you may encounter.
Remember, using your iPhone as a webcam may require some trial and error, particularly when configuring settings or troubleshooting problems. Stay patient, take your time to experiment, and enjoy the benefits of having a versatile and high-quality webcam solution at your fingertips.
Conclusion
Utilizing your iPhone as a webcam for your PC opens up a world of possibilities for enhancing your video communication and online experiences. By choosing the right app, setting up your iPhone correctly, connecting it to your PC, and configuring the webcam app, you can enjoy high-quality video calls, streaming sessions, and content creation.
With the ability to adjust camera settings on your iPhone and customize video and audio configurations in the webcam app, you can present yourself professionally, capture stunning visuals, and engage your audience effectively. Whether you’re using your iPhone for video conferencing, live streaming, online teaching, or content creation, the versatility and power of your iPhone camera will help you stand out from the crowd.
Should you encounter any issues, the troubleshooting tips provided can help you overcome common challenges and ensure a smooth and reliable webcam experience. Remember to stay updated with the latest software versions and reach out to technical support or the app’s customer service if you need additional assistance.
So why invest in additional hardware when you have a capable device right in your pocket? Unlock the full potential of your iPhone and take advantage of its superior camera capabilities as a webcam for your PC. Start enjoying seamless video communication and elevate your online presence.
Now, go ahead and make the most out of your iPhone as a webcam – the possibilities are endless!