Introduction
Welcome to the digital age, where smartphones have become an indispensable part of our lives. Not only do they keep us connected with friends and family, but they also serve as a powerful tool for various tasks. One of the most remarkable functionalities of smartphones is their ability to be used as webcams.
Gone are the days when you needed to invest in an expensive external webcam for video conferences, online meetings, or live streaming. Now, with the right app and a few easy steps, you can transform your smartphone into a high-quality webcam.
This article will guide you through the process of using your smartphone as a webcam, highlighting the benefits, app options, setup procedures, and optimization tips. So, if you’re ready to elevate your video streaming experience, let’s dive in!
To make the most of this guide, you’ll need a smartphone that supports video streaming and a compatible computer with internet access. Additionally, ensure that your smartphone and computer are connected to the same Wi-Fi network. Let’s explore the countless benefits of using your smartphone as a webcam.
Benefits of Using a Smartphone as a Webcam
Using a smartphone as a webcam comes with a plethora of benefits that can enhance your video conferencing, live streaming, and online meeting experiences. Let’s explore some of the key advantages:
- Cost-effective: Investing in a high-quality external webcam can be expensive. Luckily, most of us already own a smartphone with a powerful camera. By utilizing your smartphone as a webcam, you can save money while still enjoying excellent video quality.
- Portability: Your smartphone is compact and lightweight, making it convenient to use as a webcam wherever you go. Whether you’re working remotely, traveling, or simply switching between different rooms, your smartphone webcam can easily accompany you.
- High-resolution video: Modern smartphones boast advanced camera technologies, allowing for high-resolution video streaming. This means you can enjoy sharp and clear video quality during your virtual meetings, presentations, or live broadcasts.
- Flexibility and versatility: Unlike traditional webcams that are fixed in one position, smartphones offer a wide range of movement and angles. You can easily position your smartphone for the most flattering frame or switch between landscape and portrait mode as needed.
- Improved audio: In addition to superior video quality, smartphones often have excellent built-in microphones. By using your smartphone as a webcam, you can benefit from enhanced audio clarity, ensuring that your voice is heard loud and clear during online conversations.
- Access to advanced features: Many smartphone webcam apps come with additional features such as filters, effects, and editing tools. These functionalities allow you to personalize your video stream, making it more engaging and professional.
- Compatibility: Smartphone webcam apps are often designed to work with multiple operating systems, making them compatible with both Windows and Mac computers. This broad compatibility ensures that you can use your smartphone as a webcam regardless of your preferred platform.
With these benefits in mind, it’s clear that utilizing your smartphone as a webcam can revolutionize your virtual communication and content creation. In the following sections, we’ll delve into the app options available and guide you through the setup process, ensuring smooth and seamless operation.
Choosing the Right App
When it comes to using your smartphone as a webcam, selecting the right app plays a crucial role in ensuring a seamless and efficient experience. There are several apps available on both Android and iOS platforms, each with its own set of features and capabilities. Here are some factors to consider when choosing the app:
- Compatibility: Ensure that the app you choose is compatible with your smartphone’s operating system. Look for apps that support both Android and iOS to ensure maximum flexibility.
- Video quality: Look for apps that offer high-resolution video streaming capabilities. Check if they support HD video and if they provide options for adjusting video quality based on your internet connection.
- Audio quality: Consider apps that offer good audio quality, including noise cancellation and microphone adjustment options. Having clear and crisp audio is essential for effective communication during online meetings and conferences.
- Stability and reliability: Look for apps that are known for their stability and reliability. Read user reviews and ratings to get an idea of how well the app performs in terms of consistent video streaming and connection stability.
- Additional features: Some apps come with additional features such as filters, virtual backgrounds, and video effects. If you want to add a touch of creativity to your video streams, consider apps that offer these extra functionalities.
- User-friendly interface: Opt for apps that have an intuitive and user-friendly interface. The easier the app is to navigate and set up, the quicker you can start using your smartphone as a webcam without any hassle.
- Community support: Consider apps that have an active and engaged user community. This ensures that you can get support, troubleshooting tips, and timely updates to enhance your webcam experience.
Popular options for Android include apps like DroidCam, EpocCam, and iVCam. For iOS, apps like EpocCam, iCam, and iVCam are widely used. Take your time to research and try out different apps to find the one that best suits your needs and preferences.
Now that you have an understanding of what to look for in a webcam app, let’s cover the setup process to get your smartphone connected to your computer and ready to use as a webcam.
Setting Up Your Smartphone as a Webcam
Setting up your smartphone as a webcam is a straightforward process that involves installing the app on your phone and the corresponding software on your computer. Follow these steps to get started:
- Choose and install the app: Select the app of your choice from the app store on your smartphone. Download and install it on your device.
- Install the software on your computer: Visit the official website of the app and download the corresponding software for your computer. Install it by following the provided instructions.
- Connect your smartphone and computer: Connect your smartphone to your computer using a USB cable or establish a connection via Wi-Fi. Make sure both devices are on the same Wi-Fi network.
- Open the app on your smartphone: Launch the app on your smartphone and follow the on-screen instructions to ensure that it is connected to your computer.
- Launch the software on your computer: Open the software on your computer and look for the option to connect to your smartphone. Follow the prompts to establish a connection.
- Test the connection: Once the connection is established, test it by opening a video conferencing or live streaming application on your computer. Select the smartphone webcam as the input source, and you should see the live video stream from your phone.
Note that the setup process may slightly vary depending on the app you choose. Some apps may require additional steps or settings adjustment for optimum performance. Don’t hesitate to refer to the app’s user manual or support documentation for guidance if needed.
Now that you have successfully set up your smartphone as a webcam, let’s move on to the next step of adjusting the settings to ensure optimal video quality and performance.
Connecting Your Smartphone to Your Computer
Connecting your smartphone to your computer is a crucial step in using it as a webcam. Depending on your preference and the capabilities of your devices, there are different methods you can use to establish the connection:
- USB Cable: The most straightforward method is to connect your smartphone to your computer using a USB cable. Simply plug one end of the cable into your phone and the other end into a USB port on your computer. Make sure to use a reliable and high-quality cable for a stable connection.
- Wi-Fi Connection: Some apps allow you to connect your smartphone to your computer using a Wi-Fi network. To set up a Wi-Fi connection, ensure that both your smartphone and computer are connected to the same Wi-Fi network. Open the app on your phone and follow the instructions to connect to your computer via Wi-Fi.
- Wireless Direct: Certain apps offer a wireless direct connection option, allowing your smartphone and computer to connect directly to each other without the need for a Wi-Fi network. This method can be useful when you don’t have access to a stable Wi-Fi connection. Refer to the app’s instructions to set up a wireless direct connection.
Whichever method you choose, make sure to follow the instructions provided by the app and the software installed on your computer. This will ensure a smooth connection and minimize any potential issues.
It’s worth noting that connecting your smartphone to your computer via USB will often provide a more stable and reliable connection compared to wireless options. However, if you prefer the flexibility of a wireless connection, make sure your Wi-Fi network is stable and capable of handling video streaming.
Once you have successfully connected your smartphone to your computer, you are ready to adjust the settings for optimal video performance. Let’s explore the next section to learn more.
Adjusting Settings for Optimal Performance
After connecting your smartphone to your computer, it’s important to optimize the settings for the best video performance during video conferences, live streaming, or online meetings. Consider the following adjustments:
- Video resolution: Check the video resolution settings on both your smartphone app and the video conferencing software you are using. Opt for the highest resolution supported by your smartphone and ensure that it matches the resolution settings on the video conferencing software. This will ensure a clear and crisp video stream.
- Frame rate: Adjust the frame rate of the video stream to a value that provides smooth motion without causing excessive strain on the device or network. A frame rate of 30 frames per second (fps) is generally considered ideal for most video conferencing and streaming situations.
- Focus and exposure: Most webcam apps allow you to manually adjust the focus and exposure settings. Experiment with these settings to ensure that the video remains sharp and well-lit, especially in varying lighting conditions.
- Audio settings: Pay attention to the audio settings and adjust the microphone volume and noise cancellation features, if available. This will allow you to deliver clear and high-quality audio during conversations and presentations.
- Bandwidth considerations: Video streaming consumes bandwidth, so if you’re experiencing lag or poor video quality, consider reducing other bandwidth-intensive activities on your network while using your smartphone as a webcam. This includes pausing downloads or uploads and minimizing streaming services or online gaming.
- Background and lighting: Before starting your video conference or live stream, consider the background and lighting of your setup. Choose a well-lit area and ensure that there is minimal background noise or distractions. You can also experiment with virtual backgrounds offered by some webcam apps to create a professional or fun atmosphere.
- Test and adjust: Lastly, conduct a test call or video stream with a friend or colleague to ensure that everything is working as expected. Make necessary adjustments based on feedback and personal preferences to fine-tune the video and audio settings.
Remember that the optimal settings may vary depending on your specific smartphone, app, and computer setup. Take the time to explore the available settings and experiment to find the configuration that works best for your needs.
Now that you have adjusted the settings, we’ll move on to the next section, which covers tips for mounting your smartphone for a stable video feed.
Mounting Your Smartphone for Stable Video
When using your smartphone as a webcam, it’s important to ensure that it is securely and stably mounted to prevent shaky and unstable video footage. Here are some tips for mounting your smartphone:
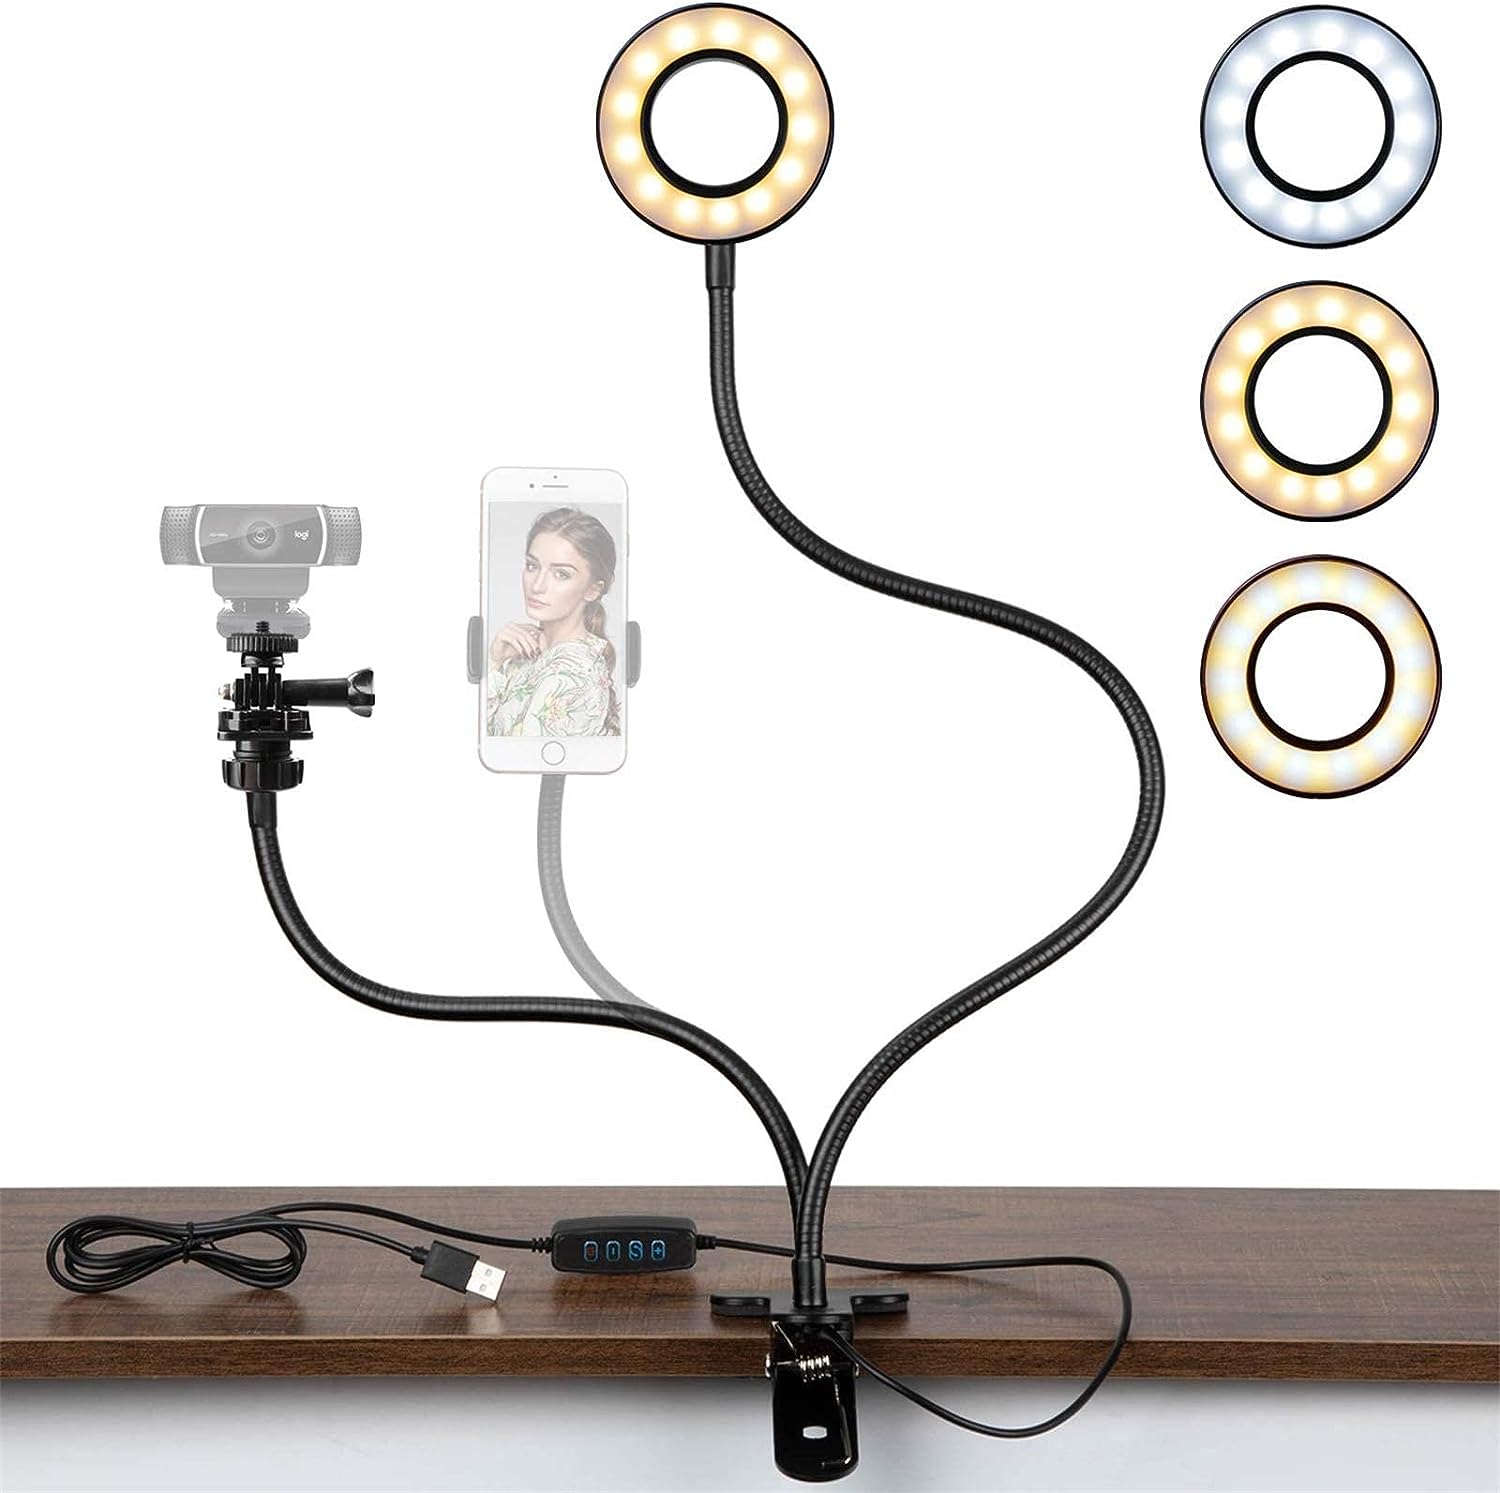
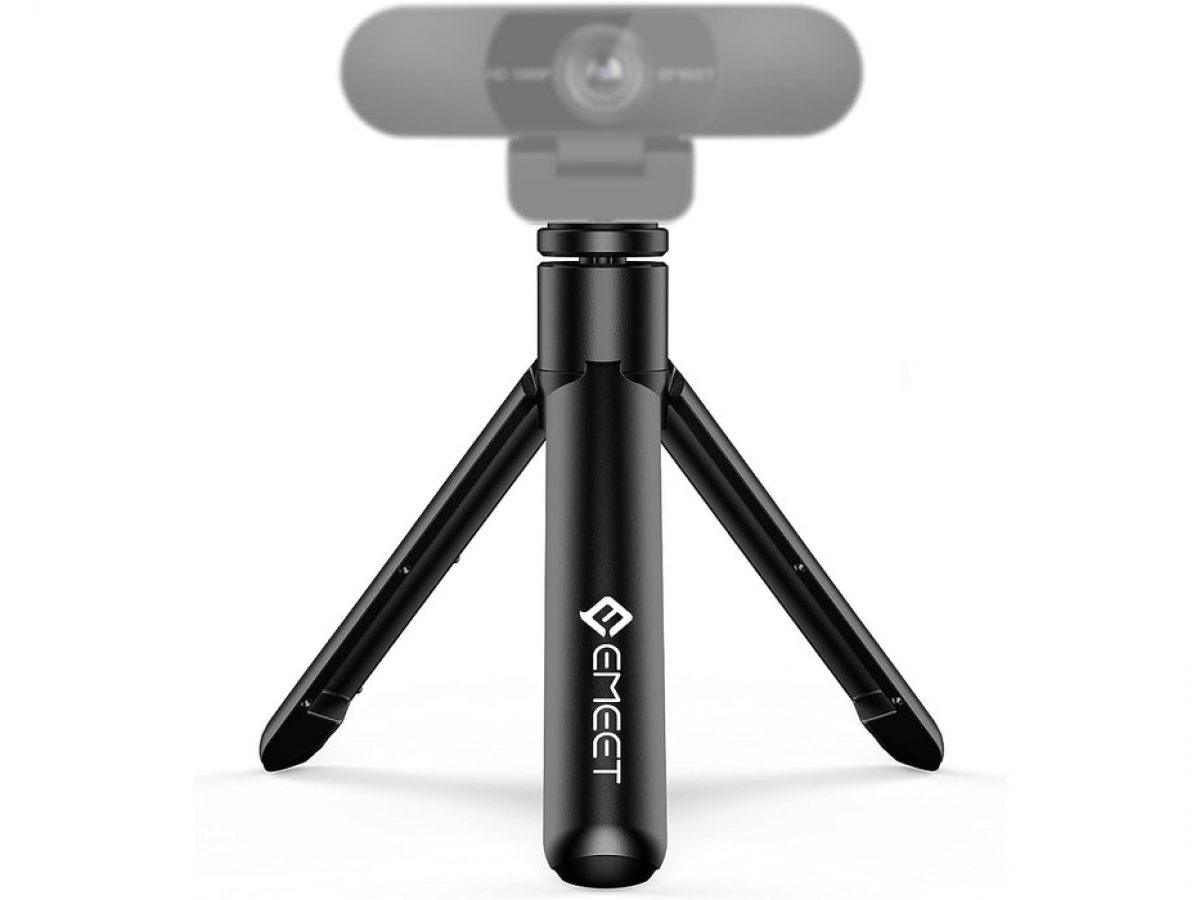
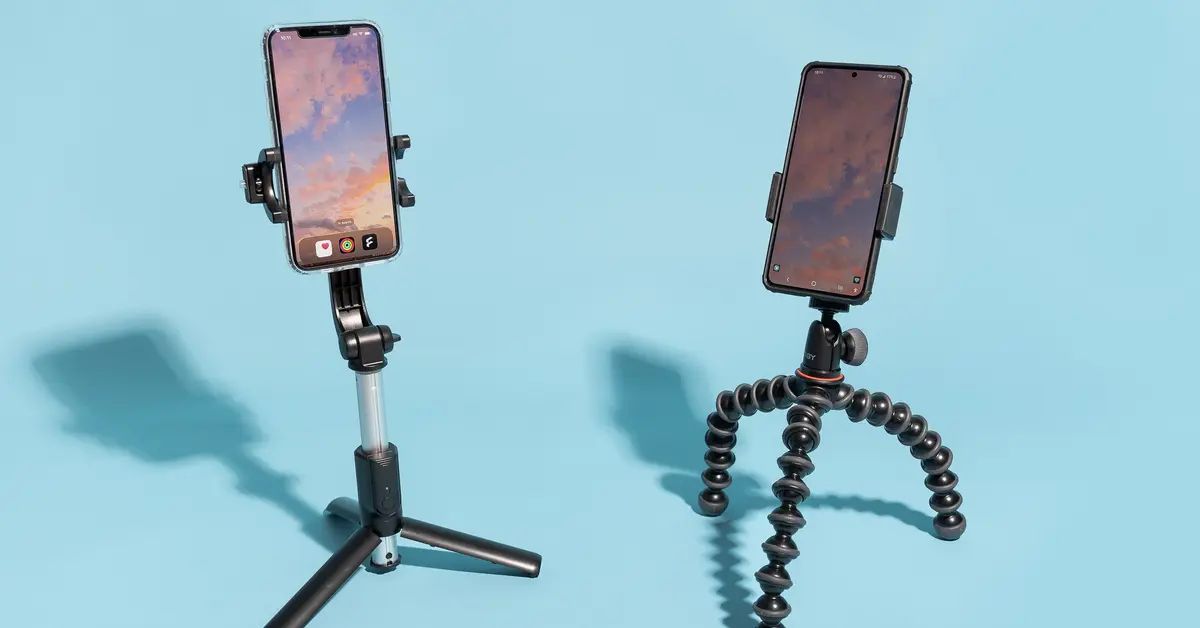
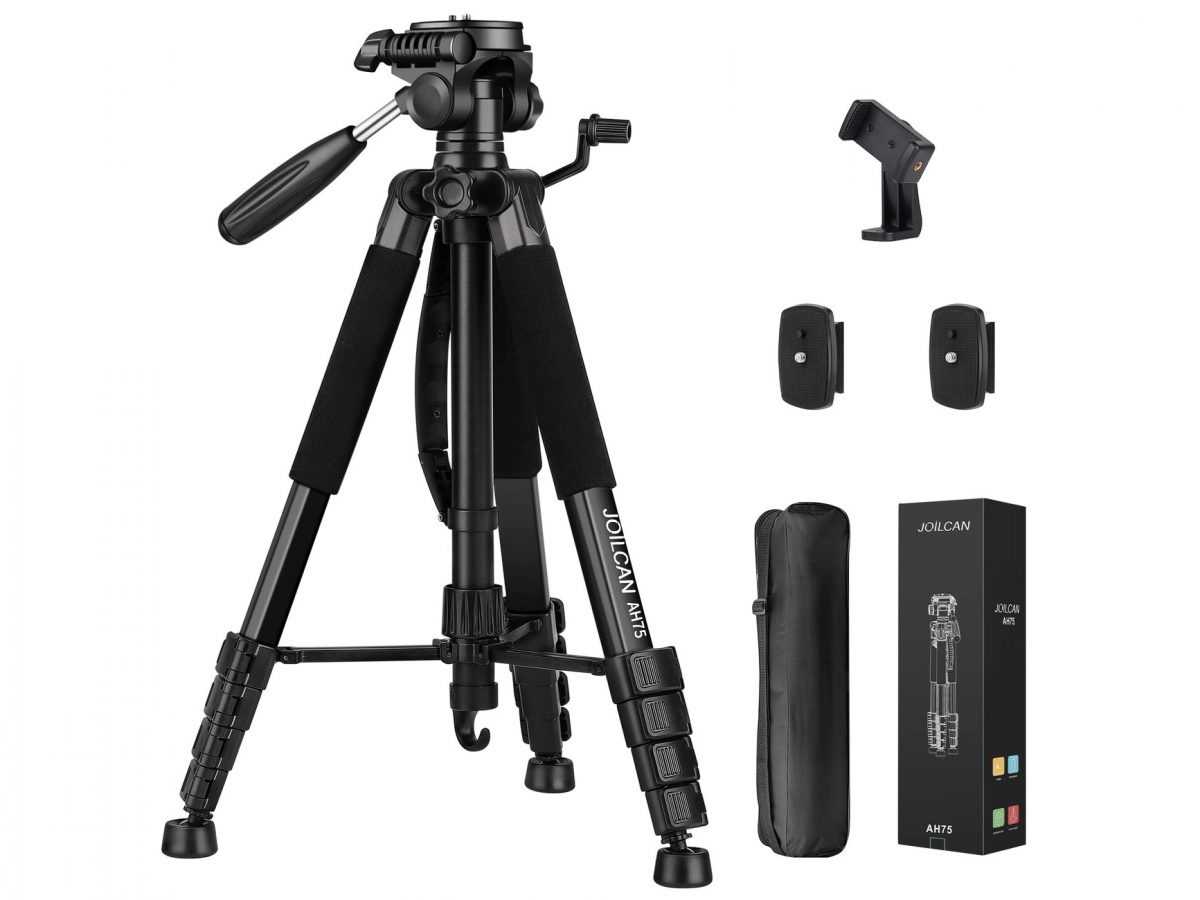
- Phone stand or tripod: Invest in a phone stand or tripod specifically designed for smartphones. These accessories provide a stable and adjustable base for your smartphone, allowing you to position it at the desired angle and height. Look for options that provide sturdy construction and a secure grip.
- Clamp or mount: Alternatively, you can use a clamp or mount to attach your smartphone to a stable surface, such as your computer monitor, desk, or a shelf. Make sure the clamp or mount is compatible with your smartphone’s size and provides a secure grip to prevent any accidental slips or falls.
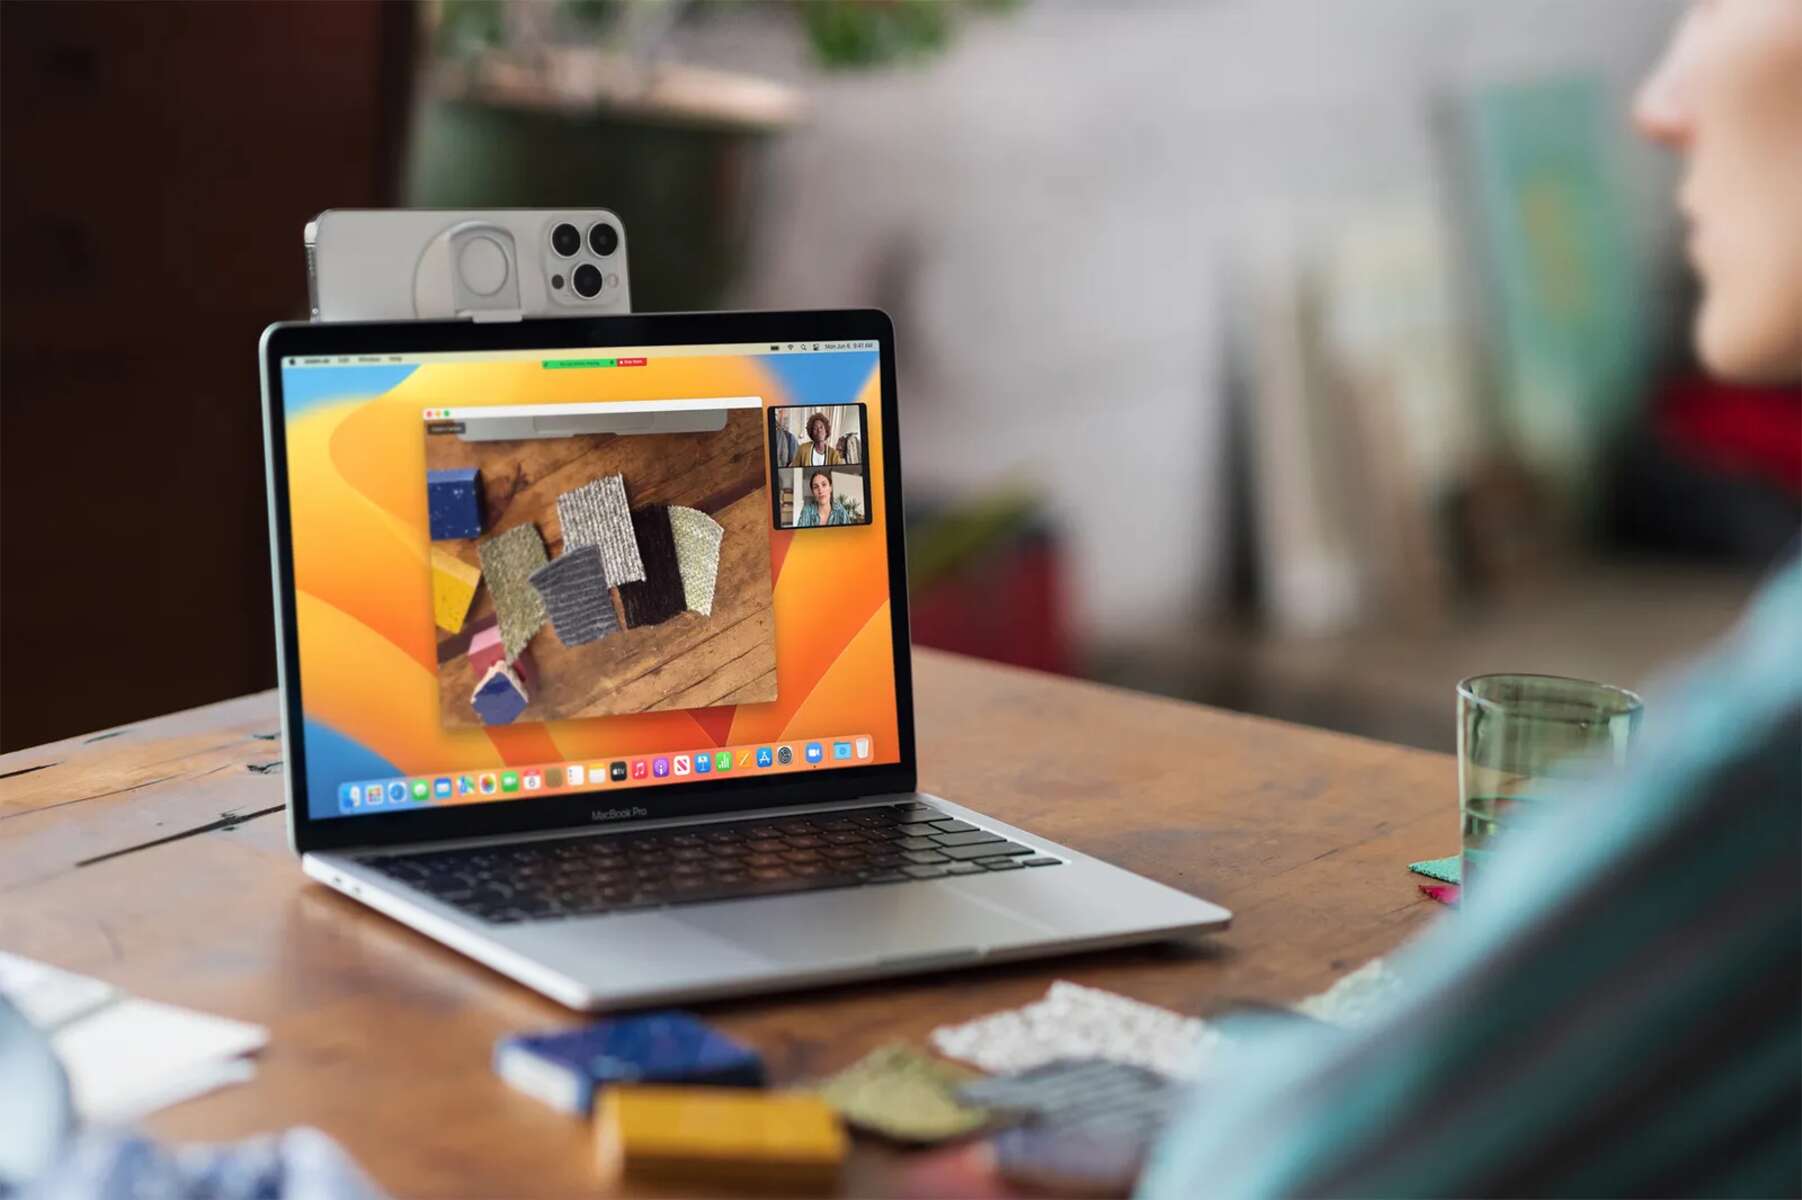
- Positioning: Position your smartphone at eye level or slightly above for the most natural and flattering video angle. This helps maintain good eye contact during video conferences and presentations. Additionally, ensure that your smartphone is securely mounted and does not obstruct your face or important visual elements in the frame.
- Vibration dampening: To minimize vibrations or shaking of your smartphone during video streaming, consider adding a vibration dampening accessory, such as a tripod with a stabilizing feature or a phone stabilizer. These can help reduce the impact of minor movements and ensure a smoother video feed.
- Remote control: If you need to move around during your video conference or presentation, consider using a remote control app or Bluetooth remote for your smartphone. This allows you to control the camera functions while staying at a distance, minimizing any disruption or movement of your setup.
- Experiment and test: Before your important video conference or live stream, take the time to experiment with different mounting options and positions. Test the stability and adjustability of your setup to find the most secure and comfortable setup for your specific needs.
By using a stable mount or clamp and positioning your smartphone correctly, you can ensure a professional and steady video feed during your virtual meetings and presentations.
Now that you have learned how to mount your smartphone securely, we’ll move on to the next section, which covers troubleshooting tips to help you overcome any potential issues you may encounter while using your smartphone as a webcam.
Troubleshooting Tips
While using your smartphone as a webcam is generally a seamless experience, you may occasionally encounter some issues. Here are some troubleshooting tips to help you overcome common problems:
- Ensure a stable internet connection: A stable internet connection is crucial for smooth video streaming. If you experience lag or poor video quality, check your internet connection and try reconnecting.
- Update your app and software: Keep your smartphone app and computer software up to date. Updates often include bug fixes and performance improvements, which can help resolve any issues or compatibility problems.
- Restart your devices: Sometimes, a simple restart of your smartphone and computer can resolve connectivity or performance issues. Restart both devices and try reconnecting them.
- Close unnecessary apps: Make sure to close any unnecessary apps or programs running in the background on your smartphone and computer. This can free up system resources and prevent any conflicts that may impact performance.
- Check camera permissions: Ensure that the webcam app has the necessary permissions to access your smartphone’s camera. Go to your smartphone’s settings, find the app, and grant it the required permissions if needed.
- Adjust settings for low light conditions: If you’re in a dimly lit environment, adjust the settings on your smartphone app or video conferencing software to compensate for low light conditions. Increase the brightness or adjust the exposure settings for better visibility.
- Update device drivers: If you are using your smartphone as a webcam on a computer, ensure that all necessary device drivers are up to date. Outdated drivers can cause compatibility issues or performance problems.
- Consult app support: If you encounter persistent issues with the app or software, reach out to the app’s customer support or consult their online documentation for troubleshooting steps specific to their platform.
- Restart your Wi-Fi router: If you’re experiencing connectivity issues, try restarting your Wi-Fi router or switching to a different network. This can help resolve any temporary network-related issues.
By following these troubleshooting tips, you can overcome common issues and ensure a smooth and reliable experience when using your smartphone as a webcam.
With that, you now have a comprehensive understanding of using your smartphone as a webcam. By choosing the right app, setting up a stable connection, adjusting the settings, and troubleshooting any issues, you can take your video conferencing, live streaming, and online meetings to new heights of convenience and quality.
So, go ahead and explore the endless possibilities of turning your smartphone into a powerful webcam tool. Enjoy the benefits of cost-effectiveness, portability, high-resolution video, and flexibility while effortlessly connecting with others online. Happy streaming!
Conclusion
In conclusion, using your smartphone as a webcam offers numerous benefits, including cost-effectiveness, portability, high-resolution video, and flexibility. With the right app and a few simple setup steps, you can transform your smartphone into a powerful webcam that elevates your video conferencing, live streaming, and online meeting experiences.
We began by discussing the benefits of using a smartphone as a webcam, highlighting how it saves you money, offers portability, provides high-resolution video, and gives you access to advanced features. We then delved into the process of choosing the right app, considering factors such as compatibility, video and audio quality, stability, and additional features.
Next, we covered the important steps of setting up your smartphone as a webcam, including installing the app on your phone and the corresponding software on your computer, and connecting the devices via USB or Wi-Fi. We also discussed the significance of adjusting the settings for optimal video performance, which includes configuring video resolution, frame rate, focus, exposure, and audio settings.
To ensure stable and professional video footage, we highlighted the importance of mounting your smartphone using a phone stand, tripod, clamp, or mount, and provided tips on positioning and vibration dampening. Additionally, we shared troubleshooting tips to help you overcome any potential issues you may encounter while using your smartphone as a webcam.
By following these guidelines, you can enhance your virtual communication, making it more engaging, efficient, and visually appealing. Whether you’re conducting business meetings, attending online classes, or live streaming content, utilizing your smartphone as a webcam opens up new possibilities for seamless and convenient interaction.
So, set up your smartphone as a webcam today and enjoy the benefits of cost-effectiveness, portability, high-resolution video, and flexibility, while effortlessly connecting with others online. Embrace the digital age and take your video experiences to the next level!