Introduction
Connecting an Epson projector to a laptop is a straightforward process that allows you to display your laptop’s screen on a larger external display. Whether you need to give a presentation, watch movies, or play games on a bigger screen, connecting your laptop to an Epson projector can greatly enhance your multimedia experience.
In this guide, we will walk through the step-by-step process of connecting your Epson projector to a laptop. We will also cover how to adjust the display settings for optimal viewing and troubleshoot common issues that may arise during the connection process.
Before we dive into the steps, it’s important to note that the specific instructions may vary slightly depending on the model of your Epson projector and your laptop’s operating system. However, the general principles and concepts discussed here apply to most Epson projectors and laptops.
So, without further ado, let’s get started with the setup process, shall we?
Step 1: Set up the Epson projector
Before connecting your Epson projector to your laptop, you need to ensure that the projector is properly set up. Follow these steps to ensure a smooth connection:
- Find a suitable location: Choose a location that provides enough space for the projector and allows for easy access to power and video sources. Make sure the surface or wall where you plan to project the image is clean and free from any obstructions.
- Unpack and assemble the projector: If you haven’t already done so, unpack the Epson projector and assemble it according to the manufacturer’s instructions. This may involve attaching the lens, connecting the power cord, and adjusting the height and angle of the projector.
- Connect the power source: Plug the power cord of the Epson projector into an electrical outlet. Ensure the power source is stable and reliable to avoid any interruptions during your presentation or viewing session.
- Turn on the projector: Locate the power button on the projector or its remote control and press it to turn on the device. Wait for the projector to go through its startup process, which may involve initializing the lamp and connecting to any wireless networks if applicable.
- Adjust the projection settings: Most Epson projectors have adjustable focus, zoom, and keystone correction features. Use the projector’s controls or remote to adjust these settings and ensure a clear and properly aligned image on your projection surface.
Once you have completed these setup steps, your Epson projector is ready to be connected to your laptop. In the next section, we will guide you through the connection process step by step.
Step 2: Connect the projector to the laptop
Now that your Epson projector is set up, it’s time to connect it to your laptop. Follow these steps to establish a connection:
- Identify the available ports: Take a look at the back or side of your laptop to identify the available video output ports. Common options include HDMI, VGA, DisplayPort, or USB-C ports. Similarly, check the back of the Epson projector for the corresponding input ports.
- Choose the appropriate cable: Depending on the ports available on both your laptop and projector, select the appropriate cable for the connection. For example, if both devices have HDMI ports, use an HDMI cable for the connection. If your laptop has a VGA port, but the projector only has HDMI, you will need a VGA to HDMI adapter or cable.
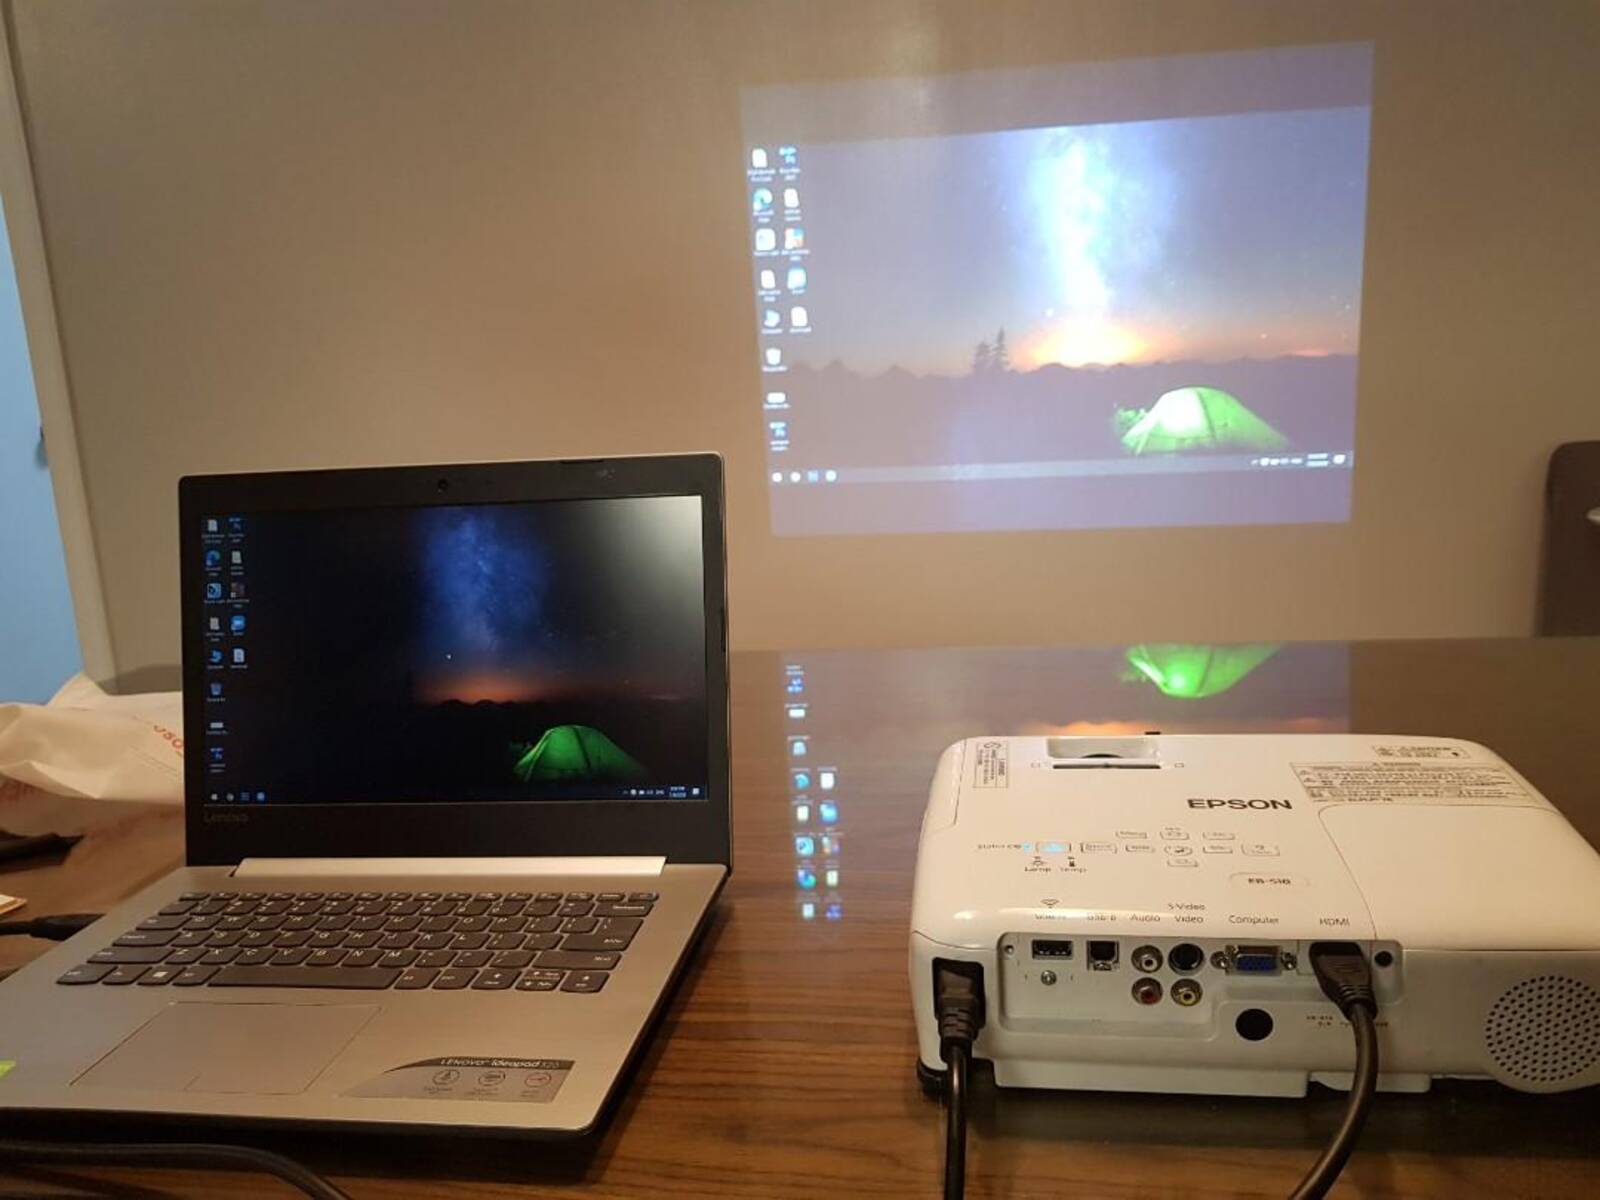
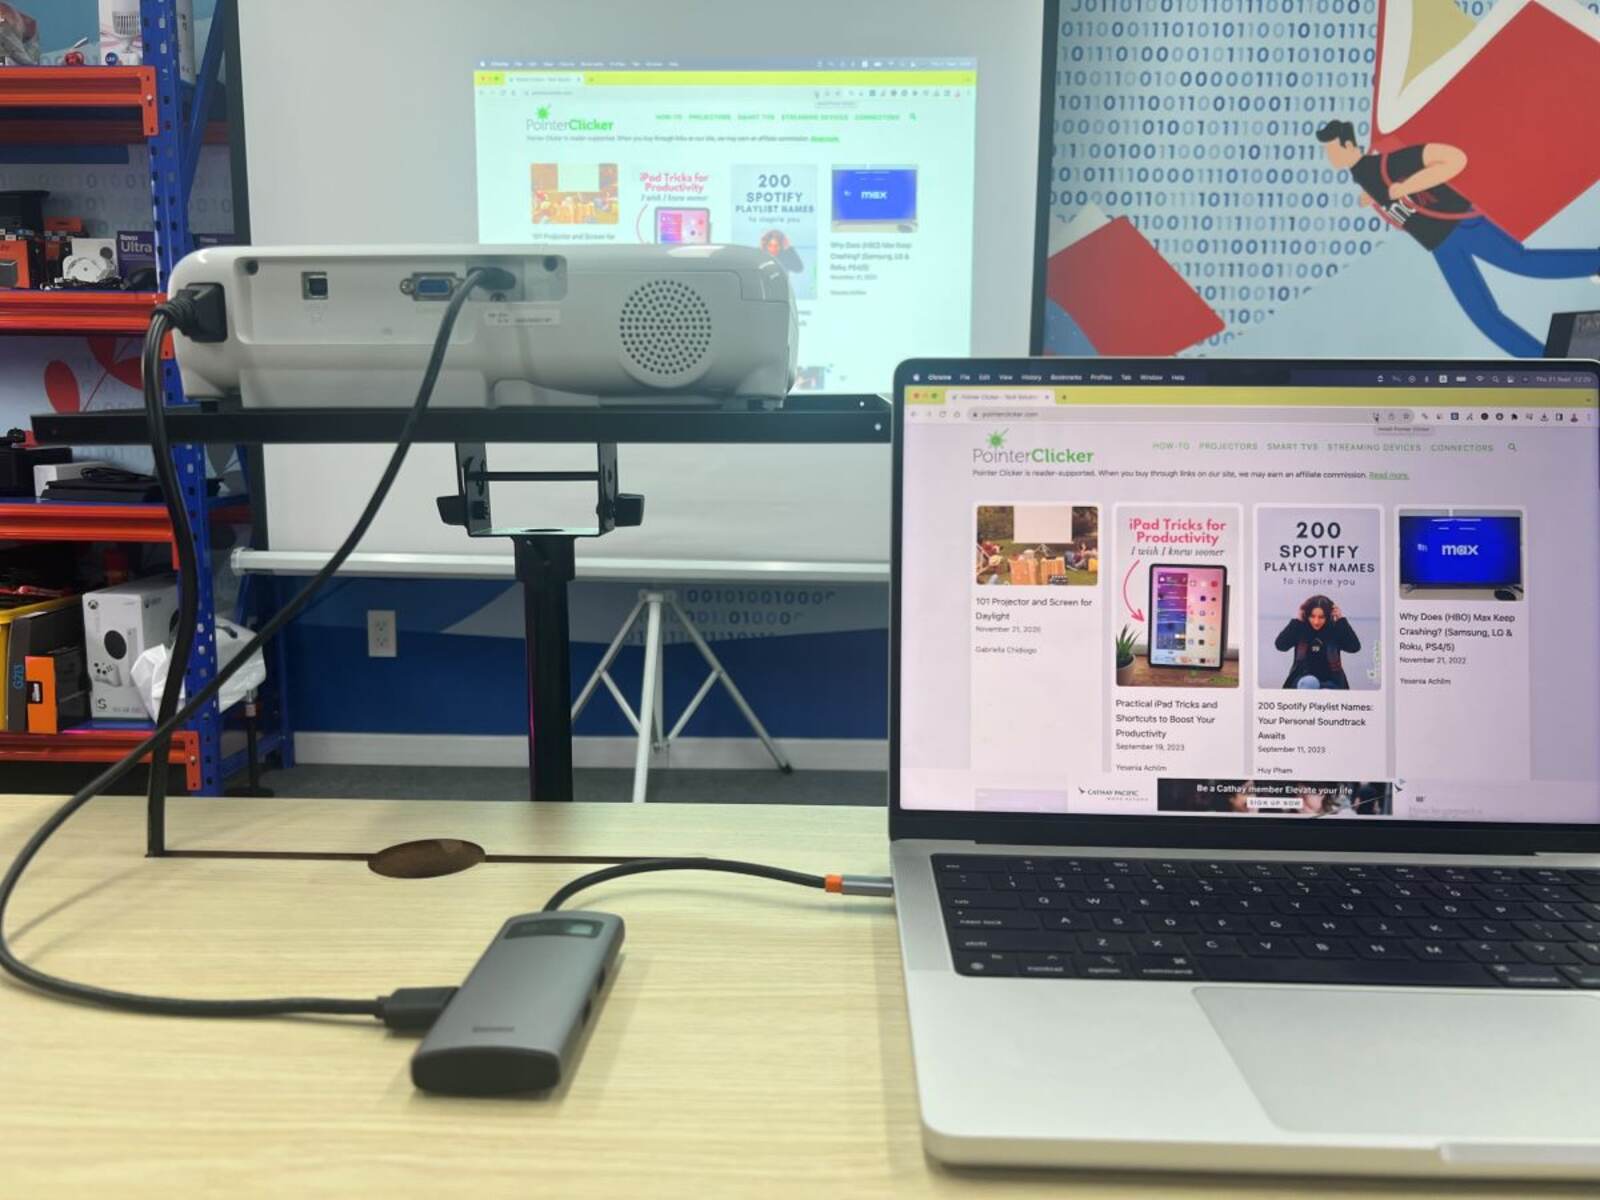
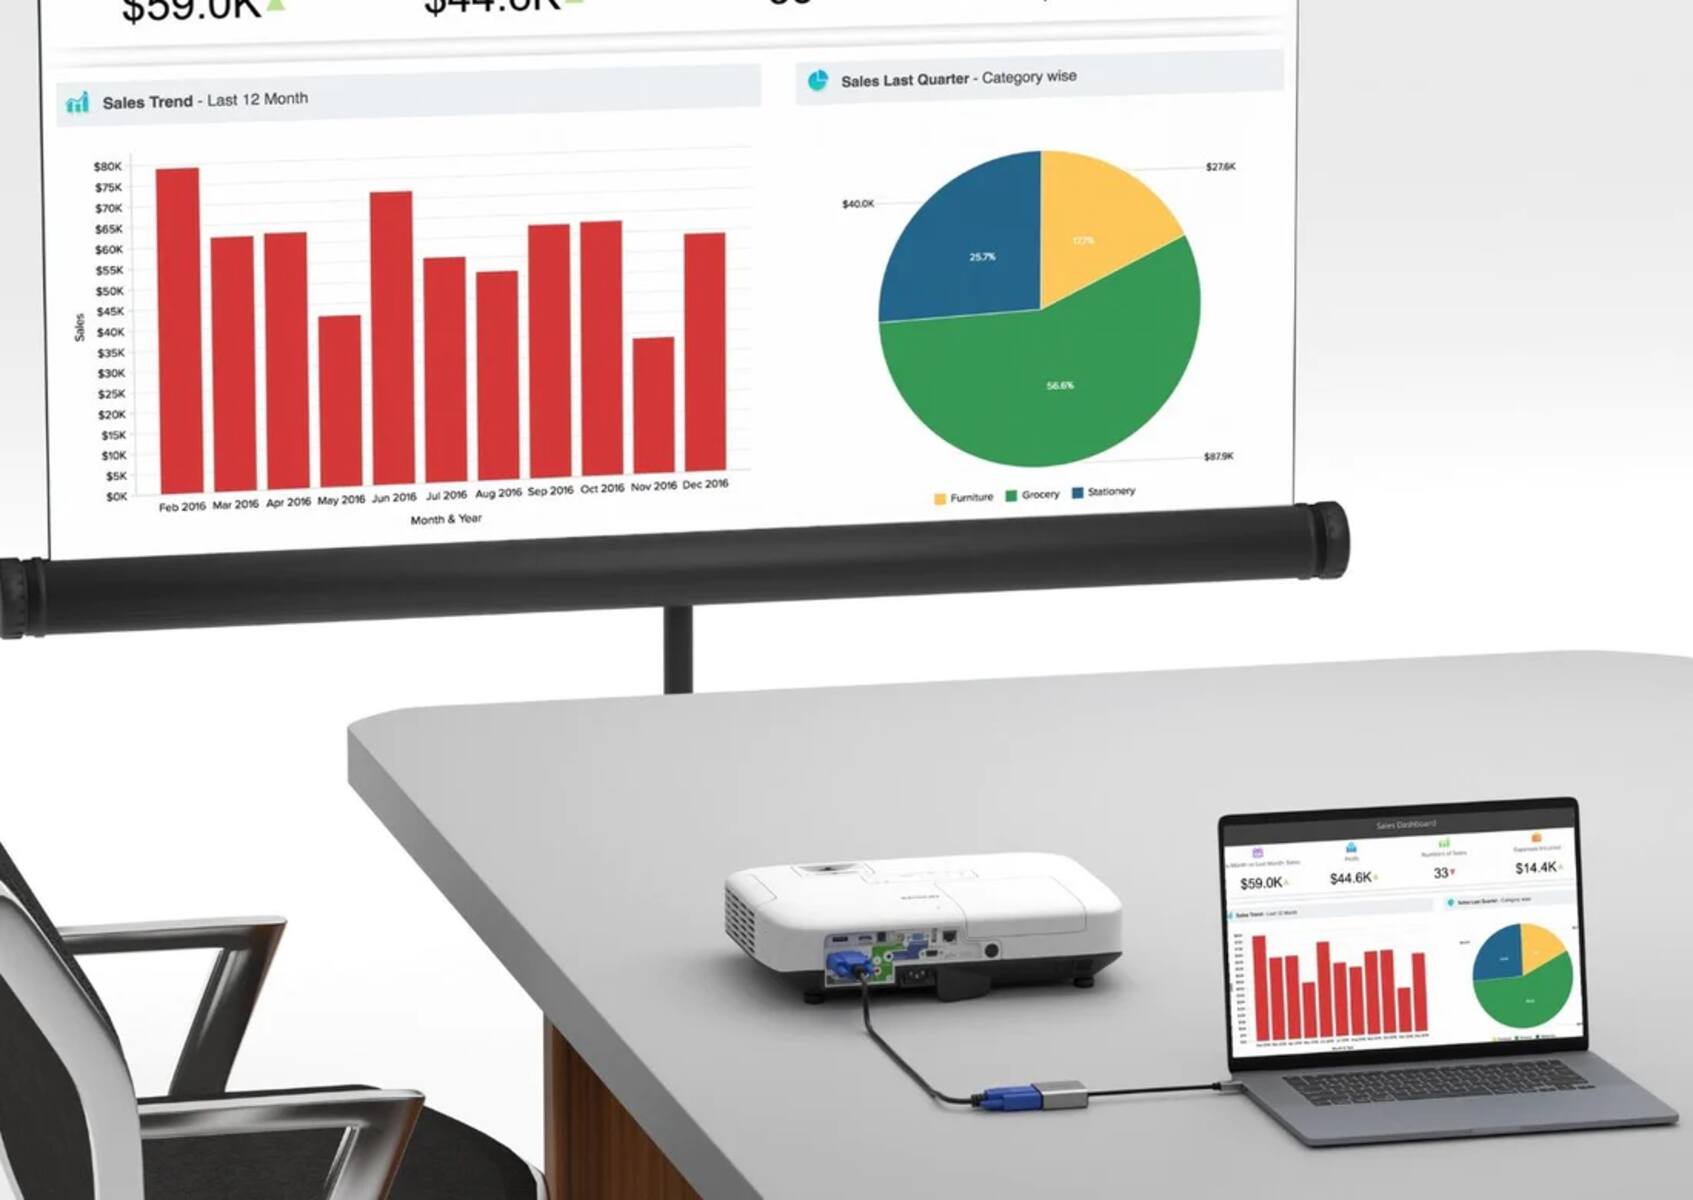
- Make the physical connection: Connect one end of the chosen cable to the video output port on your laptop and the other end to the corresponding input port on the Epson projector. Ensure the connections are secure and firmly plugged in.
- Connect the audio (optional): If you want to play the audio from your laptop through the projector’s built-in speakers or an external audio system, you can connect an audio cable from the laptop’s audio output port to the audio input port on the projector or audio system.
- Power on the laptop: Ensure that your laptop is powered on and running. Depending on the operating system and display settings, your laptop may automatically detect the projector and configure the display settings accordingly.
At this point, your Epson projector should be successfully connected to your laptop. However, you may need to make some adjustments to the display settings to optimize the viewing experience. In the next section, we will explore how to do this.
Step 3: Adjust the display settings on the laptop
After connecting your Epson projector to your laptop, it’s important to adjust the display settings on your laptop to ensure the best possible viewing experience. Here’s how:
- Access the display settings: On your laptop, go to the Control Panel or Settings menu, depending on your operating system. Locate the Display settings, which may be listed as Display, Screen, or Graphics settings.
- Select the external display: In the Display settings, you should see options to configure multiple displays. Choose the option that corresponds to your Epson projector. If necessary, click on the “Detect” button to help your laptop recognize the connected projector.
- Choose the display mode: Decide how you want the display to appear on your Epson projector. You can choose between different display modes, such as duplicate (mirroring), extended (extending the desktop), or projector-only mode. Select the mode that best suits your needs.
- Adjust the resolution and orientation: In the Display settings, you can also adjust the screen resolution to match the optimal resolution supported by your Epson projector. Additionally, you can rotate the display orientation, if desired.
- Test the display: Click on “Apply” or “OK” to save your display settings. Your laptop’s screen should now be visible on the Epson projector. Test the display by playing a video or opening a document to ensure that the content is appearing correctly.
If the display doesn’t appear correctly or there are any issues, double-check the physical connections, ensure that the projector is powered on, and try adjusting the display settings again. If problems persist, refer to the troubleshooting section or consult the user manual for additional guidance.
With the display settings appropriately adjusted, you are now ready to enjoy your laptop’s content on the larger screen provided by the Epson projector. However, if you encounter any common issues during the connection process, we have some troubleshooting tips for you in the next section.
Step 4: Troubleshooting common issues
While connecting your Epson projector to your laptop is usually a straightforward process, there may be some common issues that you might encounter. Here are a few troubleshooting tips to help you resolve them:
- No display on the projector: Double-check the physical connections between your laptop and the Epson projector. Ensure that the cables are securely plugged in and that the projector is powered on. If the issue persists, try a different cable or try connecting to a different input port on the projector.
- Poor image quality: If the projected image appears blurry or distorted, adjust the focus, zoom, and keystone correction settings on your Epson projector. Make sure the projector is positioned correctly and that the projection surface is clean and unobstructed. Additionally, check the resolution settings on your laptop and make sure it matches the supported resolution of the projector.
- No audio: If you’re not getting any audio through the projector’s built-in speakers or an external audio system, ensure that the audio cable is properly connected between your laptop and the projector or audio system. Also, check the audio settings on your laptop to make sure the correct output device is selected.
- Incompatible display modes: If the projector is not displaying the content as expected, try changing the display mode on your laptop. Switch between duplicate and extended display modes to see if that resolves the issue. You can also try restarting your laptop with the projector connected and powered on.
- Update drivers and software: Make sure that both your laptop’s graphics drivers and the Epson projector’s firmware and software are up to date. Outdated drivers or software can sometimes cause compatibility issues. Visit the Epson website and your laptop manufacturer’s support page to download and install any available updates.
If you have tried these troubleshooting tips and are still experiencing issues, refer to the user manual of your Epson projector or contact the manufacturer’s customer support for further assistance. They can provide more specific guidance based on your projector model and laptop configuration.
Now that you are equipped with the knowledge to troubleshoot common issues, you can confidently connect your Epson projector to your laptop and enjoy a seamless multimedia experience.
Conclusion
Connecting your Epson projector to a laptop opens up a world of possibilities for presentations, entertainment, and collaborative work. By following the step-by-step guide outlined in this article, you can easily connect your Epson projector to your laptop and enjoy a larger and more immersive viewing experience.
In this guide, we covered the essential steps involved in setting up the Epson projector, connecting it to your laptop, adjusting the display settings, and troubleshooting common issues. By carefully following these steps, you can ensure a seamless connection and optimal display quality.
Remember, the specific instructions may vary slightly depending on the model of your Epson projector and your laptop’s operating system. It’s always a good idea to consult the user manual for your specific devices and reach out to their respective manufacturers’ support resources if you encounter any difficulties.
Now that you have the knowledge and know-how to connect your Epson projector to your laptop, you can take advantage of the larger screen to give impactful presentations, watch movies with friends and family, or collaborate on projects with colleagues.
So, go ahead and set up your Epson projector, connect it to your laptop, and enjoy the visual experience that it brings!