Introduction
Welcome to our guide on how to connect your DJI Controller to Wi-Fi! As a DJI drone owner, having a stable and reliable connection to your controller is crucial for a seamless flying experience. Whether you’re a newbie or a seasoned drone pilot, setting up the Wi-Fi connection correctly is essential to take full advantage of the advanced features and functionalities that your DJI drone offers.
In this article, we will walk you through the step-by-step process of connecting your DJI Controller to Wi-Fi. We will cover everything you need to know, from powering on the controller to pairing it with your drone. By the end of this guide, you will have a strong Wi-Fi connection between your controller and your drone, allowing you to navigate with precision and control.
Before we dive into the steps, make sure you have your DJI controller, drone, and device (such as a smartphone or tablet) ready. It’s also important to ensure that your DJI drone’s firmware and the DJI app on your device are up to date. This will ensure compatibility and a smooth connection process.
Now, let’s get started and learn how to connect your DJI Controller to Wi-Fi!
Step 1: Power on the DJI Controller
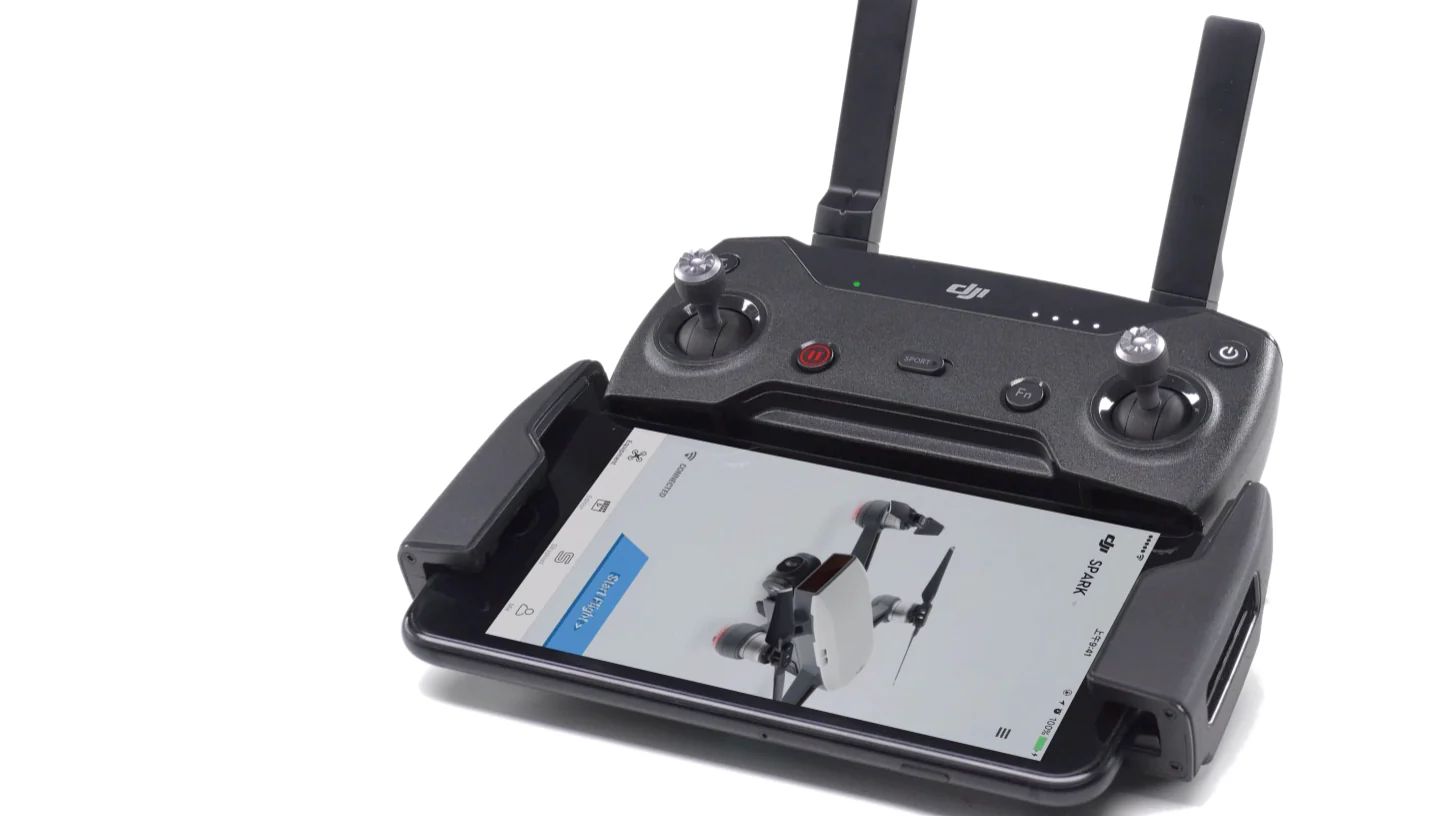
The first step in connecting your DJI Controller to Wi-Fi is to power it on. Locate the power button on your controller, which is usually located at the top or back of the device. Press and hold the power button until the controller’s LED lights up, indicating that it is turned on and ready to connect.
Depending on the model of your DJI controller, you may need to charge it beforehand or ensure it has sufficient battery life. Refer to the user manual of your specific controller for instructions on charging and battery life.
Once the DJI controller is powered on, ensure that it is within range of your drone. This will ensure a stable connection throughout the setup process. Keep in mind that the range may vary depending on the model of your controller and drone, so it’s important to maintain a close proximity for a strong signal.
Now that your DJI controller is powered on and within range, you’re ready to proceed to the next step: enabling Wi-Fi on the controller.
Step 2: Enable Wi-Fi on the DJI Controller
To connect your DJI controller to Wi-Fi, you need to enable the Wi-Fi feature on the controller itself. This will allow it to broadcast a Wi-Fi signal that your device can connect to.
On most DJI controller models, you can enable Wi-Fi by accessing the settings or menu options. Look for the Wi-Fi symbol or the option to enable Wi-Fi in the controller’s menu. Select it to activate the Wi-Fi function.
Once Wi-Fi is enabled, you may be prompted to set up a Wi-Fi password or network name (SSID). It is recommended to create a unique and secure password to protect your Wi-Fi connection. This will prevent unauthorized access and ensure the privacy of your flight operations.
Keep in mind that the process of enabling Wi-Fi may vary depending on the model of your DJI controller. Refer to the user manual for your specific controller if you encounter any difficulties in enabling Wi-Fi.
Once you have successfully enabled Wi-Fi on your DJI controller, it’s time to move on to the next step: connecting to the DJI controller’s Wi-Fi network on your device.
Step 3: Connect to the DJI Controller Wi-Fi Network
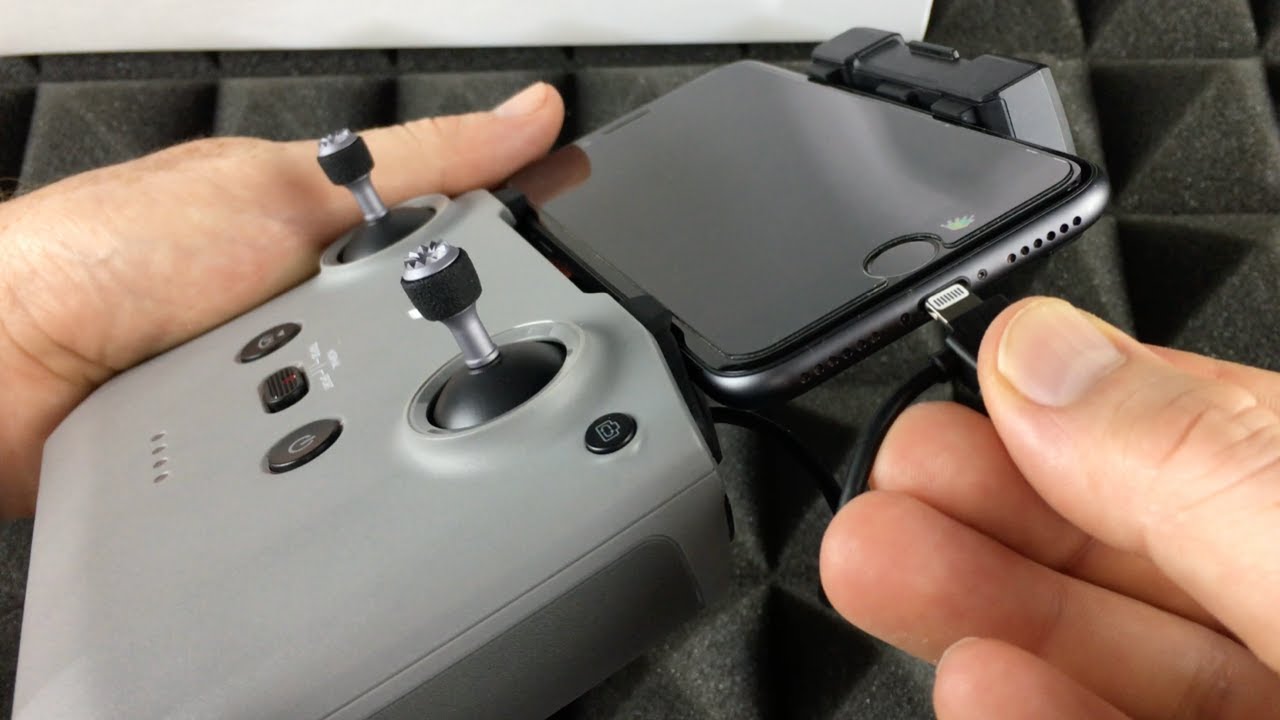
Now that Wi-Fi is enabled on your DJI controller, it’s time to connect your device (such as a smartphone or tablet) to the DJI controller’s Wi-Fi network. This will establish a direct connection between your device and the controller, allowing for smooth communication during your drone flights.
First, open the Wi-Fi settings on your device. Depending on whether you are using an iOS or Android device, the process may vary slightly. Look for the Wi-Fi settings in your device’s settings menu or control panel.
Once you have accessed the Wi-Fi settings, you should see a list of available Wi-Fi networks. Look for the network name (SSID) of your DJI controller’s Wi-Fi network. This is the network that you enabled in the previous step.
Tap on the DJI controller’s network name to connect to it. You may be prompted to enter the Wi-Fi password that you set up in the previous step. Enter the password and wait for your device to establish a connection with the DJI controller’s Wi-Fi network.
Once the connection is established, you will see a confirmation message or a Wi-Fi icon on your device indicating that you are connected to the DJI controller’s Wi-Fi network. This means that your device is now ready to communicate with the controller and control your drone.
It’s important to note that when connected to the DJI controller’s Wi-Fi network, your device may not have access to the internet. This is because your device is directly connected to the controller and not to a traditional Wi-Fi network with internet access. If you need to access the internet while flying your drone, you will need to disconnect from the DJI controller’s Wi-Fi network and connect to a separate Wi-Fi network that has internet access.
Now that you’re connected to the DJI controller’s Wi-Fi network, you’re ready to move on to the next step: setting up the DJI controller connection in your device’s settings.
Step 4: Set Up the DJI Controller Connection in the Device Settings
Once you have successfully connected your device to the DJI Controller’s Wi-Fi network, the next step is to set up the DJI controller connection in your device’s settings. This will allow your device to communicate with the controller and provide you with full control over your drone’s functions and features.
First, open the settings on your device and navigate to the Bluetooth and device connections section. Depending on your device’s operating system, this section may be named differently, such as “Connections” or “Network & Internet.”
Within the Bluetooth and device connections section, look for the option to add or pair a new device. This is where you will establish the connection between your device and the DJI controller.
Tap on the option to add or pair a new device, and your device will start scanning for nearby devices. The DJI controller should appear in the list of available devices. Select the DJI controller from the list to initiate the pairing process.
Once the pairing process starts, your device will generate a pairing code. This code will be displayed on both your device and the DJI controller’s screen. Confirm that the pairing codes match on both devices, and then proceed to pair them.
After a successful pairing, your device will establish a connection with the DJI controller. This connection allows you to access the advanced features and control options of your drone through the DJI app or other compatible software.
Make sure to follow any additional prompts or instructions that may appear on your device’s screen during the pairing process. These instructions may vary depending on your device’s operating system or version.
Congratulations! You have now set up the DJI controller connection in your device’s settings. You are one step closer to enjoying the full capabilities of your DJI drone. The final step is to pair the DJI controller with your drone, which we will cover in the next step.
Step 5: Pairing the DJI Controller with your Drone
In this final step, we will walk you through the process of pairing your DJI controller with your drone. This step is crucial for establishing a secure and stable connection between the two devices, ensuring that you have full control over your drone’s flight and camera functions.
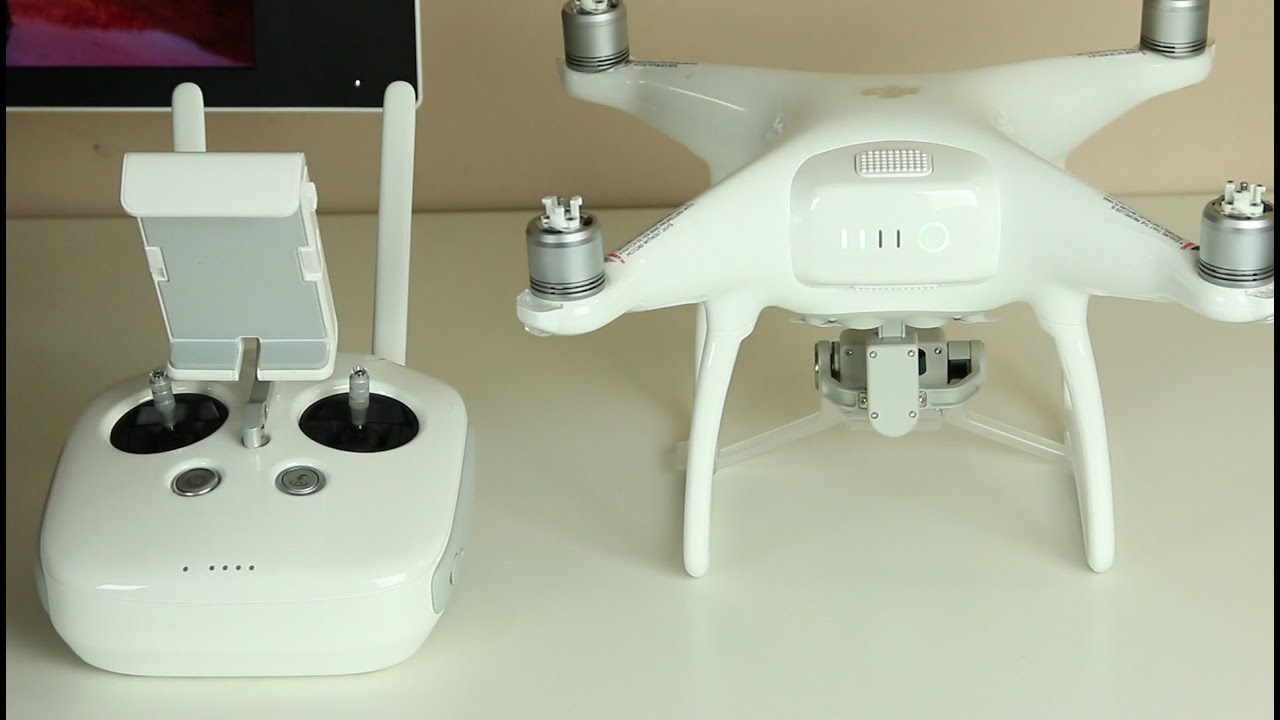
To begin, power on your drone and place it in an open area with a clear line of sight. Make sure that both the drone and the DJI controller are powered on and within range of each other.
Next, navigate to the software or app on your device that controls your drone. This could be the DJI app or any compatible app provided by the manufacturer. Open the app and tap on the option to connect to your drone.
The app will initiate a search for available drones in the vicinity. It should detect your drone and display its name or model on the screen. Select your drone from the list to initiate the pairing process.
During the pairing process, you may be prompted to verify a pairing code. This code will be displayed on both your device and the drone’s screen. Confirm that the pairing codes match on both devices, and then proceed to pair them.
Once the pairing is successful, your device will establish a connection with the drone through the DJI controller. You will now have full control over your drone’s flight movements, camera controls, and access to advanced features provided by the DJI app or compatible software.
Take a moment to test the connection and ensure that your drone responds to the controller inputs. Fly the drone in a controlled area, making sure to follow all local regulations and safety guidelines. If the drone responds as expected and the connection remains stable, then the pairing process was successful.
It’s important to note that if you encounter any difficulties during the pairing process, consult the user manual or online resources specific to your drone model. The process may vary slightly depending on the drone and DJI controller model you are using.
Congratulations! You have now successfully paired your DJI controller with your drone. Enjoy exploring the skies and capturing breathtaking aerial footage with your DJI drone and controller.
Troubleshooting Tips for Connecting DJI Controller to Wi-Fi
While connecting your DJI Controller to Wi-Fi is generally a straightforward process, there may be instances where you encounter some challenges. Here are some troubleshooting tips to help you overcome common issues and ensure a successful connection:
- Ensure Proper Power Supply: Make sure that both your DJI controller and drone have sufficient battery power. Low battery levels can impact the stability of the Wi-Fi connection. Charge the devices if needed before attempting to connect.
- Confirm Wi-Fi Compatibility: Ensure that your device is compatible with the DJI controller’s Wi-Fi standard. Double-check the specifications of your device to ensure it supports the Wi-Fi frequency and protocols used by the controller.
- Reset Wi-Fi Settings: If you’re experiencing connectivity issues, try resetting the Wi-Fi settings on both the controller and your device. Turn off Wi-Fi on your device, power cycle the controller, and then turn the Wi-Fi back on to establish a fresh connection.
- Check Wi-Fi Signal Strength: Ensure that you are within range of the DJI controller’s Wi-Fi signal. If you’re too far away or your environment has interference, the connection may weaken or drop. Try moving closer to the controller or changing your location to a more open area.
- Verify Wi-Fi Password: Double-check the Wi-Fi password you entered during the setup process. Ensure that the password is correct and matches the one set on the DJI controller. An incorrect password will prevent your device from connecting to the controller’s Wi-Fi network.
- Update Firmware and App: Keep your DJI controller’s firmware and the DJI app on your device up to date. Manufacturers regularly release updates that address bugs and connectivity issues. Check for updates and install them if available.
- Restart Devices: If you’re encountering persistent connection problems, try restarting both your DJI controller and your device. Power off both devices, wait a few seconds, and then power them back on. This simple step can help resolve temporary glitches.
- Reset Network Settings: If all else fails, consider resetting the network settings on your device. This will clear any saved Wi-Fi connections and restore the default network configurations. However, be aware that this will also remove any other saved Wi-Fi networks on your device.
If you continue to experience difficulties connecting your DJI controller to Wi-Fi after trying these troubleshooting tips, it may be necessary to contact DJI customer support for further assistance. They have specialized knowledge and resources to help resolve complex connectivity issues.
Remember, a stable Wi-Fi connection between your DJI controller and your device is essential for a seamless flying experience. By following these troubleshooting tips, you can ensure a strong and reliable connection that allows you to fully leverage the capabilities of your DJI drone.
Conclusion
Connecting your DJI Controller to Wi-Fi is an important step in maximizing the capabilities of your DJI drone. By following the step-by-step process outlined in this guide, you can establish a stable and reliable connection between your DJI controller and your device, allowing you to have precise control over your drone’s flight and camera functions.
In this article, we covered the essential steps to connect your DJI Controller to Wi-Fi, including powering on the controller, enabling Wi-Fi, connecting to the controller’s Wi-Fi network, setting up the controller connection in your device’s settings, and pairing the controller with your drone. Each step is crucial in ensuring a seamless and enjoyable flying experience.
We also provided troubleshooting tips to help you overcome common connectivity issues. By following these tips, you can resolve any potential problems and establish a strong and stable connection between your DJI controller and your device.
Remember to keep your DJI controller and drone firmware up to date, as manufacturers regularly release updates that improve performance and address connectivity issues. Additionally, always fly your drone in accordance with local regulations and safety guidelines to ensure a safe and responsible flight.
With a successful Wi-Fi connection between your DJI Controller and your device, you can now fully explore the capabilities of your DJI drone, capturing breathtaking aerial footage and exploring new perspectives. So, power on your controller, connect to the Wi-Fi network, and take to the skies with confidence!