Introduction
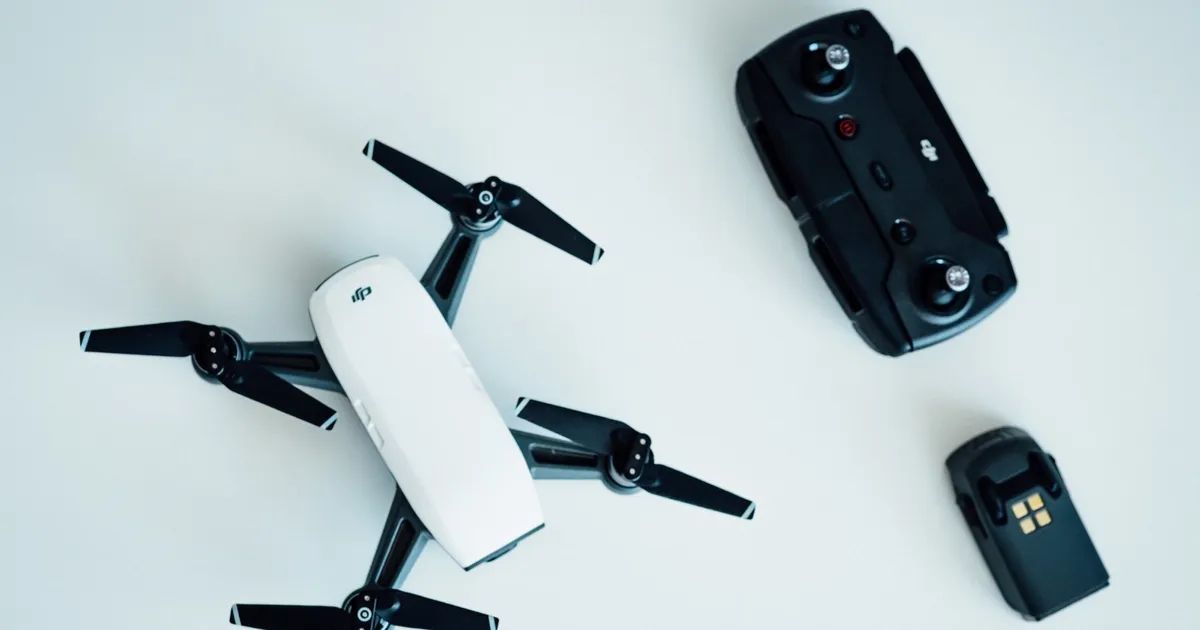
Welcome to this guide on how to turn on the DJI Spark controller. The DJI Spark is a compact and powerful drone that can capture stunning aerial footage. To fully utilize the features of the Spark, it is important to know how to properly turn on and connect the controller.
The controller is an essential component of the DJI Spark, allowing you to pilot the drone with precision and control. By connecting your smartphone or tablet to the controller, you can access the DJI GO 4 app and take advantage of its features, such as live video feed, flight modes, and settings.
In this article, we will walk you through the step-by-step process of turning on the DJI Spark controller and getting ready for flight. Whether you are a beginner or an experienced drone pilot, this guide will provide you with the necessary instructions to ensure a smooth and successful flying experience.
Before we dive into the steps, make sure you have fully charged the battery of both the Spark and the controller. This will ensure that you have enough power for a safe and enjoyable flight. Additionally, ensure that you are in a suitable flying location, away from obstacles and in compliance with any local regulations or restrictions.
Now, let’s get started and learn how to turn on the DJI Spark controller!
Step 1: Check the Battery Level
Before powering on the DJI Spark controller, it is important to check the battery level. Both the controller and the Spark drone should have sufficient battery power to ensure a successful flight.
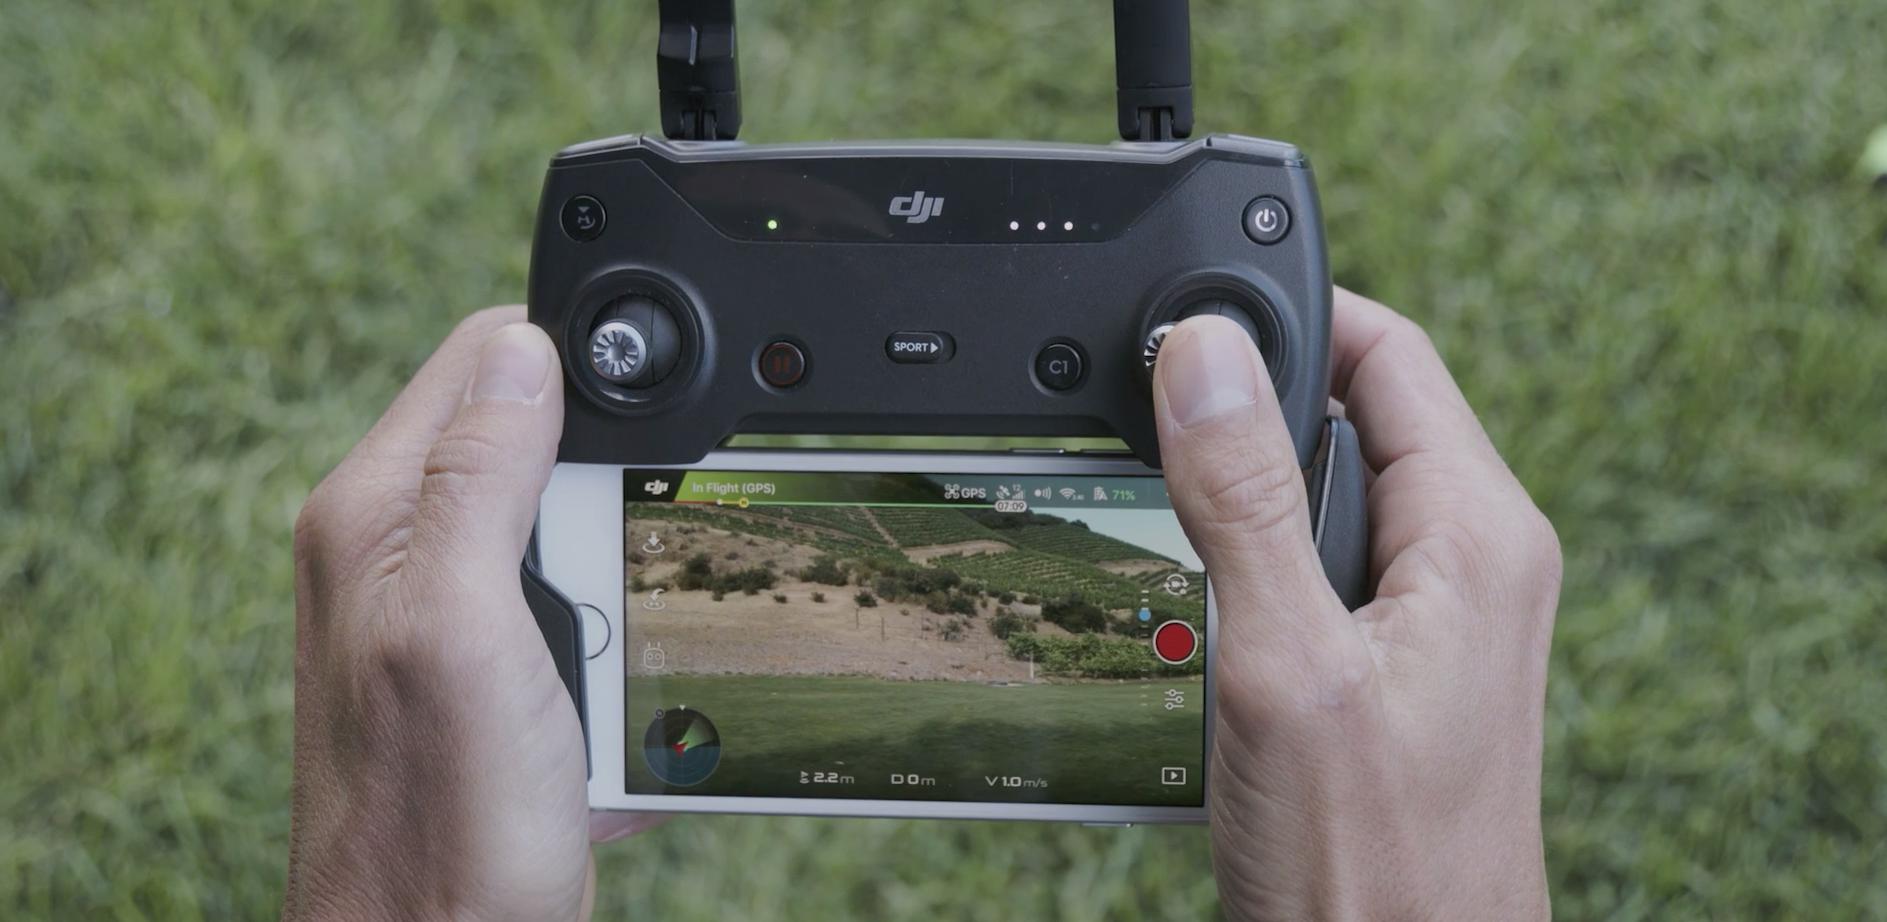
To check the battery level of the DJI Spark controller, locate the power button on the top of the controller. Press and release the power button, and the battery level indicator lights will illuminate to show the remaining power. A full battery will display all four lights, while one or two lights indicate a lower battery level.
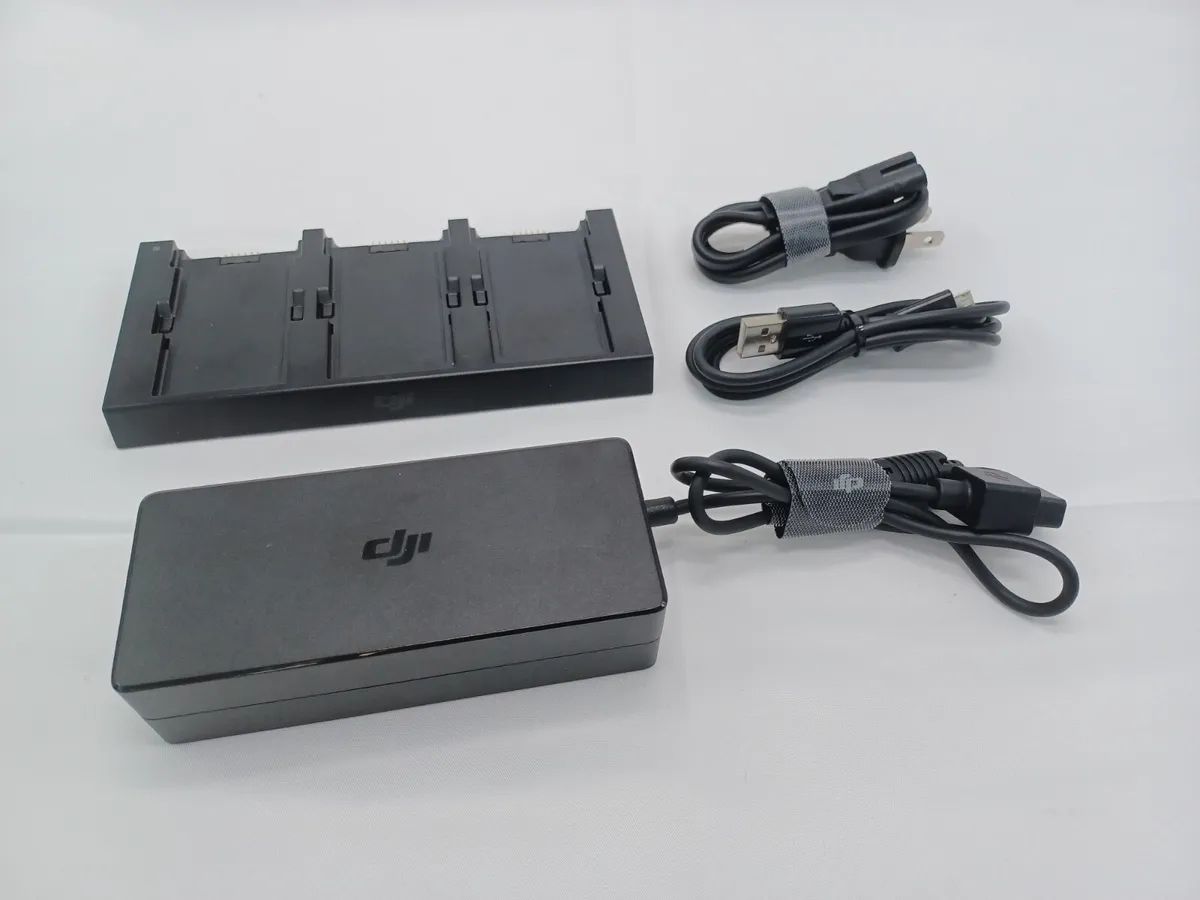
If the battery level is low, it is recommended to charge the controller using the included micro USB cable. Connect the cable to a power source, such as a computer or a wall adapter, and insert the other end into the micro USB port on the controller. Allow the controller to charge until all the battery level indicator lights are solidly illuminated.
Checking the battery level of the controller ensures that you have enough power to operate the Spark drone and control its flight. It is crucial to have an adequately charged controller to ensure a safe and uninterrupted flying experience.
Now that you have checked the battery level of the controller, let’s move on to the next step: powering on the DJI Spark controller.
Step 2: Power on the DJI Spark Controller
Now that you have checked the battery level of the DJI Spark controller, it’s time to power it on.
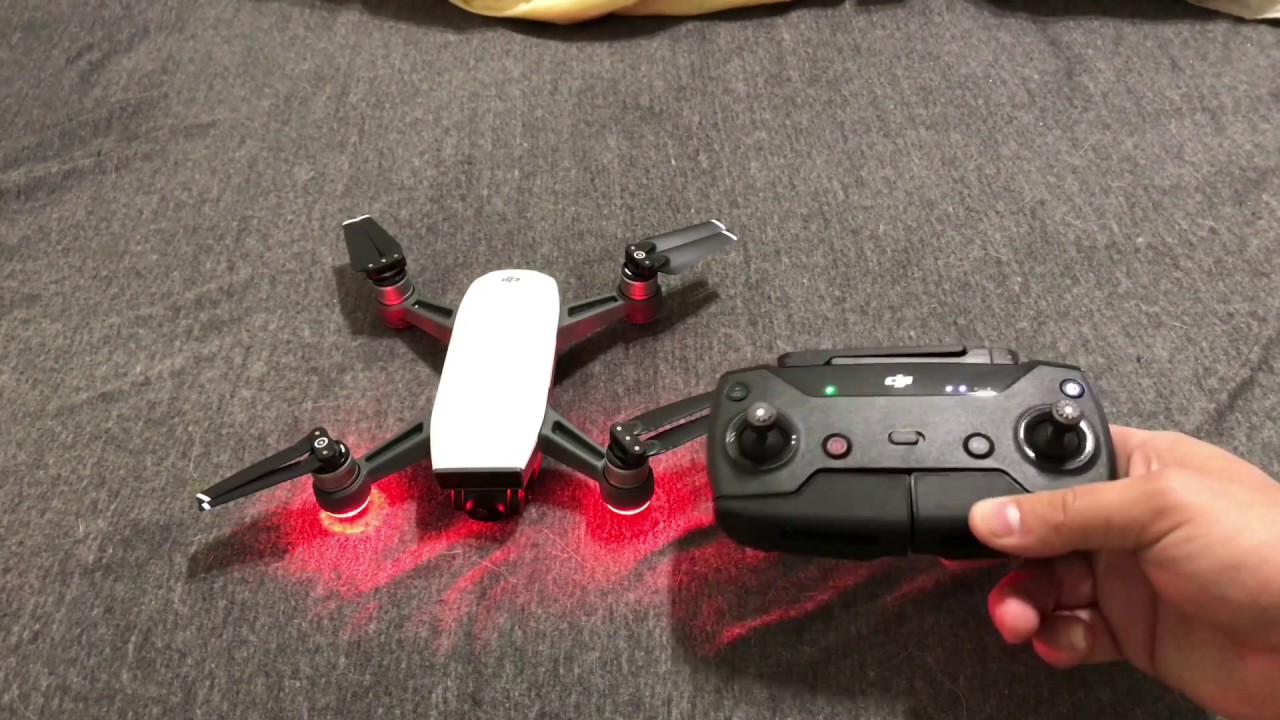
To power on the controller, press and hold the power button located on the top until the controller lights up. You will notice that the power indicator light on the front of the controller will start blinking slowly to indicate that it is in pairing mode.
While the controller is powering on, make sure that your smartphone or tablet is not connected to any other Wi-Fi networks. The controller will create its own Wi-Fi network for connecting to the DJI Spark drone.
Once the controller is powered on and in pairing mode, it is ready to establish a connection with your smartphone or tablet.
Before moving on to the next step, ensure that the DJI Spark drone is powered off. This will prevent any unwanted interference during the connection process.
Now that the DJI Spark controller is powered on and in pairing mode, we can move on to the next step of connecting your smartphone or tablet to the controller.
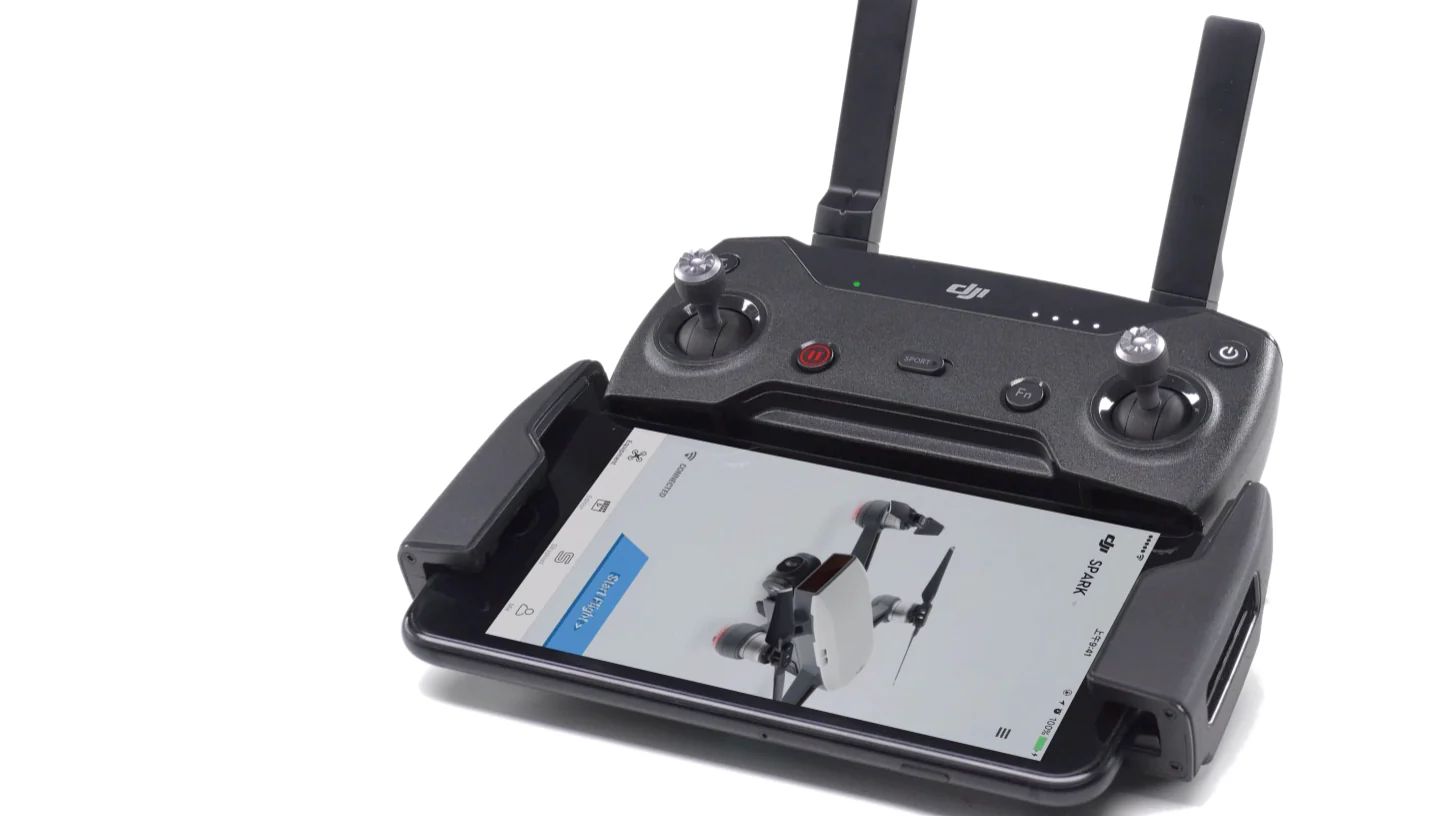
Step 3: Connect Your Smartphone or Tablet to the Controller
After powering on the DJI Spark controller, the next step is to connect your smartphone or tablet to the controller. This will enable you to access the DJI GO 4 app and control the drone’s flight functions.
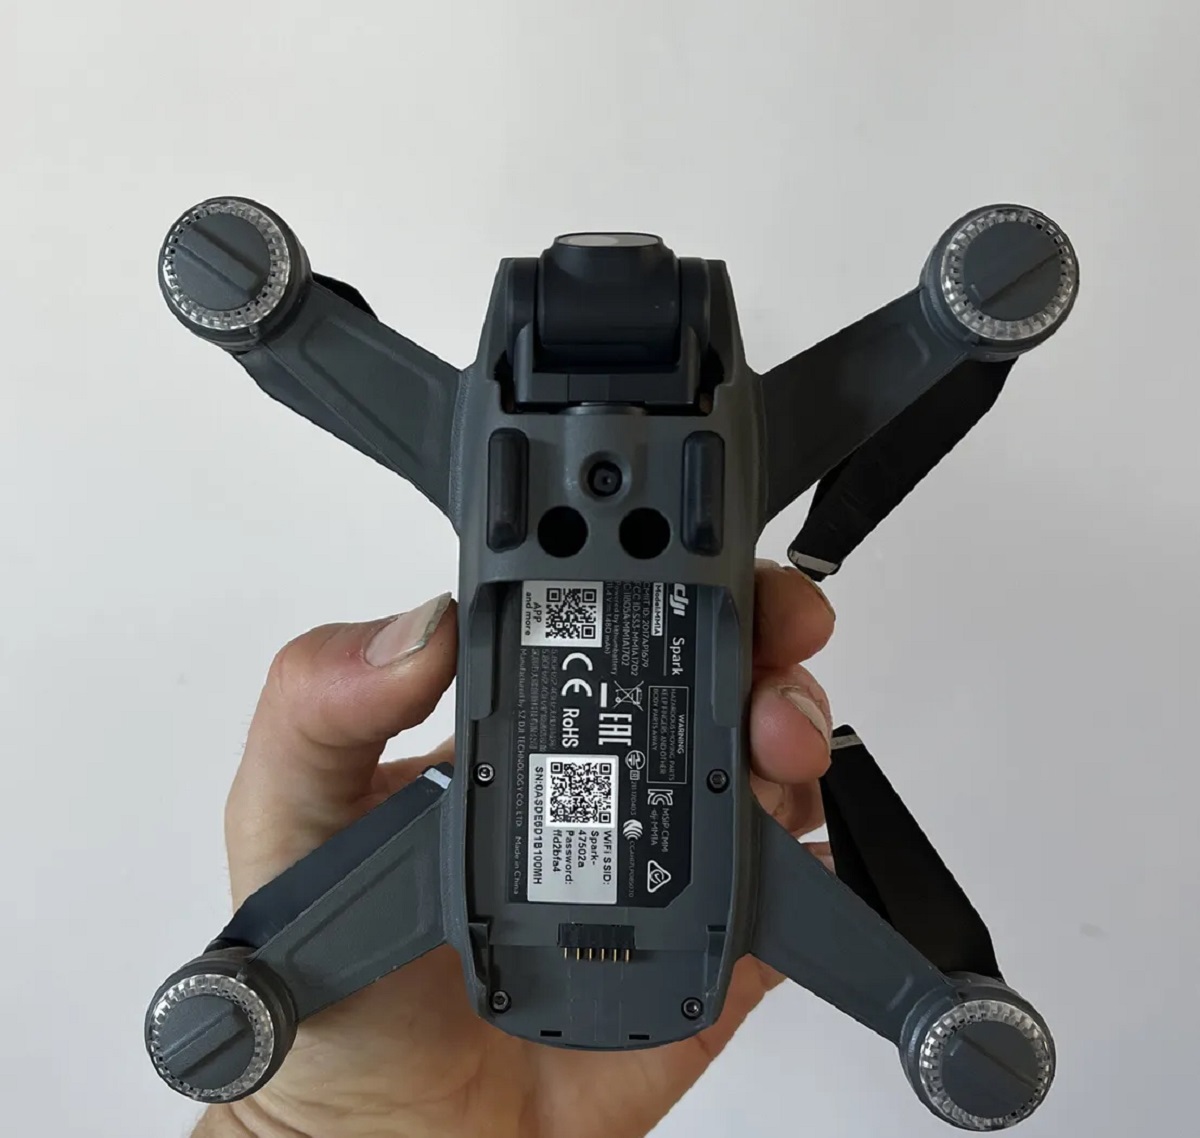
First, ensure that the Wi-Fi on your smartphone or tablet is turned on. Open the Wi-Fi settings and look for the Wi-Fi network named “Spark-XXXXX” (where “XXXXX” represents a combination of letters and numbers). This is the Wi-Fi network created by the DJI Spark controller.
Select the “Spark-XXXXX” Wi-Fi network on your device. Once connected, you can proceed to the next step.
Note: On some devices, you may receive a prompt stating that the Wi-Fi network has no internet access. This is normal as the DJI Spark controller does not provide internet access. Simply ignore this prompt and continue with the connection process.
Now that your smartphone or tablet is connected to the Wi-Fi network of the DJI Spark controller, it’s time to launch the DJI GO 4 app. Ensure that the app is installed on your device before proceeding.
By connecting your device to the controller’s Wi-Fi network and opening the DJI GO 4 app, you are ready to establish the communication between your device and the DJI Spark drone.
Once the app is launched, you will have access to a range of features, including live video streaming, flight modes, camera settings, and more.
In the next step, we will guide you on how to pair the DJI Spark controller with the Spark drone through the DJI GO 4 app.
Step 4: Launch the DJI GO 4 app
After connecting your smartphone or tablet to the DJI Spark controller’s Wi-Fi network, the next step is to launch the DJI GO 4 app. This app is essential for controlling the drone, accessing flight settings, and capturing stunning aerial footage.
Ensure that the DJI GO 4 app is installed on your device. If you haven’t already, you can download it from the App Store (for iOS devices) or Google Play Store (for Android devices).
Once the app is installed, locate the icon on your smartphone or tablet and tap on it to launch the DJI GO 4 app. The app will take a few seconds to load, and you will be greeted with the home screen.
On the home screen of the DJI GO 4 app, you will see various options and settings. This is the central hub where you can access flight controls, camera settings, flight modes, intelligent flight features, and more.
Now that the DJI GO 4 app is launched, you are one step closer to flying the DJI Spark drone. In the next step, we will guide you on how to pair the DJI Spark controller with the Spark drone through the DJI GO 4 app.
Step 5: Follow the On-Screen Prompts to Pair the Controller with the Spark
With the DJI GO 4 app launched on your smartphone or tablet, it’s time to pair the DJI Spark controller with the Spark drone. This pairing process establishes a seamless connection between the controller and the drone, enabling you to control its flight and capture stunning aerial footage.
Follow the on-screen prompts and instructions provided by the DJI GO 4 app to pair the controller with the Spark drone. The prompts will guide you through the necessary steps to complete the pairing process.
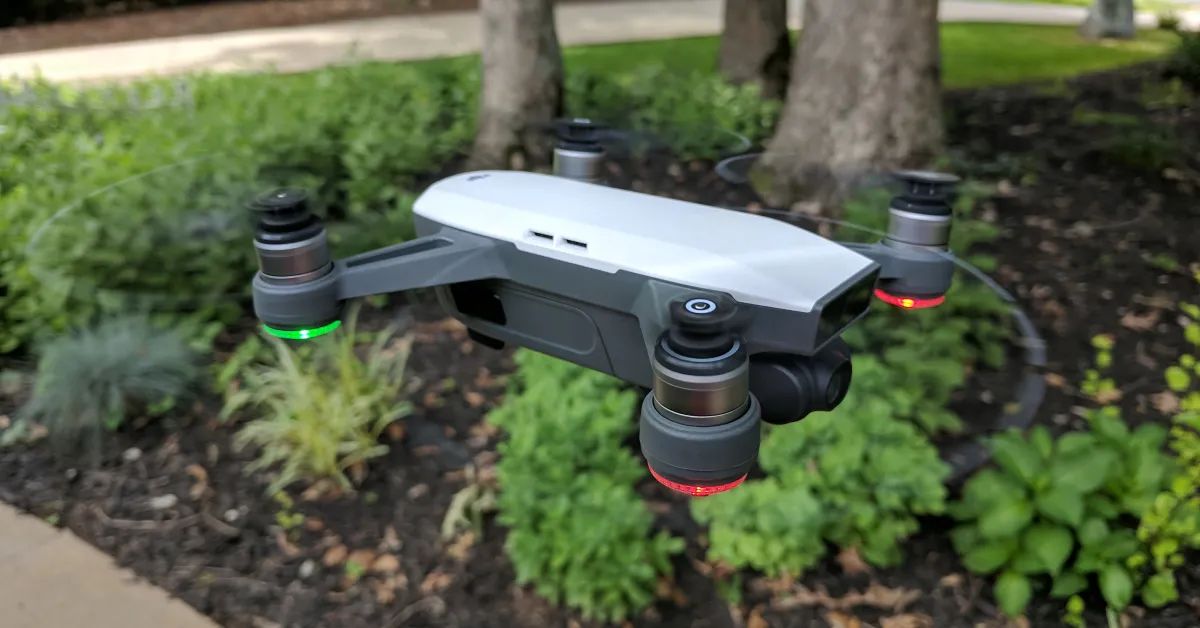
Typically, the app will automatically detect the DJI Spark drone and display it on the screen. You may be prompted to power on the drone and wait for it to initialize. Make sure the drone is on a stable surface and facing forward during this process.
Once the connection between the controller and the Spark drone is established, you will see a confirmation message on the DJI GO 4 app. The app will display a live video feed from the drone’s camera, along with flight telemetry and control options.
At this point, you can familiarize yourself with the controls and settings available on the DJI GO 4 app. Take some time to explore the different flight modes, camera settings, and intelligent flight features that the app offers.
Now that the controller is successfully paired with the Spark drone, you are ready to take off and start flying. However, before you do that, it is important to ensure that the controller is properly calibrated for optimal flight performance.
In the next step, we will guide you on how to calibrate the DJI Spark controller, if necessary.
Step 6: Calibrate the Controller (If Necessary)
Calibrating the DJI Spark controller is an important step to ensure accurate control and responsiveness during flight. It is especially crucial if you have experienced any erratic behavior or if the drone is not responding as expected.
To calibrate the controller, follow these steps:
- Ensure that the DJI Spark drone and controller are powered on and connected.
- Open the DJI GO 4 app on your smartphone or tablet.
- Tap on the settings icon displayed on the app’s home screen.
- Select the controller settings option from the menu.
- In the controller settings, locate the calibration option.
- Follow the on-screen instructions to complete the calibration process.
- Once the calibration is complete, the app will display a confirmation message.
During the calibration process, it is important to follow the on-screen instructions precisely. This will ensure that the controller is calibrated correctly and will result in improved flight performance.
If the DJI GO 4 app does not have a calibration option or if you continue to experience issues with the controller’s performance, you can refer to the DJI Spark user manual for specific instructions on how to calibrate the controller.
Remember, calibrating the controller is not always necessary, but it can greatly improve the flight experience and responsiveness of the DJI Spark drone.
With the controller calibrated (if necessary), you are now ready to take off and start flying the DJI Spark drone. In the next step, we will guide you on how to initiate the takeoff sequence and begin your aerial adventure!
Step 7: Takeoff and Start Flying
After calibrating the DJI Spark controller, it’s time to take off and start flying the drone. Follow these steps to initiate the takeoff sequence:
- Ensure that the DJI Spark drone and controller are powered on and connected.
- Make sure that you are in a suitable flying location, away from obstacles and in compliance with local regulations.
- Position the drone on a flat and stable surface, facing away from you.
- In the DJI GO 4 app, tap on the “Takeoff” button or use the manual controls on the controller to initiate the takeoff sequence.
- As the DJI Spark drone takes off, gently push the joysticks on the controller to gain altitude and control the direction of flight.
Once the drone is in the air, you can begin to explore and enjoy the capabilities of the DJI Spark. Experiment with different flight modes, such as ActiveTrack or Gesture Control, to capture unique and captivating shots.
Remember to keep an eye on the remaining battery level of both the drone and the controller. It is important to plan your flight accordingly and ensure that you have enough battery power for a safe return.
Throughout your flight, use the DJI GO 4 app and the controller to navigate the drone, adjust camera settings, and capture stunning aerial footage. Familiarize yourself with the controls and explore the various features and functionalities available to you.
Once you have completed your flight, it is important to safely land the DJI Spark drone. Use the landing button in the DJI GO 4 app or gently guide the drone down to a flat and stable surface.
Congratulations! You have successfully turned on the DJI Spark controller, connected your smartphone or tablet, and started flying the drone. Enjoy your aerial adventures and explore the world from a new perspective!
Conclusion
By following the step-by-step guide outlined in this article, you have learned how to turn on the DJI Spark controller and get ready for a flight. From checking the battery level to calibrating the controller (if necessary), each step is essential for a smooth and successful flying experience.
The DJI Spark controller plays a crucial role in piloting the drone and accessing its various features. By connecting your smartphone or tablet to the controller and using the DJI GO 4 app, you can unlock the full potential of the DJI Spark. From capturing breathtaking aerial footage to utilizing intelligent flight modes, the possibilities are endless.
Remember to always fly the DJI Spark in a safe and responsible manner. Be aware of your surroundings, follow local regulations, and respect the privacy of others. Additionally, stay updated with the latest firmware and software updates from DJI to ensure optimal performance and access to new features.
Whether you are a beginner or an experienced drone pilot, the DJI Spark controller is your gateway to incredible aerial adventures. Utilize the power and precision of this compact controller to capture unforgettable moments and explore the world from a new perspective.
So, power on your DJI Spark controller, connect your smartphone or tablet, and take to the skies with confidence. Happy flying!