Introduction
Welcome to the world of drones! Drones have become increasingly popular in recent years, whether it’s for recreational flying, aerial photography, or professional applications. One vital aspect of flying a drone is pairing it with a controller. The controller acts as the interface between you, the pilot, and the drone, allowing you to control its every move with precision and ease.
Pairing a drone with a controller is a straightforward process that ensures a seamless connection between the two devices. In this article, we will guide you through the steps required to successfully pair your drone with a controller, regardless of the make or model you are using.
Before we delve into the pairing process, it’s essential to note that each drone model may have specific pairing instructions provided by the manufacturer. It’s always a good idea to consult the user manual or the manufacturer’s website for precise guidance tailored to your drone.
Now let’s dive into the exciting world of drone and controller pairing!
Step 1: Turn on the drone and controller
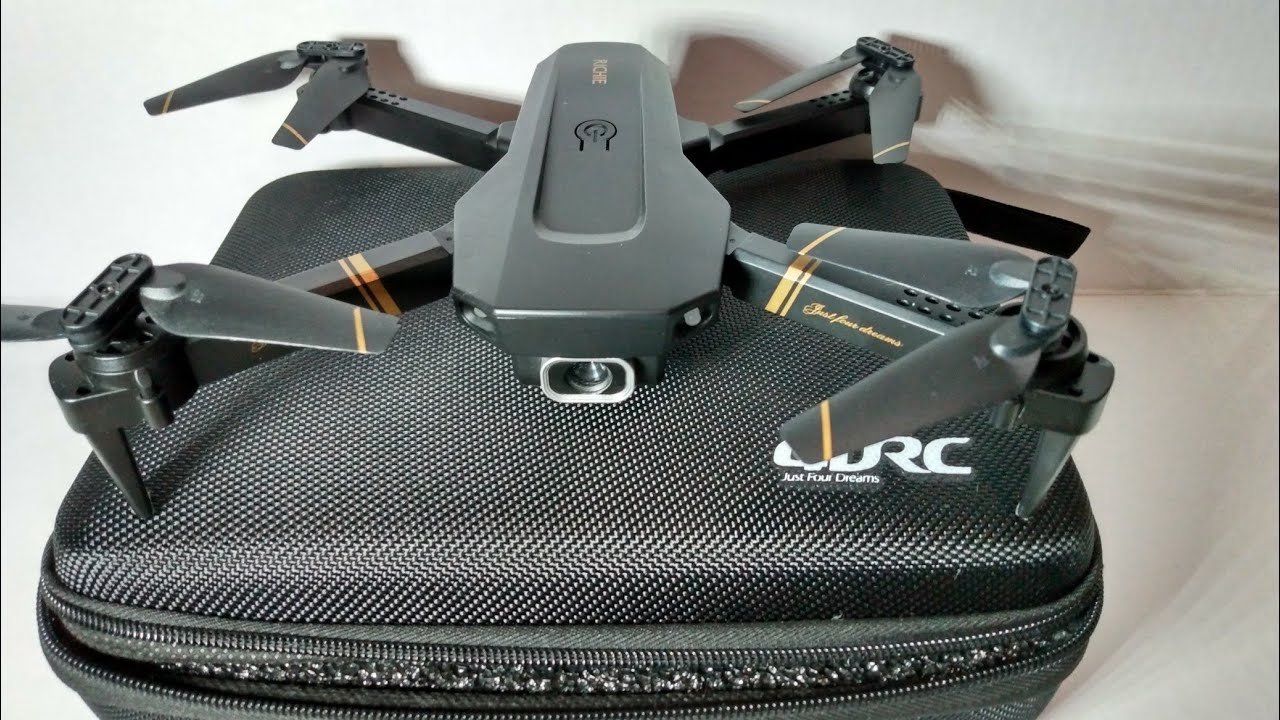
The first step in pairing your drone with a controller is to ensure both devices are powered on. Begin by turning on your drone. The power button is typically located on the drone’s body or remote control. Press and hold the power button until the drone’s indicator lights or display illuminates, indicating that it is ready to establish a connection.
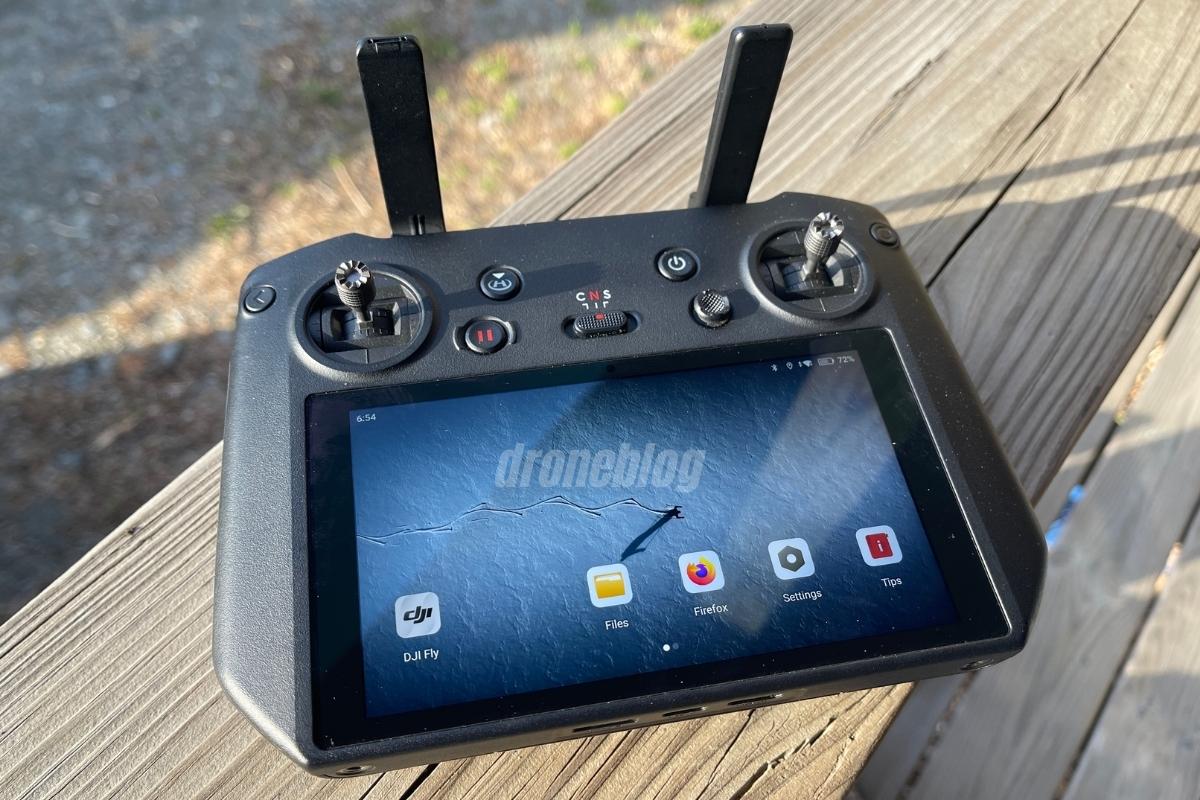
Next, turn on your controller. Look for the power button, usually located on the top or side of the controller. Press and hold the power button until the controller’s indicators turn on, confirming that it has powered up successfully.
It’s important to note that some controllers may require batteries or charging before they can be turned on. If this is the case, ensure that your controller has sufficient power to initiate the pairing process. Refer to the controller’s user manual for specific instructions on powering it up.
Once both the drone and controller are turned on and ready for pairing, you’re one step closer to taking to the skies! The next step will guide you through putting the controller in pairing mode to establish a connection with the drone.
Step 2: Put the controller in pairing mode
Now that your drone and controller are powered on, it’s time to put the controller in pairing mode. Pairing mode allows the controller to search for nearby drones and establish a secure connection.
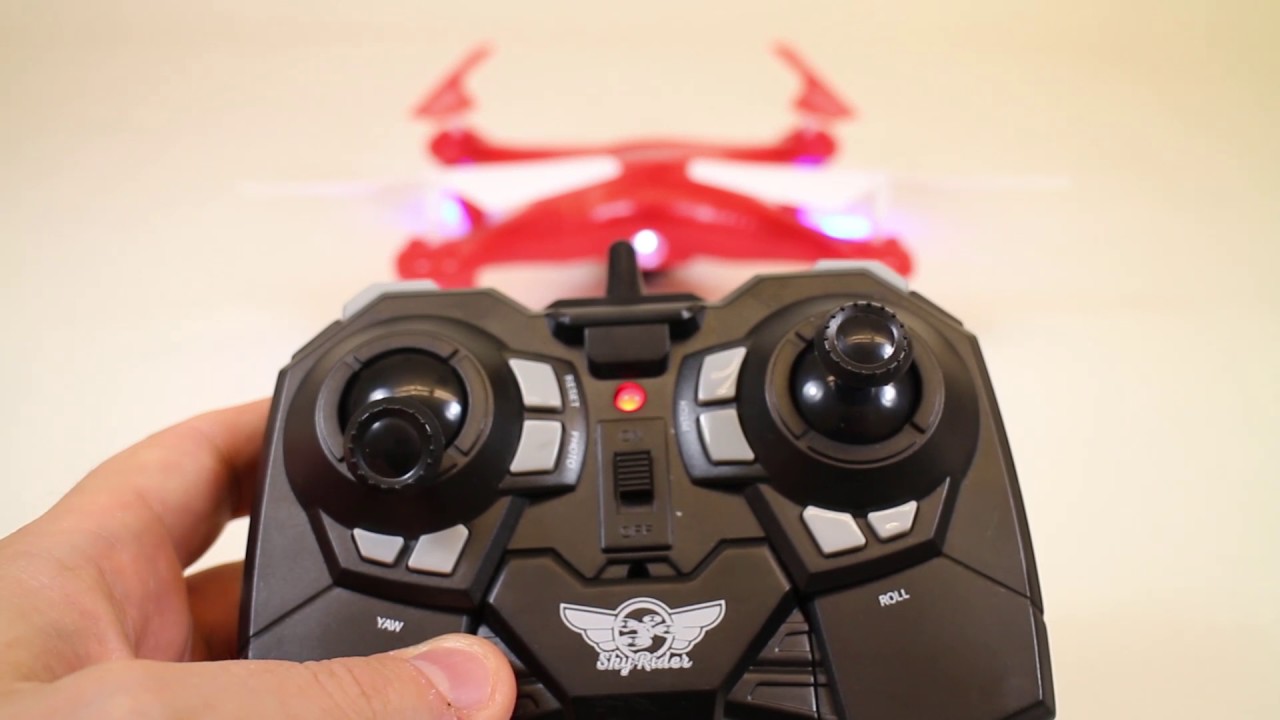
Find the pairing button on the controller, which is usually located on the front or side. Press and hold the pairing button until you see a pairing indicator, such as a flashing LED light or a on-screen prompt, signaling that the controller is actively searching for a drone to pair with.
While the controller is in pairing mode, it will emit a signal that drones in its vicinity can detect. This signal enables the drone to identify the controller and establish a connection. Keep in mind that some controllers may have a specific sequence of button presses or additional steps required to enter pairing mode. Consult the controller’s user manual or the manufacturer’s instructions for precise details.
It’s important to note that not all controllers require pairing mode to be manually activated. Some controllers automatically enter pairing mode when turned on, while others may have dedicated buttons or switches for pairing. Follow the instructions provided by the controller’s manufacturer to ensure you put it in the correct pairing mode.
With the controller in pairing mode, you’re ready to move on to the next step: connecting the drone to the controller. Let’s continue our journey towards an exhilarating flying experience!
Step 3: Connect the drone to the controller
With the controller in pairing mode, it’s time to establish a connection between the drone and the controller. The process may vary based on the drone model, but we’ll provide you with a general guideline that applies to most drones.
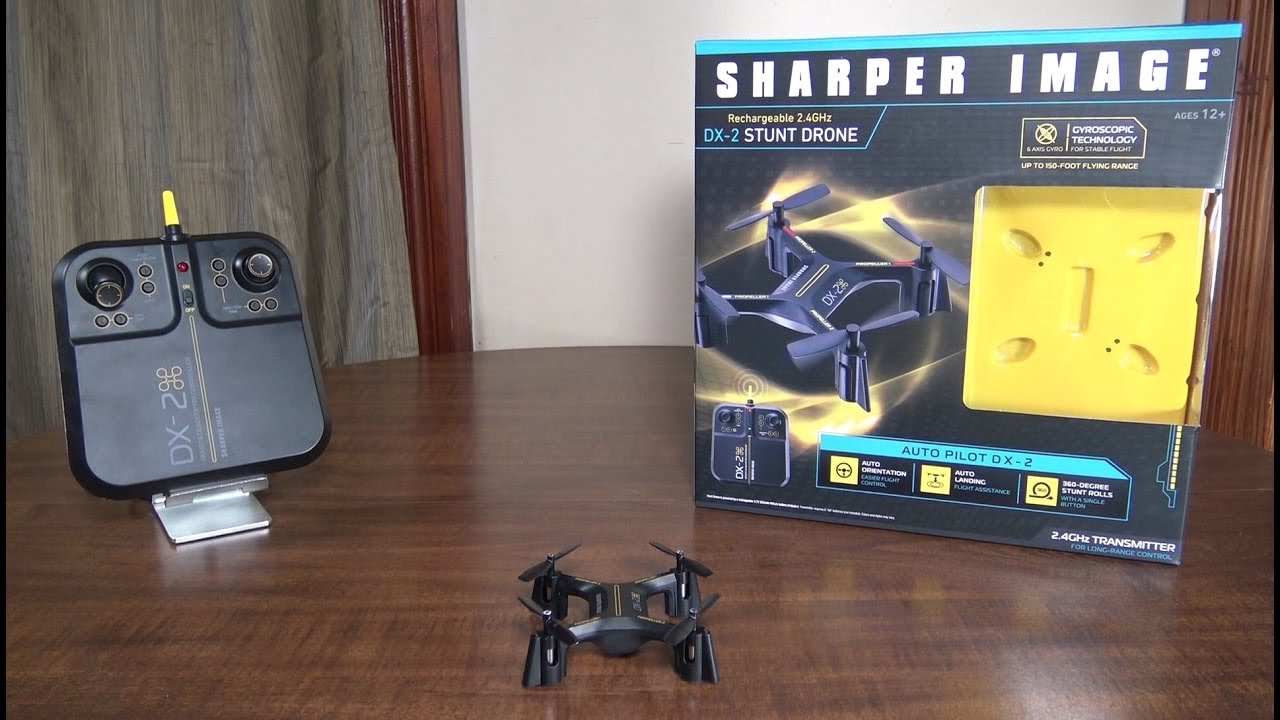
On your controller, look for a button or a switch labeled “Connect” or “Pairing.” Press this button or toggle the switch to initiate the pairing process. The controller will start searching for available drones in its vicinity.
Simultaneously, on the drone, locate the drone’s Wi-Fi or Bluetooth settings. Access these settings either through the drone’s onboard display or via a companion mobile app. Once you’re in the settings, select the option to “Pair” or “Connect” with the controller.
The drone will start scanning for nearby controllers that are in pairing mode. After a few moments, the drone should recognize your controller and display its name or identifier on the drone’s display or in the app.
Select your controller from the list of available devices displayed on the drone’s screen or app interface. Once you’ve selected the controller, the drone will attempt to establish a connection with it.
During the pairing process, it’s crucial to ensure that the drone and controller remain within close proximity to each other. This proximity allows for a stable and reliable connection between the two devices.
After a successful pairing, you may see a confirmation message on both the controller and the drone, indicating that they’re now connected. Additionally, some drones may emit audible beeps or display LED lights to signify the successful connection.
Now that your drone and controller are successfully connected, it’s time to verify the pairing and ensure everything is functioning correctly. Let’s move on to the next step!
Step 4: Verify the pairing
Once the drone and controller are connected, it’s essential to verify the pairing to ensure a reliable and secure connection. Verifying the pairing between the drone and controller is a crucial step before taking your drone for a flight.
To verify the pairing, start by checking the status indicators on both the drone and the controller. Most drones have LED lights or an onboard display that indicates the connection status. Look for a solid green or blue light, which typically indicates a successful pairing.
Next, test the controls on your controller to ensure they are responsive. Move the joysticks and observe if the corresponding movements are reflected on the drone. This verification step ensures that the communication between the controller and the drone is functioning correctly.
If your drone has additional features or camera controls, such as adjustable camera angles or altitude hold, test these functions as well. Verify that the commands from the controller are accurately executed by the drone.
It’s also a good practice to perform a range test for the drone. Take a few steps away from the drone while maintaining a line of sight, and test if the controller can still maintain a connection and control the drone smoothly. This step helps ensure that the signal strength between the drone and controller is strong and reliable.
If you encounter any issues during the verification process or notice any inconsistencies with the drone’s response to the controller’s commands, double-check that the pairing steps were followed correctly. It’s possible that a re-pairing or troubleshooting steps may be necessary.
Overall, verifying the pairing ensures the safe and efficient operation of your drone. It instills confidence in the connection between the drone and controller, allowing you to enjoy an uninterrupted and smooth flying experience.
Now that you have successfully paired and verified the connection between your drone and controller, you are ready to take flight and explore the skies!
Conclusion
Pairing a drone with a controller is an essential step in unleashing the full potential of your aerial adventure. By following the simple steps outlined in this guide, you can establish a reliable and secure connection between your drone and controller, allowing for precise control and an immersive flying experience.
Remember to consult the manufacturer’s instructions specific to your drone model for any additional pairing guidelines. Familiarize yourself with the features and capabilities of your drone and controller to fully maximize their potential.
Now that you have successfully paired your drone with a controller, the sky is the limit! Whether you’re capturing breathtaking aerial footage, honing your piloting skills, or simply enjoying the thrill of flying, the pairing process ensures a seamless and intuitive connection between you and your drone.
Keep in mind that responsible drone flying includes adhering to local regulations and guidelines, ensuring the safety of others and the environment. Stay up to date with the latest laws and regulations governing drone usage in your area.
So, what are you waiting for? It’s time to embrace the freedom of flight and embark on your next drone adventure. Pair your drone with the controller, take to the skies, and let your imagination soar!