To pair a drone with a remote controller, you must initiate a re-linking process that connects the two devices wirelessly. This guide explains how to pair drone with remote controller for scenarios where factory pairing has been lost, such as after a factory reset, buying a used drone, or replacing a controller.
When you actually need to pair a drone with a remote controller
Most new drone and remote controller combos leave the factory already paired and do not require initial linking. You only need to pair a drone with controller when the original connection has been broken. Common situations include performing a factory reset on the drone, purchasing a second-hand drone, or swapping in a replacement remote controller. If you just unboxed a brand-new kit, skip this guide, your devices are ready to fly.
Pre-pairing checklist: power, proximity, and apps
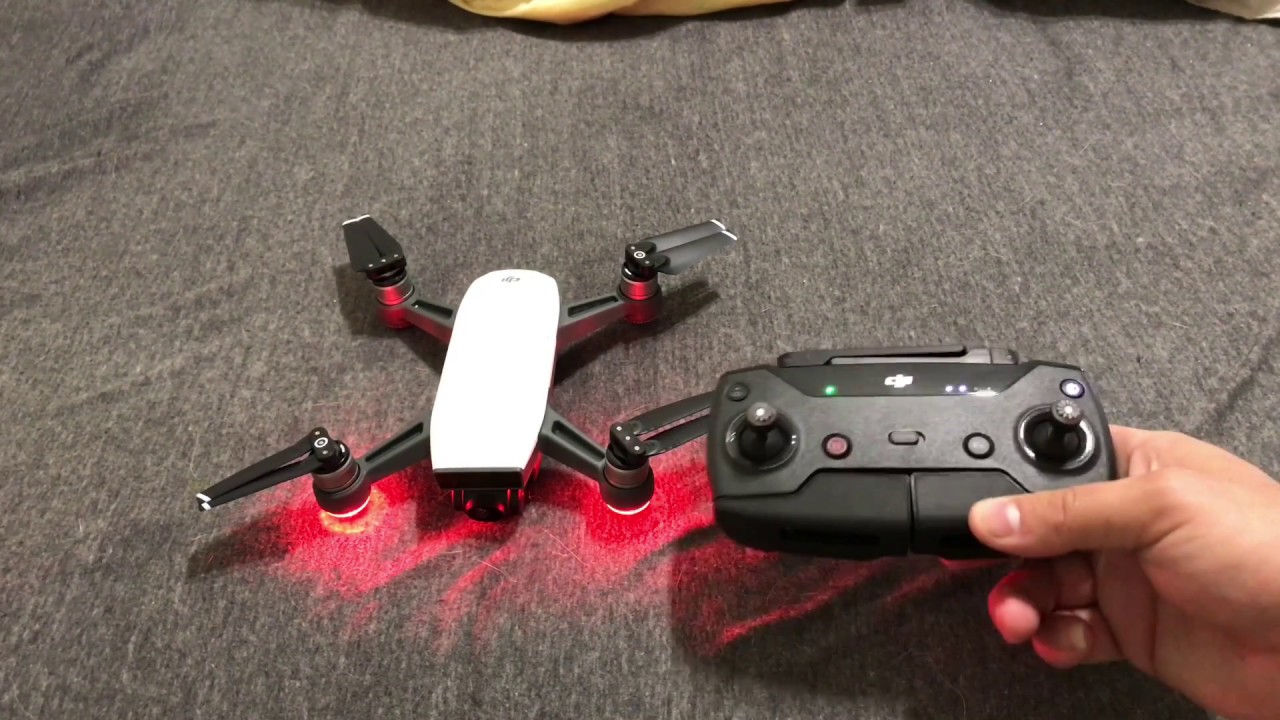
Before attempting to link, ensure both the drone and the remote controller are fully charged and powered on. To check if your drone battery is charged, look at the battery status LEDs: a solid light (not blinking) typically indicates a full charge. Place the drone and controller within 0.5 meters of each other, some models like the DJI Spark require as little as 20 cm. Install the correct companion app on your mobile device (e.g., DJI Fly, DJI Go 4, or Parrot FreeFlight) and have it ready on the controller.
The universal drone pairing pattern explained
Most drones follow a common two-part sequence. First, you initiate discovery mode through the drone's companion app on the controller. Second, you press and hold the drone's power button (which often doubles as a link button) until its battery LEDs blink in sequence. This sequence-blink confirms the drone has entered linking mode and is searching for the controller.
How to pair a DJI drone with a remote controller
Newer DJI drones (DJI Fly app)
- Power on both the drone and the remote controller.
- Launch the DJI Fly app on your mobile device connected to the controller.
- Navigate to the controller settings and select "Re-pair to Aircraft" or "Link Remote Controller."
- Press and hold the drone's power button for 4-7 seconds until it beeps and its LEDs blink in sequence.
- Wait for the app to confirm the connection; the drone's LEDs will turn solid.
Older DJI drones (DJI Go 4 app)
- Connect your mobile device to the remote controller and launch DJI Go 4.
- Navigate to the controller menu and tap "Linking Remote Controller."
- Press the link button on the drone (often the power button) until the LEDs begin to blink.
- Wait for the solid light confirmation on both devices.
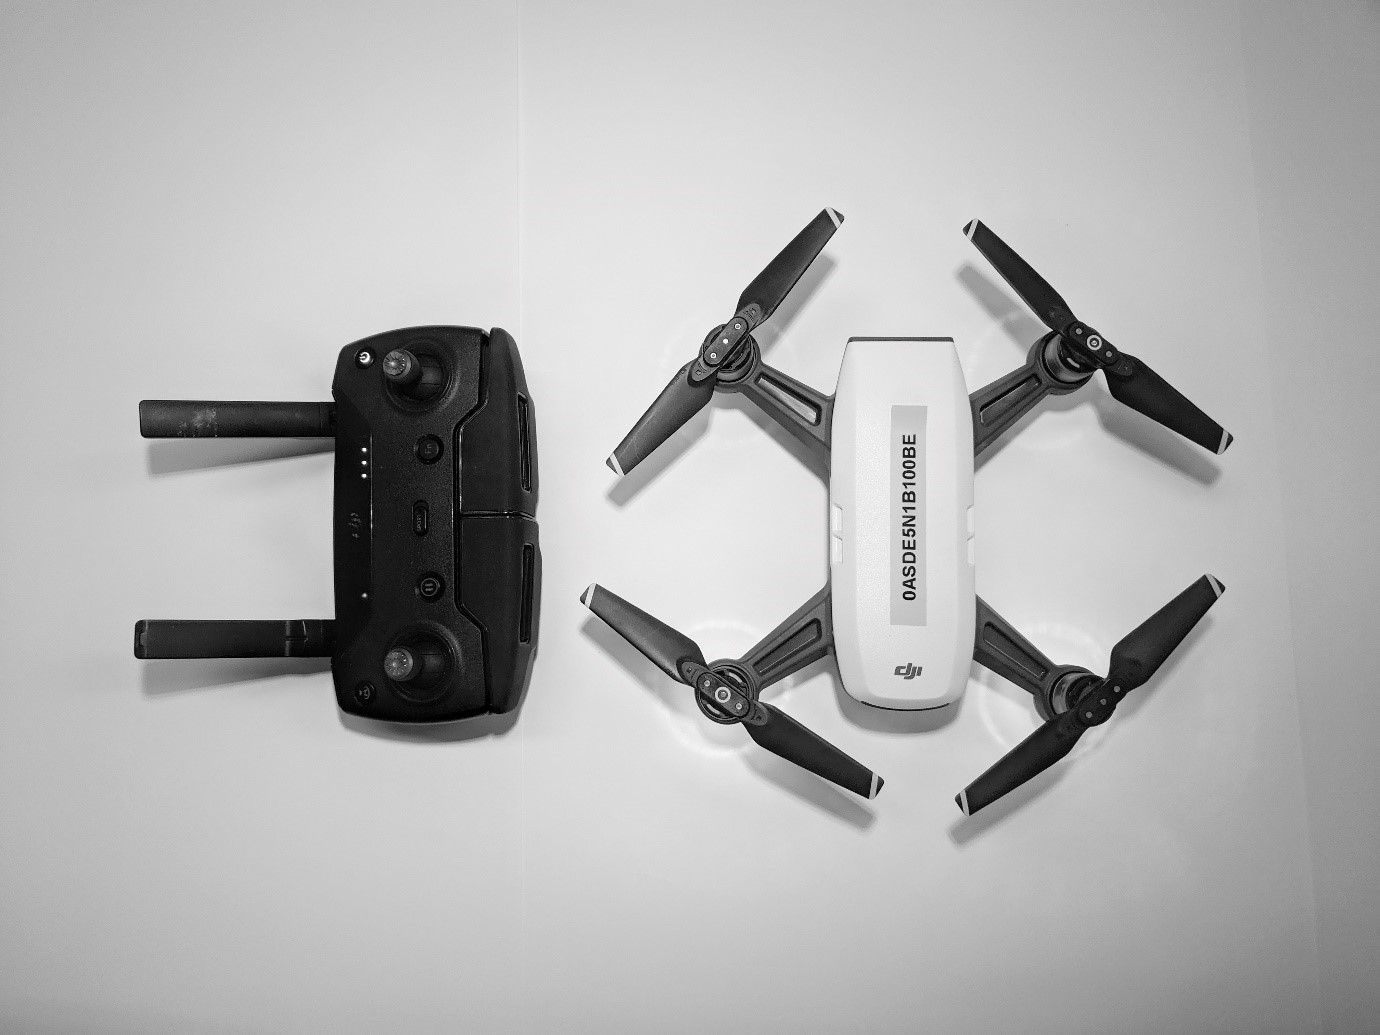
Some DJI drones, like the Spark, offer an option to link the remote controller without a mobile device by simultaneously pressing specific buttons on the remote after putting the drone into linking mode.
How to pair a Parrot ANAFI drone with a Skycontroller
Parrot ANAFI series drones use a unique USB-C cable method. Before starting, ensure a compatible microSD card is inserted into the drone and that all foldable arms are unfolded.
- Power on both the Parrot ANAFI drone and the Skycontroller 3 or 4.
- Connect the drone and controller directly with a USB-A to USB-C or USB-C to USB-C cable.
- The controller's LED will flash green briefly, then turn steady dark blue upon successful synchronization.
- Disconnect the cable, the connection is now established.
Understanding drone and controller LED status lights
LED indicators are crucial for interpreting pairing status. A sequence-blink on the drone's battery LEDs signifies it is in linking mode. A solid-on display after blinking indicates a successful connection. On the remote controller, a solid green light or the cessation of beeping confirms the link is active. If you need to connect dji controller to PC for firmware updates, use a USB cable and the DJI Assistant 2 software, this does not affect the pairing status.
Test the connection before you fly
After successful pairing, verify the connection before taking off. Check real-time control response by moving the joysticks gently, the drone should mirror your inputs without delay. Test all button functions, such as photo capture and flight mode switches. If your setup provides a live video feed, ensure it is crisp and stable without interruptions. Only after confirming these checks should you proceed to flight.
Troubleshooting: why your drone and controller won't pair
If the pairing fails multiple times, check these common failure points:
- Firmware mismatches: Update both the drone and controller firmware to the same version via the companion app or manufacturer software.
- Low battery: Fully charge both devices before retrying.
- Active geo-zone: Some zones prevent flight and can block pairing; move to an unrestricted area.
- Excessive distance: Keep the controller within 0.5 meters of the drone during the linking process.
If all prerequisites are met and pairing still fails, ensure you have followed the exact steps to set up a drone for your specific model and contact manufacturer support.