Introduction
Welcome to this guide on how to pair your Roku remote to your Roku device. The Roku remote is an essential tool for navigating through the Roku interface and accessing all your favorite streaming content. Whether you have recently purchased a new Roku device or you are experiencing trouble with your existing remote, this step-by-step tutorial will help you pair your remote with your Roku device in no time.
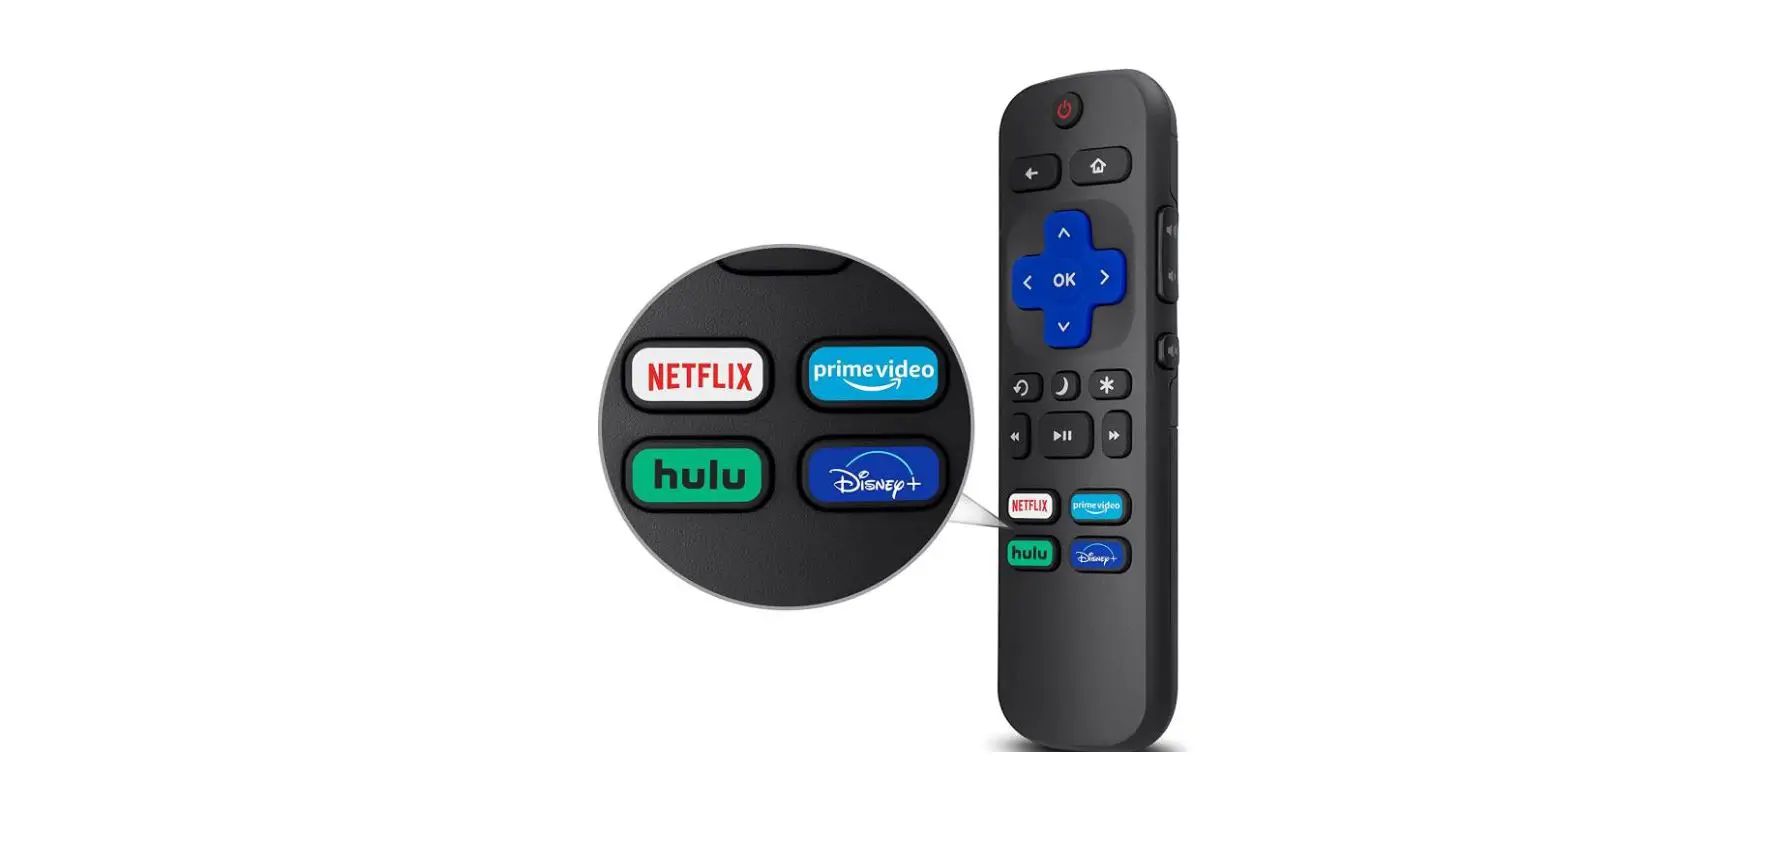
Pairing your Roku remote is a straightforward process that ensures your remote is properly connected to your Roku device, allowing you to control all your streaming activities from the comfort of your couch. Once your remote is paired, you can seamlessly browse through various streaming channels, adjust the volume, and even use voice commands, depending on the model of your Roku remote. So, let’s get started and get your Roku remote paired in just a few simple steps.
Before we begin, please make sure that you have fresh batteries available for your Roku remote. This ensures that you have sufficient power to complete the pairing process. Additionally, ensure that your Roku device is powered on and connected to your TV or display monitor. Once you have these items ready, we can begin the pairing process and get your Roku remote up and running.
Follow the step-by-step instructions below to successfully pair your Roku remote to your Roku device:
Step 1: Power on the Roku device
The first step in pairing your Roku remote is to ensure that your Roku device is powered on. To do this, locate the power button on your Roku device and press it to turn it on. Wait for your Roku device to fully boot up and for the home screen to appear on your TV or display monitor.
Depending on the model of your Roku device, the power button may be located on the front, side, or back of the device. It is usually represented by a power icon or the word “Power”. Pressing the power button may turn on the device instantly or require you to hold it down for a few seconds. Refer to the user manual or documentation that came with your Roku device if you need assistance finding the power button.
Once your Roku device is powered on, it should display the Roku logo and eventually load the home screen. The home screen is where you can access all the streaming channels, settings, and other features of your Roku device. If you do not see the home screen, make sure that your TV or display monitor is set to the correct input source for your Roku device. You may need to use the input or source button on your TV’s remote control to toggle through the available input sources until you see the Roku display.
Now that your Roku device is powered on and the home screen is visible, you are ready to proceed to the next step in the pairing process. Remember to keep your Roku remote and fresh batteries nearby as we move forward.
Step 2: Insert batteries into the Roku remote
The next step in pairing your Roku remote is to insert fresh batteries into the remote. Having a reliable power source is crucial for ensuring that the remote functions properly and maintains a stable connection with your Roku device.
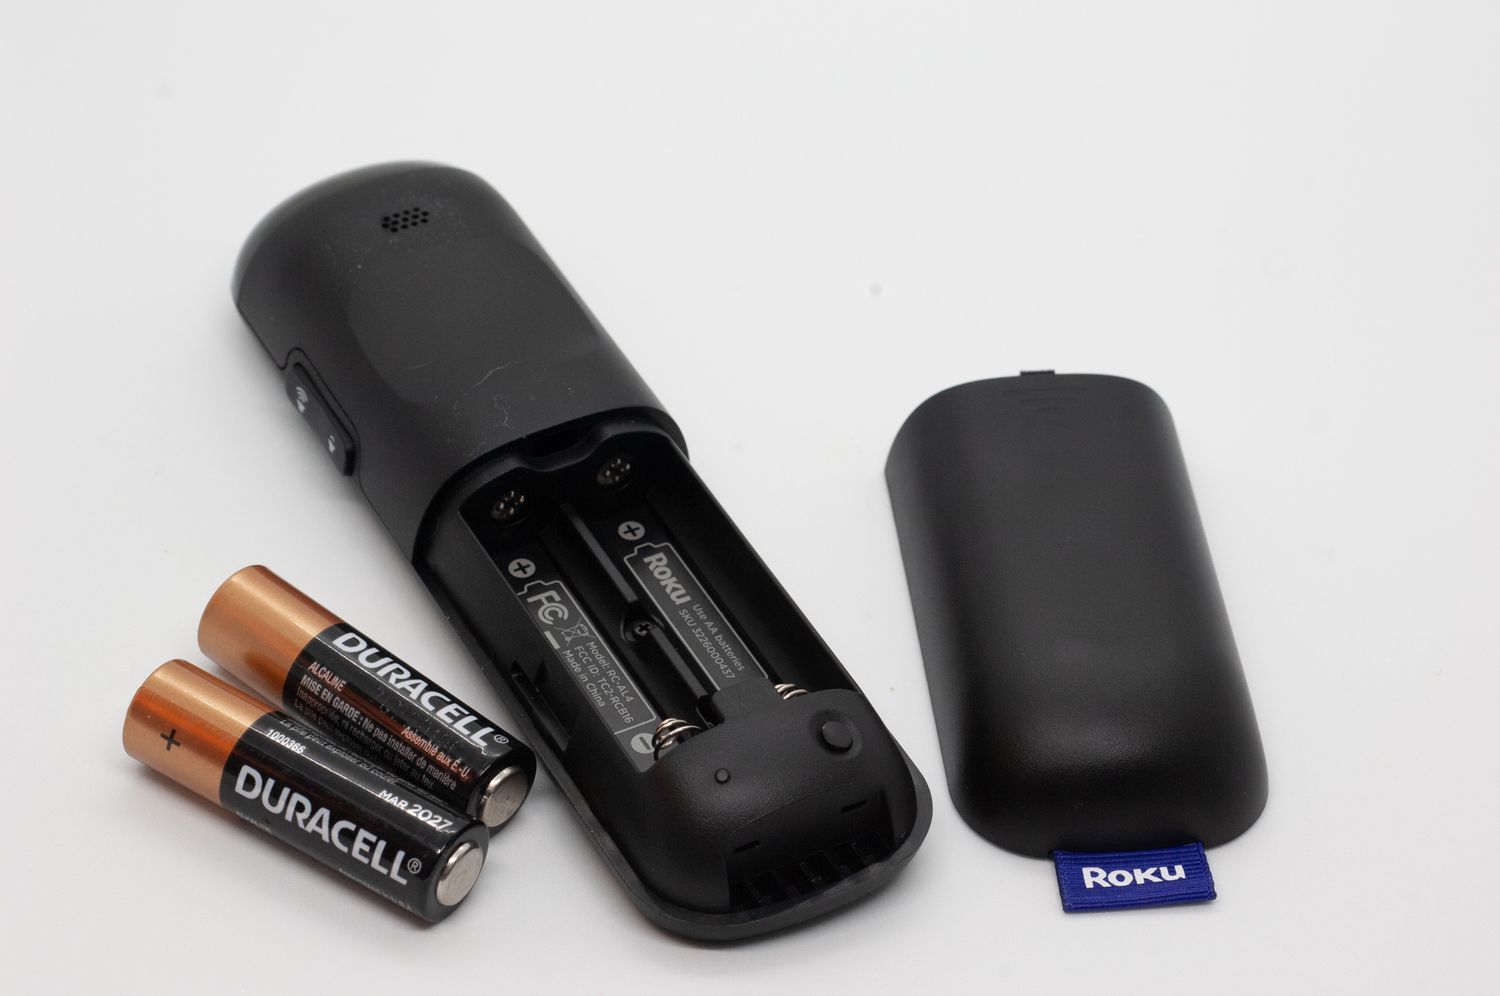
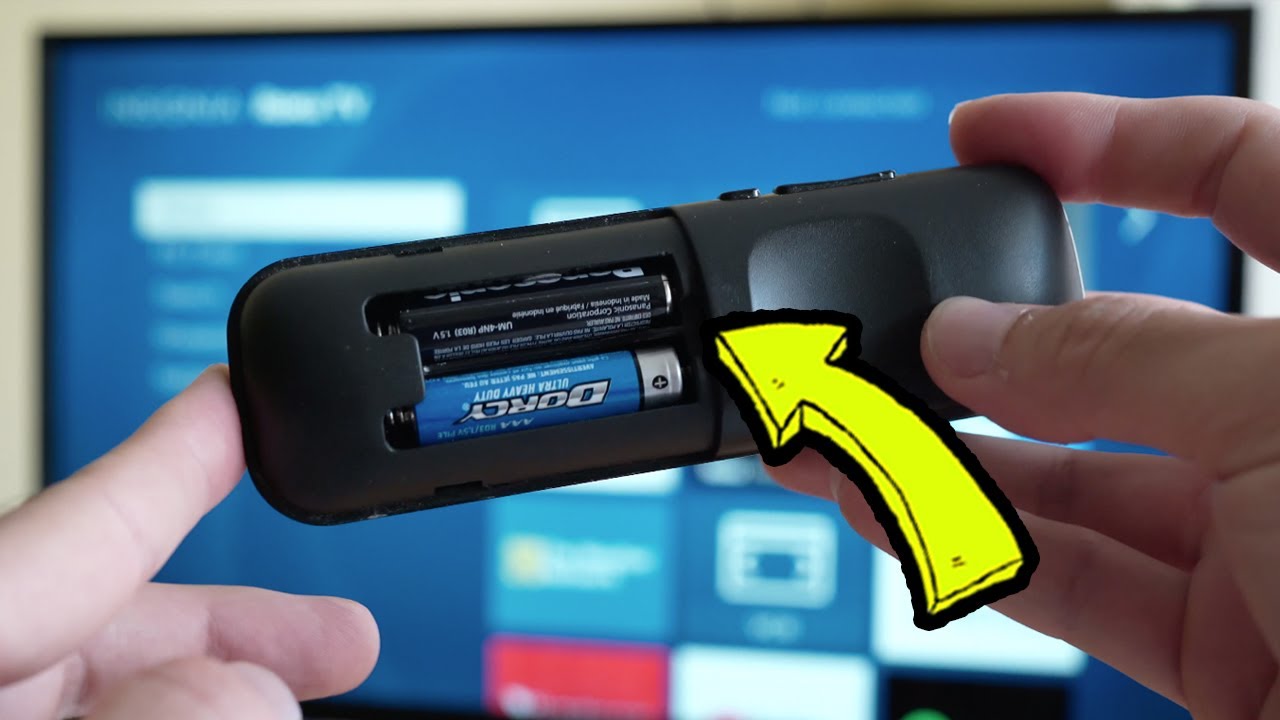
Most Roku remotes require two AA or AAA batteries, depending on the model. Check the documentation or the battery compartment on your remote to identify the correct battery type. Once you have identified the battery type, locate the battery compartment on the back of your Roku remote. It is usually situated towards the bottom of the remote.
To open the battery compartment, you may need to slide the cover or press a release button. Once the compartment is open, carefully insert the batteries into their respective slots, ensuring that the positive (+) and negative (-) ends align correctly with the markings inside the compartment. Double-check that the batteries are securely in place and that the compartment cover is closed properly.
Using fresh batteries ensures optimal performance and longevity for your Roku remote. It is recommended to use alkaline or lithium batteries, as they provide better power stability compared to other battery types. Avoid using old or partially discharged batteries, as they may cause intermittent connectivity issues and impact the performance of your remote.
Now that you have inserted fresh batteries into your Roku remote, you are ready to move on to the next step and start the pairing process. Keep the remote handy as we proceed to ensure a smooth and successful pairing.
Step 3: Turn on the TV or display monitor
Before proceeding with the pairing process, make sure to turn on your TV or display monitor that is connected to your Roku device. This step ensures that you can see the on-screen instructions and verify the successful pairing of your Roku remote.
Locate the power button on your TV or use the remote control that came with your TV to turn it on. If you are using an external display monitor, ensure that it is powered on as well. Depending on your setup, you may need to switch the input source on your TV or display monitor to the corresponding HDMI port or other connection where your Roku device is connected.
If you are unsure about which input source to select, consult the user manual or documentation of your TV or display monitor to find the correct procedure. Usually, there is a button labeled “Input” or “Source” on the TV’s remote control that allows you to cycle through the available input sources. Keep pressing the button until you see the display from your Roku device on the screen.
Once your TV or display monitor is turned on and set to the correct input source, you are ready to proceed with the pairing process. Ensure that your Roku device is already powered on and displaying the home screen before moving on to the next step.
With your TV or display monitor powered on and correctly set up, we can now move on to the next step and begin the pairing process for your Roku remote.
Step 4: Locate the pairing button on the Roku device
In this step, you need to locate the pairing button on your Roku device. The pairing button is required to initiate the pairing process between your Roku remote and the Roku device.
The location of the pairing button may vary depending on the model of your Roku device. In most cases, it is located on the back or bottom of the device. Look for a small button labeled “Pairing” or an icon that represents the pairing function. The button may be recessed or have a small pinhole, so you may need to use a paperclip or a similar object to press it.
If you are having trouble locating the pairing button, refer to the user manual or documentation that came with your Roku device. It will provide specific instructions and diagrams to help you find the pairing button on your particular model.
Take a moment to find the pairing button on your Roku device before proceeding to the next step. Once you have located it, we can move forward with the pairing process. Make sure to keep your Roku remote and fresh batteries nearby as we continue.
If you have successfully located the pairing button, you are ready to proceed to the next step and begin the pairing process for your Roku remote.
Step 5: Press and hold the pairing button on the Roku device
Now that you have located the pairing button on your Roku device, it’s time to initiate the pairing process. In this step, you will need to press and hold the pairing button on the Roku device to activate the pairing mode.
Take your Roku remote and ensure that it is within close proximity to the Roku device. This will ensure a strong and reliable connection during the pairing process. Hold the remote securely in your hand and prepare to press the pairing button on the Roku device.
With your Roku device powered on and the home screen displayed on your TV or display monitor, locate the pairing button on the Roku device. Once you have found it, use your finger or a suitable object, such as a paperclip, to press and hold the pairing button. Keep holding the button down for about 3 to 5 seconds, or until you notice the pairing light on the Roku device start to flash.
The pairing light serves as an indication that the Roku device has entered pairing mode and is ready to establish a connection with your Roku remote. The light may blink rapidly or in a specific pattern, depending on your Roku device model.
It’s important to note that the pairing mode is active for a limited amount of time, typically within a minute or two after pressing the pairing button. If you miss the timeframe, you may need to restart the process by pressing and holding the pairing button again.
Now that you have successfully pressed and held the pairing button on the Roku device, we can proceed to the next step, which involves pairing the Roku remote with the Roku device.
Step 6: Wait for the pairing light to flash on the Roku device
After pressing and holding the pairing button on your Roku device, you will need to wait for the pairing light to start flashing. The pairing light serves as an indication that the Roku device is in pairing mode and ready to establish a connection with your Roku remote.
Depending on the model of your Roku device, the pairing light may blink rapidly, flash in a specific pattern, or illuminate steadily. Refer to the user manual or documentation that came with your Roku device to familiarize yourself with the specific pairing light behavior for your model.
The duration for the pairing light to start flashing may vary. In most cases, it takes a few seconds for the pairing light to become active. It’s important to be patient and avoid pressing any buttons or interrupting the process during this time.
During this waiting period, keep your Roku remote nearby and ensure that it is ready for pairing. The remote should have fresh batteries inserted and be within range of the Roku device for a successful connection.
Once the pairing light on the Roku device starts flashing, it indicates that the Roku device is actively searching for a compatible remote to pair with. The flashing light is a positive sign that the pairing process is progressing as expected.
Now that you have successfully reached this step and are waiting for the pairing light to flash on your Roku device, we can proceed to the next step and move closer to completing the pairing process.
Step 7: Press and hold the pairing button on the Roku remote
With the pairing light on the Roku device flashing, it’s time to pair your Roku remote. In this step, you will need to press and hold the pairing button on the Roku remote to establish a connection with the Roku device.
Take the Roku remote in your hand and ensure that it is within close range of the Roku device. Firmly hold the remote and prepare to press the pairing button on the remote.
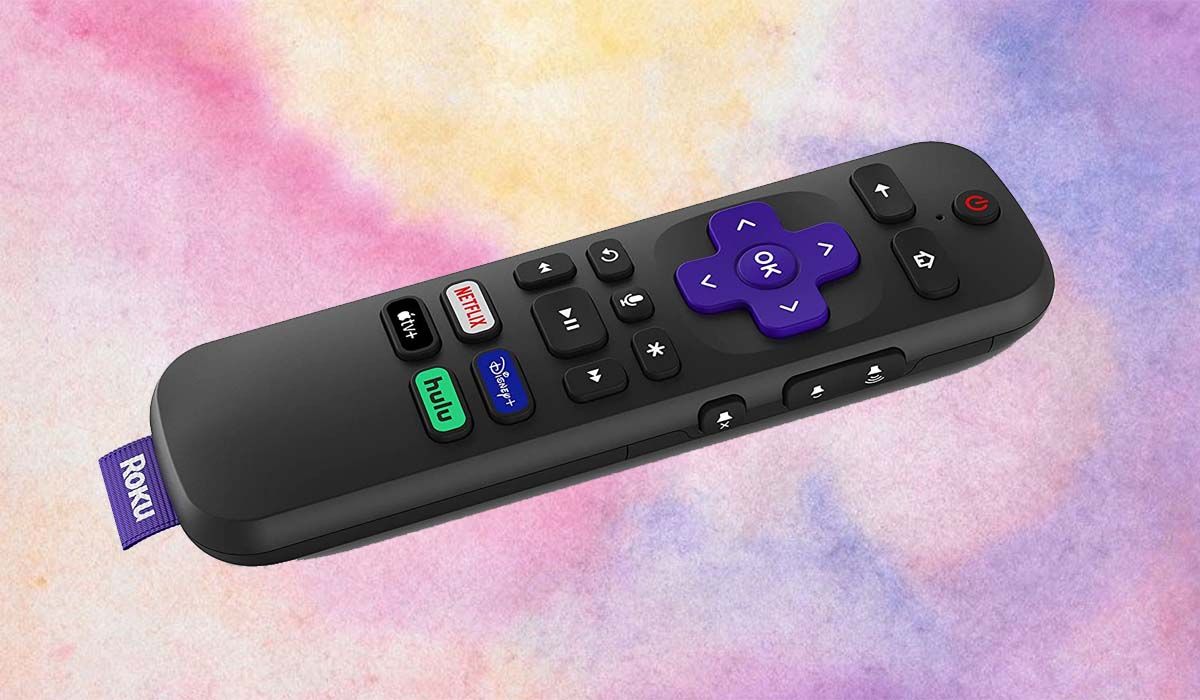
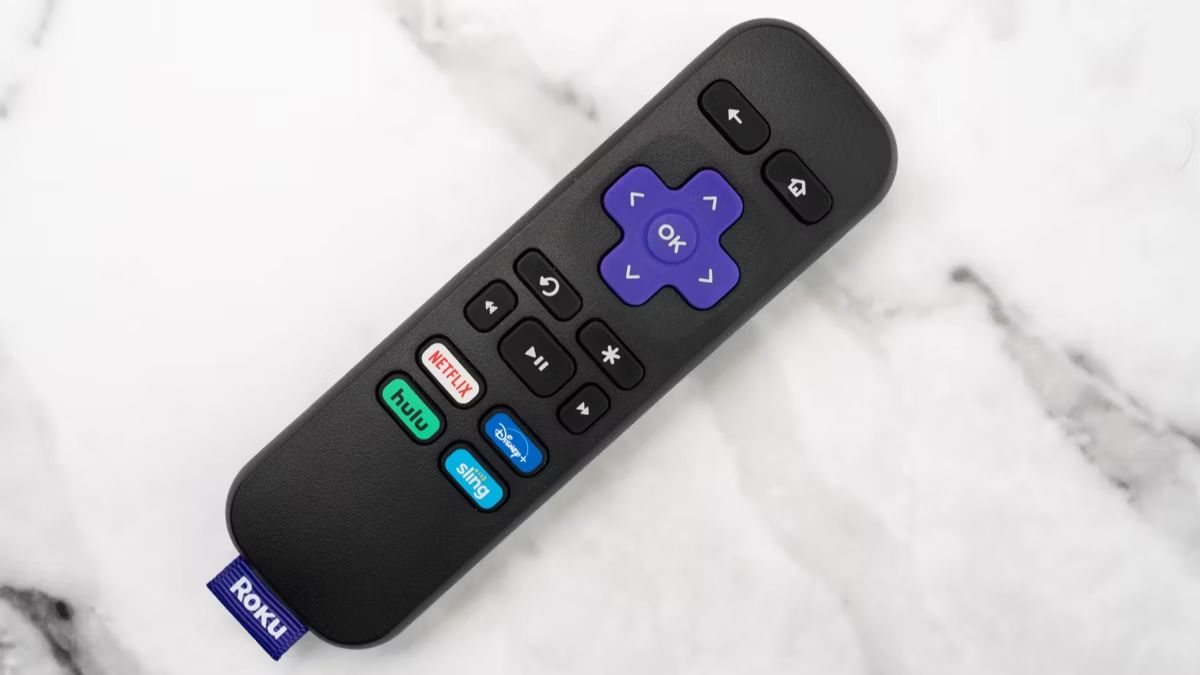
Locate the pairing button on your Roku remote. Depending on the model, it may be located on the back, bottom, or side of the remote. The button is typically labeled as “Pairing” or features an icon that represents the pairing function. Press and hold the pairing button on the remote for about 3 to 5 seconds.
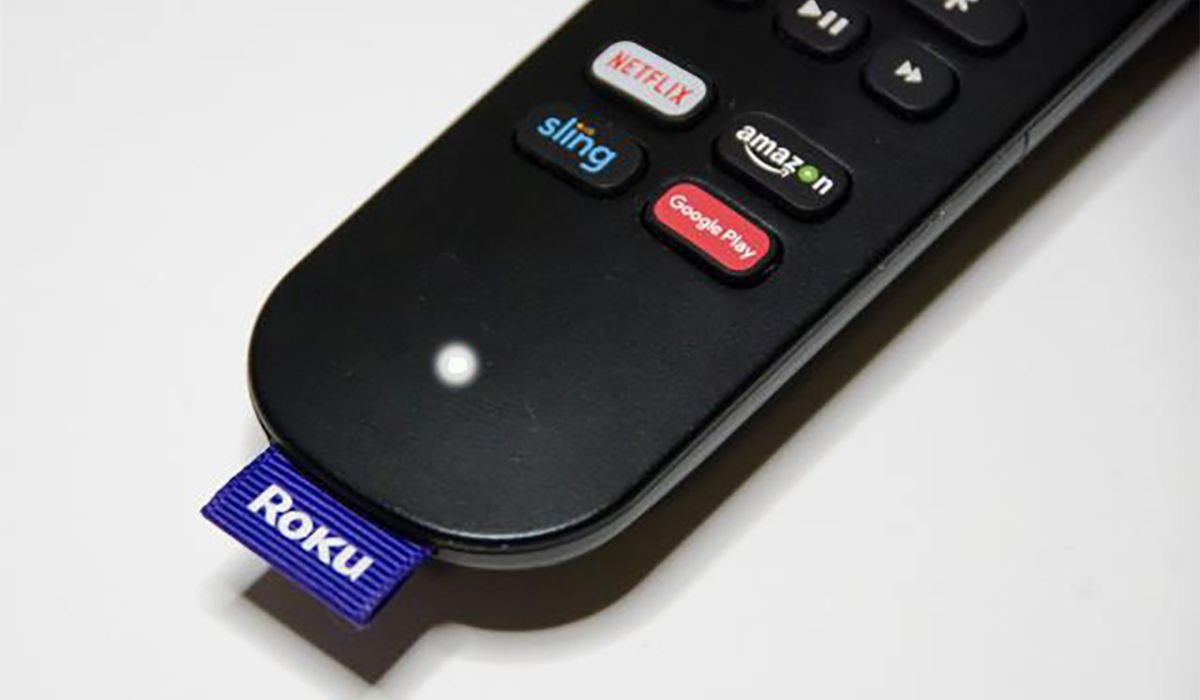
While you are holding the pairing button, pay attention to the pairing light on the Roku remote. It should start flashing or blink rapidly as the remote enters pairing mode. This indicates that the remote is actively searching for the Roku device to establish a connection.
It’s important to note that the pairing process must be completed within the pairing mode window, which is usually a minute or two after pressing the pairing button on the Roku device. If the pairing mode times out, you may need to restart the process by pressing and holding the pairing button on both the Roku device and remote again.
Now that you have successfully pressed and held the pairing button on the Roku remote, we can proceed to the next step and continue the pairing process.
Step 8: Wait for the pairing light to flash on the Roku remote
After pressing and holding the pairing button on your Roku remote, you will need to wait for the pairing light to start flashing. The pairing light indicates that the Roku remote is in pairing mode and actively searching for the Roku device to establish a connection.
Depending on the model of your Roku remote, the pairing light may blink rapidly, flash in a specific pattern, or illuminate steadily. Refer to the user manual or documentation that came with your Roku remote to understand the specific pairing light behavior for your model.
The duration for the pairing light to start flashing may vary, usually taking a few seconds for the remote to enter pairing mode. It’s essential to be patient and avoid pressing any buttons or interrupting the process during this time.
During the waiting period, ensure that the Roku device is still in pairing mode with its pairing light flashing. It is crucial to maintain the proximity between the Roku remote and the Roku device for a successful connection.
The flashing pairing light on your Roku remote signifies that the remote is actively seeking and attempting to pair with the Roku device. This light indicates that the pairing process is progressing as expected.
Now that you have successfully reached this step and are waiting for the pairing light to flash on your Roku remote, we can proceed to the next step to confirm if the Roku remote has been paired successfully with the Roku device.
Step 9: Check if the Roku remote is paired successfully
After completing the pairing process, it’s important to confirm whether your Roku remote has been successfully paired with the Roku device. This step ensures that you can control the Roku device with your remote and enjoy a seamless streaming experience.
To check if the Roku remote is paired successfully, first, observe the pairing lights on both the Roku device and the remote. If the pairing lights on both devices have stopped flashing and remain steady or turned off, it indicates a successful pairing.
Next, test the functionality of your Roku remote. Point the remote towards your Roku device and press various buttons to ensure they are responding correctly. Check if you can navigate through the Roku interface, access streaming channels, adjust volume, and use any additional features available on your remote.
If all the functions work as expected, it confirms that your Roku remote is successfully paired with the Roku device. You can now enjoy convenient control over your streaming experience without any interruptions.
In case the remote does not respond or you encounter any issues, try the following troubleshooting steps:
- Make sure the Roku device and remote have fresh batteries inserted.
- Ensure that there are no physical obstructions between the remote and the Roku device that might interfere with the signal.
- Restart the Roku device and wait for it to fully reboot before testing the remote again.
- If the issue persists, consult the troubleshooting section of your Roku device’s user manual or reach out to the Roku support team for further assistance.
By following these steps and confirming that your Roku remote is paired successfully, you can now enjoy the full functionality of your Roku device and effortlessly navigate through the streaming content of your choice.
Conclusion
Pairing your Roku remote to your Roku device is a simple and essential process that ensures you have full control over your streaming experience. By following the steps outlined in this guide, you can easily pair your remote and enjoy seamless navigation through your favorite streaming channels.
Starting with powering on your Roku device and inserting fresh batteries into your remote, you then turn on your TV or display monitor and locate the pairing buttons on both the Roku device and remote. Pressing and holding these buttons initiates the pairing mode, indicated by flashing pairing lights on both devices. Waiting for the pairing lights to stop flashing, you can then test your remote to ensure successful pairing.
If you encounter any issues during the pairing process, refer to the troubleshooting tips provided or consult the user manual and support resources for your specific Roku device model.
Once your Roku remote is successfully paired with your Roku device, you can enjoy the convenience of controlling your streaming activities from the comfort of your couch. Browse through various streaming channels, adjust the volume, and utilize any additional features your remote offers, such as voice commands or shortcut buttons.
Keep in mind that if you ever need to replace your Roku remote or pair it with a different Roku device, you can follow these same steps to establish a new connection.
With your Roku remote now paired and ready to use, you can sit back, relax, and immerse yourself in the world of entertainment that Roku has to offer.