Introduction
Welcome to this guide on how to unbind your DJI drone from your account. If you’re looking to sell your drone, transfer ownership, or simply want to start fresh with a new account, unbinding your DJI drone is a necessary step. Unbinding your drone will disconnect it from your current account, allowing it to be linked to a different account or used without any account association.
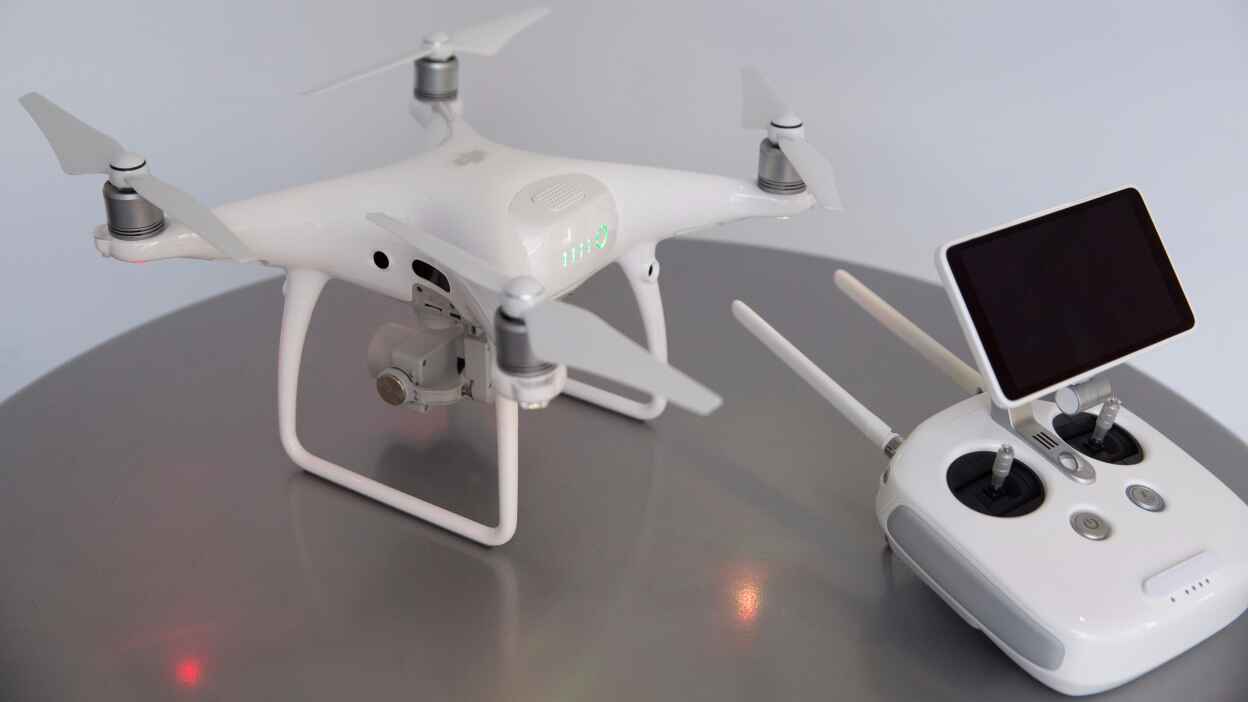
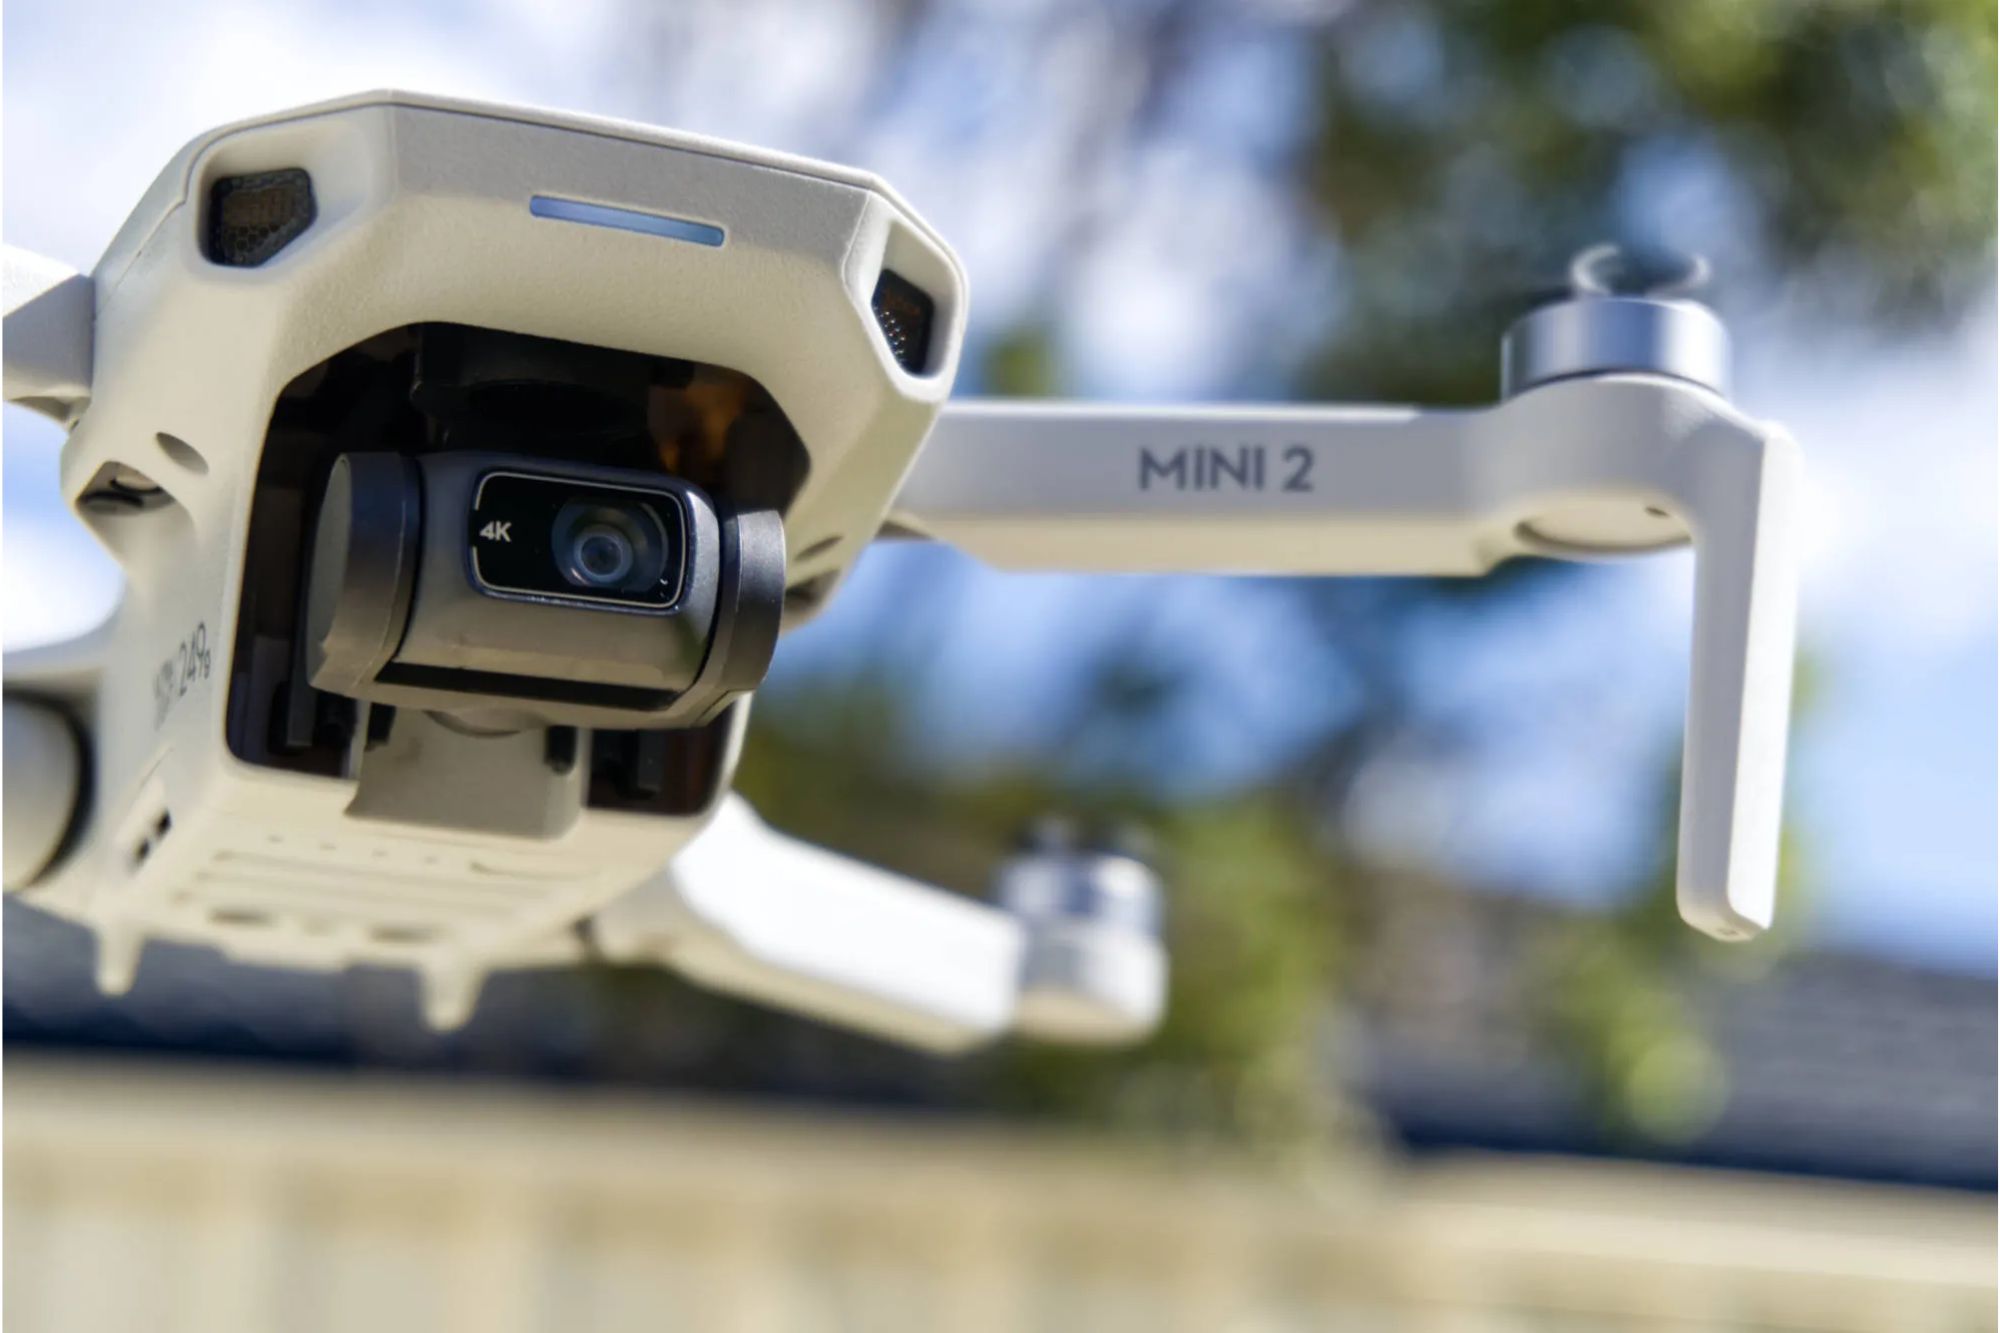
Whether you own a DJI Mavic, Spark, Phantom, or any other DJI drone model, the process of unbinding is generally the same. In this guide, we will walk you through the steps involved in unbinding your DJI drone from your account.
It’s important to note that unbinding your drone will not delete any data stored on the drone itself, such as flight routes or media files. This process only removes the association between the drone and your DJI account.
Before we dive into the step-by-step instructions, let’s take a look at the reasons why you might want to unbind your DJI drone from your account.
Reasons for Unbinding DJI Drone from Account
There are several reasons why you might want to unbind your DJI drone from your account. Here are a few common scenarios where unbinding is necessary:
- Selling or Transferring Ownership: If you’re selling your DJI drone or transferring ownership to someone else, unbinding the drone is essential. By disconnecting it from your account, you ensure that the new owner can link it to their own DJI account.
- Switching DJI Accounts: If you’re using a different DJI account or creating a new one, you’ll need to unbind your drone from the current account to link it to the new one. This is necessary if you want to change the account associated with your drone for any reason.
- Resolving Technical Issues: In some cases, unbinding and re-binding your DJI drone can help resolve technical issues such as connectivity problems or syncing errors. This process essentially resets the connection between the drone and the account, which can potentially resolve any software-related issues.
- Starting Fresh: If you want to start fresh with a clean slate, unbinding your DJI drone can be a great way to achieve that. By unlinking it from your account, you can create a new account and establish a fresh association with your drone.
- Privacy and Security: If you have concerns about your privacy or security, unbinding your DJI drone can provide peace of mind. By unlinking it from your account, you ensure that your drone’s flight data and other information are no longer associated with your personal account.
These are just a few of the many reasons why unbinding your DJI drone from your account might be necessary. Now that you understand the possible motivations for unbinding, let’s move on to the steps involved in preparing to unbind your DJI drone.
Preparing to Unbind DJI Drone
Before starting the process of unbinding your DJI drone, there are a few things you need to do to ensure a smooth and successful unbinding:
- Back up Your Data: Before unbinding your drone, it’s a good idea to back up any important flight data or media files. This includes flight logs, photos, and videos stored on the drone’s memory card. Transfer these files to your computer or another storage device to prevent any potential loss during the unbinding process.
- Charge the Drone Battery: Make sure your DJI drone is sufficiently charged before proceeding. Unbinding your drone may require you to power it on and off multiple times, and a fully charged battery ensures that the process won’t be interrupted due to low power.
- Ensure Stable Internet Connection: Unbinding your DJI drone requires a stable internet connection. Make sure you’re connected to a reliable Wi-Fi network or have a strong mobile data signal before proceeding. This ensures that the unbinding process can be completed without any interruption.
- Update DJI App: It’s recommended to update your DJI app to the latest version before unbinding your drone. This ensures that you have access to all the necessary features and settings during the unbinding process. Update the app via the Google Play Store or Apple App Store, depending on your device.
- Remove Propellers (Optional): If you prefer, you can remove the propellers from your DJI drone during the unbinding process. This step is optional but can provide an added level of safety, especially if you’re new to handling drones or want to avoid any accidental movements during the process.
By completing these preparatory steps, you will be ready to proceed with unbinding your DJI drone from your account. Next, we will guide you through the step-by-step instructions to successfully unbind your DJI drone.
Step 1: Updating DJI App
Before unbinding your DJI drone, it’s important to ensure that you have the latest version of the DJI app installed on your smartphone or tablet. Updating the app will ensure that you have access to all the necessary features and settings during the unbinding process. Here’s how you can update the DJI app:
- Open the App Store or Google Play Store: Depending on whether you use an iOS or Android device, open the respective app store.
- Search for DJI App: In the search bar, type “DJI” and search for the DJI app.
- Check for Updates: If there’s an available update for the DJI app, you will see an “Update” button next to the app. Tap on the button to initiate the update process.
- Wait for the Update to Complete: The update process may take a few minutes, depending on your internet connection and the size of the update. Ensure that you have a stable internet connection and let the update complete.
- Launch the Updated DJI App: Once the update is finished, tap on the “Open” button or find the DJI app on your device’s home screen to launch it.
By updating the DJI app to the latest version, you ensure that you have access to the most up-to-date features and functionalities, which can be crucial during the unbinding process. Now that you have the updated app, let’s move on to the next step: disconnecting your DJI drone from the remote controller.
Step 2: Disconnecting DJI Drone from Remote Controller
Before proceeding with unbinding your DJI drone, you’ll need to disconnect it from the remote controller. This step ensures that the drone is not paired with the controller during the unbinding process. Here’s how you can disconnect your DJI drone from the remote controller:
- Power Off the Remote Controller: Start by turning off the remote controller. Locate the power button on the controller and press and hold it until the controller shuts down.
- Power On the DJI Drone: Now, power on your DJI drone. Depending on the model, you may need to press and hold the power button for a few seconds until the drone’s lights start blinking or the drone’s status indicator shows that it’s powered on.
- Wait for the Drone to Initialize: Give your DJI drone a few moments to initialize and establish a connection with the DJI app on your smartphone or tablet. Make sure that the drone is connected to the app before proceeding to the next step.
- Disconnect the Cable: Locate the cable that connects the DJI drone to the remote controller. It’s usually a USB or Lightning cable, depending on the model. Disconnect the cable from both the drone and the remote controller, ensuring that it’s completely detached.
- Verify Disconnection: Check that the DJI app on your smartphone or tablet no longer displays a connection to the remote controller. The app should indicate that the drone is not connected to any remote controller.
By disconnecting your DJI drone from the remote controller, you ensure that there are no active connections that may interfere with the unbinding process. Once you have successfully disconnected the drone from the remote controller, you can proceed to the next step: resetting the drone’s settings.
Step 3: Resetting DJI Drone Settings
Resetting the settings of your DJI drone is an important step in the unbinding process. By resetting the drone’s settings, you ensure that any previous configuration or customization is cleared, preparing it for the unbinding procedure. Here’s how you can reset the settings of your DJI drone:
- Open the DJI App: Launch the DJI app on your smartphone or tablet that is connected to your DJI drone.
- Go to Settings: Navigate to the settings menu within the DJI app. The location of the settings menu may vary slightly depending on the app version, but it is typically represented by a gear icon or a similar symbol.
- Locate the Reset or Factory Reset Option: Look for an option that allows you to reset the drone’s settings. This option may be named “Reset Drone,” “Factory Reset,” or something similar. Tap on it to continue.
- Confirm the Reset: A confirmation message will appear, asking you to confirm the reset action. Read the message carefully to understand the consequences of the reset. If you’re sure you want to proceed, tap on “Confirm” or a similar button.
- Wait for the Reset to Complete: The reset process may take a few moments. Allow your DJI drone to complete the resetting procedure. During this time, avoid turning off the drone or closing the app.
- Verify Reset: Once the reset is complete, verify that the drone’s settings have been successfully restored to their default values. Check that any previous configurations or customizations have been removed.
By resetting the settings of your DJI drone, you ensure that it is ready to be unbound from your account. Now that the drone’s settings have been reset, let’s move on to the next step: disabling the drone from your DJI account.
Step 4: Disabling DJI Drone from DJI Account
Before you can unbind your DJI drone from your account, you’ll need to disable it from your DJI account. Disabling the drone ensures that it is no longer associated with your account and can be linked to a different account or used without any account association. Here’s how you can disable your DJI drone from your DJI account:
- Open the DJI App: Launch the DJI app on your smartphone or tablet that is connected to your DJI drone.
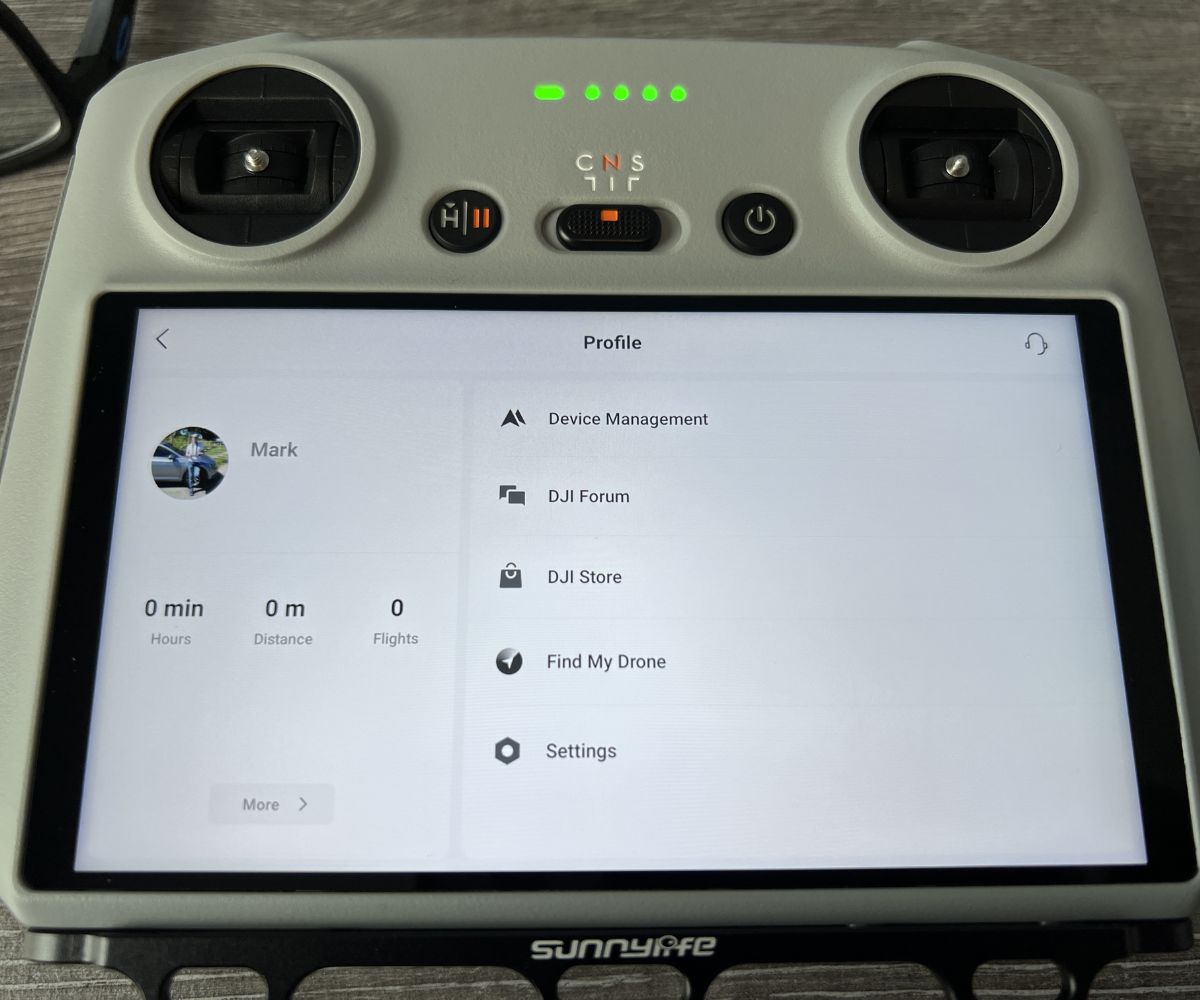
- Access Account Settings: Navigate to the account settings within the app. This is typically represented by a profile icon or a similar symbol.
- Locate Your Drone: Find the section that displays the drones linked to your DJI account. Look for the name or model of your DJI drone in this list.
- Select Disable or Unlink: Tap on the option that allows you to disable or unlink your DJI drone from your account. The wording may vary slightly, but it should be clear that this action will disconnect the drone from your account.
- Confirm the Disabling: A confirmation message will appear, informing you about the consequences of disabling the drone. Read the message carefully to understand the implications. If you’re sure you want to proceed, tap on “Confirm” or a similar button.
- Wait for the Drone to Disable: The disabling process may take a few moments. Allow your DJI drone to complete the disabling procedure. During this time, avoid turning off the drone or closing the app.
- Verify Disabling: Once the disabling is complete, verify that your DJI drone is no longer associated with your DJI account. Check that the drone is no longer listed in the drones linked to your account section of the app.
Disabling your DJI drone from your DJI account is an important step to ensure a successful unbinding process. Once your drone has been disabled, you can proceed to the next step: unbinding your DJI drone from your DJI account.
Step 5: Unbinding DJI Drone from DJI Account
Now that your DJI drone has been disabled from your DJI account, it’s time to proceed with unbinding it completely. Unbinding your drone will disconnect it from your DJI account, allowing it to be linked to a different account or used without any account association. Follow these steps to unbind your DJI drone from your DJI account:
- Open the DJI App: Launch the DJI app on your smartphone or tablet that is connected to your DJI drone.
- Access Account Settings: Navigate to the account settings within the app. This is typically represented by a profile icon or a similar symbol.
- Locate Your Drone: Find the section that displays the drones linked to your DJI account. Look for the name or model of your DJI drone in this list.
- Select Unbind or Disconnect: Tap on the option that allows you to unbind or disconnect your DJI drone from your account. The wording may vary slightly, but it should be clear that this action will completely disconnect the drone from your account.
- Confirm the Unbinding: A confirmation message will appear, informing you about the consequences of unbinding the drone. Read the message carefully to understand the implications. If you’re sure you want to proceed, tap on “Confirm” or a similar button.
- Unbind the Drone: The app will initiate the unbinding process and disconnect your DJI drone from your account. During this process, ensure that your drone is powered on and within range of the app.
- Verify Successful Unbinding: Once the unbinding process is complete, verify that your DJI drone is no longer associated with your DJI account. Check that the drone is no longer listed in the drones linked to your account section of the app.
Congratulations! You have successfully unbound your DJI drone from your DJI account. This means that the drone is now free to be linked to a different account or used without any account association. In the next step, we will verify the successful unbinding of your DJI drone.
Step 6: Verifying Successful Unbinding
After completing the process of unbinding your DJI drone from your DJI account, it’s important to verify that the unbinding was successful. This step ensures that your drone is no longer associated with your account and can be linked to a different account or used without any account association. Here’s how you can verify the successful unbinding of your DJI drone:
- Restart the DJI Drone: Power off your DJI drone and then power it back on. This will refresh the drone’s system and establish a new connection.
- Open the DJI App: Launch the DJI app on your smartphone or tablet that is connected to your DJI drone.
- Check Account Settings: Navigate to the account settings within the app. Look for the section that displays the drones linked to your DJI account.
- Verify Unbinding: Confirm that your DJI drone is no longer listed in the drones linked to your account section of the app. This indicates that the unbinding process was successful.
- Test Drone Functionality: Fly your DJI drone using the app to test its functionality. Ensure that you can control the drone, access its settings, and perform basic operations without any issues.
- Re-Link if Necessary: If you wish to link your DJI drone to a different DJI account, you can follow the appropriate process to establish a new association.
By verifying the successful unbinding of your DJI drone, you can have confidence that it is no longer tied to your DJI account. This allows for flexibility in ownership, account management, and usage. With the unbinding process complete, you are now free to enjoy your DJI drone with a fresh start or connect it to a different account.
Conclusion
Unbinding your DJI drone from your account is an essential step if you’re selling your drone, transferring ownership, or simply want to start fresh with a new DJI account. Throughout this guide, we have walked you through the step-by-step process of unbinding your DJI drone, ensuring that you can successfully disconnect it from your account.
From updating the DJI app to disconnecting the drone from the remote controller, resetting the drone’s settings, disabling it from your DJI account, and finally unbinding it completely, each step plays a crucial role in the unbinding process. By following these steps, you can ensure that your DJI drone is ready to be linked to a different account or used without any account association.
Remember to prepare your drone by backing up any important data, charging the battery, ensuring a stable internet connection, and removing propellers if desired. By taking these preparatory steps, you set yourself up for a smooth and successful unbinding process.
Upon verifying the successful unbinding, you can test your DJI drone’s functionality and decide if you want to link it to a different DJI account or enjoy a fresh start with your drone experiences. Whatever your reasons may be, unbinding your DJI drone provides you with the freedom and flexibility to manage your drone and DJI account as you see fit.
We hope that this guide has been helpful to you, and that you can now confidently unbind your DJI drone from your account. Enjoy your drone adventures and have a great time exploring the possibilities that your DJI drone offers!