Introduction
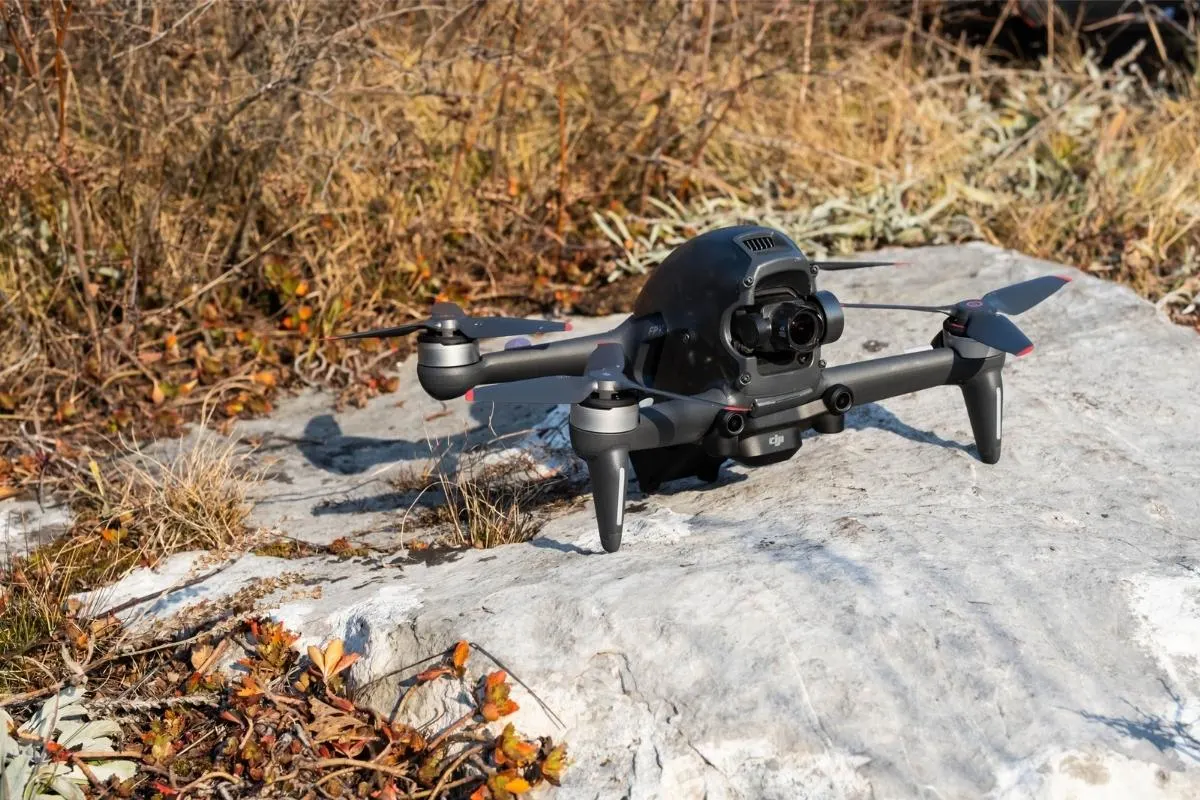
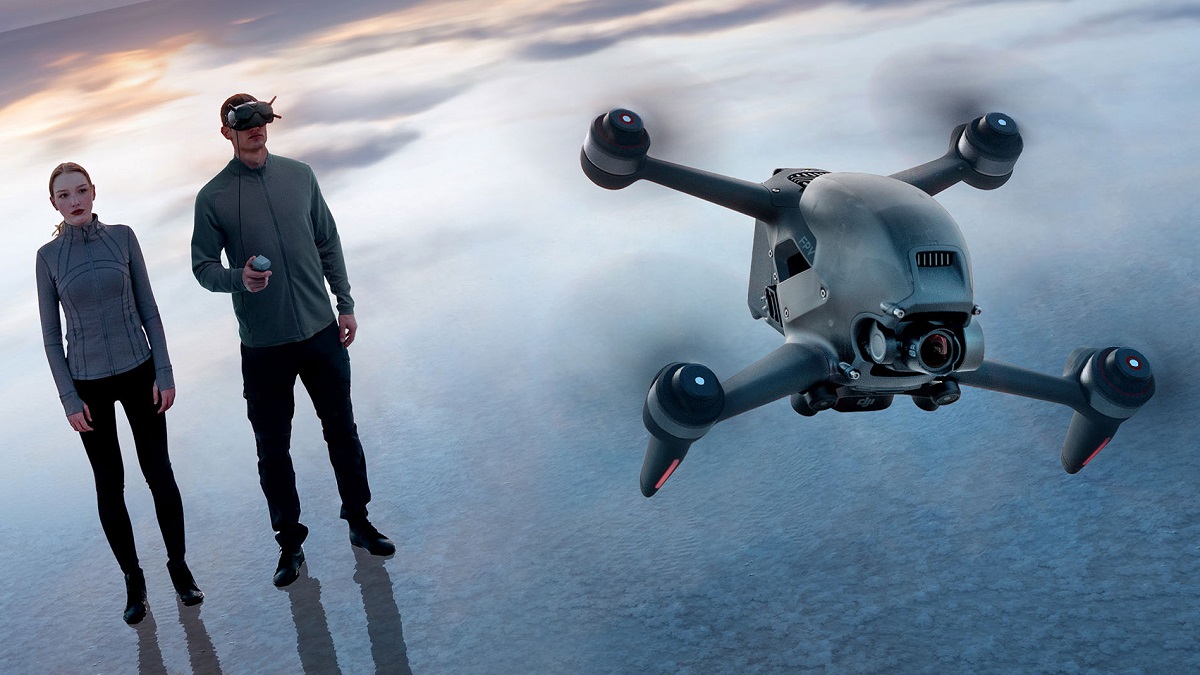
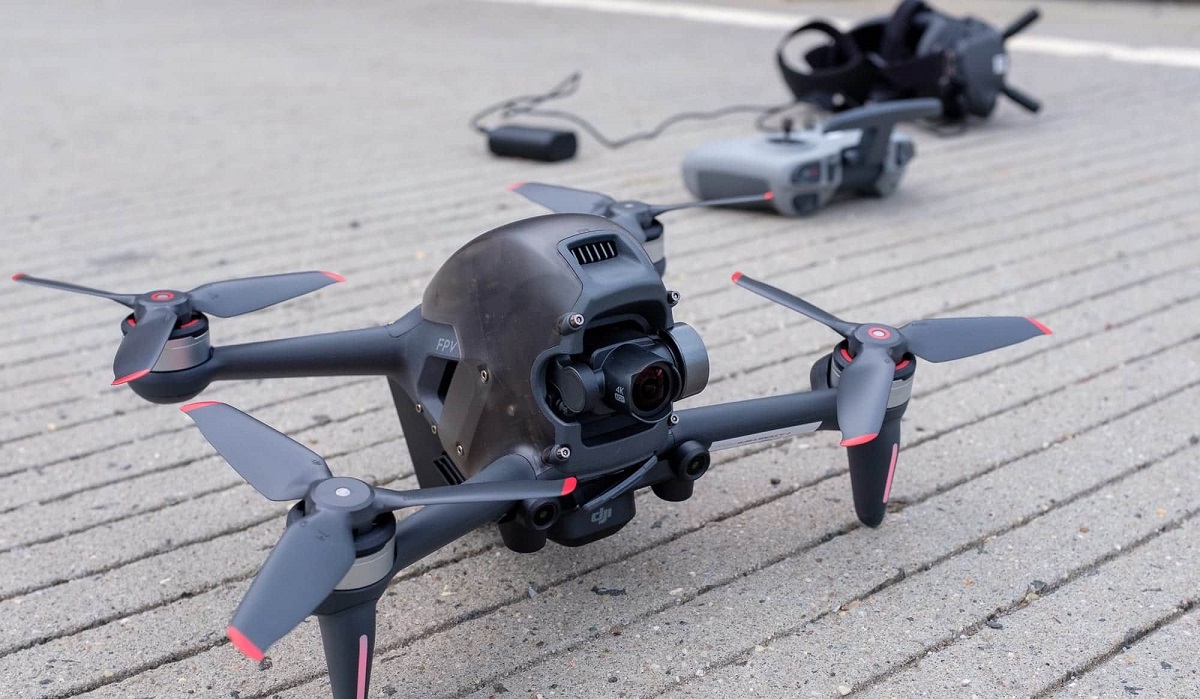
The DJI FPV Drone is an exciting and immersive way to experience the world of aerial photography and videography. With its first-person view goggles and high-performance flight capabilities, this drone allows you to fly like never before. However, before you can take to the skies, you need to activate your DJI FPV Drone. In this article, we will guide you through the process step by step, ensuring a smooth and successful activation.
Activating your DJI FPV Drone is a crucial step that ensures your safety and compliance with regulations. By going through the activation process, you activate the drone’s flight restrictions, such as geofencing, and enable features like Return to Home and Emergency Brake. Additionally, activating the drone allows you to receive firmware updates and access the full range of features and functionalities.
So, without further ado, let’s dive into the step-by-step process of activating your DJI FPV Drone. Starting from unboxing and all the way to configuring flight settings, this guide will provide you with all the necessary information to get your drone up and running.
Step 1: Unboxing the DJI FPV Drone
The first step in activating your DJI FPV Drone is to unbox it. When you receive your drone, make sure to handle the packaging carefully and keep all the contents in a safe place so that nothing gets lost or damaged.
Start by removing the outer sleeve of the packaging and then open the box. Inside, you’ll find the DJI FPV drone securely nestled in foam padding. Lift it out of the box and set it aside temporarily.
Next, remove the compartment that houses the accessories. This compartment is usually located beneath the drone. It contains various components such as the goggles, controller, charging cable, propellers, and other essential items.
Take a moment to familiarize yourself with all the contents of the box. Carefully inspect each accessory to ensure that everything is in good condition and nothing is missing. If you notice any damage or missing items, it’s important to contact DJI customer support for assistance.
It’s worth noting that some accessories might come separately packaged within the main box. These may include items like spare propellers, additional batteries, or even a carrying case. Double-check the box and any additional packaging to ensure you have retrieved all the accessories.
By unboxing your DJI FPV Drone, you are one step closer to activating it and embarking on your aerial adventures. Now that you have the drone and all its accessories ready, it’s time to move on to the next step: checking the contents of the box.
Step 2: Checking the Contents of the Box
After unboxing the DJI FPV Drone, it’s important to check the contents of the box to ensure that you have received all the necessary components and accessories.
Start by carefully examining the drone itself. Check for any visible signs of damage, such as dents or scratches. Inspect the propellers to ensure they are in good condition and securely attached. Take a close look at the camera and gimbal, making sure they are properly aligned and undamaged.
Next, move on to the included accessories. These typically include the goggles, controller, charging cable, propellers, and other essential items. Carefully inspect each accessory to ensure there is no visible damage or missing parts. Check the cables for any signs of fraying or damage and ensure that they are in good working condition.
It’s also important to check for any additional items that may have been included in the box. DJI sometimes includes extras like spare propellers, memory cards, or even a carrying case. Make sure to thoroughly search the packaging and any compartments to ensure you have retrieved all the included items.
If you find any damage or missing parts, it’s crucial to contact DJI customer support for assistance. They will be able to guide you on the next steps to take, such as getting a replacement or arranging for repairs.
By checking the contents of the box, you can be confident that you have all the necessary components to proceed with the activation process. Once you have verified that everything is in order, you are ready to move on to the next step: charging the battery.
Step 3: Charging the Battery
Before you can take your DJI FPV Drone for its inaugural flight, you must ensure that the battery is fully charged. This step is vital for maximizing the drone’s flight time and avoiding any potential issues mid-flight.
To charge the battery, locate the charging cable that came with your DJI FPV Drone. The charging cable usually has a USB Type-C connector on one end and a standard USB Type-A connector on the other.
Plug the USB Type-C end of the cable into the charging port on the drone. Make sure the connection is secure and that the cable is properly inserted. Then, connect the USB Type-A end of the cable into a power source such as a wall adapter or a USB port on your computer.
Once the battery is connected to the power source, the LED indicators on the battery will activate. These LED indicators will show the charging progress, typically in a sequence of flashing lights. It’s important to let the battery charge until all the LED indicators are solid, indicating that the battery is fully charged.
The charging time may vary depending on the battery’s initial charge level and the power output of the charging source. It is recommended to refer to the user manual for the approximate charging time for your specific battery model.
It’s important to note that it’s best practice to charge the battery in a well-ventilated area and away from flammable materials. It’s also recommended to never leave the battery unattended while charging.
Once the battery is fully charged, disconnect the charging cable from the drone and the power source. You are now ready to proceed with the next step: downloading the DJI Fly app.
Step 4: Downloading the DJI Fly App
To fully utilize the features and functionalities of your DJI FPV Drone, you’ll need to download the DJI Fly app. This app acts as the primary interface for controlling your drone and accessing important settings and features.
The DJI Fly app is available for both iOS and Android devices. To download the app, open the respective app store on your smartphone or tablet and search for “DJI Fly.” Once you find the app, tap the “Download” or “Install” button to begin the process.
Ensure that your device is connected to a stable internet connection during the download and installation process, as the app size can be quite substantial. You may also need to provide the necessary permissions for the app to function properly, such as access to your camera and location.
After the app is successfully downloaded and installed, tap on the icon to launch it. You’ll need to create a DJI account or log in with your existing one to access the app’s features. A DJI account allows you to sync your flight records, update firmware, and access online support.
Once you have logged in, the app will provide you with a user-friendly interface where you can access various features like flight modes, camera settings, and live view from the drone’s camera. Make sure to explore the app and familiarize yourself with its functions before your first flight.
It’s important to note that before connecting your DJI FPV Drone to the app, ensure that your drone and controller are powered on and within proximity to your mobile device. Follow the on-screen instructions within the app to establish a connection between your mobile device and the drone.
With the DJI Fly app successfully downloaded and installed on your device, you are now ready to move on to the next step: registering and logging in to the app.
Step 5: Registering and Logging In
In order to access all the features and capabilities of the DJI Fly app, you need to register for a DJI account and log in. This step is essential for syncing flight records, receiving firmware updates, and accessing online support for your DJI FPV Drone.
If you already have a DJI account, simply launch the DJI Fly app on your mobile device and tap on the “Sign In” or “Log In” button. Enter your registered email address and password, and then tap “Login” to access your account.
If you don’t have a DJI account yet, you can create one by tapping on the “Register” or “Sign Up” option within the app. Follow the on-screen prompts to provide the necessary information, such as your email address, password, and any additional details required for registration.
After you have provided all the required information, tap on the “Register” or “Create Account” button to finalize the registration process. A verification email may be sent to the provided email address. Follow the instructions in the email to verify your account and complete the registration.
Once registered and logged in, you will have access to a range of features within the DJI Fly app. These include flight settings, camera controls, live view from the drone’s camera, and more. Make sure to explore and familiarize yourself with the app’s interface and options before taking your first flight.
It’s important to note that you should ensure a stable internet connection during the registration and login process. This will allow for the proper synchronization of your account information and access to any necessary updates or support.
By successfully registering and logging in to the DJI Fly app, you are one step closer to fully activating your DJI FPV Drone. The next step in the process is updating the firmware, which we will cover in detail in the following section.
Step 6: Updating the Firmware
Updating the firmware of your DJI FPV Drone is an important step to ensure optimal performance and access to the latest features and improvements. DJI regularly releases firmware updates that address bugs, enhance flight stability, and introduce new functionalities. It is crucial to keep your drone’s firmware up to date.
To update the firmware, ensure that your DJI FPV Drone is powered on and connected to the DJI Fly app on your mobile device. Once you are logged in, you will receive a prompt if there are any available firmware updates for your drone.
Tap on the notification or navigate to the settings menu within the app to check for firmware updates. If there are updates available, the app will provide you with detailed instructions on how to proceed. Follow these instructions carefully to ensure a successful firmware update.
During the firmware update process, it is important to maintain a stable internet connection. Depending on the size of the update, it may take some time to download and install. It is recommended to have your drone connected to its charger or a power source to avoid any issues due to battery drainage during the update.
While the firmware is being updated, it is important to avoid interrupting the process or turning off the drone. Allow the update to complete fully, as interrupting it could potentially lead to firmware corruption or other issues.
Once the firmware update is complete, restart your drone and the DJI Fly app. This ensures that the updates are properly applied and that your drone is ready for the next step in the activation process.
It’s worth mentioning that DJI may release firmware updates for various components, such as the drone, goggles, or controller. It is important to check for updates for all relevant devices and update them accordingly to ensure compatibility and optimal performance.
By updating the firmware of your DJI FPV Drone, you are taking a proactive step to ensure the best possible flight experience with the most up-to-date features and improvements. Now that your firmware is updated, you are ready to move on to the next step: calibrating the drone.
Step 7: Calibrating the Drone
Calibrating the DJI FPV Drone is an essential step to ensure accurate flight controls and stable flight performance. Calibration helps the drone’s sensors and internal components to accurately determine its position, orientation, and movements. It is a crucial process that should be done correctly to ensure safe and reliable flights.
To calibrate the drone, start by finding an open, flat, and level surface where you can place your drone. This could be a table, floor, or any other stable surface. Ensure that the drone is powered off before beginning the calibration process.
Next, power on the DJI FPV Drone by pressing and holding the power button until the lights on the drone start to flash. This signifies that the drone is in calibration mode and ready to be calibrated.
To calibrate the drone, follow the specific instructions in the DJI Fly app. The app will guide you through the calibration process, which typically involves performing a series of movements with the drone to calibrate its gyroscope, accelerometer, and other sensors.
Ensure that you follow the instructions carefully and perform each movement precisely. This will help the drone’s internal sensors to accurately calibrate and provide reliable flight data.
During the calibration process, it’s important to keep the drone on a stable surface and avoid any interference that could disrupt the calibration. Make sure to remove any magnetic or electronic devices from the vicinity of the calibration area, as they can affect the accuracy of the calibration process.
Once the calibration is complete, the DJI Fly app will confirm the successful calibration, and you’ll be ready to proceed with the activation process. It’s important to note that calibrating the drone is typically a one-time process, unless specifically instructed by DJI or if you notice any flight irregularities that may require recalibration.
By calibrating your DJI FPV Drone, you are ensuring accurate flight controls and stable flight performance. Now that your drone is properly calibrated, it’s time to move on to the next step: activating the DJI FPV Drone.
Step 8: Activating the DJI FPV Drone
Activating your DJI FPV Drone is a crucial step in ensuring safe and compliant flights. During the activation process, the drone’s flight restrictions, such as geofencing, are activated, and important features like Return to Home and Emergency Brake become available.
To activate your drone, make sure that the DJI FPV Drone and the DJI Fly app are both powered on and connected. Launch the DJI Fly app on your mobile device and navigate to the activation section.
Follow the on-screen instructions within the app to initiate the activation process. You may be prompted to provide information such as your name, email address, and location details. Ensure that you provide accurate information to comply with local regulations.
If required, you might also need to provide proof of purchase or activate your drone using a license key provided by DJI. Follow the specific instructions provided by the app to complete these steps.
During the activation process, it is important to have a stable internet connection to allow the app to communicate with DJI’s servers and validate the activation. Once the process is complete, the app will confirm that your DJI FPV Drone is successfully activated and ready for flight.
Keep in mind that you may need to activate your drone periodically, especially if there are significant firmware updates or changes to the regulatory requirements. It is essential to stay up to date with any activation requirements and ensure that your drone is always in compliance.
By activating your DJI FPV Drone, you are unlocking its full range of features and functionalities while also complying with important flight restrictions and regulations. With your drone successfully activated, you are ready to move on to the next step: pairing the goggles and controller.
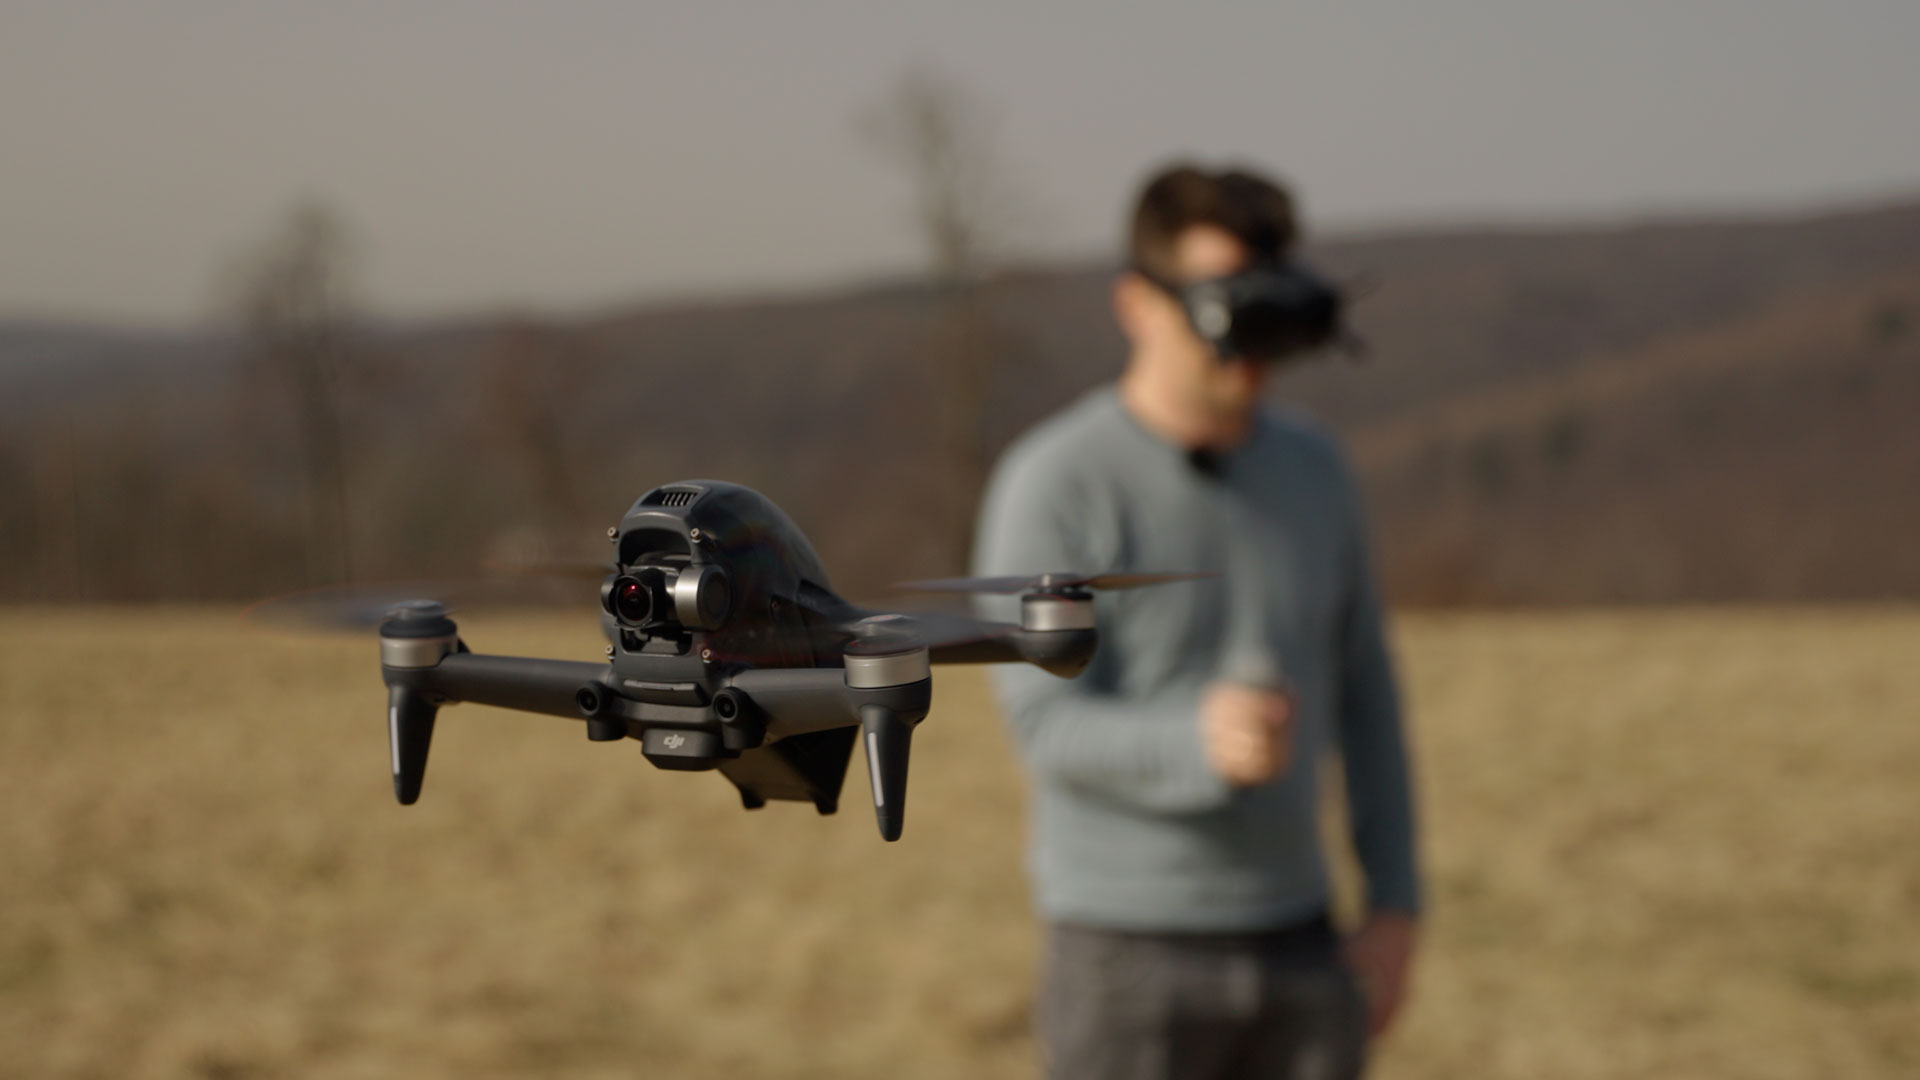
Step 9: Pairing the Goggles and Controller
In order to have full control over your DJI FPV Drone, you need to pair the goggles and controller with the drone. This pairing process establishes a wireless connection between the goggles, controller, and drone, enabling seamless control and live video feed from the drone’s camera.
To begin the pairing process, ensure that both the goggles and controller are powered off. On the DJI FPV Drone, power on the drone by pressing and holding the power button until the lights start to flash.
Next, power on the goggles by pressing and holding the power button until the DJI logo appears on the screen. Once the goggles are powered on, you will see an option to pair them with the controller.
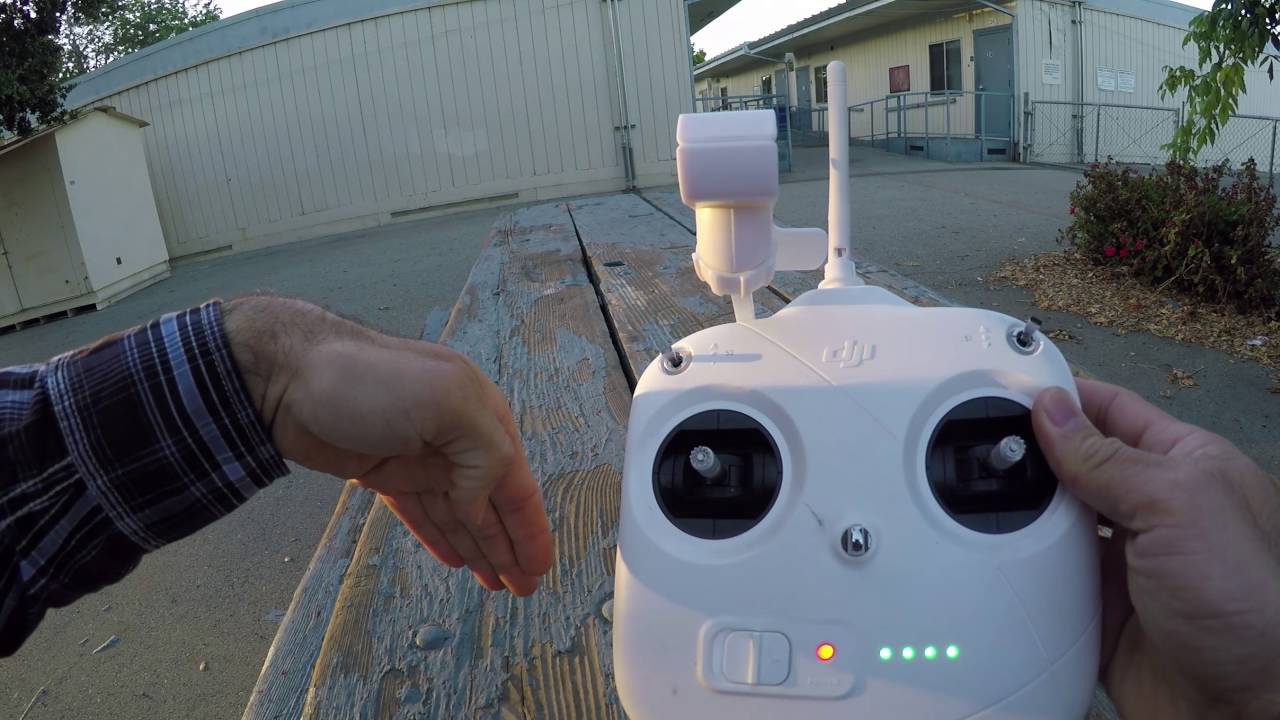
Power on the controller by pressing and holding the power button. The controller will emit a beeping sound and the front LEDs will flash, indicating that it is ready for pairing.
In the goggles, navigate to the Devices menu, usually found in the settings or preferences section. Select the option to pair the goggles with the controller. The goggles will search for nearby devices and display a list of available controllers.
Select your controller from the list and confirm the pairing. The goggles will establish a wireless connection with the controller. Once the pairing is successful, you will see a notification on the goggles confirming the connection.
Now that the goggles and controller are paired, it’s time to pair them with the DJI FPV Drone. On the controller, press and hold the link button, usually located on the front or side of the controller. The LEDs on the controller will begin to flash rapidly.
On the DJI FPV Drone, press and hold the power button until the LEDs on the drone and the controller turn solid, indicating a successful pairing between the drone, goggles, and controller.
It’s important to note that the pairing process may vary slightly depending on the specific model of the DJI FPV Drone and the goggles. Refer to the user manual for your specific devices for detailed instructions on the pairing process.
By successfully pairing the goggles and controller with the DJI FPV Drone, you are now ready to experience the immersive flight experience offered by the DJI FPV system. The next step is to activate the goggles and controller, which we will cover in the following section.
Step 10: Activating the Goggles and Controller
Activating the goggles and controller is an important step to ensure that they are properly synchronized and ready for use with your DJI FPV Drone. This activation process enables the goggles to receive the live video feed from the drone’s camera and allows the controller to communicate seamlessly with the drone.
To activate the goggles, make sure they are powered on and connected to the DJI Fly app. Launch the app on your mobile device and navigate to the goggles settings or activation section.
Follow the on-screen instructions within the app to initiate the activation process. This may involve entering certain information or validating the goggles’ serial number. Make sure to follow the prompts accurately and provide the required information.
During the activation, ensure that the goggles are within range of a stable internet connection. This is necessary to communicate with DJI’s servers and complete the activation process. A successful activation will be confirmed by the app, and the goggles will be ready for use.
Similarly, to activate the controller, ensure that it is powered on and connected to the DJI Fly app. Launch the app and navigate to the controller settings or activation section.
Follow the instructions provided by the app to activate the controller. This may involve validating the serial number or performing a firmware update if necessary. Complete all the steps as directed by the app to successfully activate the controller.
Once both the goggles and controller are activated, power off and then power on both devices. This will ensure that the activation changes are properly applied and that they are ready for use with your DJI FPV Drone.
By activating the goggles and controller, you are enabling seamless communication and control between the devices and your DJI FPV Drone. You can now immerse yourself in the first-person view experience and take your flights to new heights.
Now that the goggles and controller are activated, it’s time to move on to the next step: configuring flight settings to personalize your flight experience.
Step 11: Configuring Flight Settings
Configuring the flight settings of your DJI FPV Drone is an important step in personalizing your flight experience and optimizing the drone’s performance to suit your preferences and flying style.
To access the flight settings, ensure that your DJI FPV Drone is powered on and connected to the DJI Fly app. Launch the app on your mobile device and navigate to the settings or preferences section.
Within the flight settings menu, you’ll find various options to customize your drone’s flight behavior. These settings may include flight modes, maximum flight speed, control sensitivity, and more.
Flight modes allow you to choose the desired flight style and capabilities of your drone. For example, you may have options such as Normal Mode, Sport Mode, or even Cinematic Mode. Each mode offers different flight characteristics, such as stability, agility, or smoother movements.
Adjusting the maximum flight speed allows you to control the maximum speed at which your drone can fly. This is particularly useful if you prefer a more cautious or leisurely flight experience or if you want to push the limits of speed with the highest setting.
Control sensitivity settings affect how responsive the drone is to your inputs on the controller. Higher sensitivity settings provide more agility and faster response, while lower settings offer smoother and more gradual movements. Experiment with different sensitivity levels to find the one that suits your flying style.
Additionally, you may find other settings such as Return-to-Home altitude, which determines the height at which the drone returns when prompted or if the connection is lost, and obstacle avoidance settings, which enable or disable sensors that help the drone avoid obstacles.
Take your time to explore each setting and understand its implications before making any adjustments. It’s recommended to refer to the user manual or consult DJI’s official resources for detailed information on each flight setting.
By configuring the flight settings, you can tailor your DJI FPV Drone to your specific needs and preferences, ensuring an enjoyable and personalized flight experience. With the flight settings customized, you are now ready to fly and explore the skies with your DJI FPV Drone.
As a responsible pilot, always review and adhere to local regulations and guidelines for drone flights in your area, ensuring safety and compliance while enjoying the thrill of flying.
Step 12: Understanding the Basic Flying Controls
Before taking your DJI FPV Drone for its first flight, it’s important to familiarize yourself with the basic flying controls. Understanding how to maneuver the drone will allow you to fly with confidence and precision.
The DJI FPV Drone utilizes a combination of traditional control inputs and FPV-specific controls. Here are the basic flying controls you need to know:
1. Throttle Control: The throttle control, typically located on the left stick of the controller, is responsible for controlling the drone’s altitude. Pushing the throttle stick up will make the drone ascend, while pulling it down will make it descend. Keeping the stick at a neutral position will maintain the drone’s current altitude.
2. Pitch and Roll Control: The right stick of the controller controls the pitch and roll movements of the drone. Pushing the stick forward or backward controls the drone’s pitch, tilting it left or right controls its roll. These movements allow you to control the drone’s forward, backward, and sideways movements.
3. Yaw Control: Yaw control is accomplished by twisting the right stick (or using a dedicated yaw control button). This controls the rotation of the drone around its central axis. Yaw control is important for changing the direction the drone is facing without changing its position in the air.
4. Flight Mode Switch: Depending on your drone model and settings, you may have different flight modes available. These modes can impact the drone’s behavior, flight characteristics, and level of assistance. Familiarize yourself with the different flight modes and understand how they affect your control inputs.
5. Emergency Brake and Return-to-Home: Your DJI FPV Drone is equipped with safety features such as an emergency brake and Return-to-Home function. Familiarize yourself with how these features work and how to engage them in case of an emergency or loss of control.
It is essential to practice flying in a safe and open area, away from obstacles and people, especially during your initial flights. Start with gentle movements and gradually increase your confidence as you gain more experience. Remember to fly within your skill level and always maintain line of sight with the drone.
Refer to the user manual or DJI’s official resources for detailed information on the specific flying controls of your DJI FPV Drone model. Additionally, consider seeking out tutorials and training resources to further enhance your flying skills and understanding.
By understanding and mastering the basic flying controls, you can navigate the skies with confidence and fully enjoy the exhilarating experience provided by your DJI FPV Drone.
Conclusion
Congratulations! You have successfully gone through the step-by-step process of activating your DJI FPV Drone. By following these instructions, you have ensured that your drone is ready for safe and enjoyable flights.
From unboxing the drone and checking its contents to charging the battery, downloading the DJI Fly app, and registering and logging in, you have set a strong foundation for a smooth activation process. Updating the firmware, calibrating the drone, and pairing the goggles and controller were vital steps in preparing your equipment for flight.
With the goggles and controller activated and the flight settings configured to your preferences, you are now equipped with the knowledge needed to understand the basic flying controls. Take your time to practice and become familiar with the controls before embarking on more complex flights.
Always remember to fly responsibly and follow local regulations and guidelines. Keep the safety of yourself, others, and the airspace in mind as you take to the skies with your DJI FPV Drone.
We hope that this guide has provided you with the necessary information to activate your DJI FPV Drone and embark on exciting aerial adventures. As you gain experience and confidence, don’t forget to explore more advanced features and creative possibilities offered by your drone.
If you have any further questions or need additional assistance, refer to the user manual or reach out to DJI’s customer support. They will be able to provide you with further guidance and support throughout your drone ownership journey.
Now, it’s time to take off and experience the world from a whole new perspective – enjoy your flights with your DJI FPV Drone!