Introduction
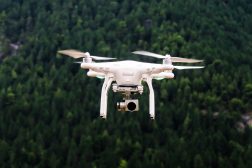
Welcome to the exciting world of drones! Building a drone from scratch can be a rewarding and educational experience, allowing you to understand the inner workings of these fascinating gadgets. Whether you are a hobbyist or aspiring drone enthusiast, this step-by-step guide will help you embark on your drone-building journey with confidence.
Building a drone from scratch offers several advantages over buying a ready-to-fly model. By assembling your own drone, you have full control over the specifications, customization options, and even the cost. You can choose the components that best suit your needs and preferences, ensuring a drone that is tailored to your specific requirements.
This guide will take you through each stage of the drone-building process, from planning and research to testing and troubleshooting. While it may seem daunting at first, building a drone is a series of manageable steps that anyone with basic technical skills can accomplish.
Before we dive into the nitty-gritty details, it’s important to emphasize the importance of safety when working with drones. Always follow safety guidelines and local regulations related to drone usage. Additionally, make sure you have the necessary permissions and licenses to operate a drone, especially in restricted areas or for commercial purposes.
In the following sections, we will cover the essential steps involved in building a drone from scratch. By following these instructions and using your creativity, you will be able to construct a functional and customized drone that will bring you joy and endless possibilities.
Planning and Research
Before you start gathering parts and tools, it’s crucial to spend some time planning and conducting thorough research. This step is essential to ensure that you choose the right components and design a drone that meets your needs.
Start by determining the purpose of your drone. Will it be used for aerial photography, racing, or simply for recreational flying? Understanding your goals will help you make informed decisions during the building process.
Next, research the different types of drones available in the market. Look into their specifications, features, and prices to get an idea of what is currently available. This will also give you insights into the latest technologies and trends in the drone industry.
It’s also important to consider your budget. Set a realistic budget for your drone project, taking into account the cost of components, tools, and any additional features you may want to include.
Once you have a solid understanding of your requirements and budget, start researching the individual components needed for your drone. Some key components to consider include the frame, motors, propellers, flight controller, battery, and remote control.
Look for reputable suppliers and read reviews to ensure that you are purchasing high-quality components. Check compatibility between different components to avoid any compatibility issues later on.
During this research phase, make sure to also familiarize yourself with local laws and regulations regarding drone usage. This will help you understand any restrictions or permits required for flying your drone legally in your area.
By investing time in planning and research, you will have a clear vision of your drone project. This will not only save you time and money in the long run but also ensure that you build a drone that meets your expectations.
Gathering Parts and Tools
Once you have completed your planning and research, it’s time to gather the necessary parts and tools to build your drone. Ensuring that you have all the required components and tools upfront will make the assembly process smoother.
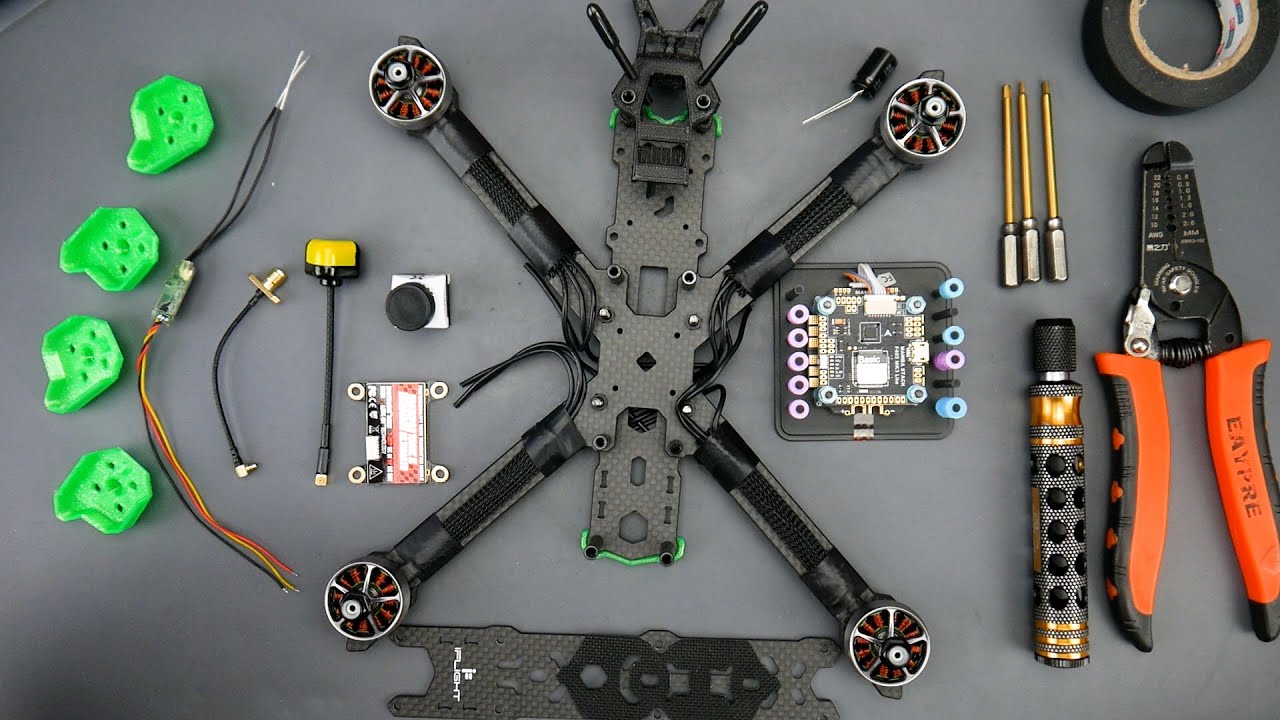
Start by creating a comprehensive list of all the parts you will need. This typically includes the frame, motors, propellers, flight controller, battery, electronic speed controllers (ESCs), receiver, transmitter, and various cables and connectors.
When selecting the parts, consider the specifications and compatibility with each other. It’s important to choose components that work well together to achieve optimal performance.
Once you have the list of parts, it’s time to source them from reliable suppliers. Look for reputable online stores or local retailers that specialize in drone components. Reading reviews and checking customer feedback can help you gauge the quality and reliability of the products.
Aside from the drone components, you will also need a set of tools to facilitate the assembly process. Some common tools include screwdrivers, pliers, soldering iron, heat shrink tubing, wire cutters, and a multimeter. Having these tools readily available will make it easier to handle any assembly or troubleshooting tasks.
When purchasing the parts and tools, it’s essential to consider your budget and quality. While it may be tempting to cut costs, investing in higher-quality components will lead to a better-performing and more durable drone in the long run.
As you gather the parts and tools, double-check the compatibility and specifications to ensure they meet the requirements of your drone design. It’s also a good idea to keep track of the order status and delivery times to anticipate when you’ll have all the components ready for assembly.
By thoroughly gathering the necessary parts and tools before starting the assembly process, you’ll be well-prepared to proceed smoothly and efficiently.
Designing the Frame
The frame of your drone serves as its structural backbone, providing stability and support to the various components. Designing the frame involves selecting or creating a suitable structure that meets your specific requirements.
First, determine the size and shape of your drone frame based on the intended purpose. For instance, if you plan to use your drone for aerial photography, you may opt for a larger frame that can accommodate a stabilized camera. If you’re interested in racing, a smaller, agile frame may be more suitable.
Once you have a basic idea of the frame size, you can choose between ready-made frames or custom build your own. Ready-made frames offer convenience and are typically designed for specific purposes, while custom-built frames provide more flexibility and customization options.
If you decide to build your own frame, consider the material and construction method. Common materials include carbon fiber, aluminum, and fiberglass, each with its own strengths and weaknesses. Carbon fiber frames tend to be lightweight and durable, while aluminum frames offer sturdiness.
Draw a blueprint or create a 3D model of your frame design to ensure accurate measurements and component placements. Pay attention to factors such as weight distribution, mounting points for motors and electronics, and accessibility for maintenance and repairs.
During the design process, take into account any additional features that you may want to incorporate, such as a landing gear, vibration dampening system, or payload mount for accessories. These features will add functionality and customization to your drone.
Once you have finalized the design, you can either proceed to build the frame yourself or outsource the construction to a professional. When building the frame, ensure precise measurements and use proper tools and techniques to achieve a sturdy and reliable structure.
Remember, the frame is a critical component of your drone, so it should be designed with both performance and durability in mind. A well-designed frame will contribute to the overall stability and effectiveness of your drone during flight.
Assembling the Frame
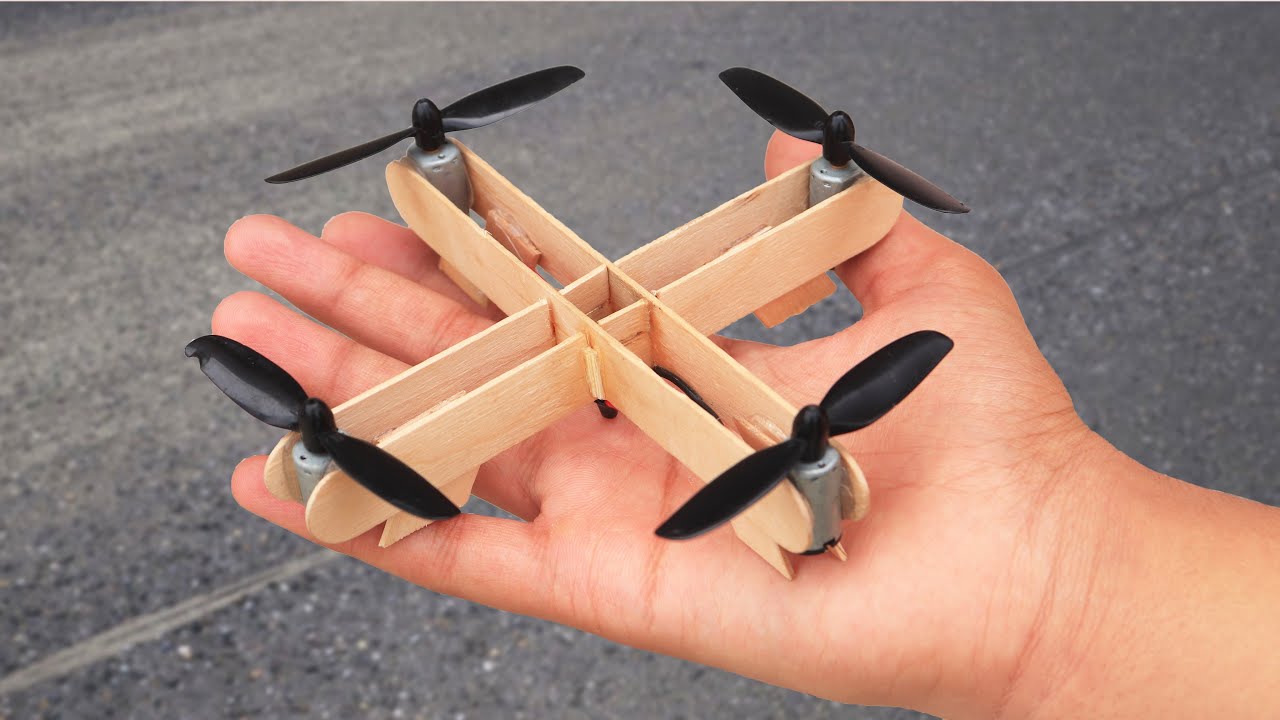
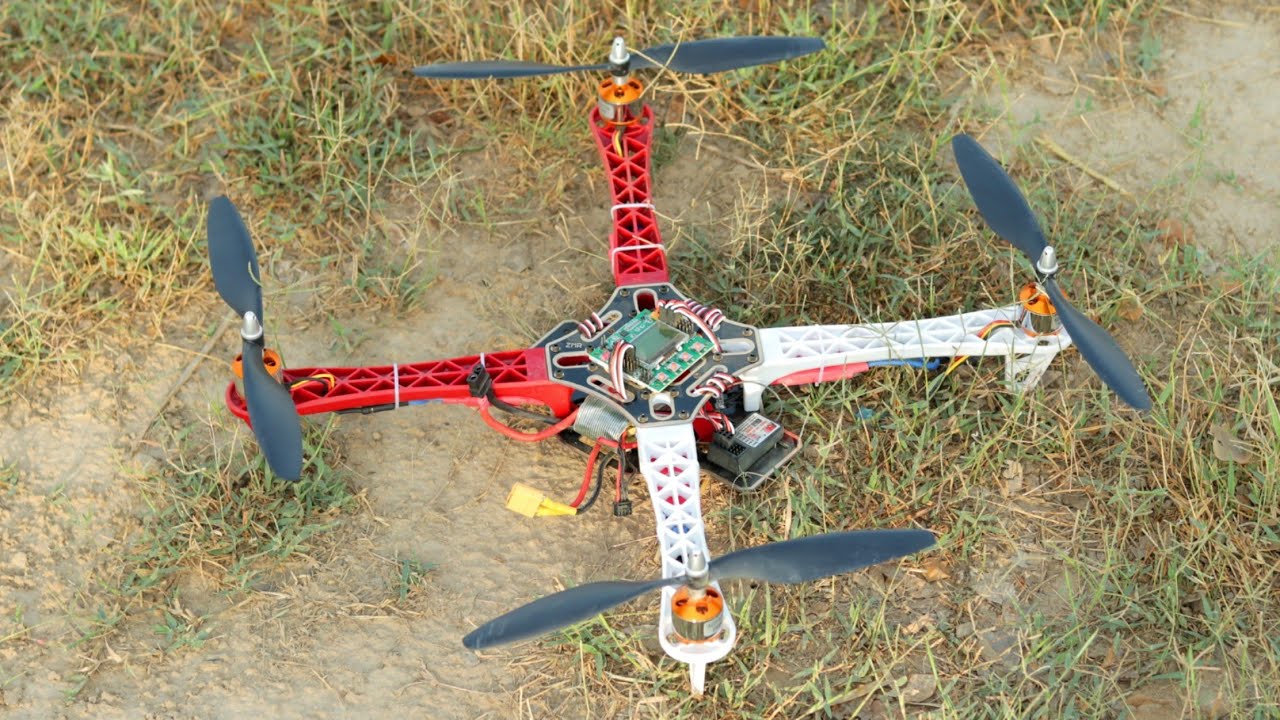
Now that you have designed your drone frame, it’s time to move on to the exciting process of assembling the components. Assembling the frame involves bringing together the different parts to create a solid and functional structure.
Start by laying out all the components and tools you will need for the assembly process. This includes the frame, motors, propellers, electronic speed controllers (ESCs), flight controller, battery, and any other accessories.
Follow the blueprint or design specifications you created during the frame design phase. Begin by attaching the motors to the designated mounting points on the frame. Use the appropriate screws and ensure a secure fit.
Next, attach the propellers to the motor shafts and make sure they are properly balanced. It’s important to follow the correct propeller rotation direction as specified by the manufacturer to ensure the drone’s stability during flight.
After securing the motors and propellers, move on to mounting the ESCs. These electronic speed controllers regulate the speed of the motors. Mount them securely to the frame and connect the motor wires to the corresponding ESCs.
Once the ESCs are in place, proceed to attach the flight controller. The flight controller is the brain of your drone, responsible for controlling its stability and flight characteristics. Mount it securely on the frame and connect the necessary cables and connectors.
Now, it’s time to install the battery and any additional accessories you may have, such as a camera or gimbal. Ensure that the battery is securely fastened to the frame and that the wiring is tidy and organized to prevent any interference or accidental disconnections.
As you assemble the frame, it’s essential to double-check all the connections and ensure that all components are properly secured. Loose connections or components can lead to poor performance or even accidents during flight.
Additionally, it’s a good idea to use zip ties or Velcro straps to manage the wiring and keep it neat and organized. This will make troubleshooting and maintenance easier in the future.
Once all the components are properly assembled, perform a final check to ensure that everything is in place and properly connected. At this point, your drone frame is ready, and you can move on to the next step of wiring the electronics.
Mounting the Motors and Propellers
Mounting the motors and propellers is a crucial step in the assembly process as it directly affects the performance and stability of your drone. Properly securing the motors and attaching the propellers will ensure smooth and efficient flight.
Start by identifying the appropriate locations on the frame to mount the motors. These positions will depend on the design of your frame and the motor layout you have chosen. Most frames have designated mounting holes or brackets for the motors.
Attach the motors to the frame using the provided screws or fasteners. Make sure the motors are aligned correctly according to the motor rotation direction designated by the manufacturer. Proper alignment will ensure optimal performance and prevent stability issues during flight.
Next, it’s time to attach the propellers to the motor shafts. Propellers come in sets, usually labeled as “A” and “B” to indicate their rotation direction. Match the correct propeller to the corresponding motor to maintain balanced thrust and stability.
Before attaching the propellers, check for any damage or wear. Replace damaged propellers to ensure safe and efficient flight. It’s also recommended to balance the propellers using a propeller balancer to further enhance flight performance.
Securely attach the propellers to the motor shafts, ensuring they are tightened properly. Each propeller should rotate smoothly without any excessive wobbling or movement. A loose propeller can lead to instability or even detachment during flight.
Once all the motors and propellers are securely attached, give them a gentle spin to ensure they rotate freely and without any obstructions. Check for any unusual noises or vibrations, as these could indicate misalignment or other issues.
It’s worth mentioning that motor and propeller maintenance is crucial for optimal drone performance. Regularly inspect the motors for debris or dirt, as these can affect their efficiency. Clean the propellers and check for any signs of wear or damage before each flight.
By carefully mounting the motors and propellers, you lay the foundation for a stable and well-performing drone. Take your time during this step and ensure that everything is properly aligned and tightened to guarantee a smooth and enjoyable flight experience.
Wiring the Electronics
Wiring the electronics is a critical step in building your drone as it involves connecting various components to ensure proper communication and functionality. This step requires attention to detail and careful organization of wires to avoid any issues during flight.
Start by identifying the necessary cables and connectors for each component, including the flight controller, electronic speed controllers (ESCs), receiver, and power distribution board. Familiarize yourself with the wiring layout specified in the drone’s manual or wiring diagram.
Begin by connecting the ESCs to the corresponding motors. Ensure that the polarity matches and that the connections are secure. Follow the color coding on the motor wires and ESCs to correctly pair them.
Next, connect the ESCs to the power distribution board or the flight controller’s power supply. Double-check the connections to ensure proper voltage and amperage ratings for each component.
Once the power connections are in place, proceed to connect the flight controller. Follow the manufacturer’s instructions for proper wiring, ensuring the correct orientation and alignment of the connectors.
Attach the receiver to the flight controller by connecting the appropriate cables. This allows for remote control of the drone via a transmitter or radio controller. Make sure the connections are secure and properly aligned.
Depending on your specific design and components, you may have additional wiring for accessories such as cameras, GPS modules, or LED lights. Follow the manufacturer’s instructions for each accessory to connect them appropriately.
As you connect each wire, it’s important to keep them organized and secure. Use zip ties, heat shrink tubing, or cable clamps to manage the wires and prevent any tangling or interference during flight.
Double-check all the connections and ensure that there are no loose or exposed wires that could cause a short circuit. It’s also a good idea to use a multimeter to test the continuity and voltage of the different electrical connections.
Once all the electronics are properly wired and connected, power on your drone and verify that all components are functioning correctly. Check for any error codes or abnormal behavior that may indicate a wiring issue.
Wiring the electronics can be a time-consuming and meticulous process, but it’s vital for the proper functioning of your drone. Take your time and pay attention to detail to ensure a well-wired and reliable drone for your future flights.
Installing and Calibrating the Flight Controller
The flight controller is the brain of your drone, responsible for stabilizing the aircraft and controlling its movements. Installing and calibrating the flight controller correctly is vital to ensure accurate flight performance and responsiveness.
Begin by selecting the appropriate location on the frame to mount the flight controller. Choose a secure and vibration-free spot that allows for easy access to the necessary connectors and calibration buttons.
Securely attach the flight controller to the frame using the provided mounting hardware or adhesive pads. Double-check that the flight controller is level and properly aligned with the frame, ensuring a stable and balanced drone.
Once the flight controller is installed, it’s time to connect it to the necessary components. This typically includes connecting the ESCs, receiver, and any additional sensors or accessories.
Follow the manufacturer’s instructions or the wiring diagram specific to your flight controller model for proper connection. Ensure the polarity and pin assignments are correct, as incorrect wiring can lead to malfunctions or unstable flight characteristics.
After all the connections are made, it’s essential to calibrate the flight controller to ensure accurate sensor readings and optimal stability. Most flight controllers have an onboard calibration feature that allows you to perform this step.
Follow the calibration instructions provided by the flight controller manufacturer. This usually involves placing the drone on a level surface and performing a series of movements to calibrate the gyroscope, accelerometers, and other sensors.
During the calibration process, carefully follow the prompts on your computer or controller interface, and make sure to keep the drone stationary. This step ensures that the flight controller accurately interprets the drone’s orientation and movements.
Once the calibration is complete, it’s advisable to test the flight controller’s functionality before your maiden flight. Use your transmitter or radio controller to arm the motors and verify that the flight controller responds appropriately to your input.
Check for any abnormal behavior or error messages during the testing phase, as these may indicate a calibration or configuration issue. Take the time to fine-tune the flight controller settings if necessary, such as adjusting flight modes or control sensitivity.
By correctly installing and calibrating the flight controller, you lay the foundation for stable and controlled flight. This step ensures that your drone’s movements are accurately translated into appropriate motor responses, providing a smooth and enjoyable flying experience.
Connecting the Remote Control
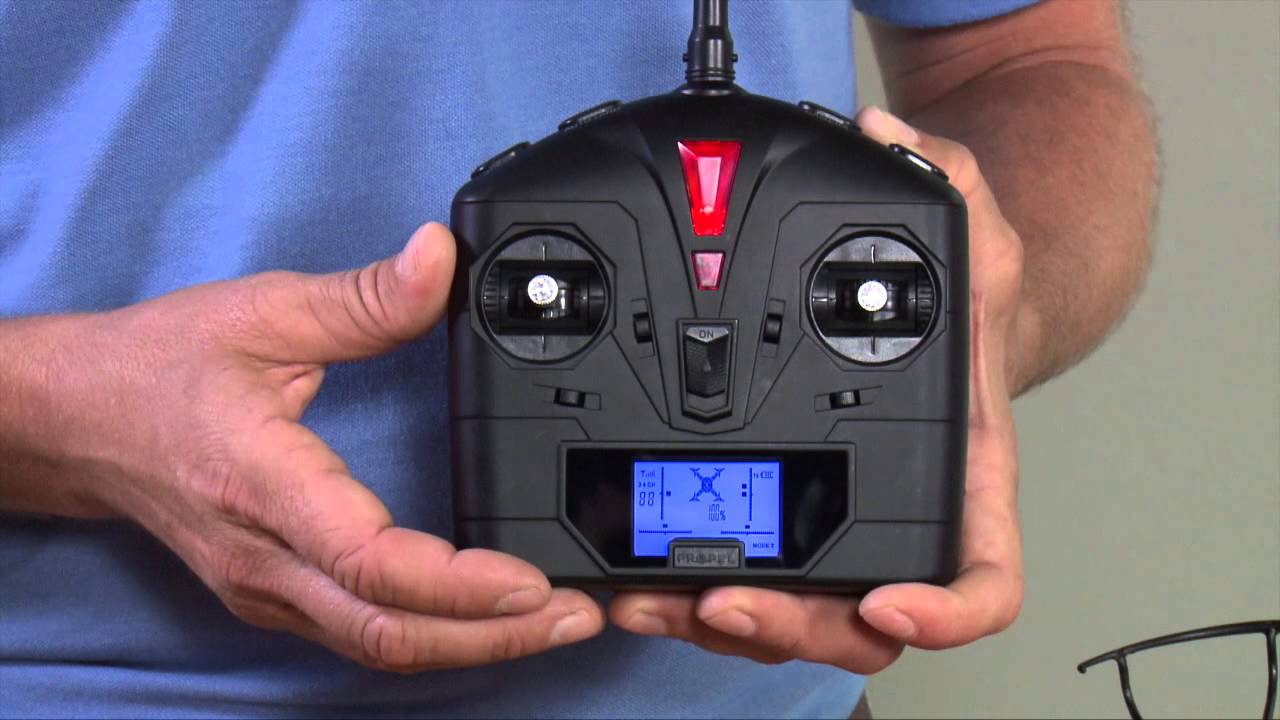
The remote control, also known as the transmitter or radio controller, is what allows you to operate your drone from a distance. Connecting the remote control to your drone is a crucial step that enables you to take full control of your aircraft.
Start by ensuring that your drone’s receiver is compatible with your remote control. Check the frequency and protocol compatibility to ensure they can communicate with each other effectively.
Next, locate the receiver on your drone. The receiver is typically a small electronic module or circuit board that connects to your flight controller. It receives the signals from the remote control and relays them to the flight controller.
Examine the receiver’s wiring diagram to identify the correct wires for connection. Typically, you’ll find wires for power, ground, and signal. Follow the color codes and pin assignments to make the appropriate connections.
The power and ground wires usually connect to the flight controller’s power distribution board, where you can tap into the main battery power. Ensure that the polarity is correct to prevent any damage to the electronics.
The signal wire connects from the receiver to the flight controller’s designated input or signal port. Double-check the documentation or manual to identify the correct port, as different flight controllers may have varying configurations.
Once the physical connections are made, it’s time to bind the receiver to your remote control. Binding is the process of establishing a secure connection between the receiver and the remote control, ensuring that they communicate exclusively with each other.
Refer to your remote control’s instructions on how to enter the binding mode. This usually involves powering on the remote control while holding a specific button combination or accessing a binding menu option.
When in binding mode, power on your drone and wait for the receiver’s LED lights to indicate that it’s ready to bind. At this point, follow the remote control’s instructions to complete the binding process. Once successfully bound, the receiver should recognize the remote control’s signals.
After binding, it’s important to thoroughly test the remote control’s functions. Verify that the control sticks, switches, and other features on the remote control correspond correctly to the drone’s movements and settings.
As you perform the tests, ensure that all movements and inputs from the remote control are accurately reflected by the drone. Check for any delays, signal drops, or unexpected behavior that may indicate a connection issue.
By correctly connecting and binding your remote control, you establish a secure and reliable communication link with your drone. This allows you to have precise control over your aircraft, enabling safe and enjoyable flights.
Testing and Troubleshooting
Once you have completed the assembly and connection of your drone, it’s crucial to thoroughly test its functionality and troubleshoot any issues that may arise. Testing ensures that your drone is safe and ready for flight, while troubleshooting helps identify and resolve any potential problems.
Start with a comprehensive pre-flight checklist. Inspect all the components, including the frame, motors, propellers, and wiring, for any signs of damage or loose connections. Check that the batteries are fully charged, and the remote control has fresh batteries.
Perform a visual check of the drone, ensuring that all the wires are properly routed and secured, and there are no obstructions that could affect flight performance. Look for any loose screws or components that may need tightening.
Power on your drone, paying attention to any startup sounds or LED light indicators. Make sure the flight controller is booting up correctly and that all the ESCs and motors are initializing properly. Listen for any unusual noises that may indicate a mechanical issue.
Once your drone is powered up, test the control inputs from your remote control. Verify that the control sticks, switches, and other functions are working correctly and are properly configured in the flight controller software.
Gradually increase the throttle to test each motor’s response and assess if they are running smoothly and evenly. Watch for any signs of vibrations or imbalance that could affect flight stability.
Take your drone for a test hover in a safe and open area, making small adjustments to the flight controller settings as needed. Observe how it hovers and responds to control inputs. Check for any drift or instability that may require further calibration.
If you encounter any issues during the testing phase, it’s important to troubleshoot systematically. Consult the user manuals and documentation for your drone and its components to diagnose and resolve the problem.
Common troubleshooting steps include checking for loose connections, recalibrating the flight controller, adjusting control settings, and updating firmware. You may also need to inspect the wiring and components for any signs of damage or malfunctioning.
If you are unable to resolve the issue on your own, consider seeking help from online forums or communities dedicated to drone building and troubleshooting. Experienced enthusiasts can offer valuable insights and guidance.
Remember, testing and troubleshooting are ongoing processes. Even after the initial tests, it’s important to regularly check and maintain your drone to ensure its continued safe and optimal performance.
By thoroughly testing and troubleshooting your drone, you can identify and fix any issues before taking it for a real flight. This not only helps prevent accidents but also enhances your overall drone building and flying experience.
Adding Optional Features
Building a drone from scratch allows you the opportunity to customize and add optional features that enhance its functionality and performance. These optional features can elevate your drone’s capabilities and provide exciting new possibilities. Here are some popular optional features you can consider adding to your drone:
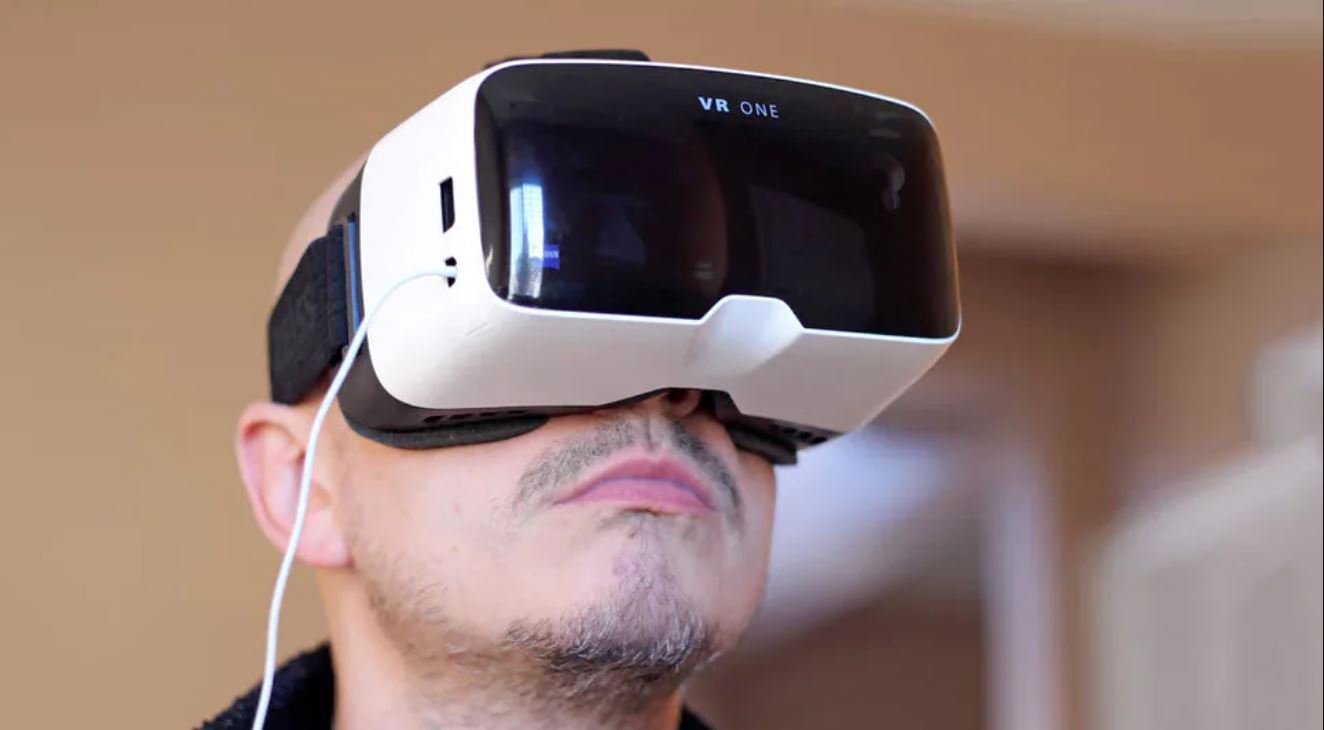
1. FPV (First Person View) System: An FPV system enables you to stream live video feed from your drone’s camera to a pair of goggles or a monitor. This immersive experience allows for real-time flying and capturing breathtaking aerial footage.
2. Gimbal Stabilization: Adding a gimbal stabilization system to your drone can result in silky-smooth footage as it counteracts any unwanted vibrations and movements. This is particularly beneficial for aerial photography and videography purposes.
3. GPS Module: Integrating a GPS module into your drone enables features such as automated return-to-home, waypoint navigation, and position hold. This enhances the drone’s navigational capabilities and simplifies control.
4. LED Lights: Installing LED lights on your drone not only enhances its visibility during flights but also adds a touch of aesthetics. You can customize the color and pattern of the lights, making your drone stand out during night flights.
5. Telemetry System: A telemetry system provides real-time data about your drone’s flight parameters, such as altitude, speed, battery voltage, and GPS coordinates. This information can be displayed on a ground station or transmitted to a mobile device for monitoring and analysis.
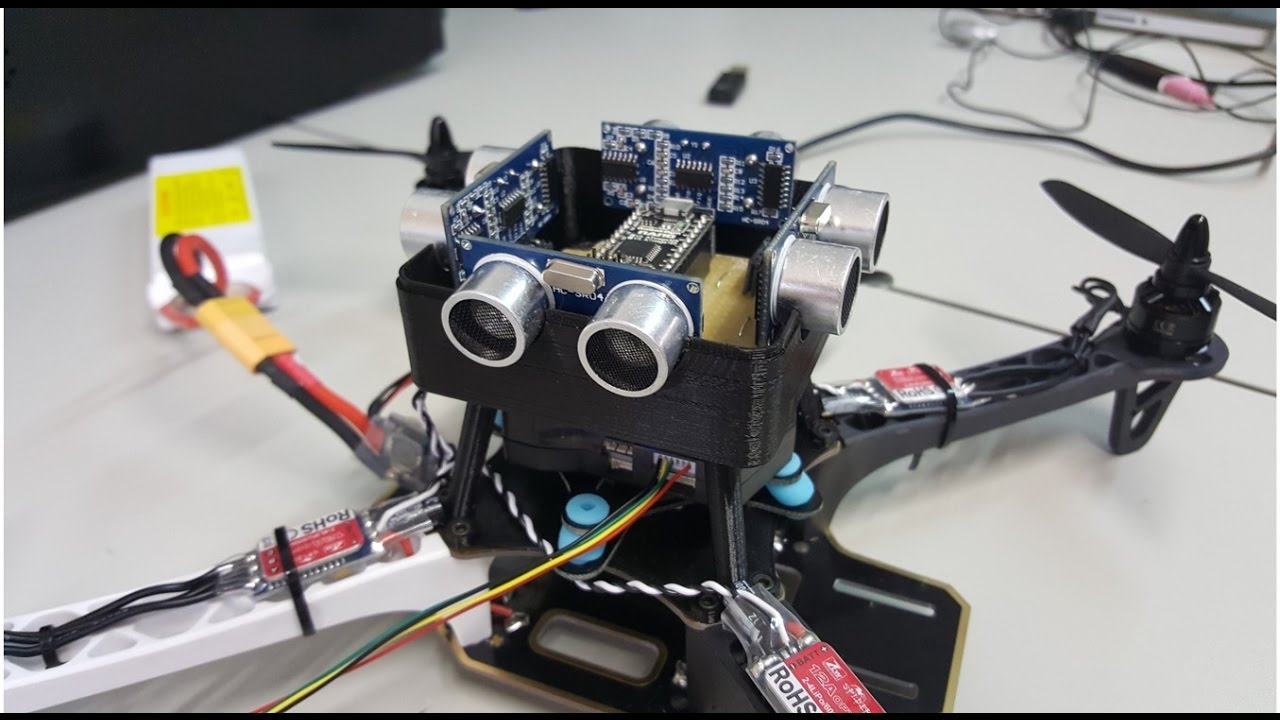
6. Obstacle Avoidance Sensors: Obstacle avoidance sensors use ultrasonic or infrared technology to detect and avoid obstacles during flight. This feature adds an extra layer of safety and helps prevent collisions, especially in complex or restricted environments.
7. Longer Flight Time Battery: Upgrading to a higher capacity battery can extend your drone’s flight time, allowing for longer aerial sessions and more time to capture the perfect shot.
Remember, when adding optional features, consider the additional weight and power requirements. Ensure that your drone’s frame can support the added components and make any necessary adjustments to the flight controller settings or power distribution system.
Furthermore, it’s important to familiarize yourself with the regulations governing the use of these optional features, such as FPV or GPS, in your area. Compliance with local laws is crucial to ensure safe and responsible drone operation.
By adding optional features to your drone, you can personalize and optimize its capabilities to suit your specific needs and interests. These features can elevate your drone experience and open up new possibilities for creativity and exploration.
Conclusion
Building a drone from scratch is an exhilarating and rewarding process that allows you to create a customized aircraft tailored to your specific needs and preferences. Throughout this guide, we have covered the essential steps involved in building a drone, from planning and research to testing and troubleshooting.
By investing time in planning and thorough research, you can ensure that you choose the right components and create a drone that meets your goals without exceeding your budget. Gathering the necessary parts and tools upfront sets the stage for a smooth assembly process.
Designing and assembling the frame forms the foundation of your drone, providing stability and support for the other components. Mounting the motors and propellers correctly ensures optimal flight performance and balance.
Wiring the electronics and connecting the remote control establishes the crucial communication links between the components, allowing for precise control and operation of the drone. Calibrating the flight controller and performing thorough testing help refine the performance and identify any potential issues.
Throughout the entire process, it’s important to approach building a drone with safety as a top priority. Familiarize yourself with local regulations and practice responsible drone operation to ensure a safe and enjoyable flying experience.
Finally, adding optional features to your drone enhances its functionality and opens up new possibilities for exploration and creativity. Whether it’s a first-person view system, gimbal stabilization, or obstacle avoidance sensors, the choice of optional features allows you to personalize your drone to suit your specific needs.
Remember, building a drone from scratch is a continuous learning process. Stay curious, keep exploring new technologies and ideas, and make use of online communities and forums to expand your knowledge and connect with fellow drone enthusiasts.
Now that you have the knowledge and guidance to build your own drone, it’s time to embark on this exciting journey. Unleash your creativity and enjoy the thrill of flying a machine that you built with your own hands!