Introduction
Welcome to this guide on how to connect the Propel drone to the controller. Whether you are a beginner or a seasoned drone pilot, this step-by-step tutorial will walk you through the process of connecting your drone to the controller, ensuring a smooth and enjoyable flying experience.
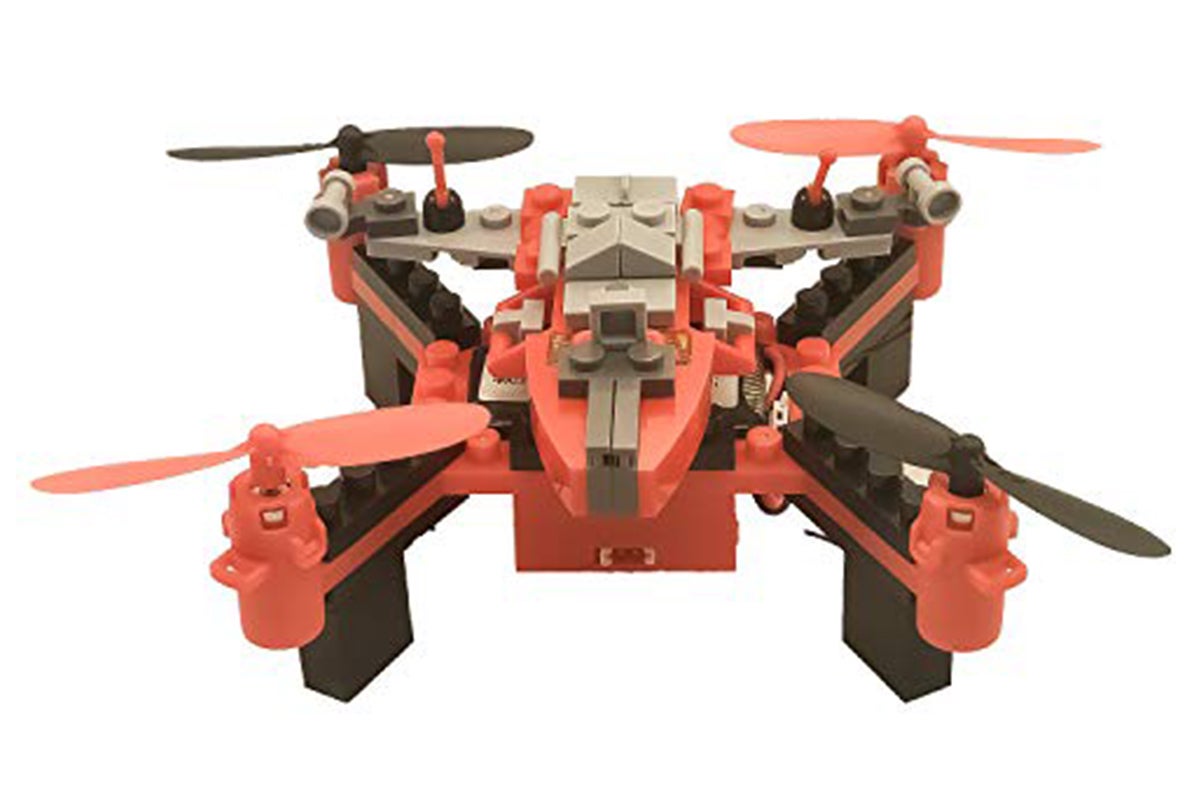
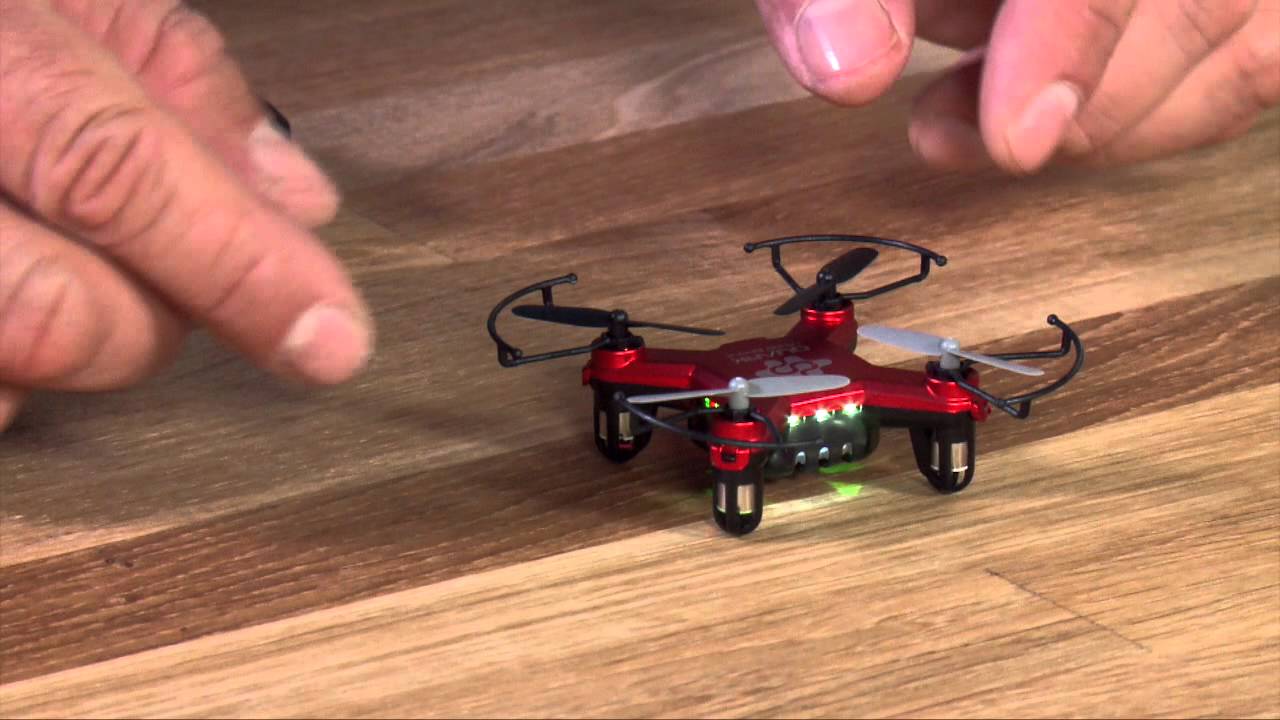
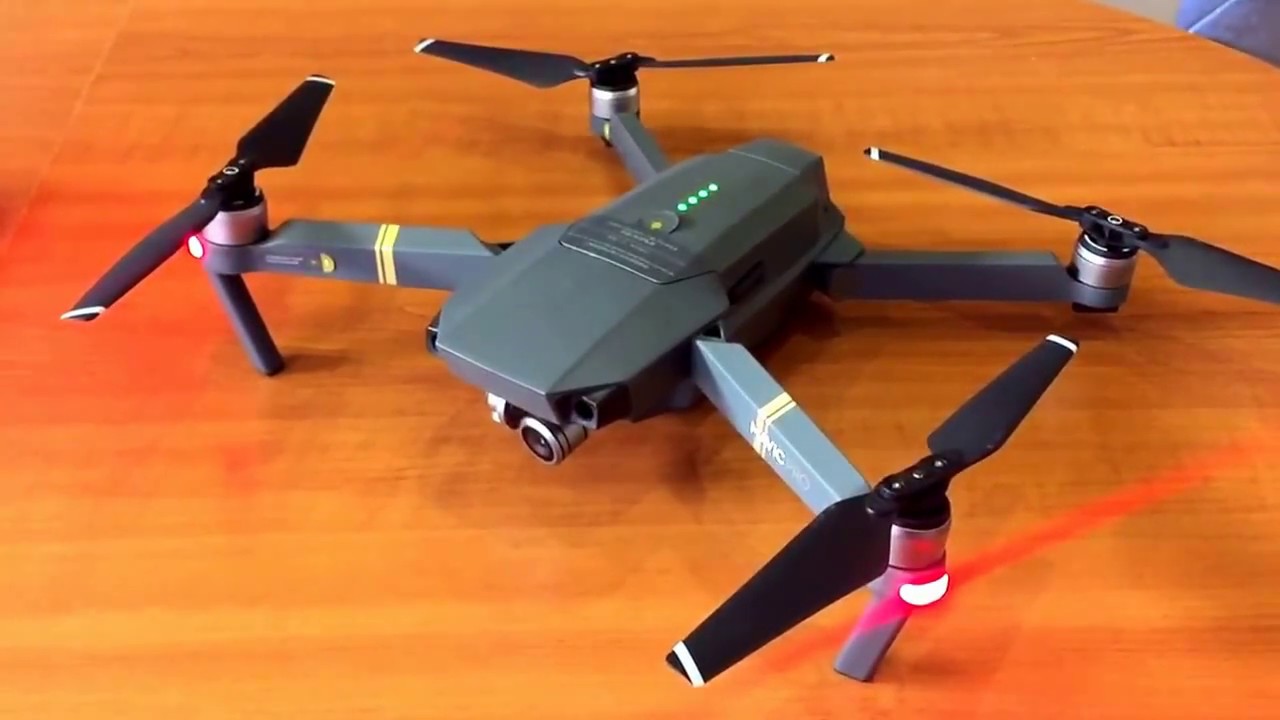
The Propel drone is a popular choice among drone enthusiasts, known for its durability and impressive flight capabilities. Before you can take to the skies, you need to establish a connection between the drone and the controller. This connection allows you to control the drone’s movements, capture stunning aerial shots, and explore the world from a whole new perspective.
In this guide, we will cover all the necessary steps to connect your Propel drone to the controller. From checking the package contents to testing the connection, each step is carefully explained to help you successfully establish a reliable link between your drone and the controller.
Whether you just purchased your Propel drone or you’re looking to refresh your knowledge on the connection process, this guide is here to assist you. So, let’s dive into the step-by-step instructions and get your drone ready for an exhilarating flight!
Step 1: Checking the Package Contents
Before you start connecting your Propel drone to the controller, it’s important to ensure that you have all the necessary components. Checking the package contents will help you make sure that everything is included and in good condition. Here’s what you need to do:
- Open the box containing your Propel drone and its accompanying accessories.
- Take out each item one by one and inspect them for any defects or damage.
- Verify that the package includes the Propel drone, the controller, a set of propellers, a USB charging cable, and any additional accessories mentioned in the product manual.
- Check the condition of the propellers to ensure that they are not cracked or damaged. If you notice any issues, contact the manufacturer for assistance.
- Inspect the drone and the controller for any visible signs of damage. Look for scratches, dents, or loose components. If you find any problems, reach out to the manufacturer or your retailer for support.
- Review the user manual and product documentation provided in the package. Familiarize yourself with the various buttons, switches, and features of the drone and controller.
By carefully inspecting the package contents and ensuring that everything is in good condition, you can start the process of connecting your Propel drone to the controller with confidence. This thorough examination also allows you to promptly address any issues or concerns before attempting to connect the drone.
Step 2: Charging Your Drone and Controller
Before you can connect your Propel drone to the controller, it’s essential to make sure that both the drone and the controller are fully charged. Follow these steps to charge your drone and controller:
- Locate the USB charging cable that came with your Propel drone.
- Connect one end of the USB charging cable to the charging port on the drone.
- Connect the other end of the USB charging cable to a power source, such as a computer’s USB port or a wall adapter.
- Turn on the charger and allow the drone to charge for the recommended amount of time, as specified in the user manual.
- While the drone is charging, locate the charging port on the controller.
- Connect the USB charging cable to the charging port on the controller.
- Connect the other end of the USB charging cable to a power source.
- Turn on the charger and let the controller charge until it reaches full battery capacity.
It’s important to note that the charging time may vary depending on the specific model of your Propel drone. Refer to the user manual for accurate information on the charging duration.
Make sure to monitor the charging process and disconnect the devices once they are fully charged. Overcharging can damage the batteries, so it’s crucial to follow the recommended charging time to preserve the longevity of your drone and controller.
Once both the drone and the controller are fully charged, you’re ready to move on to the next step and pair them together for a seamless flying experience.
Step 3: Pairing Your Drone and Controller
Now that your Propel drone and controller are charged, it’s time to pair them together to establish a connection. Follow these step-by-step instructions to pair your drone and controller:
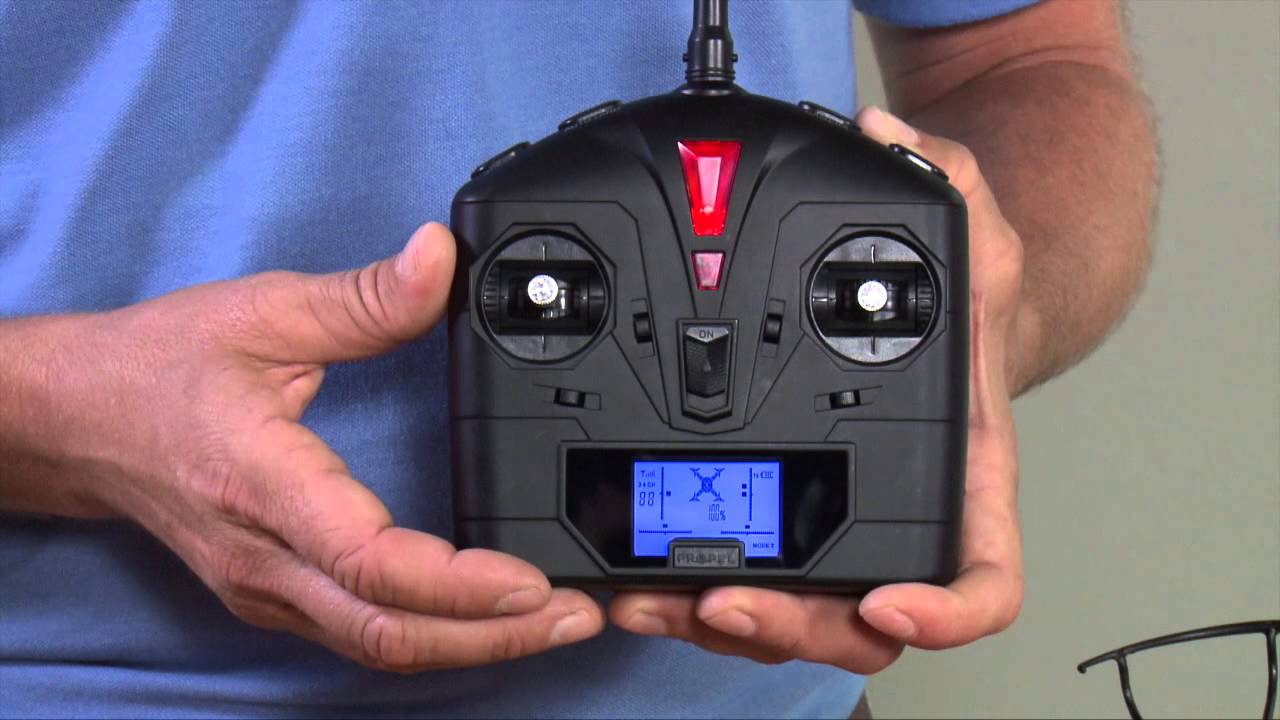
- Turn on your drone by pressing the power button located on the drone itself.
- Ensure that the controller is turned off before proceeding to the next step.
- On the drone, locate the pairing button. The location of the pairing button may vary depending on the model, so refer to the user manual for precise details.
- Press and hold the pairing button on the drone until the lights on the drone start flashing rapidly.
- Turn on the controller by pressing and holding the power button until the lights on the controller illuminate.
- Within a few seconds, the drone and controller will automatically start pairing with each other. You’ll know they are successfully paired when the lights on both devices stop flashing and remain steady.
- Once the connection is established, you can verify the pairing by performing a quick test.
Congratulations! You have successfully paired your Propel drone with the controller. The pairing process may vary slightly depending on the specific model you own, so refer to the user manual for any model-specific instructions or troubleshooting tips.
It’s important to note that if the drone and controller do not pair successfully, you may need to repeat the pairing process or consult the user manual for additional guidance. Sometimes, performing a reset on both the drone and the controller can resolve any pairing issues.
With the drone and controller successfully paired, you’re almost ready to take flight! The next step involves testing the connection to ensure everything is working smoothly.
Step 4: Testing the Connection
After successfully pairing your Propel drone with the controller, it’s crucial to test the connection to ensure that both devices are communicating effectively. Follow these steps to test the connection:
- Move to an open area with ample space for flying your drone. Avoid crowded areas, buildings, and trees to minimize the risk of accidents.
- Power on your drone and controller.
- Gently increase the throttle stick on the controller to take off the drone. Gradually apply more throttle until the drone lifts off the ground.
- Observe the movement of the drone as you control it using the joysticks on the controller. Make sure the drone responds accurately to your commands.
- Test different flight functions, such as moving forward, backward, left, right, and performing simple maneuvers like hovering and landing.
- If you have a camera-equipped drone, verify that the camera operates smoothly by capturing photos or recording video.
- Pay attention to the drone’s battery level and the controller’s signal strength indicators. Ensure they remain within acceptable limits throughout the test flight.
- If you encounter any issues with the connection or the drone’s performance, consult the user manual for troubleshooting steps or contact Propel’s customer support for assistance.
By thoroughly testing the connection between your drone and the controller, you can verify that everything is functioning as expected. This step is crucial in ensuring the safe and enjoyable operation of your drone.
Remember to familiarize yourself with the controls and practice flying in a controlled and open environment before attempting more complex flights or maneuvers.
Now that you have successfully connected and tested your Propel drone with the controller, you are ready to embark on exciting aerial adventures and capture stunning footage from above!
Conclusion
Connecting your Propel drone to the controller is a crucial step to unleash the full potential of your aerial adventures. By following the step-by-step instructions in this guide, you can confidently establish a stable connection and take your drone flying experience to new heights.
In the first step, we covered the importance of checking the package contents to ensure you have all the necessary components in good condition. This ensures a smooth connection process and helps identify any potential issues upfront.
Next, we discussed the importance of charging both your drone and controller fully. Adequate charging ensures that you have ample battery power for your flight and maximizes the flight time.
In step three, we explained the process of pairing the drone and the controller. Proper pairing is essential for seamless communication between the two devices, allowing you to control the drone’s movements accurately.
Lastly, we emphasized the need to test the connection and drone functionality before embarking on a full-fledged flight. By testing different controls and functions, you can ensure the drone is responding appropriately and troubleshoot any issues that may arise.
Remember to always consult the user manual for specific instructions related to your Propel drone model. Additionally, it’s essential to adhere to local laws and regulations regarding drone usage and fly responsibly to ensure the safety of yourself and others.
With the guidance provided in this article, you now have the knowledge and confidence to connect your Propel drone to the controller successfully and embark on thrilling aerial adventures. So, grab your controller, power up your drone, and get ready for an exhilarating journey through the skies!