Introduction
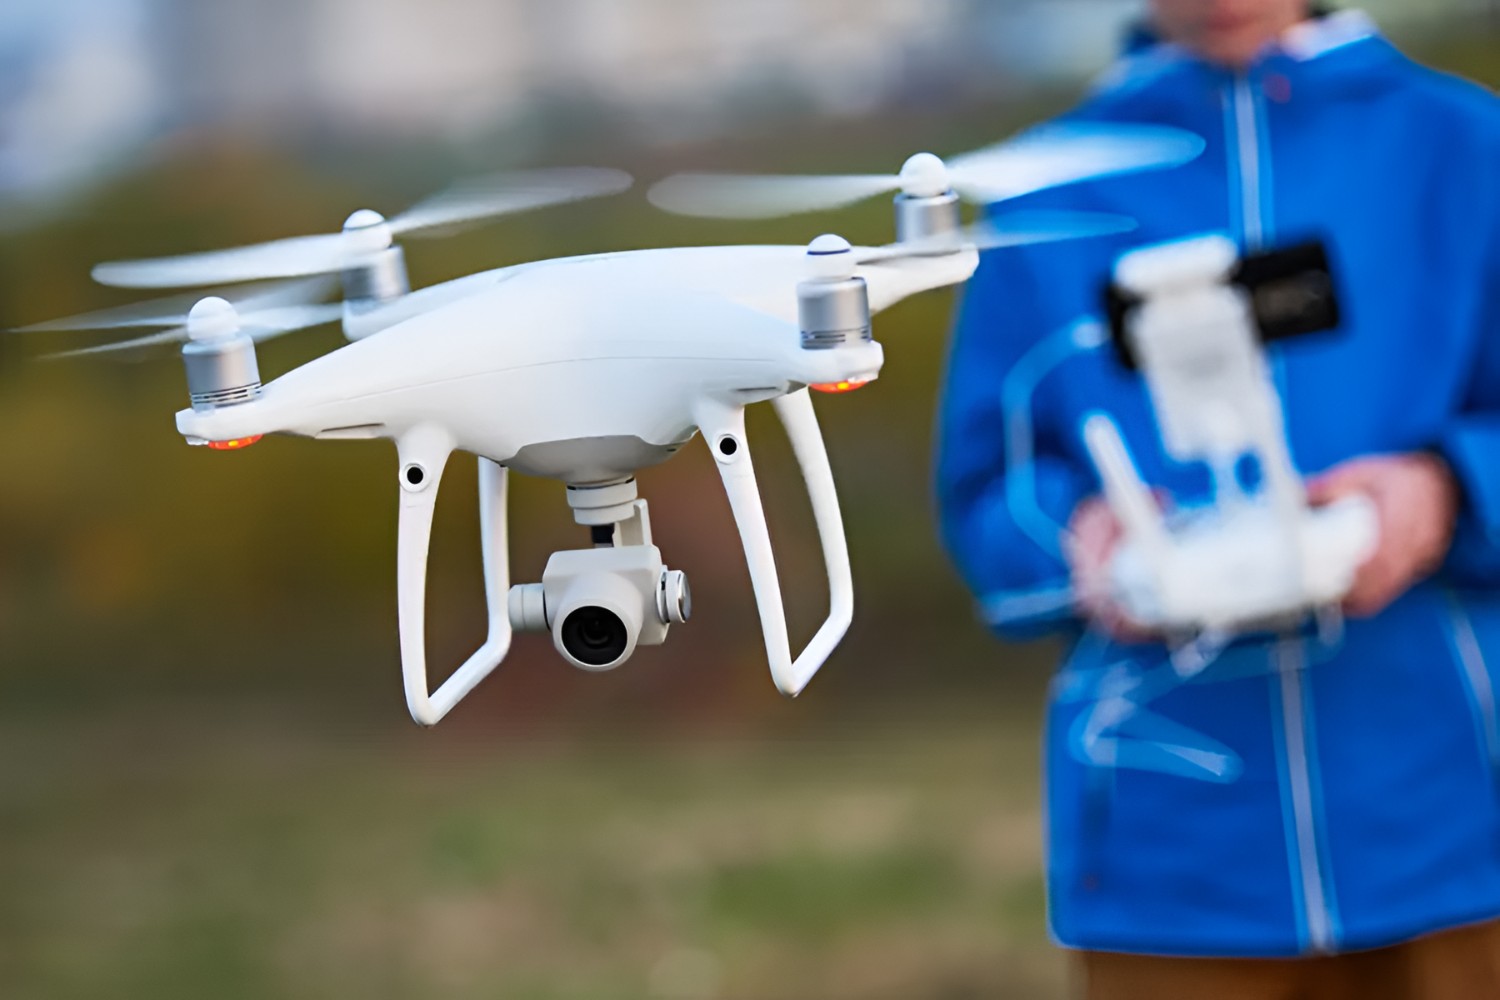
Welcome to the world of drone flying! If you recently purchased a Sky Rider drone and are excited to take it for a spin, you’ll need to connect it to the controller first. The controller plays a crucial role in maneuvering the drone and controlling its flight. In this guide, we will walk you through the process of connecting your Sky Rider drone to the controller, ensuring a seamless and enjoyable flying experience.
Before we dive into the steps, it is important to note that every Sky Rider drone model may have slightly different connection procedures. Therefore, we recommend referring to the user manual specific to your model for any additional instructions or variations. That being said, the general steps outlined here will give you a solid foundation to connect your drone and controller.
Whether you’re a first-time drone pilot or an experienced enthusiast, learning how to connect your Sky Rider drone to the controller is an essential skill. Once you master this process, you’ll be ready to explore the skies and capture stunning aerial footage.
Now, without further ado, let’s get started with the first step: powering on the Sky Rider drone!
Step 1: Power on the Sky Rider Drone
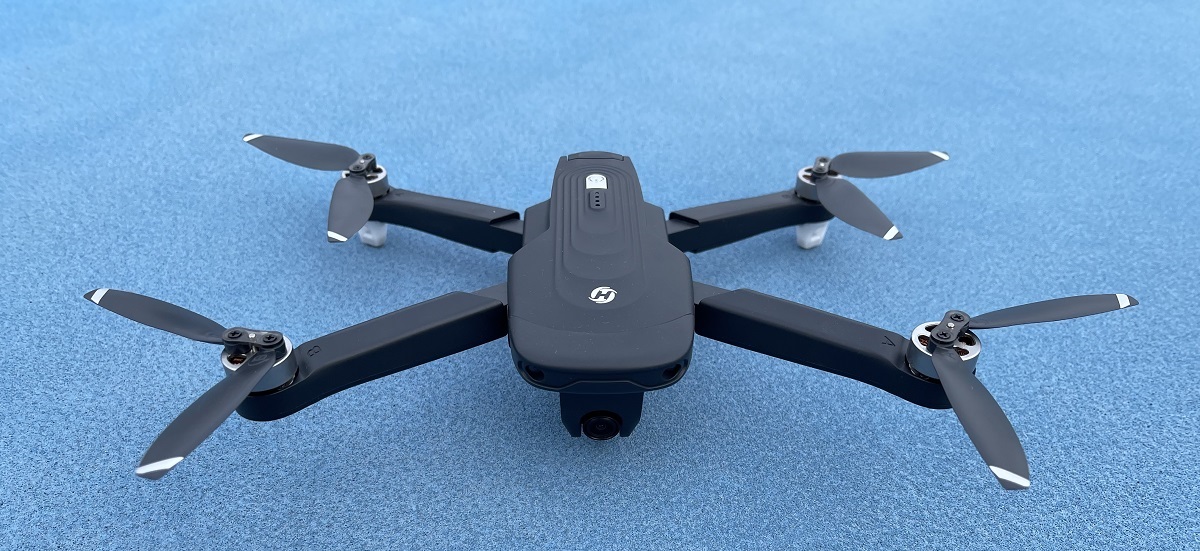
The first step in connecting your Sky Rider drone to the controller is to power on the drone itself. This step is crucial as it ensures that the drone is ready and broadcasting its signal for the controller to detect.
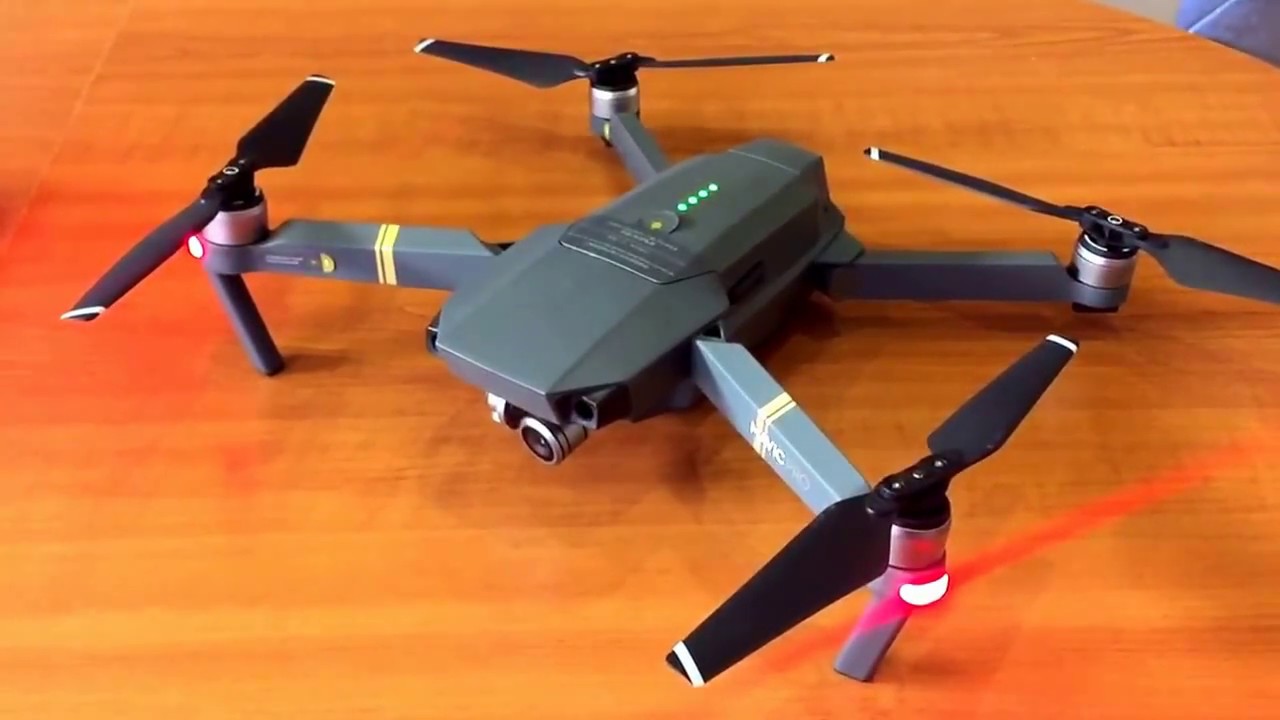
Locate the power button on your Sky Rider drone. Depending on the model, it can be found on the top, bottom, or sides of the drone. Once you’ve identified the power button, press and hold it for a few seconds until the drone’s indicator lights start flashing. This indicates that the drone is powering on.
While the drone is booting up, make sure that you are in an open area, away from any obstacles or people. It is important to fly the drone in a safe and controlled environment to avoid accidents or damage to the drone.
Additionally, check the battery level of the drone before taking off. Most Sky Rider drones have LED indicators that display the battery status. If the battery level is low, connect the drone to a charger and wait until it is fully charged before proceeding to the next step.
Once the drone is powered on and in a suitable location, you’re ready to move on to the next step: turning on the controller.
Step 2: Turn on the Controller
After powering on the Sky Rider drone, it’s time to turn on the controller. The controller is the device that allows you to have full control over the drone’s movements and features. Properly connecting the controller to the drone is essential for a successful and enjoyable flying experience.
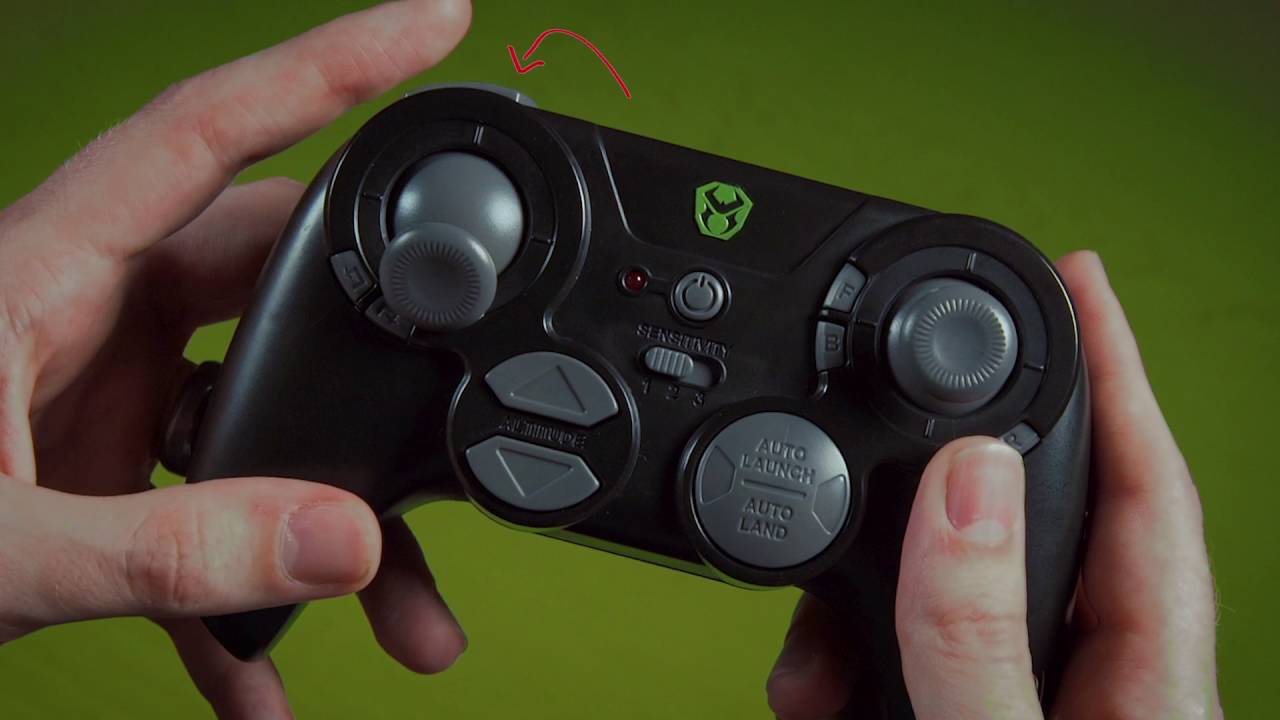
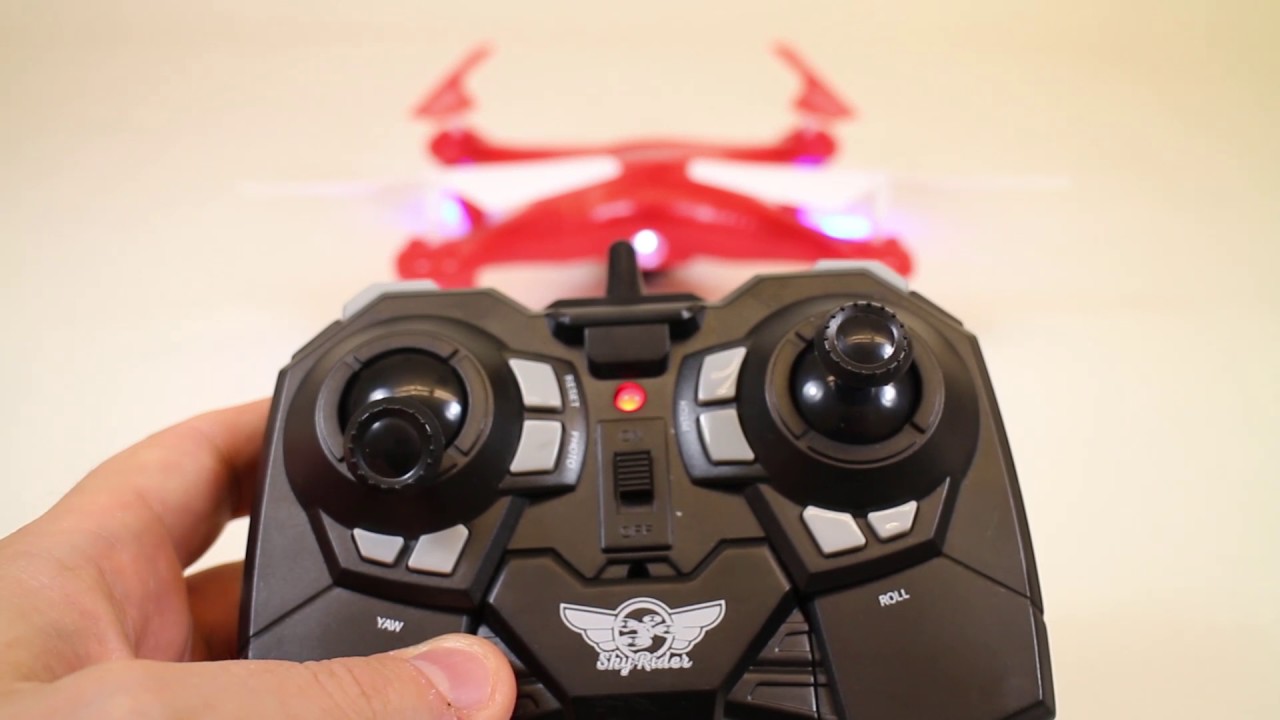
Locate the power button on your Sky Rider controller. It is usually located on the front or top of the controller. Press and hold the power button until the controller’s display lights up or the indicator lights start blinking. This indicates that the controller is powering on and ready to establish a connection with the drone.
While the controller is booting up, make sure that it is within the recommended range of the drone’s signal. Most Sky Rider drones have a specified control range, which is usually mentioned in the user manual, so be sure to keep the controller within this range to ensure a stable connection.
Once the controller is powered on, you may need to adjust some settings, such as the controller’s sensitivity or flight mode, depending on your preference and the drone model. Refer to the user manual for specific instructions on adjusting these settings, as they can vary for different Sky Rider drone models.
With the controller powered on and in range, you’re ready to move on to the next step: pairing the drone and controller to establish a connection.
Step 3: Pairing the Drone and Controller
Once you have powered on both the Sky Rider drone and the controller, it’s time to pair them together. Pairing is the process of establishing a wireless connection between the drone and the controller, allowing them to communicate and work together seamlessly.
Start by checking if the drone and controller are on the same frequency. Some Sky Rider drones have multiple frequency options, so ensure that both the drone and controller are set to the same frequency before proceeding.
Next, locate the pairing button or switch on the Sky Rider drone. Consult the user manual for your specific model to identify the exact location of the pairing button. Press and hold the pairing button until the drone’s indicator lights start blinking rapidly. This indicates that the drone is now in pairing mode and actively searching for a compatible controller to connect with.
Now, it’s time to pair the controller with the drone. Look for a pairing button or option on the controller. Again, the location may vary depending on the model, so refer to the user manual for guidance. Press and hold the pairing button on the controller until its indicator lights start blinking rapidly.
Within a few seconds, the drone and controller should recognize each other and establish a connection. The indicator lights on both devices will stop blinking and become solid, indicating a successful pairing.
It’s important to note that if the pairing fails, try restarting both the drone and the controller and repeat the pairing process. Additionally, ensure that there are no other devices nearby that may interfere with the connection.
With the drone and controller successfully paired, let’s move on to the final step: testing the connection to ensure everything is working as expected.
Step 4: Testing the Connection
After successfully pairing the Sky Rider drone and the controller, it is important to test the connection to ensure that everything is working properly before taking your drone for a flight. Testing the connection will help identify any potential issues and allow you to make any necessary adjustments for optimal performance.
Start by checking the drone’s response to the controller’s commands. Move the joysticks on the controller and observe how the drone reacts. Ensure that the drone follows your commands accurately and smoothly. Test each command, such as ascending, descending, rotating, and moving forward or backward, to ensure that the drone responds accordingly.
In addition to testing basic movements, it is also recommended to test advanced features and functionalities of the drone. Some Sky Rider drones come equipped with features like altitude hold, flip modes, or headless mode. Test these features to ensure they are functioning correctly and adding to your overall flying experience.
While testing the drone’s response, also pay attention to the controller’s signal strength. Walk around with the controller and observe any interruptions or signal drops. Maintaining a stable connection is crucial for safe and enjoyable flying. If you experience signal issues, try adjusting the controller’s position or moving to an open area with fewer obstructions.
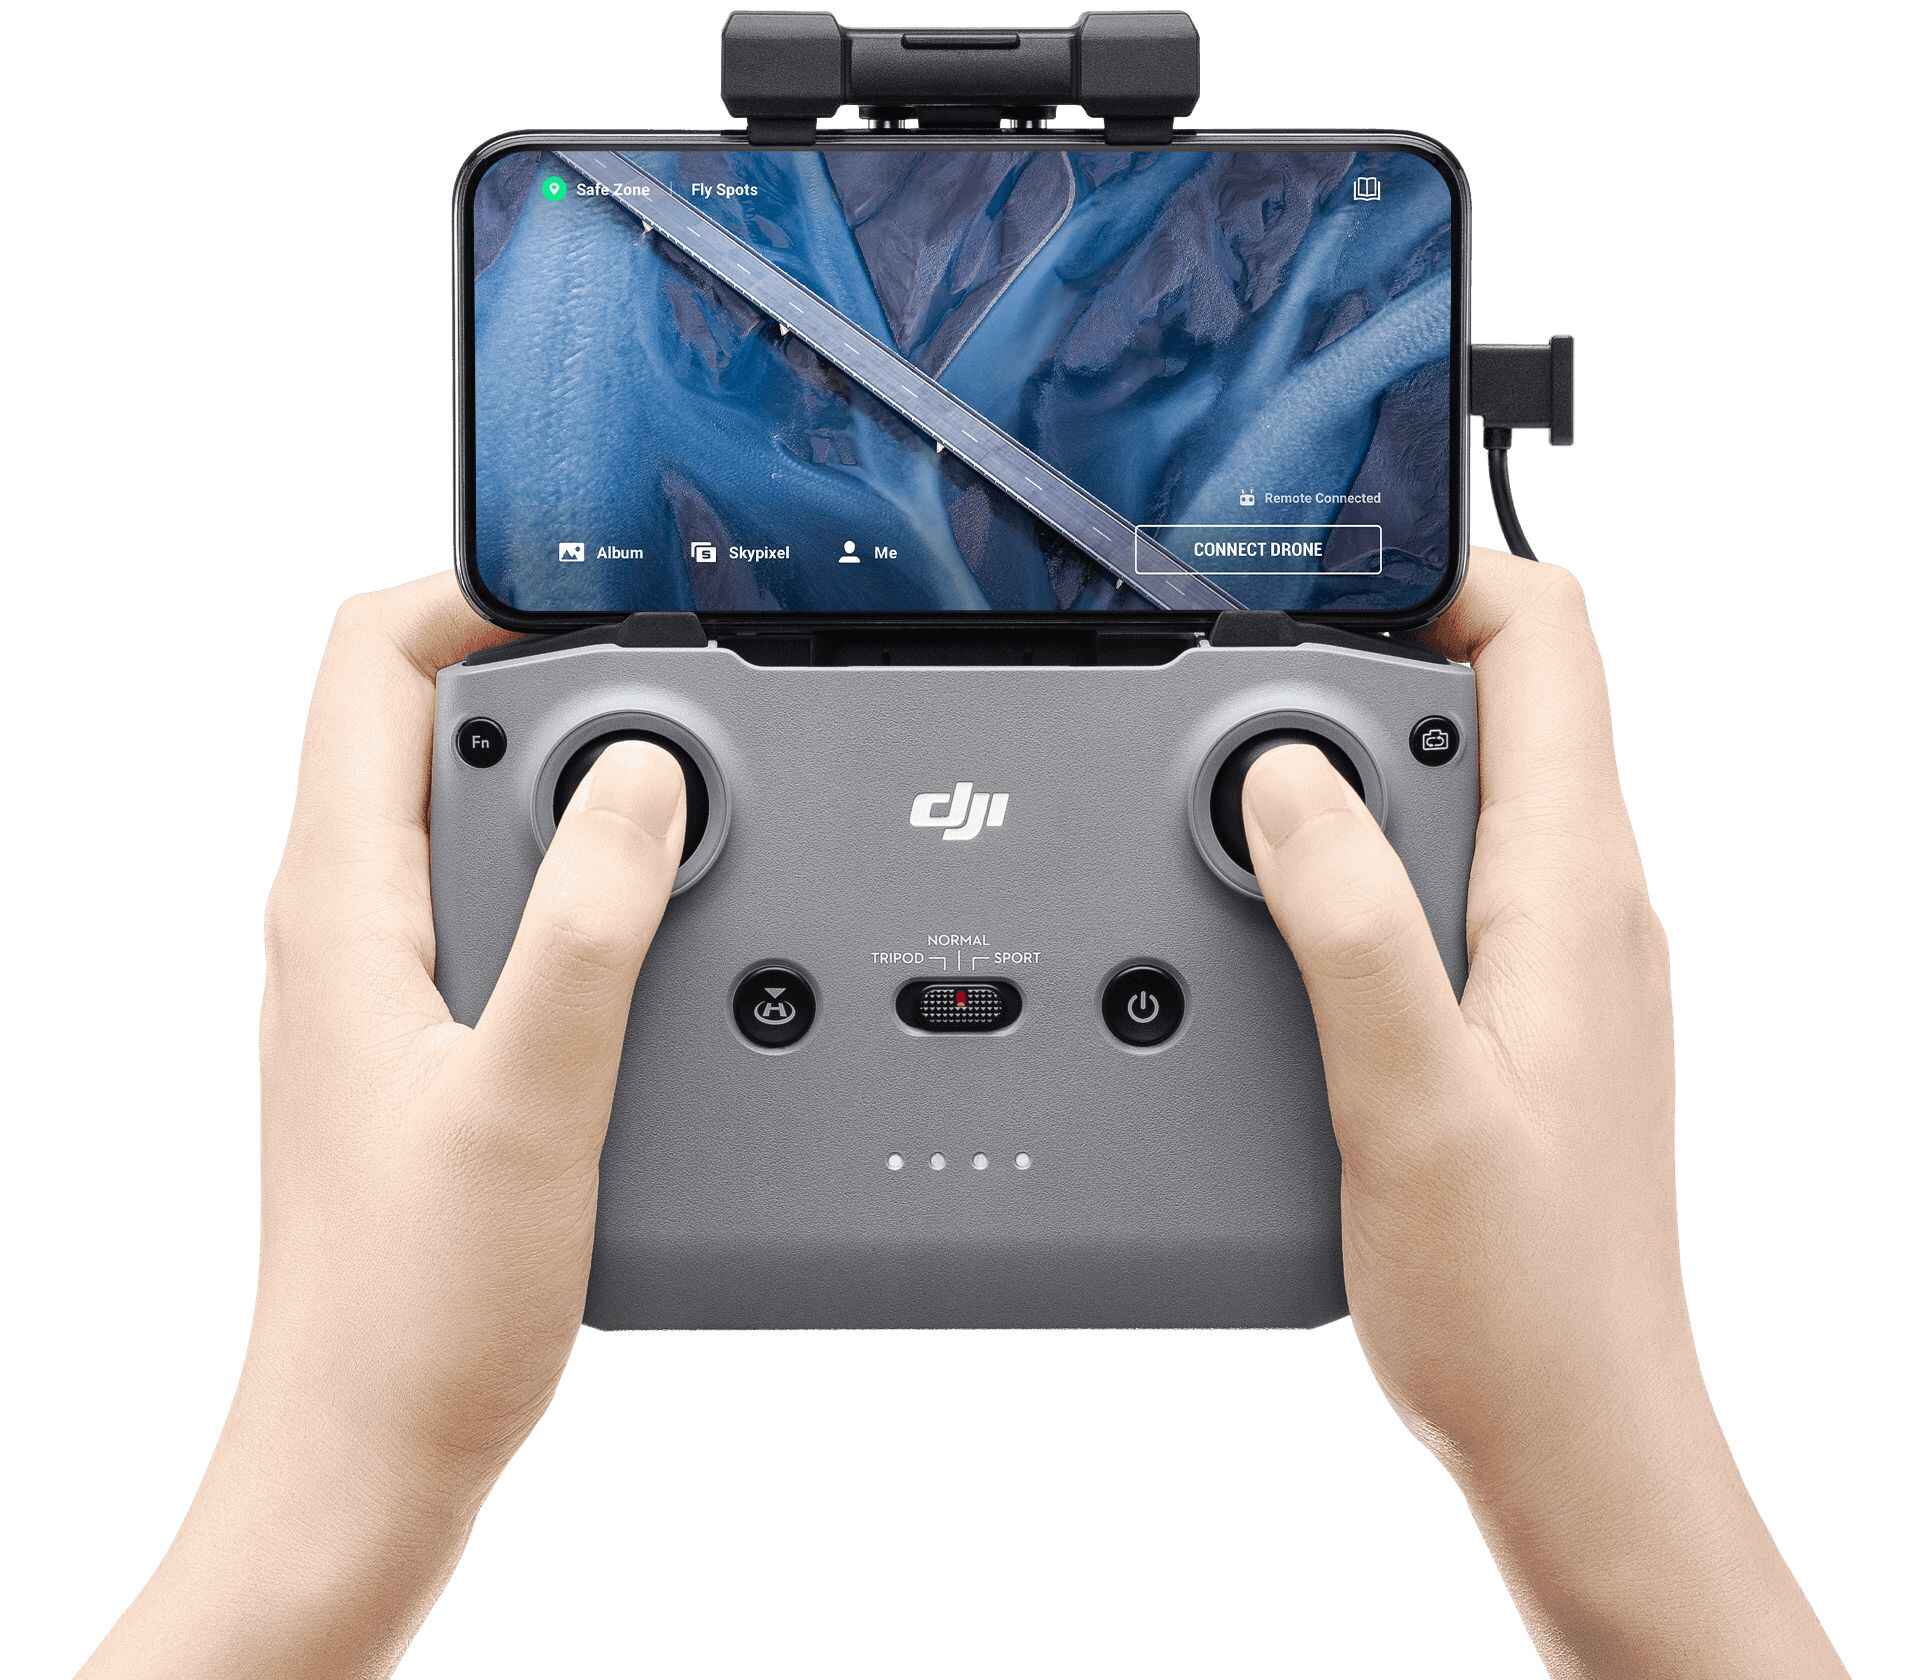
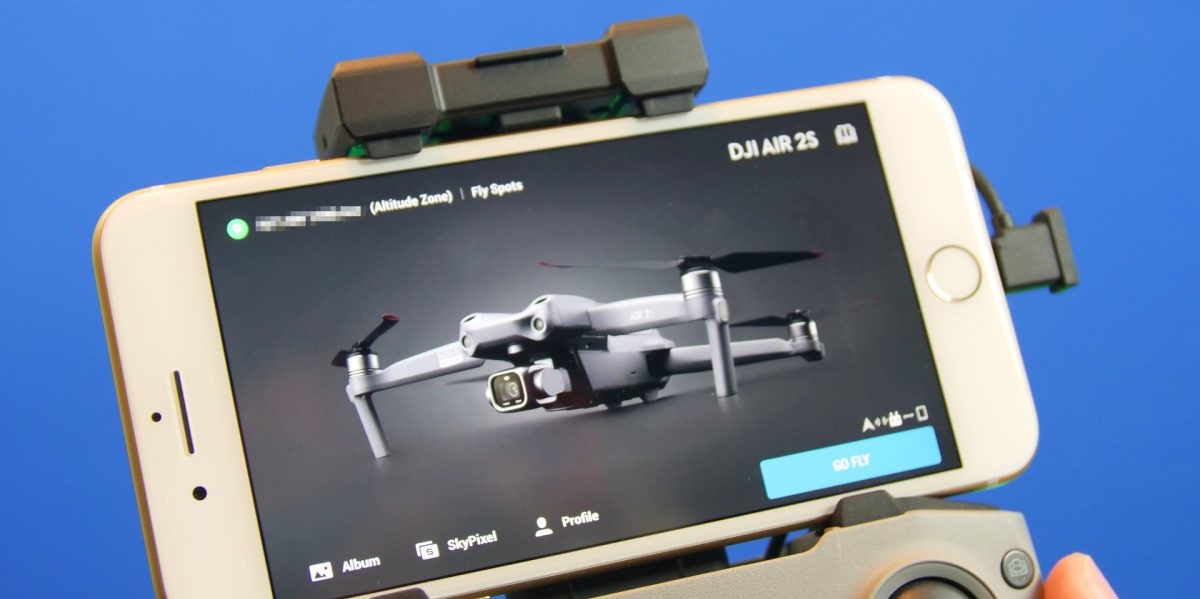
During the testing phase, it’s also a good idea to familiarize yourself with the controller’s interface and settings. Explore the on-screen display (if available) to monitor critical information such as battery level, signal strength, and flight modes.
If you encounter any issues or irregularities during the testing process, consult the user manual for troubleshooting steps. It’s always better to resolve any problems before taking the drone for a full flight.
Once you are satisfied with the drone’s performance and the connection between the drone and the controller, congratulations! You have successfully connected your Sky Rider drone to the controller.
Now, it’s time to head outdoors (or to a suitable indoor location) and unleash your drone’s potential. Have fun exploring the skies and capturing breathtaking footage!
Conclusion
Connecting your Sky Rider drone to the controller is a crucial step in preparing for an exciting and successful drone flying experience. By following the steps outlined in this guide, you can easily establish a stable connection between the drone and the controller, ensuring smooth and accurate control of your drone’s movements.
Remember to power on the drone and controller separately, ensuring they are within range of each other. Pairing the devices is the next step, allowing them to communicate wirelessly. Finally, testing the connection ensures that all commands are properly received by the drone and that the controller’s signal is reliable.
While this guide provides a general overview of the connection process, it’s important to refer to the user manual specific to your Sky Rider drone model for any additional instructions or variations. Each model may have slight differences in the steps and features.
Now that you have successfully connected your Sky Rider drone to the controller, take the time to familiarize yourself with the drone’s controls and explore its various features and functionalities. Remember to fly responsibly and in compliance with local regulations to ensure the safety of yourself and others.
With practice and experience, you’ll be able to master the art of drone flying and capture incredible aerial moments. So, get out there, have fun, and let your Sky Rider drone soar to new heights!