Introduction
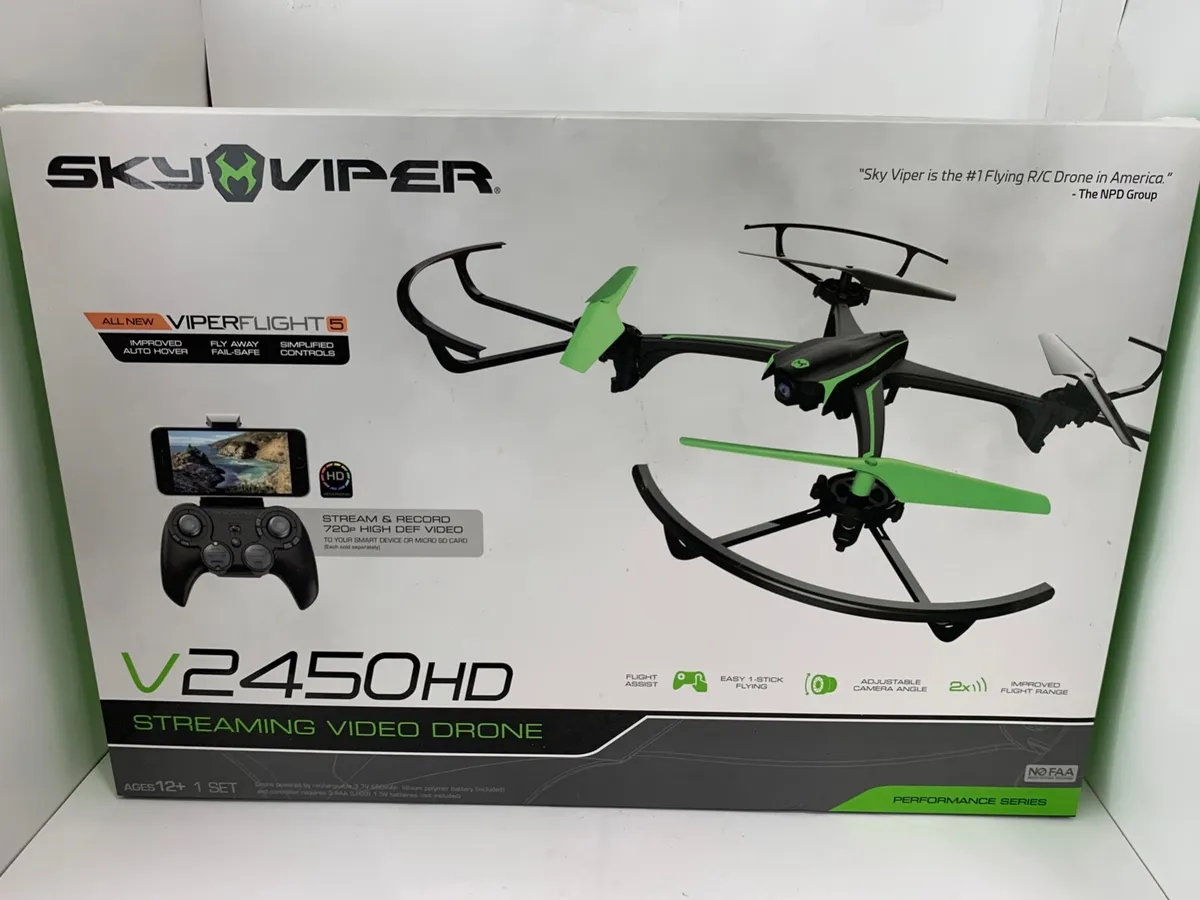
Welcome to the world of Sky Viper Drones! These cutting-edge flying machines offer an exhilarating and immersive experience for drone enthusiasts of all levels. Whether you’re a beginner looking to take your first flight or an experienced pilot seeking advanced features and capabilities, the Sky Viper Drone is sure to impress.
One of the key steps to fully enjoy your Sky Viper Drone is to connect it to Wi-Fi. This allows you to access a wide range of features and functionalities, including real-time streaming of aerial footage, control settings, and even accessing the Sky Viper Flight Simulator app.
In this guide, we will walk you through the step-by-step process of connecting your Sky Viper Drone to Wi-Fi, ensuring a seamless and enjoyable flight experience. No matter which model of the Sky Viper Drone you own, this guide will apply to all of them.
Before we dive into the details, it’s important to note that the Wi-Fi connection process may slightly vary depending on the specific Sky Viper Drone model and the device you are using. However, the general steps remain the same.
So, without further ado, let’s get started and discover how to connect your Sky Viper Drone to Wi-Fi, unlocking a world of amazing aerial adventures!
Step 1: Power on the Sky Viper Drone
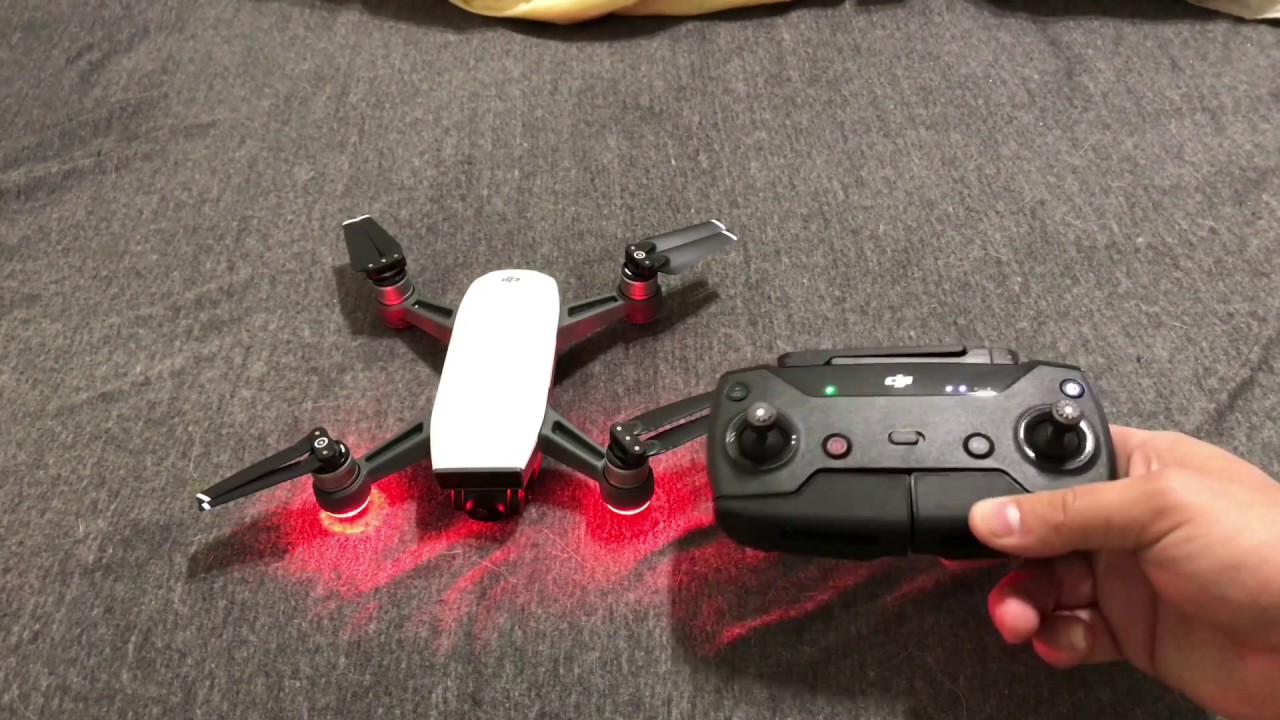
The first step in connecting your Sky Viper Drone to Wi-Fi is to power it on. Locate the power switch or button on your drone, usually located on the underside or near the battery compartment.
Ensure that the drone is on a flat and stable surface before you power it on. This will prevent any accidental movements or falls during the power-up process.
Once you have located the power switch or button, press it firmly to turn on the drone. You may see lights or indicators flashing, indicating that the drone is successfully powering up.
It’s important to note that some Sky Viper Drone models might have different power-up procedures. Refer to the instruction manual or the manufacturer’s website for specific details on powering on your particular model.
After you have powered on your Sky Viper Drone, it’s time to move on to the next step in the Wi-Fi connection process.
Step 2: Enable Wi-Fi on your device
Before connecting to the Wi-Fi network of your Sky Viper Drone, make sure that the Wi-Fi feature on your device is enabled. This step is crucial as it allows your device to detect and connect to the drone’s Wi-Fi network.
To enable Wi-Fi on your device, navigate to the settings menu. On most smartphones or tablets, you can find the settings icon on the home screen or in the app drawer. Tap on the settings icon to access the device settings.
Within the settings menu, look for the Wi-Fi option. This option may be labeled as “Wi-Fi,” “Connections,” or something similar, depending on your device’s operating system.
Tap on the Wi-Fi option to enter the Wi-Fi settings page. You will see a toggle switch that allows you to enable or disable Wi-Fi. Make sure the switch is turned on or set to the “On” position.
Once you have enabled Wi-Fi on your device, it will start searching for available Wi-Fi networks in the vicinity. Now, you’re ready to discover and connect to the Wi-Fi network of your Sky Viper Drone.
Keep in mind that the process of enabling Wi-Fi may vary slightly depending on the device you are using and its operating system. If you are unsure how to enable Wi-Fi on your specific device, refer to the device’s user manual or visit the manufacturer’s support website for detailed instructions.
With Wi-Fi enabled on your device, you’re prepared to proceed to the next step of connecting to the Sky Viper Drone Wi-Fi network.
Step 3: Locate the Wi-Fi network of the Sky Viper Drone
Now that Wi-Fi is enabled on your device, it’s time to locate the Wi-Fi network of your Sky Viper Drone. The drone creates its own Wi-Fi network that your device will connect to for communication.
Open the Wi-Fi settings on your device, which you accessed in the previous step. You will see a list of available Wi-Fi networks in the area, including the Wi-Fi network of your Sky Viper Drone.
The Sky Viper Drone’s Wi-Fi network name (SSID) usually begins with “SKYVIPER” followed by a series of numbers or letters. Look for this network name in the list of available Wi-Fi networks displayed on your device.
If you are having trouble locating the Wi-Fi network, you can try positioning your device closer to the drone or refreshing the list of available networks on your device.
It’s important to ensure that there are no other Wi-Fi networks in the vicinity with similar names. This can cause confusion and difficulty in connecting to the correct network. Verify that the network you choose is indeed the one associated with your Sky Viper Drone.
Once you have identified and selected the Sky Viper Drone Wi-Fi network, you’re ready to move on to the next step of connecting your device to the drone.
Step 4: Connect to the Sky Viper Drone Wi-Fi network
After locating the Wi-Fi network of your Sky Viper Drone, it’s time to establish a connection between your device and the drone’s network. This will allow your device to communicate with the drone and access its features and functionalities.
On your device’s Wi-Fi settings page, tap on the Sky Viper Drone Wi-Fi network name in the list of available networks. Your device will attempt to connect to the drone’s network.
You may be prompted to enter a password or passphrase to connect to the Sky Viper Drone Wi-Fi network. Usually, the password is provided in the drone’s user manual or on a sticker located on the drone itself.
Enter the password accurately, keeping in mind that it is case-sensitive. Once you have entered the password, tap on the “Connect” or “Join” button to establish the connection.
Your device will initiate the connection process, and you may see a status indicator or loading symbol. Be patient as the device establishes a secure connection with the Sky Viper Drone Wi-Fi network.
Once the connection is established, your device will display a message indicating a successful connection or show the Wi-Fi symbol with the Sky Viper Drone network name in the status bar.
At this point, your device is connected to the Sky Viper Drone’s Wi-Fi network, opening up a world of possibilities for controlling and interacting with the drone.
Now that the connection is established, you’re ready to move on to the next step and launch the Sky Viper Flight Simulator app.
Step 5: Launch the Sky Viper Flight Simulator app
With your device successfully connected to the Sky Viper Drone’s Wi-Fi network, it’s time to launch the Sky Viper Flight Simulator app. This app provides an interactive and realistic flight simulator experience, allowing you to practice and refine your piloting skills.
Locate the Sky Viper Flight Simulator app on your device. You can typically find it in your device’s app drawer or on the home screen, depending on how you have organized your apps.
If you haven’t already installed the Sky Viper Flight Simulator app, you can download it from the app store specific to your device’s operating system. Search for “Sky Viper Flight Simulator” and follow the on-screen prompts to download and install the app.
Once you have found the app, tap on its icon to launch it. The app will load and present you with a main menu or dashboard, offering various flight modes and settings.
Before you start exploring the different flight modes, ensure that your device is still connected to the Sky Viper Drone’s Wi-Fi network. The connection is essential for the app to communicate with the drone and provide a seamless flight experience.
If your device has disconnected from the drone’s network for any reason, repeat the previous steps to reconnect to the Wi-Fi network.
Now that you have successfully launched the Sky Viper Flight Simulator app and ensured a stable connection, you’re ready to begin your virtual flying adventure!
Stay tuned for the next step, where we will guide you through the on-screen instructions to complete the Wi-Fi connection and get ready for an exhilarating flight experience with your Sky Viper Drone.
Step 6: Follow the on-screen instructions to complete the Wi-Fi connection
Now that you have launched the Sky Viper Flight Simulator app, it’s time to complete the Wi-Fi connection process. The app will guide you through the necessary steps to establish a seamless and stable connection with your Sky Viper Drone.
Pay close attention to the on-screen instructions provided by the app. These instructions are designed to ensure a successful Wi-Fi connection and optimize your flight experience.
The app may prompt you to verify the Wi-Fi network connection between your device and the Sky Viper Drone. Follow the prompts and confirm that the drone’s network is recognized and connected.
You may also be prompted to update the app or firmware of your drone. It is important to keep your drone’s software up to date to access the latest features and improvements. If an update is available, follow the instructions provided to complete the update process.
During the Wi-Fi connection process, the app may display a progress bar or loading animation. Be patient and allow the app to establish a secure connection with your Sky Viper Drone.
Once the on-screen instructions have been followed and the Wi-Fi connection is successfully completed, you can start exploring the various features and flight modes offered by the Sky Viper Flight Simulator app.
Before taking your drone for an actual flight, it is recommended to spend some time using the flight simulator to familiarize yourself with the controls and get a feel for the handling of the drone.
Now that you have completed the Wi-Fi connection process and are ready to enjoy your flight experience, it’s time to embark on thrilling adventures with your Sky Viper Drone!
Step 7: Enjoy your Sky Viper Drone flight experience!
Congratulations! You have successfully connected your device to the Wi-Fi network of your Sky Viper Drone, and now it’s time to take flight and enjoy the incredible experience that awaits you.
With the Wi-Fi connection established, you can now fully leverage the features and capabilities of your Sky Viper Drone. Take advantage of real-time streaming to view stunning aerial footage directly on your device, control settings to customize your flight experience, and access advanced features available through the app.
Explore the different flight modes offered by the Sky Viper Flight Simulator app to test your piloting skills and unlock new levels of excitement. Whether you’re a beginner or an experienced drone enthusiast, the app provides a range of options to cater to your preferences and expertise.
Remember to adhere to local laws and regulations regarding drone usage and fly in open, designated areas to ensure the safety of yourself and others. Always follow best practices for safe flying, such as maintaining line of sight with your drone, avoiding restricted airspace, and flying responsibly.
Capture breathtaking photos and videos from high above using the camera features of your Sky Viper Drone. Share your aerial adventures with friends and family or on social media platforms to showcase your unique perspective of the world.
While flying your drone, be mindful of battery life and flight duration. Monitor the battery levels through the app and land your drone safely when the battery is running low. It is always a good idea to have spare batteries on hand for extended flight sessions.
Lastly, don’t forget to take some time to simply enjoy the thrill of flying your Sky Viper Drone. Immerse yourself in the beauty of the surroundings, soak in the adrenaline rush, and create unforgettable memories that will last a lifetime.
So, get ready to spread your wings and soar through the skies with your Sky Viper Drone. Embrace the adventure and let your imagination take flight as you unlock the limitless possibilities of aerial exploration!