Introduction
Welcome to this beginner’s guide on how to connect a Tello drone! If you’re new to the world of drones, connecting and controlling them can seem like a daunting task. But don’t worry, we’re here to help you get started with your Tello drone!
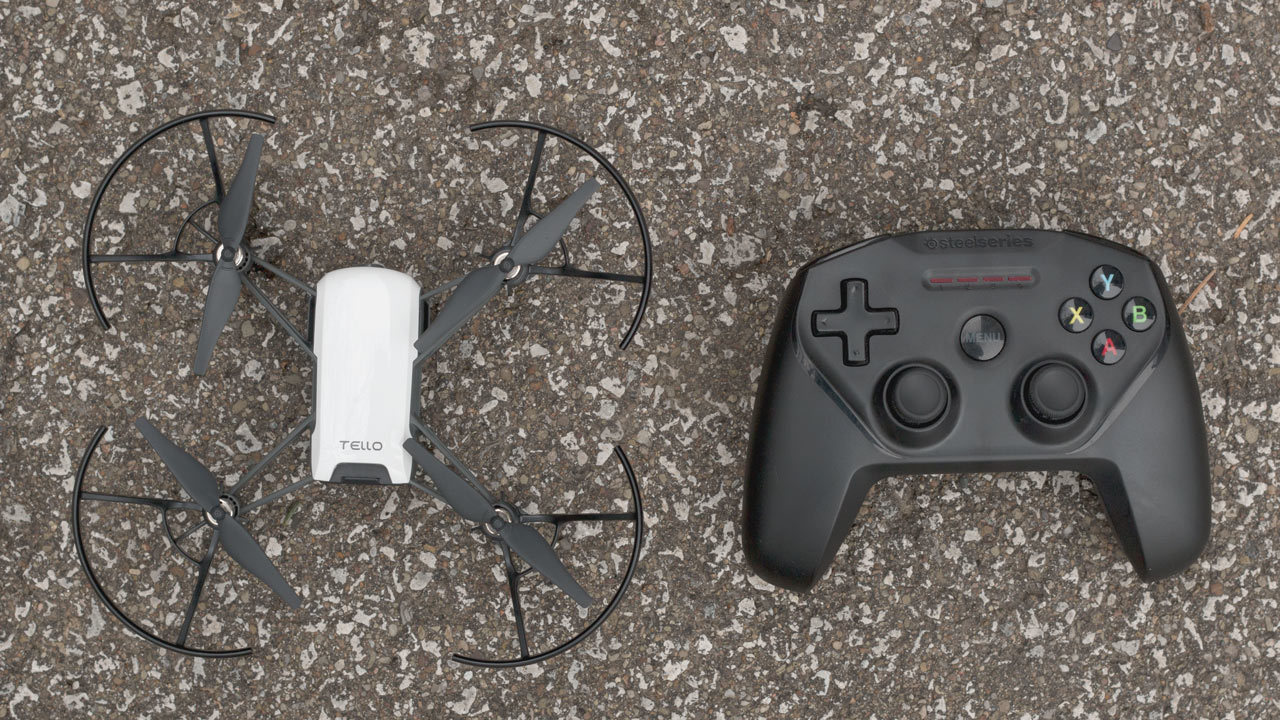
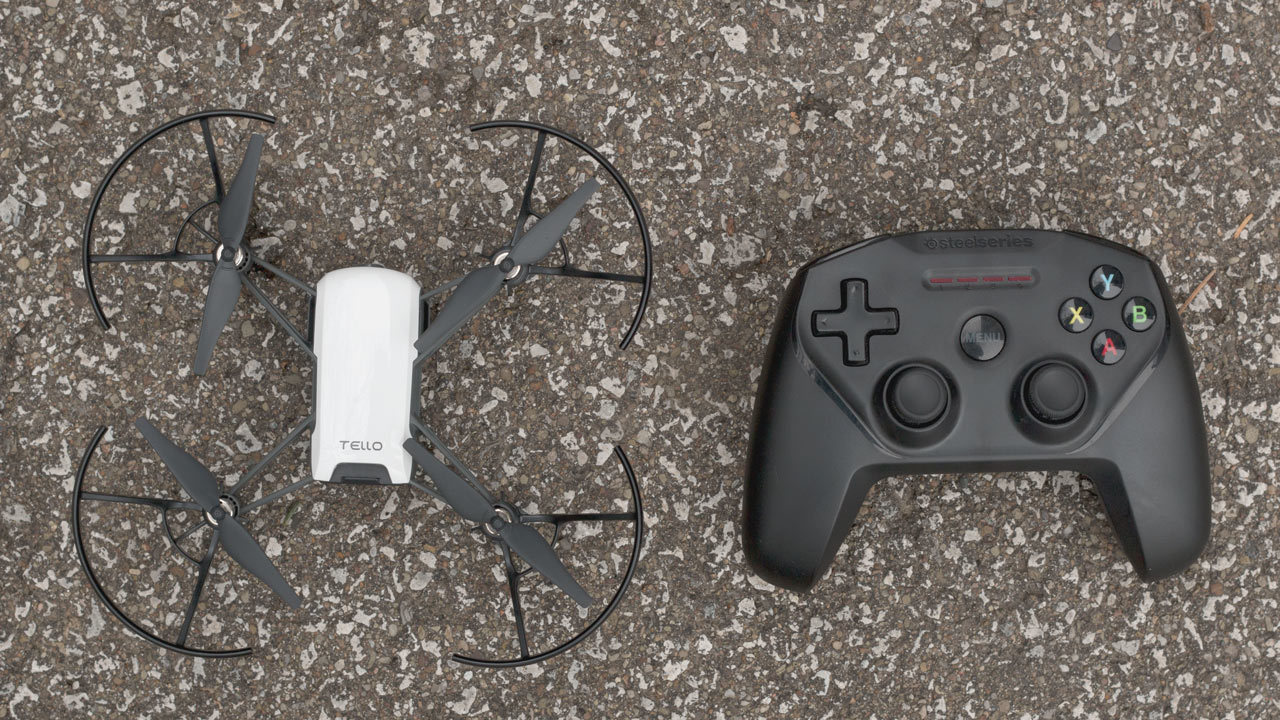
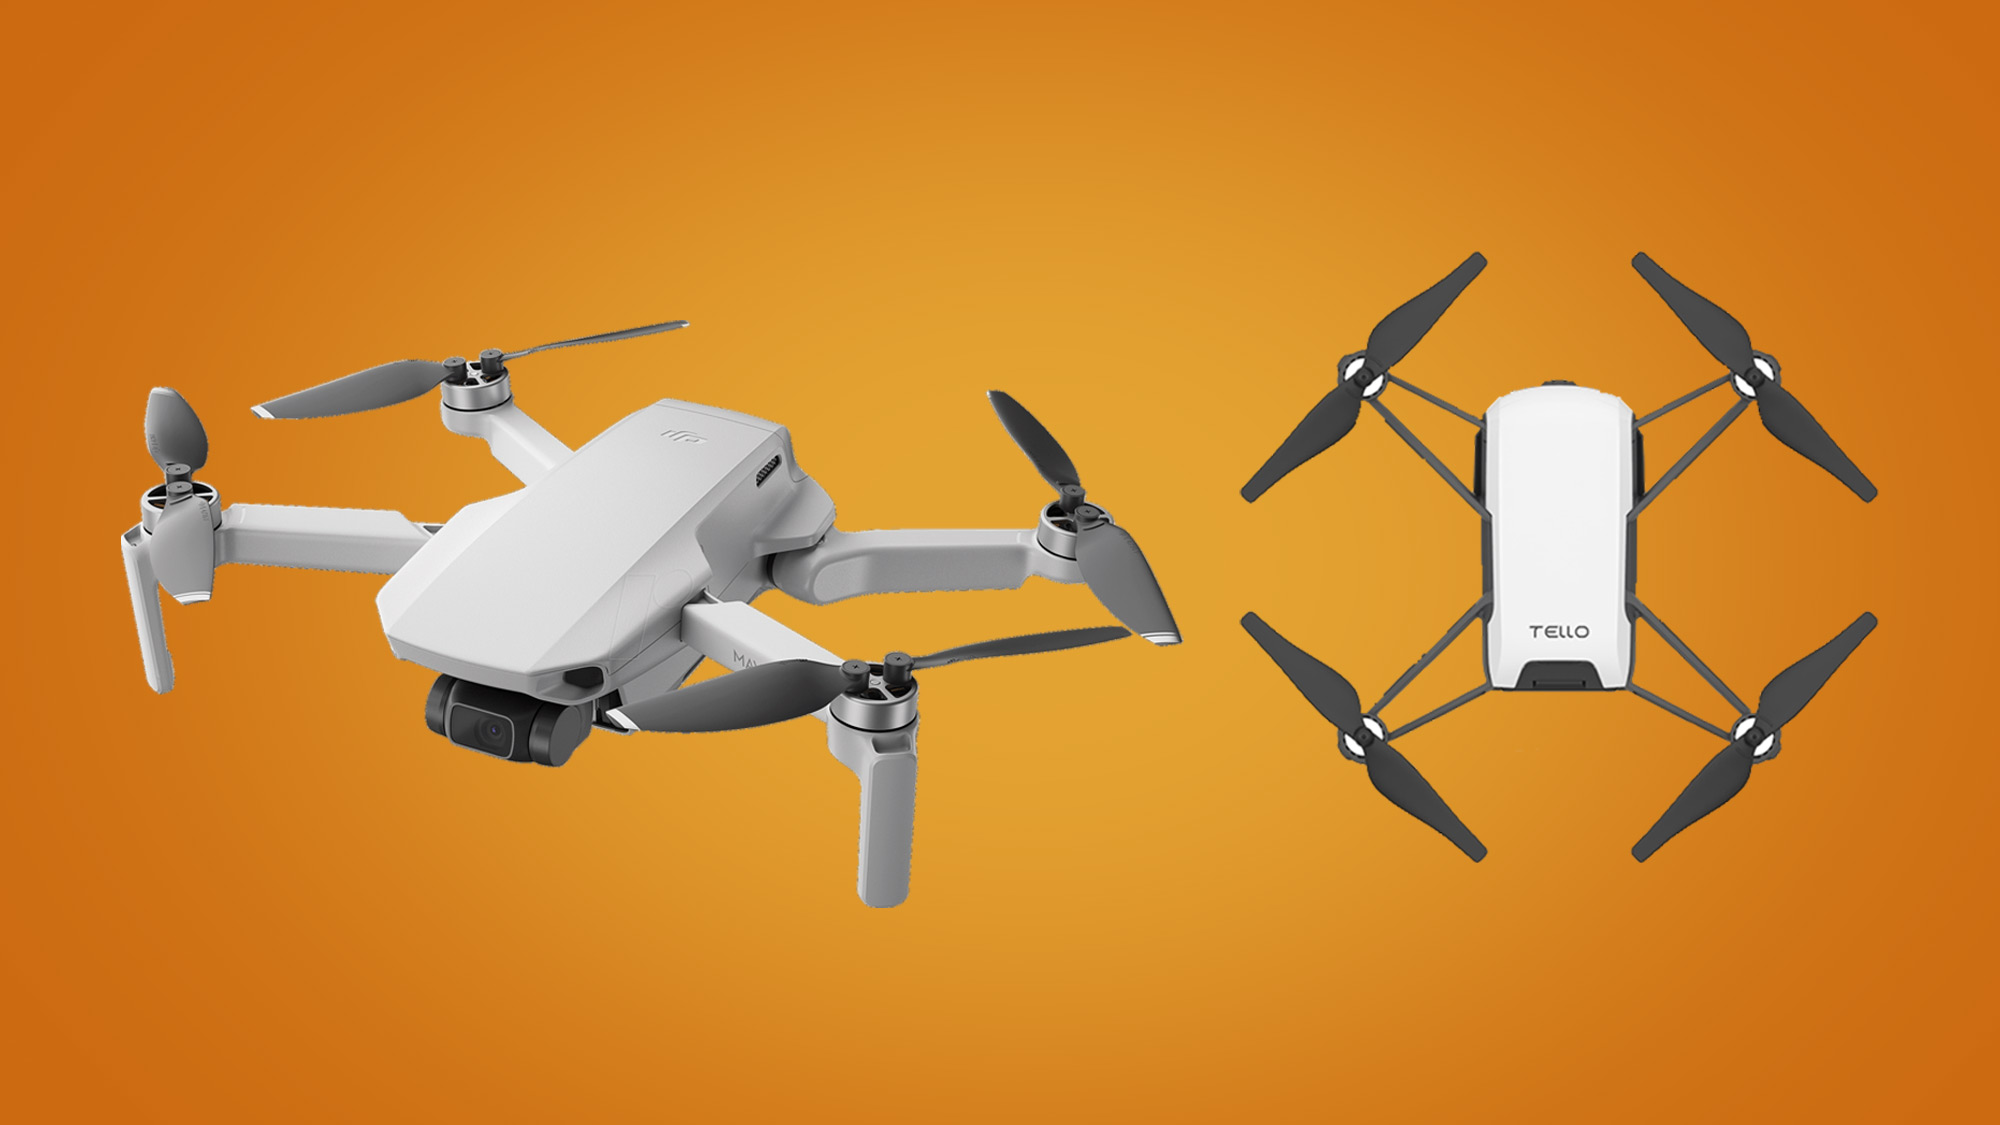
The Tello drone is a compact and affordable drone that is easy to operate. It provides a great introduction to the world of aerial photography and videography. Whether you want to capture stunning landscapes or amazing action shots, the Tello drone has got you covered.
To fully enjoy the features and capabilities of the Tello drone, you need to know how to connect it to your smartphone. By establishing a connection, you can control the drone using the dedicated Tello app and explore its various flight modes and functions.
In this guide, we will take you through a step-by-step process to connect your Tello drone, ensuring a smooth and hassle-free experience. By the end of this guide, you will be ready to take to the skies and unleash your creativity with the Tello drone.
So, let’s dive in and learn how to connect your Tello drone!
Step 1: Charging the Tello Drone
Before you can take your Tello drone for a flight, you need to ensure that it is properly charged. Here’s how you can charge your Tello drone:
- Locate the battery compartment on the bottom of the drone.
- Remove the battery by pushing the battery release button and sliding it out.
- Connect the battery to the included USB charging cable.
- Plug the other end of the USB cable into a power source such as a computer USB port or a wall adapter.
- Wait for the battery to fully charge. The LED lights on the battery will indicate the charging progress. It usually takes around 60 minutes to fully charge the battery.
- Once the battery is fully charged, disconnect it from the charging cable.
- Insert the fully charged battery back into the battery compartment of the Tello drone.
It’s important to note that you should always use the provided USB charging cable and avoid using third-party chargers, as they may not deliver the correct voltage and can potentially damage the battery.
Charging the Tello drone’s battery is a crucial step to ensure a longer flight time and uninterrupted flying experience. Once the battery is fully charged, you’re ready to move on to the next step.
Step 2: Installing the Tello App
In order to control your Tello drone, you will need to install the Tello app on your smartphone. Follow these steps to install the app:
- Open the app store on your smartphone. If you have an iPhone, open the App Store. If you have an Android device, open the Google Play Store.
- Search for “Tello” in the search bar of the app store.
- Look for the official Tello app developed by Ryze Tech and DJI.
- Tap on the app when you find it and select “Install” or “Get” to begin the installation process. Please note that the app may require certain permissions, such as access to your camera and location, for optimal functionality.
- Wait for the app to download and install on your smartphone. The installation process may take a few minutes depending on your internet connection speed.
- Once the Tello app is successfully installed, locate its icon on your smartphone’s home screen or app drawer.
Now that you have successfully installed the Tello app, you’re one step closer to connecting and controlling your Tello drone. Proceed to the next step to learn how to establish a connection between your smartphone and the Tello drone.
Step 3: Connecting the Tello Drone to Your Smartphone
Now that you have the Tello app installed on your smartphone, it’s time to connect your Tello drone. Follow these steps:
- Turn on your Tello drone by pressing the power button on the front of the drone.
- Unlock your smartphone and navigate to the settings menu.
- Look for the Wi-Fi settings and tap on it to access the available Wi-Fi networks.
- You should see a network name that starts with “TELLO-“. Tap on this network to connect to your Tello drone.
- Your smartphone will now be connected to the Tello drone’s Wi-Fi network. However, you won’t have internet access as the drone’s network doesn’t provide internet connectivity.
- Once you are successfully connected to the Tello drone’s Wi-Fi network, open the Tello app on your smartphone.
- The app will automatically detect the connected Tello drone and establish a connection.
It’s important to note that you should only connect your smartphone to the Tello drone’s Wi-Fi network. Avoid using mobile data or a separate Wi-Fi connection while flying the drone, as it may interfere with the connection and compromise the control and stability of the drone.
With the Tello drone and your smartphone connected, you’re ready to move on to the next step and launch the Tello app to start controlling your drone.
Step 4: Connecting to the Tello Wi-Fi Network
After successfully connecting your smartphone to the Tello drone’s Wi-Fi network, it’s time to ensure a stable and reliable connection between the two devices. Follow these steps to connect to the Tello Wi-Fi network:
- Open the settings menu on your smartphone and navigate to the Wi-Fi settings.
- Locate the Tello Wi-Fi network in the list of available networks. It should appear as “TELLO-XXXXXX” (the XXXXXX represents the unique identifier of your Tello drone).
- Tap on the Tello Wi-Fi network to connect to it.
- Wait for your smartphone to establish a connection with the Tello drone’s Wi-Fi network. This may take a few seconds.
- Once connected, you will see a Wi-Fi icon on your smartphone indicating that it is connected to the Tello drone’s network.
Connectivity is crucial for a smooth and uninterrupted flying experience. It ensures that your commands and controls are received by the Tello drone in real-time. By connecting to the Tello Wi-Fi network, you establish a direct link between your smartphone and the drone, allowing for seamless communication during flight.
With the Tello drone and your smartphone successfully connected, it’s time to move on to the next step and launch the Tello app to start the incredible journey of controlling your Tello drone.
Step 5: Launching the Tello App and Connecting to the Drone
Now that you are connected to the Tello Wi-Fi network, it’s time to launch the Tello app and establish a connection with your drone. Follow these steps to connect the Tello app to your Tello drone:
- Locate the Tello app on your smartphone’s home screen or app drawer.
- Tap on the Tello app icon to open it.
- Once the app is launched, it will automatically detect the connected Tello drone.
- The Tello app will display a live feed from the drone’s camera, as well as provide access to various flight modes and settings.
- If the app doesn’t automatically connect to your Tello drone, manually select your drone from the list of available devices within the app.
- Wait for the app to establish a stable connection with the Tello drone. This may take a few seconds.
- Once the connection is established, you will see an indicator on the app’s interface confirming the successful connection.
Now that you have successfully launched the Tello app and connected it to your Tello drone, you are ready to take control and explore the exciting features and capabilities of your drone. The app provides you with a user-friendly interface to pilot the drone, capture photos and videos, and access a range of flight modes for a truly immersive flying experience.
Ensure that you have a clear line of sight with the drone and fly in open spaces away from obstacles or people to ensure safe and enjoyable flights.
With the Tello drone and app connected, it’s time to move on to the next step and learn how to control your Tello drone from your smartphone.
Step 6: Controlling the Tello Drone from Your Smartphone
Now that you have established a connection between your Tello drone and smartphone, it’s time to take control and start flying. The Tello app provides you with intuitive controls to maneuver the drone and explore its various functionalities. Follow these steps to begin controlling your Tello drone:
- Ensure that the Tello drone is in an open and safe flying area, away from obstructions and people.
- Launch the Tello app on your smartphone if it’s not already open.
- The Tello app interface will display a live feed from the drone’s camera, along with control options.
- Use the on-screen virtual joysticks or tilt your smartphone to control the drone’s movement.
- Experiment with the different flight modes available in the app, such as flips, toss and go, and bounce mode.
- Tap on the camera icon to capture photos or record videos during flight.
- Use the app’s settings to adjust flight sensitivity, camera settings, and other preferences.
- Monitor the drone’s battery level on the app to ensure you have enough power for the desired flight duration.
- Once you are done flying, land the Tello drone safely by using the landing button in the app.
Controlling the Tello drone using the Tello app is a seamless and enjoyable experience. The app’s user-friendly interface and responsive controls make it easy for beginners to pilot the drone while also providing more advanced features for experienced users.
Remember to always follow local laws and regulations regarding drone flights and practice responsible and safe flying techniques.
Now that you have learned how to control your Tello drone from your smartphone, you can embark on exciting aerial adventures and capture stunning photos and videos.
Conclusion
Congratulations! You have successfully learned how to connect and control your Tello drone using your smartphone. By following the steps outlined in this guide, you are now ready to take to the skies and unleash your creativity in capturing breathtaking aerial shots.
Throughout this guide, you learned how to charge the Tello drone, install the Tello app on your smartphone, connect the drone to your smartphone’s Wi-Fi network, launch the Tello app, and take control of the drone’s movements using the intuitive controls provided in the app.
Remember, safety should always be a top priority when flying your Tello drone. Ensure that you fly in open spaces away from obstacles and people, and follow local laws and regulations regarding drone flights in your area.
Continue to explore the Tello app to discover additional features such as different flight modes, capturing photos and videos, and customizing settings to enhance your flying experience. With practice, you will unlock the full potential of your Tello drone and create stunning aerial footage.
So, what are you waiting for? Get out there, experience the thrill of flying, and capture breathtaking moments with your Tello drone!


