Introduction
Welcome to this guide on how to connect your DJI Spark! The DJI Spark is a compact and powerful drone that allows you to capture stunning aerial footage with ease. Whether you are a professional photographer, videographer, or simply an enthusiast looking to explore the world from a different perspective, connecting your DJI Spark is the first step towards unleashing its full potential.
The DJI Spark offers impressive features and functionalities, including stable flight performance, intelligent flight modes, and high-quality image and video capture capabilities. However, before you can take to the skies and start capturing breathtaking footage, you need to ensure that your DJI Spark is properly connected to your smartphone or remote controller. This guide will walk you through the step-by-step process of connecting your DJI Spark, ensuring a seamless and hassle-free experience.
Whether you are a beginner or an experienced pilot, this guide is designed to provide you with all the necessary information to connect your DJI Spark without any confusion. So, let’s dive into the step-by-step process and get you up and flying in no time!
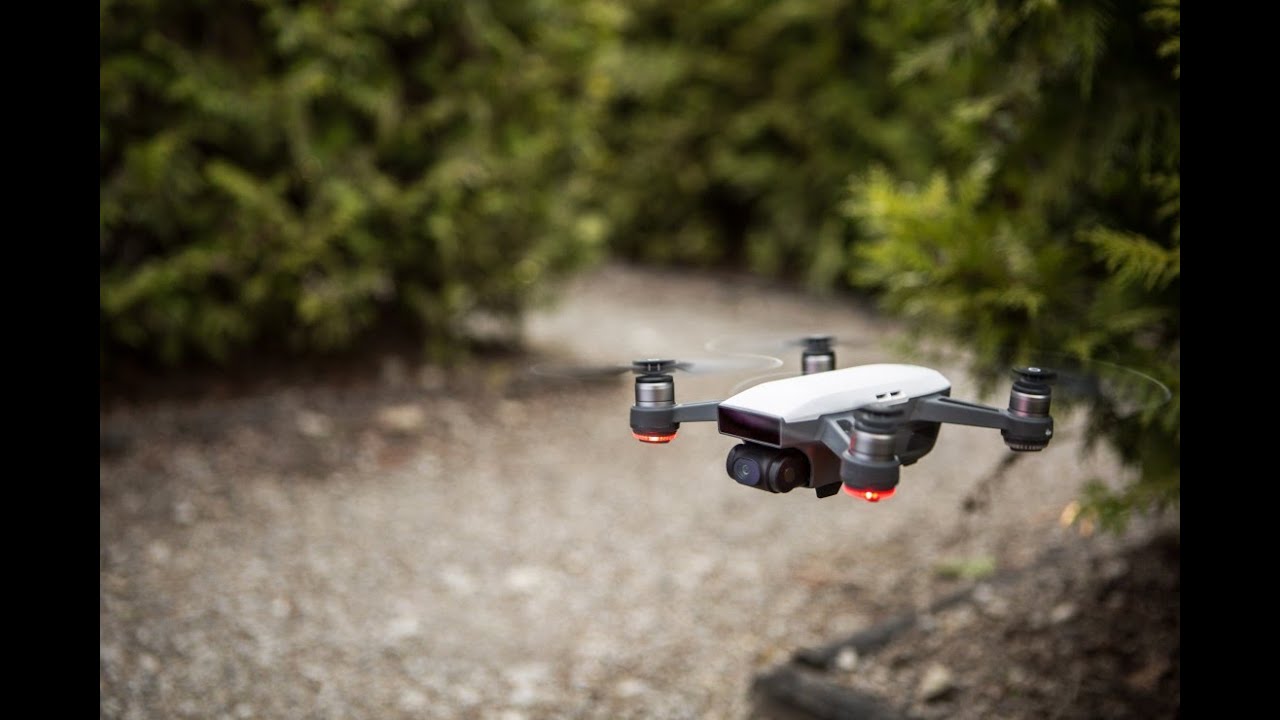
Step 1: Unboxing and preparing your DJI Spark
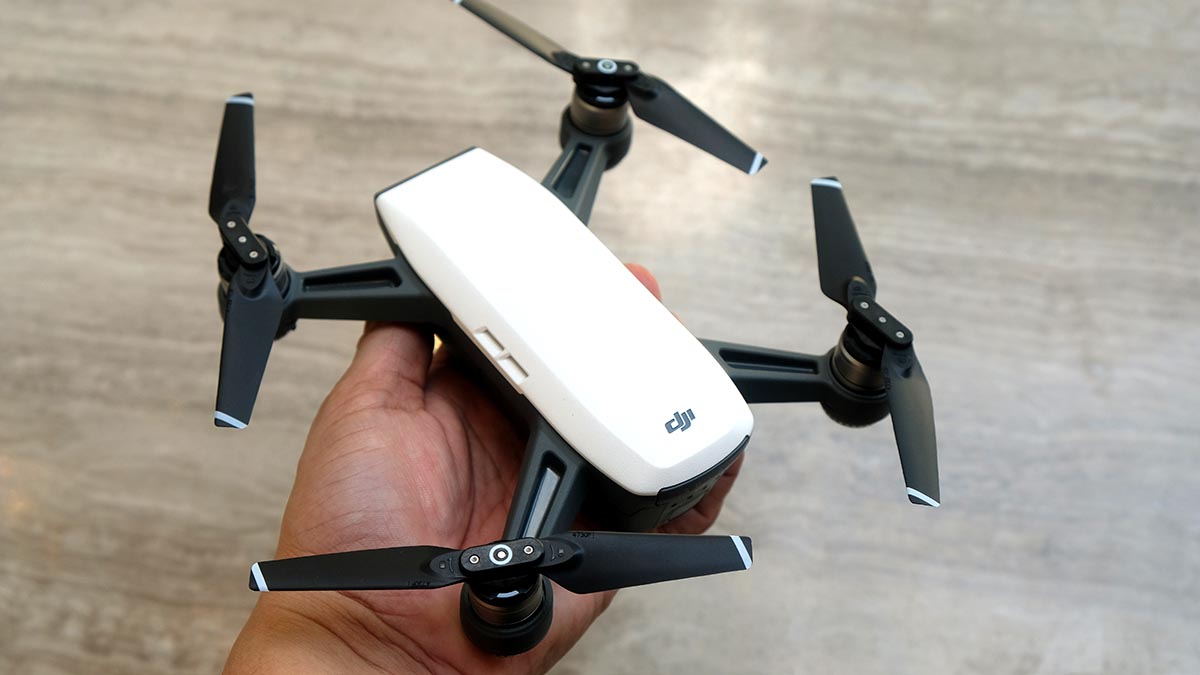
The first step to connecting your DJI Spark is to unbox and prepare the drone for flight. Here’s what you need to do:
- Remove the DJI Spark from its packaging and carefully inspect it for any visible damage. It’s important to ensure that the drone is in perfect condition before proceeding.
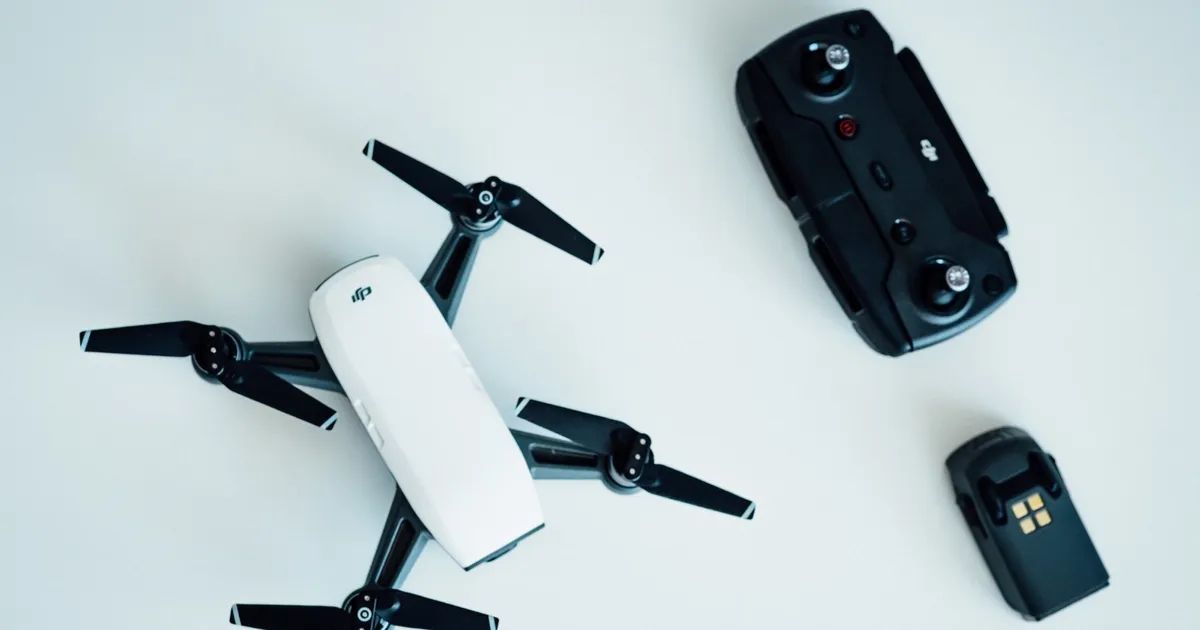
- Check the contents of the package to make sure you have all the necessary components. This typically includes the drone itself, a battery, a USB charger, propellers, and a micro USB cable.
- Insert the battery into the DJI Spark by sliding it into the designated slot until it clicks into place. Make sure it is properly secured.
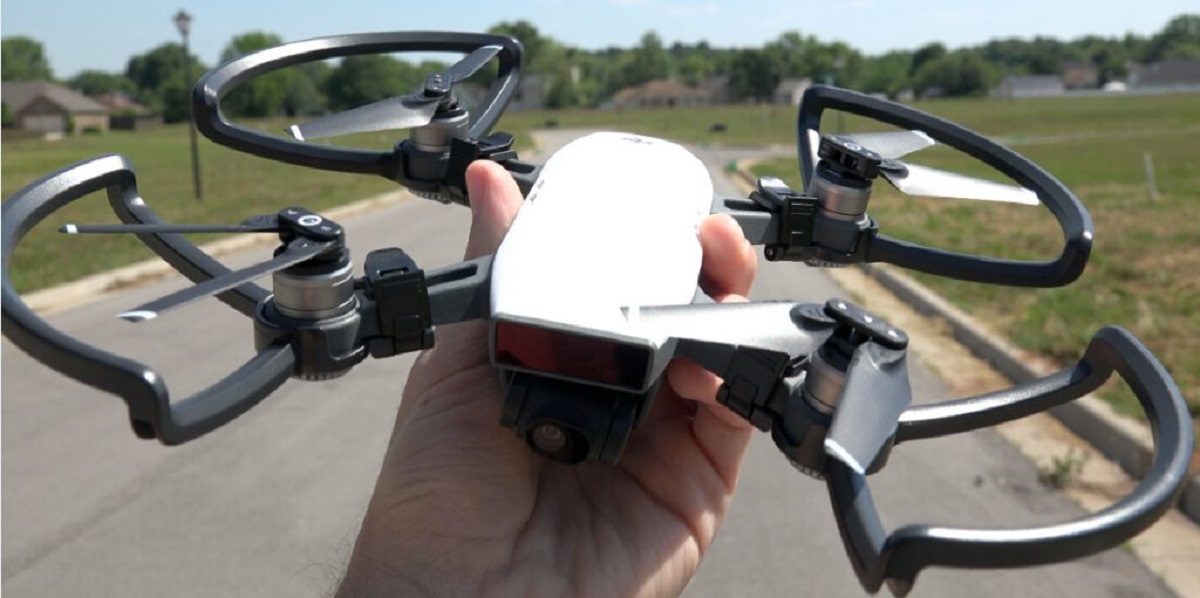
- Attach the propellers to the DJI Spark by aligning the white dots on the propellers with the corresponding dots on the motor shafts. Press down gently until the propellers are firmly attached.
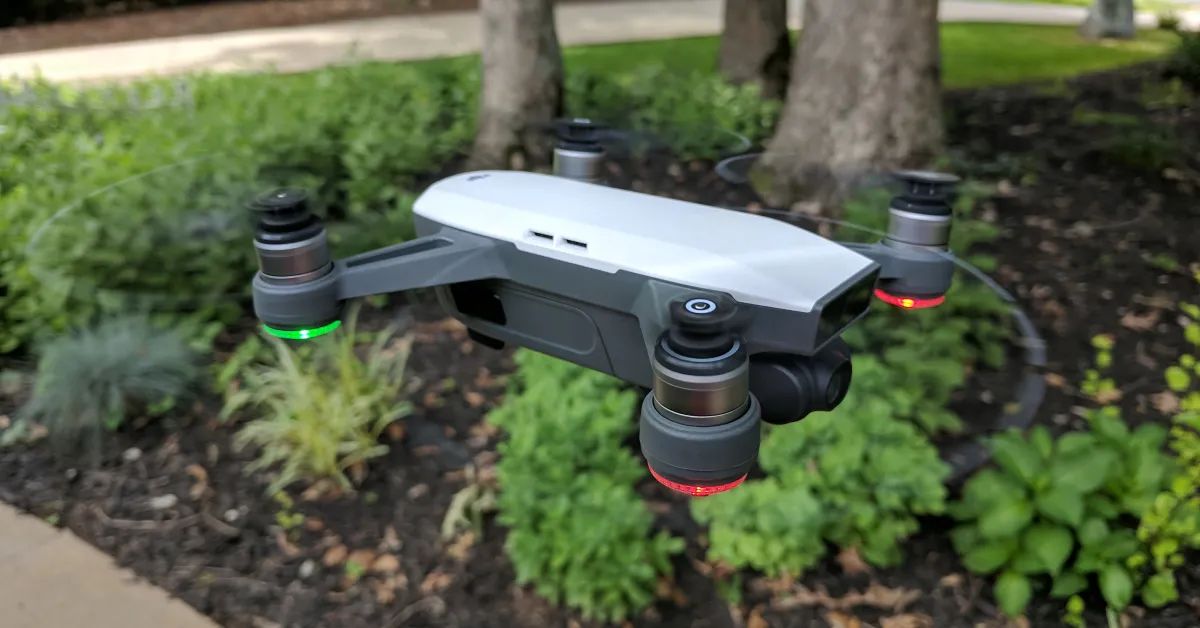
- Power on the DJI Spark by pressing the power button once, then press and hold until the drone beeps and the front LEDs start to flash.
- Connect your smartphone to the DJI Spark by accessing the Wi-Fi settings on your device. Look for the Spark’s Wi-Fi network and select it. The default network name should be “Spark-XXXX”, with “XXXX” representing the last four digits of the drone’s Wi-Fi MAC address.
- Launch the DJI Go 4 app on your smartphone. If you haven’t installed it yet, you can download it from the App Store or Google Play Store.
- Familiarize yourself with the DJI Go 4 app’s interface. This is where you’ll have access to various flight settings, navigation controls, and intelligent flight modes.
- Ensure that your smartphone is connected to the internet, as some features of the DJI Go 4 app, such as firmware updates, require an internet connection.
By following these steps, you will have successfully unboxed and prepared your DJI Spark for the next phase of the connection process. Now, let’s move on to Step 2: Charging your DJI Spark.
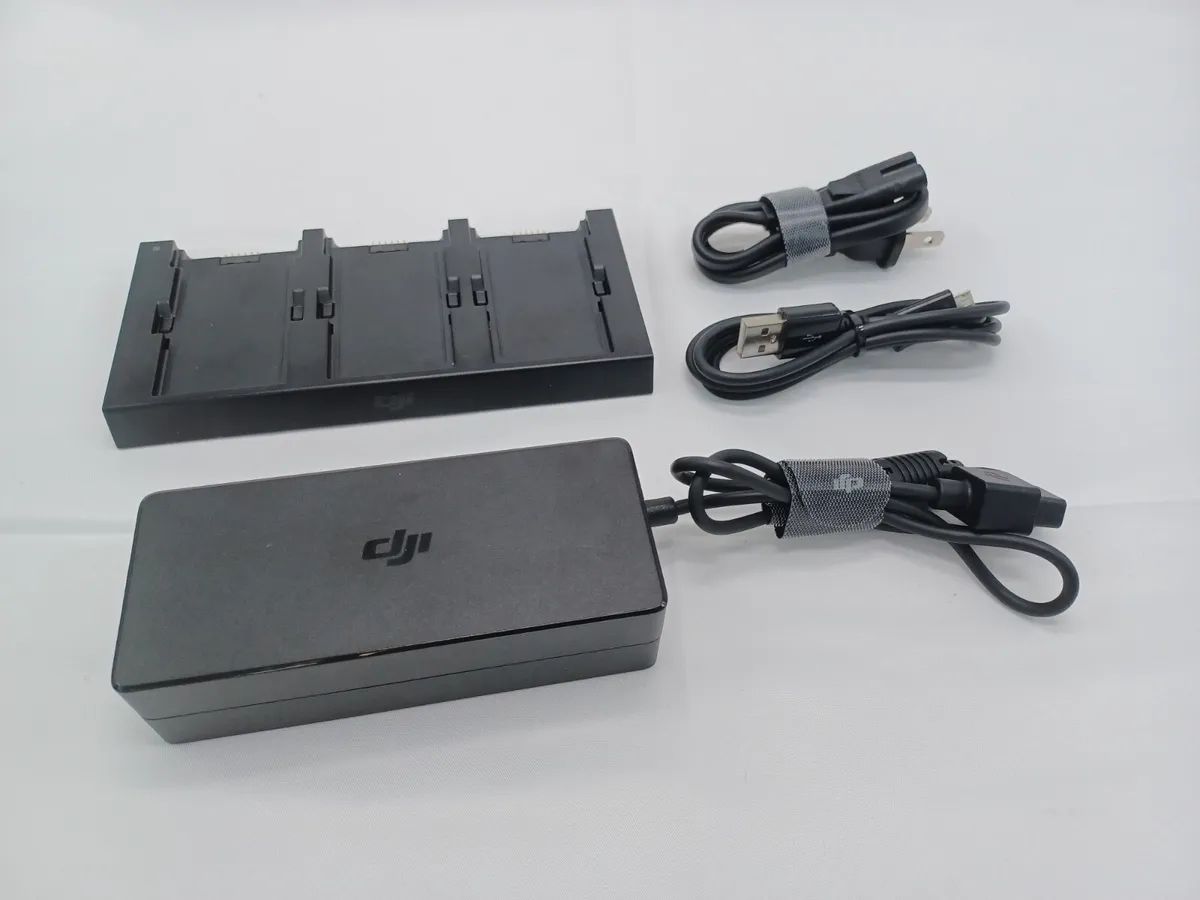
Step 2: Charging your DJI Spark
Before you can take your DJI Spark to the skies, it’s crucial to ensure that it is properly charged. Here’s how to charge your DJI Spark:
- Connect the USB charger to a power source, such as a wall outlet or a USB port on your computer.
- Locate the charging port on the DJI Spark, which is located on the side of the drone.
- Insert the small end of the micro USB cable into the charging port on the DJI Spark.
- Insert the larger end of the micro USB cable into the USB charger.
- Ensure that the USB charger is connected securely to the power source.
- The LED lights on the DJI Spark will indicate the battery status. A solid red light means that the battery is still charging, while a solid green light signifies that the battery is fully charged.
- Allow the DJI Spark to charge fully. The charging time can vary depending on the remaining battery level. It is recommended to charge the drone until the battery level reaches 100% before disconnecting it from the charger.
It’s important to note that the DJI Spark’s battery may become warm during the charging process. This is normal and should not cause any concern.
Once the DJI Spark is fully charged, you can disconnect it from the charging cable and proceed to the next step of the connection process. Now, let’s move on to Step 3: Downloading and installing the DJI Go 4 app.
Step 3: Downloading and installing the DJI Go 4 app
The DJI Go 4 app is a powerful companion that allows you to control and manage your DJI Spark drone seamlessly. To connect your DJI Spark, you’ll need to download and install this crucial app. Here’s how:
- Open the App Store (for iOS) or Google Play Store (for Android) on your smartphone.
- In the search bar, type “DJI Go 4” and tap the search icon.
- Identify the official DJI Go 4 app from the search results and tap on it.
- Tap the “Install” button (for Android) or “Get” button (for iOS) to begin the download and installation process.
- Wait for the app to download and install on your smartphone. The duration may vary depending on your internet connection speed.
- Once the DJI Go 4 app is successfully installed, locate it on your smartphone’s home screen or app drawer and tap to open it.
- When you launch the DJI Go 4 app for the first time, you may be prompted to log in or create a DJI account. Follow the on-screen instructions to proceed.
- Ensure that your smartphone’s Wi-Fi or mobile data connection is turned on to allow the app to connect to the internet.
- Familiarize yourself with the various features and settings available in the DJI Go 4 app. This will help you navigate and control your DJI Spark effectively.
- Keep in mind that the DJI Go 4 app may prompt you to update the firmware for your DJI Spark. It is highly recommended to perform these updates to ensure optimal performance and compatibility.
Once you have successfully downloaded and installed the DJI Go 4 app on your smartphone, you are now ready to proceed with the next step of the connection process. Coming up next is Step 4: Connecting your DJI Spark to your smartphone.
Step 4: Connecting your DJI Spark to your smartphone
Connecting your DJI Spark to your smartphone is an essential step in maximizing control and accessing the full range of features offered by the drone. Here’s how you can establish this vital connection:
- Ensure that your DJI Spark is powered on and ready for connection.
- Open the Wi-Fi settings on your smartphone and look for the Wi-Fi network name that starts with “Spark-XXXX” (with “XXXX” representing the last four digits of the drone’s Wi-Fi MAC address).
- Select the DJI Spark’s Wi-Fi network to connect your smartphone to the drone.
- Once connected, open the DJI Go 4 app on your smartphone.
- The DJI Go 4 app will automatically detect and establish a connection with your DJI Spark. You should see a live view from the drone’s camera on the app’s interface.
- If prompted, the DJI Go 4 app may ask for permission to access your smartphone’s location and other settings. Grant the necessary permissions to ensure a smooth and uninterrupted experience.
- Explore the various controls and settings available in the DJI Go 4 app to familiarize yourself with its functionality.
- Once the connection is established, you can now access and control the DJI Spark through your smartphone’s screen, allowing you to capture stunning aerial footage and images.
- Remember to keep the Wi-Fi connection between your smartphone and the DJI Spark active throughout your flying session to maintain a stable connection and uninterrupted control.
- If you encounter any connection issues, ensure that your smartphone’s Wi-Fi is turned on, the DJI Spark’s Wi-Fi network is selected, and both devices are within range of each other.
By following these steps, you will successfully connect your DJI Spark to your smartphone, enabling you to have complete control over the drone’s flight and capture capabilities. Now that the connection is established, let’s move on to the next step: connecting your DJI Spark to the remote controller.
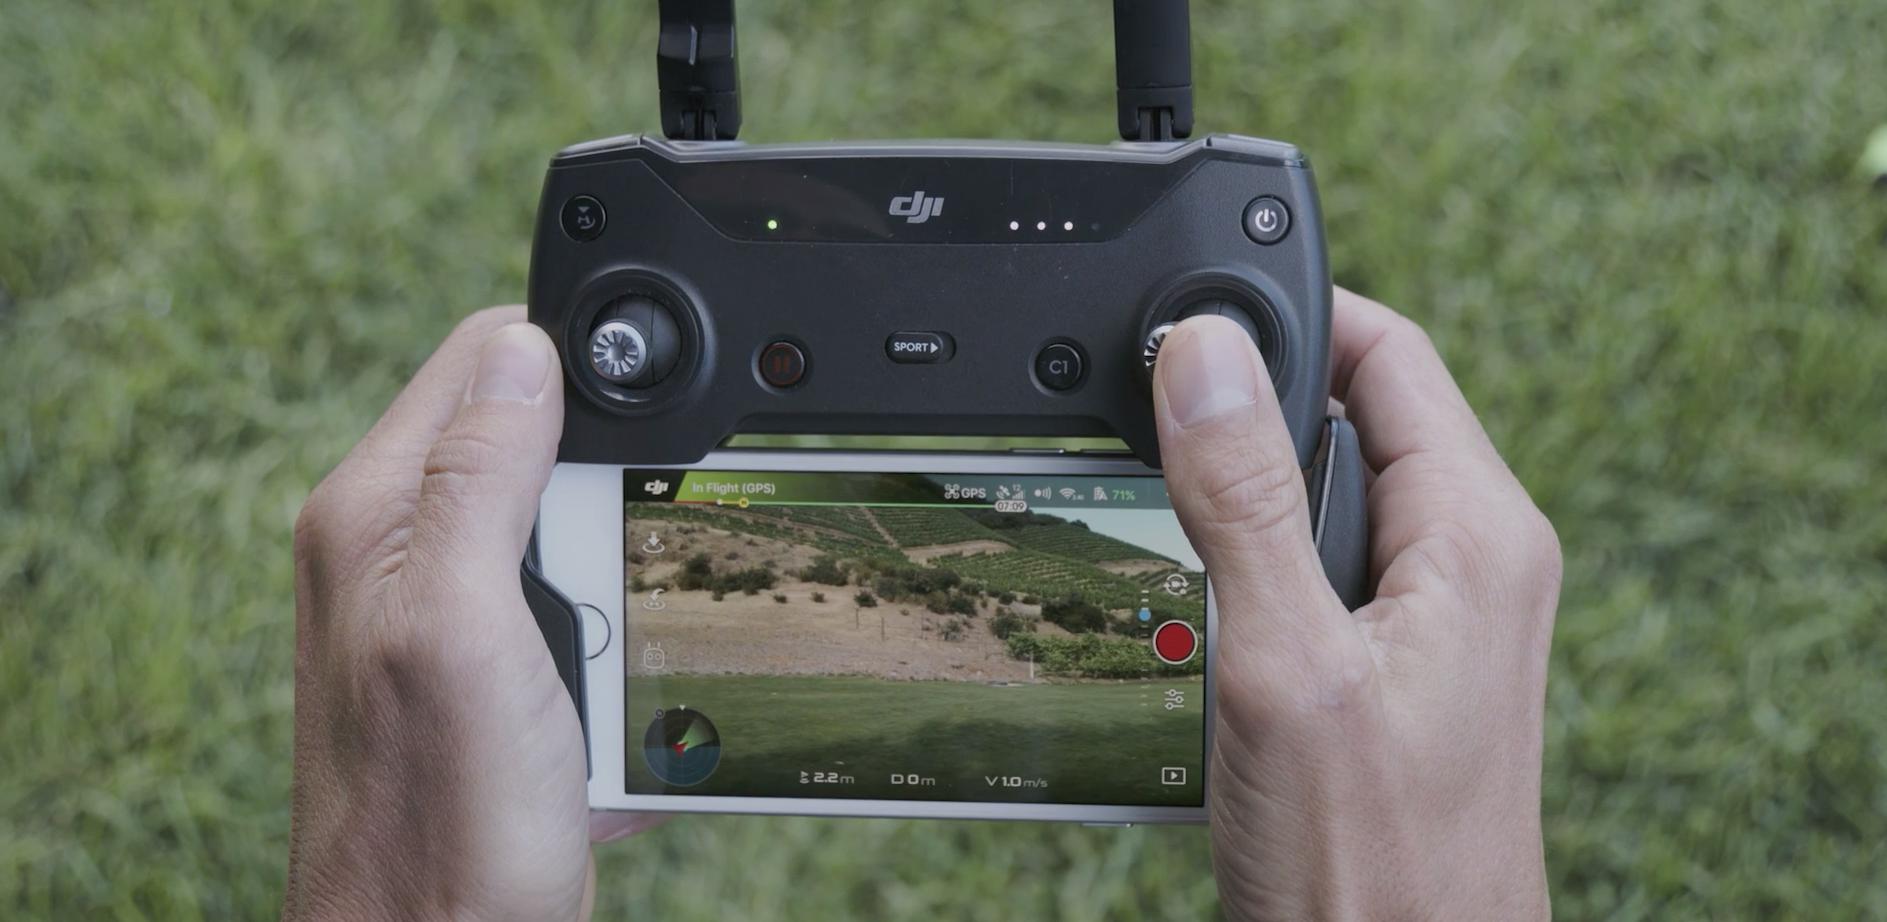
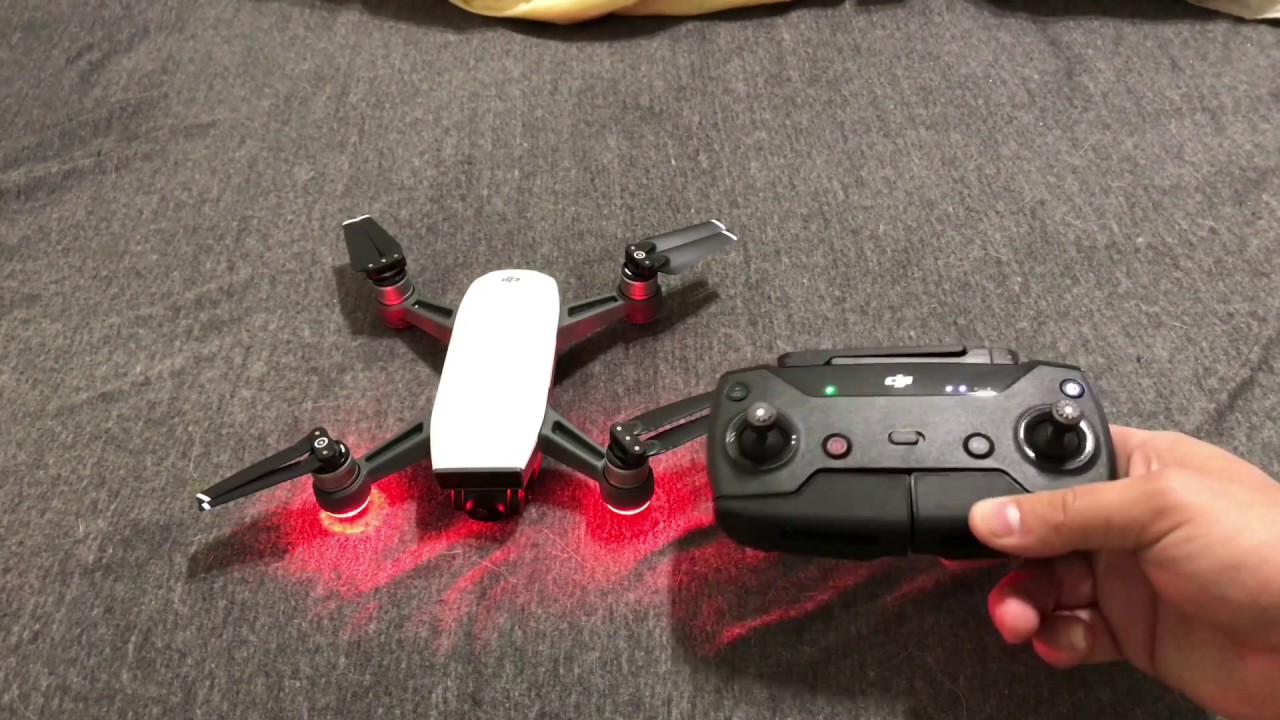
Step 5: Connecting your DJI Spark to the remote controller
Connecting your DJI Spark to the remote controller allows for more precise control and extended range during flight. Follow these steps to establish the connection:
- Power on your DJI Spark by pressing the power button once, and then press and hold until you hear a beep.
- Unfold the arms of the remote controller and ensure that the antennas are fully extended.
- Locate the USB port on the bottom of the remote controller and connect one end of the included micro USB cable to it.
- Connect the other end of the micro USB cable to your smartphone.
- If your smartphone is already connected to the DJI Spark’s Wi-Fi network, it may automatically recognize the remote controller and establish the connection. If not, follow the next steps.
- Launch the DJI Go 4 app on your smartphone. If it prompts you to choose the connection mode, select “Remote Controller” or “RC.” This will prompt the app to search for the remote controller’s signal.
- Press and hold the power button on the remote controller until you hear a beep and the status LED lights start to flash.
- The DJI Go 4 app on your smartphone should now detect the remote controller’s signal and establish a connection.
- You will see a live view from the DJI Spark’s camera on the DJI Go 4 app’s interface, indicating a successful connection between the drone, remote controller, and smartphone.
- Familiarize yourself with the controls and settings on the remote controller. You can use the joysticks to maneuver and control the DJI Spark’s flight, as well as access various flight modes and camera settings.
- Ensure that the connection between the DJI Spark, remote controller, and smartphone remains stable throughout your flight. This will ensure reliable control and uninterrupted access to the drone’s features.
Now that your DJI Spark is connected to the remote controller, you can enjoy precise control and a greater flight range. In the next step, we’ll cover how to activate your DJI Spark.
Step 6: Activating your DJI Spark
Activating your DJI Spark is a necessary step to ensure safe and secure flight operations. Follow these steps to activate your drone:
- Ensure that the DJI Spark is powered on and connected to the DJI Go 4 app on your smartphone.
- In the DJI Go 4 app, tap on the icon with three dots, usually located in the top-right corner of the screen, to access the main menu.
- Select “Settings” from the menu options, and then tap on “Aircraft Status” or a similar option that relates to the DJI Spark’s status.
- In the Aircraft Status menu, you will see an activation prompt. Tap on “Activate” or any similar button to begin the activation process.
- You will be prompted to sign in to your DJI account. If you don’t have one, you may need to create it. Follow the on-screen instructions to complete the account setup or sign-in process.
- Ensure that your DJI Spark and remote controller are both connected to the internet throughout the activation process.
- Follow the prompts and instructions provided by the DJI Go 4 app to activate your DJI Spark. This may include accepting terms and conditions, updating firmware, and inputting any necessary information.
- Once the activation process is complete, your DJI Spark will be ready for flight. You should see the activation status as “Activated” or similar in the Aircraft Status menu.
- If there are any firmware or software updates available for your DJI Spark, the DJI Go 4 app will prompt you to download and install them. It is recommended to keep your drone and app up to date for optimal performance and compatibility.
- After activating your DJI Spark, it’s always a good idea to perform a quick pre-flight check to ensure that everything is functioning properly. This includes checking the battery level, propeller tightness, and sensor calibration.
By following these steps, you will successfully activate your DJI Spark, allowing you to enjoy a safe and secure flight experience. Now that your drone is activated, let’s move on to the next step: updating the firmware on your DJI Spark.
Step 7: Updating firmware on your DJI Spark
Keeping the firmware on your DJI Spark up to date is essential for optimal performance, stability, and access to the latest features. Follow these steps to update the firmware on your drone:
- Ensure that your DJI Spark is powered on and connected to the DJI Go 4 app on your smartphone.
- In the DJI Go 4 app, tap on the icon with three dots, usually located in the top-right corner of the screen, to access the main menu.
- Select “Settings” from the menu options, and then tap on “Firmware Update” or a similar option related to firmware updates.
- The DJI Go 4 app will check for any available firmware updates for your DJI Spark. If updates are available, you will be prompted to download and install them.
- Ensure that your DJI Spark and smartphone are both connected to a stable internet connection throughout the firmware update process.
- Follow the on-screen prompts and instructions provided by the DJI Go 4 app to initiate the firmware update. This may involve downloading the firmware file and transferring it to the DJI Spark.
- It is important NOT to power off the DJI Spark or disconnect it from the smartphone during the firmware update process. Doing so may cause damage to the drone.
- Wait for the firmware update to complete. The duration may vary depending on the size of the update and the speed of your internet connection. Your DJI Spark will automatically restart once the update is finished.
- After the firmware update, it is recommended to perform a quick test flight to ensure that everything is functioning properly. Verify that all flight controls, camera settings, and intelligent flight modes are working as expected.
- Regularly check for firmware updates for your DJI Spark, as DJI frequently releases new updates to improve performance, add new features, and enhance flight safety.
- Remember to recalibrate the sensors and compass on your DJI Spark after a firmware update, as this can help ensure accurate flight performance and stability.
By following these steps, you will be able to update the firmware on your DJI Spark, keeping it up to date with the latest enhancements and ensuring a safe and reliable flying experience. Now that you’ve updated the firmware, let’s move on to the next step: calibrating sensors and compass.
Step 8: Calibrating sensors and compass
Calibrating the sensors and compass on your DJI Spark is vital for accurate flight performance and stability. Follow these steps to ensure your drone is properly calibrated:
- Find an open area, away from any magnetic interference, such as metal objects or power lines. This will help ensure accurate calibration.
- Power on your DJI Spark and connect it to the DJI Go 4 app on your smartphone.
- In the DJI Go 4 app, tap on the icon with three dots, usually located in the top-right corner of the screen, to access the main menu.
- Select “Aircraft Status” or a similar option that relates to the status of your DJI Spark.
- In the Aircraft Status menu, you will find the option to calibrate the sensors and compass. Tap on it.
- Follow the on-screen instructions provided by the DJI Go 4 app to begin the calibration process. This may involve rotating and tilting the DJI Spark in various orientations.
- During the calibration process, ensure that the DJI Spark remains level and stationary. Any movement or tilting may affect the accuracy of the calibration.
- Wait for the calibration process to complete. The DJI Go 4 app will provide visual cues and instructions on the progress of the calibration.
- After the calibration is finished, restart your DJI Spark to apply the changes. This will help ensure that the calibration settings take effect.
- Perform a quick pre-flight check to verify that the DJI Spark is responding correctly to control inputs and that the compass is properly calibrated.
Calibrating the sensors and compass on your DJI Spark should be done periodically or whenever you notice any unusual flight behavior or compass errors. This will help to maintain accurate flight performance and stability.
It’s important to note that the calibration process may vary slightly depending on the specific model and firmware of your DJI Spark. Always refer to the official user manual or the DJI Go 4 app’s instructions for accurate guidance on calibrating your drone’s sensors and compass.
By following these steps and ensuring proper calibration, you can confidently take to the skies with your DJI Spark, knowing that it is calibrated for accurate and stable flight operations.
Conclusion
Congratulations! You have successfully learned how to connect your DJI Spark and prepare it for flight. By unboxing and preparing your DJI Spark, charging the battery, downloading and installing the DJI Go 4 app, connecting your smartphone and remote controller, activating the drone, updating the firmware, and calibrating the sensors and compass, you are now ready to embark on incredible aerial adventures.
Remember, a properly connected and calibrated DJI Spark allows you to capture stunning aerial footage, explore new perspectives, and unleash your creativity. Whether you are an experienced pilot or a beginner, taking the time to ensure a seamless connection and calibration process will result in a smooth and enjoyable flying experience.
Always make sure to update the firmware regularly to access the latest features and performance improvements. Additionally, keep your drone’s sensors and compass calibrated to ensure accurate flight control and stability.
Before each flight, perform quick pre-flight checks to verify that all components are functioning properly and that you have a strong GPS signal. This will help mitigate any potential risks and ensure a safe flight every time.
Lastly, always adhere to local regulations and guidelines when flying your DJI Spark. Be mindful of your surroundings, respect privacy, and fly responsibly.
Now that you are equipped with the knowledge to connect your DJI Spark, go out and unleash its incredible potential. Capture breathtaking shots and explore the world from a whole new perspective. Fly safe, have fun, and enjoy your DJI Spark!