Introduction
Welcome to this guide on how to connect a Sky Viper drone to your phone. Drones have become increasingly popular among hobbyists and enthusiasts, and being able to connect and control your drone with your phone offers a convenient and immersive flying experience. Whether you are a seasoned drone pilot or a beginner looking to explore the aerial world, connecting your Sky Viper drone to your phone will open up new possibilities and allow you to take your flying to the next level.
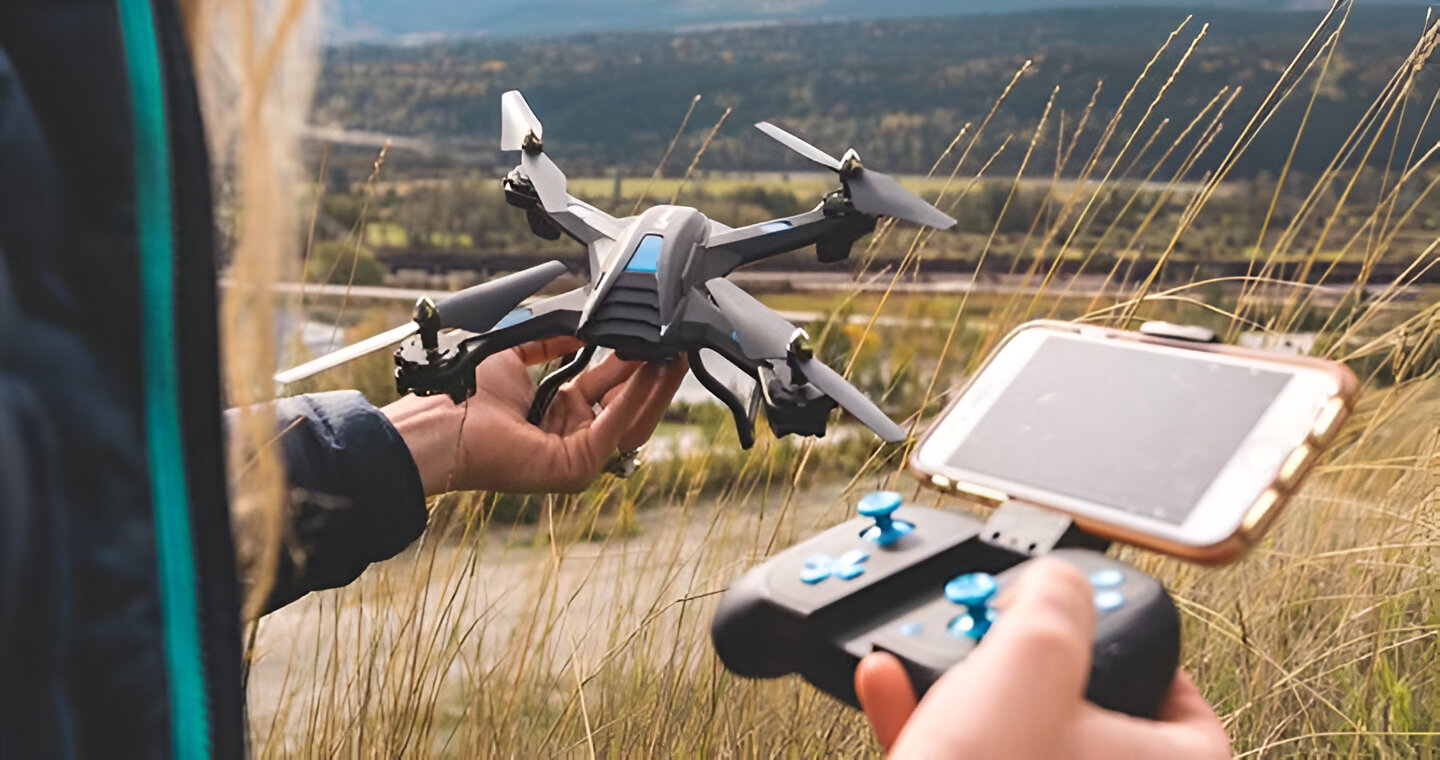
By connecting your drone to your phone, you can access advanced features and functionalities such as FPV (First Person View) live streaming, real-time flight data, and even camera controls. This seamless integration between your drone and phone creates a dynamic and interactive experience that allows you to fully immerse yourself in the world of drone flight.
In this guide, we will walk you through the step-by-step process of connecting your Sky Viper drone to your phone. We will cover everything from downloading the necessary app to calibrating your drone and checking the connection with your phone. By following these instructions, you will be able to connect your drone to your phone in no time and start enjoying the exciting world of aerial exploration and capturing breathtaking footage.
So, without further ado, let’s dive into the steps and get your Sky Viper drone connected to your phone!
Step 1: Download the Sky Viper Flight Simulator App
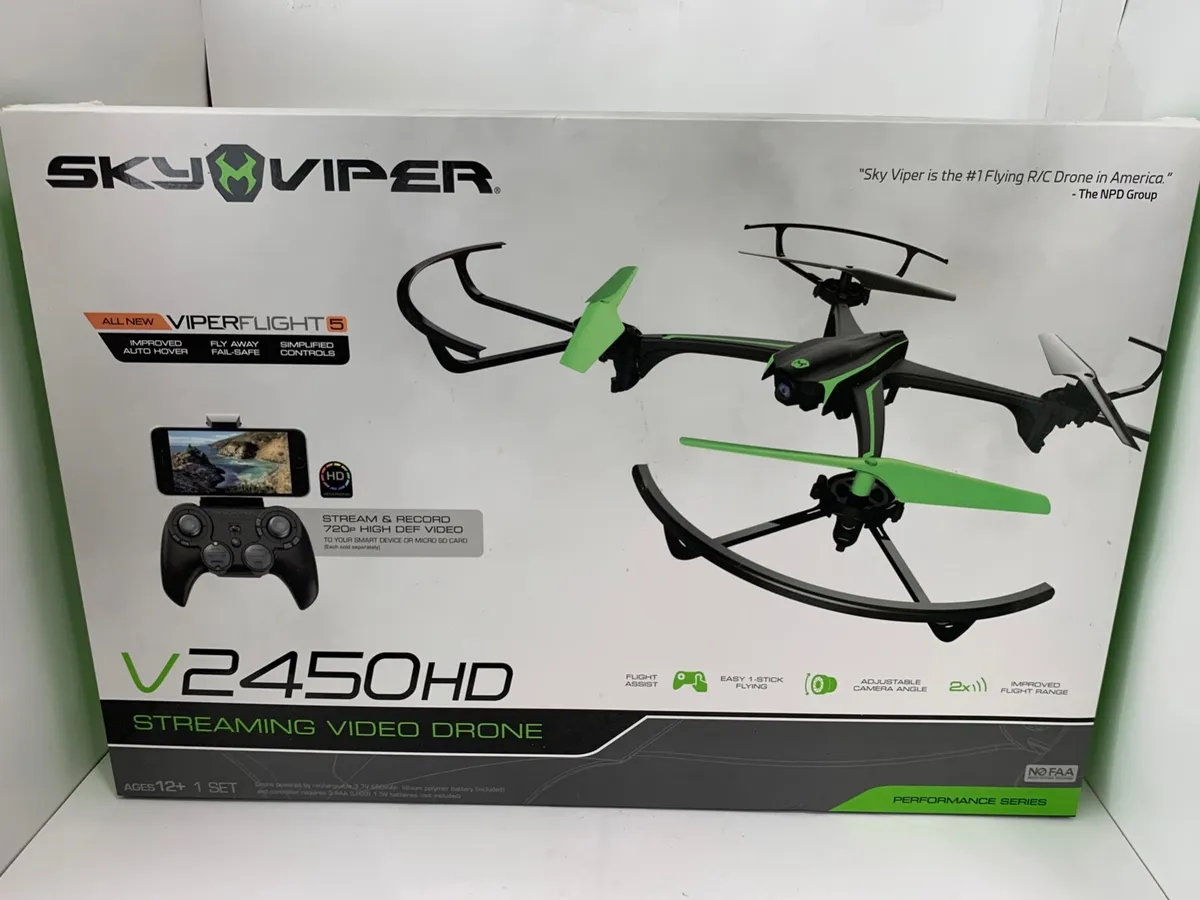
To begin the process of connecting your Sky Viper drone to your phone, the first step is to download the Sky Viper Flight Simulator app. This app is available for both iOS and Android devices, making it compatible with a wide range of smartphones and tablets.
To download the app, simply open the App Store (for iOS devices) or Google Play Store (for Android devices) on your phone and search for “Sky Viper Flight Simulator.” Once you find the app, tap on the “Install” or “Get” button to start the download. The app will be installed on your phone, and you can find it on your home screen or in the app drawer.
The Sky Viper Flight Simulator app serves as the central hub for connecting and controlling your Sky Viper drone. It not only allows you to control the flight of the drone but also provides access to various features and settings that enhance your flying experience.
Downloading the app is an essential step as it ensures that you have the necessary software to connect and control your drone. Make sure to have a stable internet connection while downloading the app to ensure a smooth installation process.
Once the app is downloaded and installed on your phone, you are ready to move on to the next step of the process. Getting the app set up is the first big leap towards connecting your Sky Viper drone to your phone and enjoying the plethora of features and capabilities it offers.
Step 2: Power on the Drone and Phone
Now that you have downloaded the Sky Viper Flight Simulator app, it’s time to power on both your drone and your phone. Ensuring that both devices are powered on and ready to connect is a crucial step in establishing a successful connection.
Firstly, power on your Sky Viper drone by flipping the power switch located on the body of the drone. Some models may have a button instead of a switch. Once powered on, the drone’s indicator lights will start flashing, indicating that it is ready to establish a connection.
Next, turn on your phone and make sure it has sufficient battery life. It is essential to have a fully charged phone or keep it connected to a power source during the connection process to avoid any interruptions.
Ensure that Bluetooth is enabled on your phone as it may be needed for certain drone models. To enable Bluetooth, go to your phone’s settings and toggle the Bluetooth switch to the “On” position.
Additionally, it is advisable to close any unnecessary apps running in the background on your phone to optimize its performance. This will help ensure a smooth and uninterrupted connection process.
By powering on both your drone and your phone, you are now ready to move on to the next step of the process, which involves establishing a connection between the two devices. This is an exciting moment as you are just a few steps away from connecting and controlling your Sky Viper drone using your phone.
Step 3: Enable Wi-Fi and Connect to Drone’s Network
After powering on your drone and phone, the next step is to enable Wi-Fi on your phone and connect to your drone’s network. This allows your phone to establish a direct connection with the drone, enabling communication and control between the two devices.
To enable Wi-Fi on your phone, swipe down from the top of your screen to access the quick settings panel (on most Android devices) or swipe up from the bottom of your screen (on most iOS devices). Look for the Wi-Fi icon and tap on it to turn it on.
Now, on your drone, locate the drone’s network or Wi-Fi signal. The name of the network may vary depending on your specific drone model, but it is usually listed as “Sky Viper” followed by a series of numbers or characters.
In the Wi-Fi settings on your phone, you will now see a list of available networks. Look for the network name that matches the one on your drone and tap on it to connect. After selecting the network, your phone will attempt to establish a connection with the drone.
During the connection process, your phone may prompt you for a password or ask if you want to join the network. If prompted, enter the password for the drone’s network, which is usually provided in the drone’s user manual or on the drone itself.
Once successfully connected, your phone will display a notification or symbol indicating a successful connection to the drone’s network. This indicates that your phone is now bridged to the drone and ready to communicate and control its functionalities through the Sky Viper Flight Simulator app.
With the Wi-Fi connection established between your phone and the drone, you can now move on to the next step, which involves launching the Sky Viper Flight Simulator app and connecting your drone to it.
Step 4: Launch the Sky Viper Flight Simulator App
With your phone connected to the drone’s network, it’s time to launch the Sky Viper Flight Simulator app. This app serves as the control center for your drone, providing you with a user-friendly interface to access and control various features.
Locate the Sky Viper Flight Simulator app on your phone’s home screen or in the app drawer and tap on it to open it. As the app launches, you will be greeted with a welcome screen or a login/signup page if it’s your first time using the app.
If you are a new user, follow the on-screen prompts to create your account or sign in with an existing account. Having an account allows you to save flight data, customize settings, and access additional features provided by the app.
Once you have logged in or created your account, you will be presented with the main interface of the app. Depending on the specific version of the app and your drone model, the interface may vary. However, you can typically expect to see a variety of controls, flight modes, and settings.
Take a moment to familiarize yourself with the app’s layout and navigation. Explore the different options available and review any instructional material or tutorials provided within the app. This will give you a better understanding of how to control and maneuver your drone using the app.
Launching the Sky Viper Flight Simulator app is an exciting moment as it signifies the beginning of your journey into the world of drone flight. Now that the app is up and running, the next step is to connect your drone to the app, allowing you to control and monitor its movements through your phone’s screen. We will cover this step in detail in the next section.
Step 5: Connect the Drone to the App
Now that you have launched the Sky Viper Flight Simulator app, it’s time to connect your drone to the app and establish a seamless communication channel between the two. This step is crucial as it allows you to control and monitor your drone’s movements directly from your phone’s screen.
Within the app, look for an option or button that says “Connect” or “Pair Drone.” The location of this option may vary depending on the version of the app and your drone model. Tap on this button to initiate the connection process.
The app will now search for available devices, and if your drone is within range and powered on, it should appear as an available option. Tap on your drone’s name or icon to select it and initiate the pairing process.
During the pairing process, your phone and drone will exchange data and establish a connection. This may take a few moments, so be patient while the devices establish a strong and stable link.
Once the connection is successful, you will see a confirmation message or an indicator within the app that the drone is connected. This indicates that your phone is now synchronized with the drone and ready to control its flight parameters, camera, and other functionalities.
It is important to note that some drone models may require additional steps or prompts within the app to complete the pairing process. This could include entering a passcode or performing a physical action on the drone itself. Always follow the on-screen instructions provided by the app to ensure a successful connection.
With the drone now connected to the app, you have achieved a significant milestone in the process. The next step is to calibrate the drone, ensuring a stable and accurate flight experience. We will cover this important step in the next section.
Step 6: Calibrate the Drone
After successfully connecting your drone to the Sky Viper Flight Simulator app, it’s time to calibrate the drone. Calibration is an essential step that ensures the drone’s sensors and controls are properly aligned and calibrated for accurate and stable flight performance.
To initiate the calibration process, locate the calibration option within the app. This might be under the settings menu or displayed prominently on the app’s main screen. Tap on the calibration option to begin.
The app will provide instructions on how to move and position the drone for calibration. Follow the on-screen prompts carefully to ensure accurate calibration. This typically involves positioning the drone on a flat and level surface and performing a series of movements as directed by the app.
During calibration, the drone’s gyroscopes and accelerometers will be calibrated to ensure accurate measurement and response to your inputs. This process may take a few moments, but it is crucial for optimal flight performance.
Once calibration is complete, you will receive a confirmation message within the app. This indicates that the drone’s sensors and controls have been calibrated successfully, and it is ready for flight.
It is worth mentioning that calibration may be required before every flight or periodically as per the manufacturer’s recommendation. This is especially important if you notice any unusual behavior or erratic flight patterns during your drone’s operation.
By calibrating the drone, you are ensuring that it performs at its best and responds accurately to your commands. This step sets the stage for a smooth and enjoyable flying experience. With calibration complete, it’s time to move on to the next step and check the connection and controls before taking to the skies.
Step 7: Check Connection and Controls
Once you have calibrated your drone, it’s important to check the connection and controls before taking off for a flight. This step ensures that everything is working properly and allows you to make any necessary adjustments before your drone takes to the skies.
First, verify that the connection between your phone and the drone is still stable. Look for the connection indicator within the app, which may be represented by a Wi-Fi signal strength icon or a similar symbol. A strong and stable connection is essential for a smooth and uninterrupted flight experience.
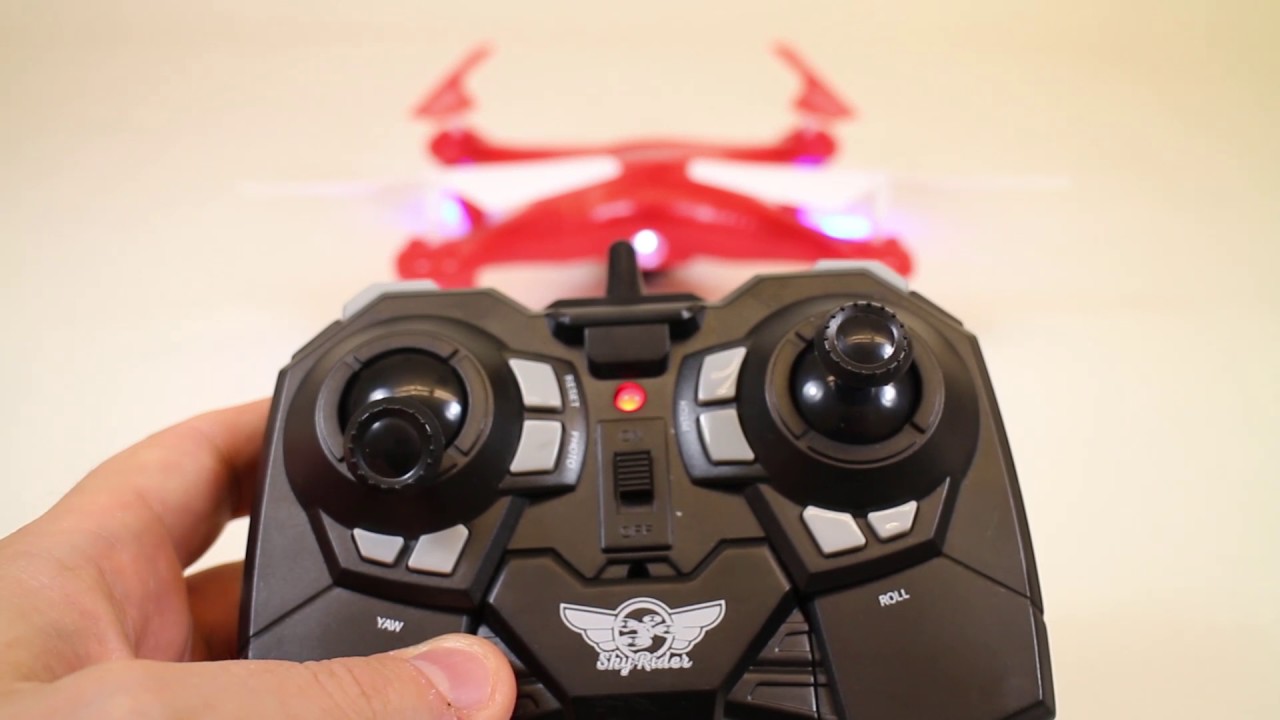
Next, check the responsiveness of the controls within the app. Test the throttle, pitch, yaw, and roll controls to ensure that the drone is responding appropriately to your inputs. Make sure the controls feel smooth and accurate, with no delays or glitches.
Verify that the app is displaying accurate flight data, such as altitude, speed, and battery level. This information is crucial for monitoring the drone’s performance and ensuring a safe and enjoyable flight.
Take a moment to review the camera controls within the app if your drone is equipped with a camera. Test the camera functions, such as capturing photos or videos, and verify that the live feed from the camera is displayed properly on your phone’s screen.
If you notice any issues with the connection, controls, or camera functions, consult the app’s user manual or troubleshooting guide for assistance. You may need to repeat the connection and calibration process or adjust specific settings to resolve any issues.
By checking the connection and controls, you are taking a proactive approach to ensure a successful flight. This step allows you to identify and address any issues before they become problematic during your drone’s operation.
With the connection and controls checked and verified, you are now ready to take to the skies and start enjoying the exciting experience of flying your Sky Viper drone using your phone!
Step 8: Start Flying with Phone Controls
Now that you have checked the connection and controls, it’s time to take your Sky Viper drone for a flight using your phone as the control interface. Flying with phone controls offers a convenient and immersive experience, allowing you to pilot your drone with ease and precision.
Before taking off, find an open and spacious area, preferably an outdoor location with minimal obstacles. This will provide you with ample room to maneuver the drone and minimize the risk of collisions.
Once in a suitable flying location, ensure that the drone is properly positioned and ready for takeoff. Take a moment to verify that the propellers are securely fastened, the battery is adequately charged, and all pre-flight checks are completed.
With everything set up, go back to the Sky Viper Flight Simulator app and prepare for flight. Familiarize yourself with the on-screen controls, including the throttle, pitch, yaw, and roll, which allow you to control the drone’s movement in various directions.
When you are ready, gently push the throttle control upwards to gradually increase the drone’s altitude. Take it slow and steady, maintaining control and keeping an eye on the drone’s movements.
As you gain confidence and experience, explore different flight modes offered by the app, such as altitude hold or auto-hover, which can help stabilize the drone and simplify the flying process.
While flying, pay close attention to the drone’s battery level, which is usually displayed within the app. It is important to keep track of the remaining battery life to ensure a safe return and avoid a sudden loss of power mid-flight.
To make your flight even more enjoyable, consider utilizing the app’s additional features, such as camera controls, preset flight paths, or even FPV (First Person View) mode if available. These features allow you to capture stunning aerial footage and immerse yourself in a unique pilot’s perspective.
Lastly, always adhere to local regulations and guidelines regarding drone flight. Respect the privacy of others, avoid flying in restricted areas, and operate your drone responsibly and safely.
Remember, practice makes perfect. Take your time to familiarize yourself with the controls and gradually improve your flying skills. With each flight, you will gain more confidence and be able to explore new possibilities with your Sky Viper drone.
Enjoy the exhilarating experience of flying your drone using your phone as the control interface and embrace the freedom and creativity that aerial exploration offers!
Conclusion
Congratulations! You have successfully learned how to connect your Sky Viper drone to your phone and embark on an exciting journey into the world of drone flight. By following the step-by-step process outlined in this guide, you have gained the knowledge and skills to connect your drone, calibrate its sensors, and control its movements using your phone as the interface.
Connecting your drone to your phone opens up a whole new realm of possibilities and enhances your flying experience. With the Sky Viper Flight Simulator app, you can access advanced features, monitor flight data in real-time, and even control your drone’s camera for capturing stunning aerial photography and videos.
Remember to always fly responsibly and adhere to local regulations and guidelines for drone flight. Prioritize safety, respect others’ privacy, and choose suitable flying locations to ensure enjoyable and incident-free flights.
As you continue to fly your Sky Viper drone with your phone controls, take the time to practice and improve your flying skills. Explore different flight modes, experiment with camera angles, and push your creativity to new heights to maximize your drone’s potential.
Whether your goal is to capture breathtaking aerial footage, explore new locations, or simply enjoy the thrill of flying, your connected Sky Viper drone and phone combo will continue to provide endless hours of fun and excitement.
Now, it’s time to take off and let your imagination soar as you unlock the limitless possibilities that come with connecting your Sky Viper drone to your phone. Happy flying!