Introduction
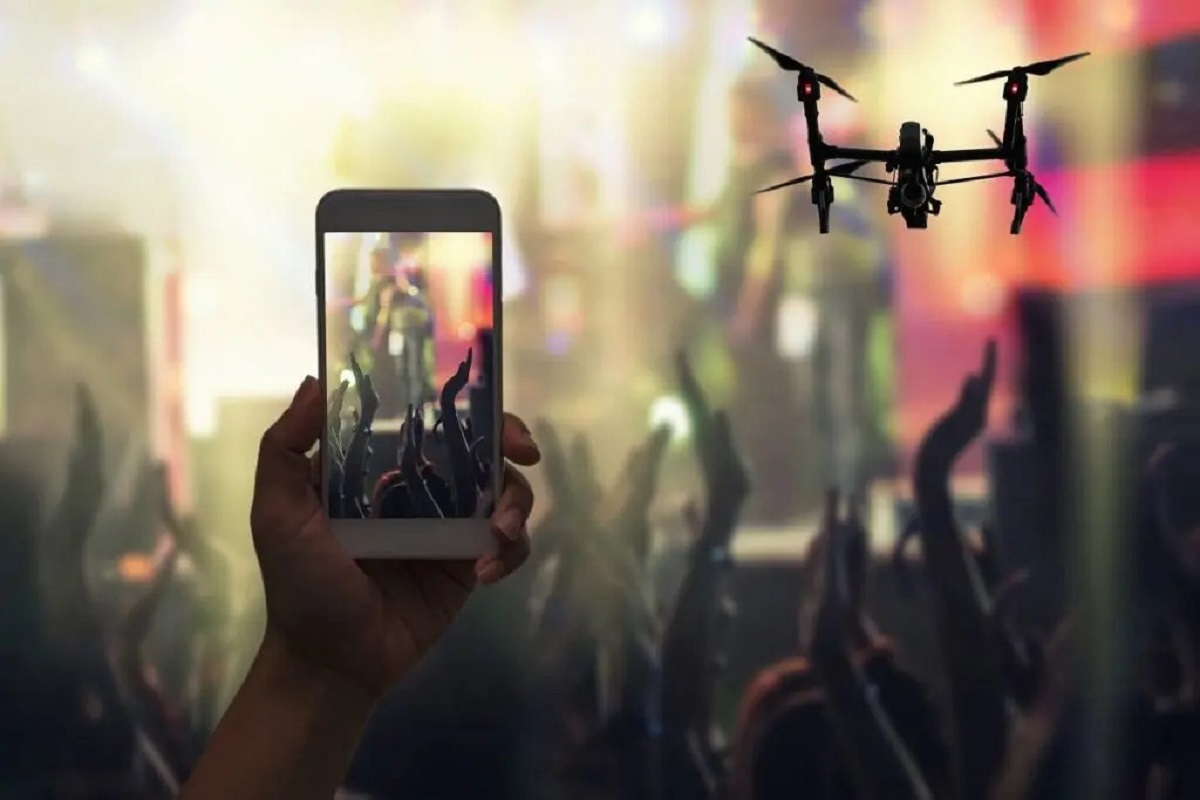
In today’s high-tech world, drones have become increasingly popular. Whether you are a hobbyist or a professional, being able to control a drone with your phone offers convenience and flexibility. With just a few taps on your smartphone, you can take to the skies and capture stunning aerial footage or simply enjoy the thrill of flying.
In this article, we will guide you through the process of controlling a drone with your phone. We will explore the necessary steps to download the drone app, connect your phone to the drone, and familiarize yourself with the app’s interface. Additionally, we will delve into the various control options available to you and provide tips on calibrating the drone for optimal performance.
Controlling a drone with your phone opens up a world of possibilities. It allows for more intuitive and dynamic control, as your phone’s touchscreen provides a responsive and user-friendly interface. Whether you’re a beginner or an experienced drone pilot, using your phone to control a drone offers a level of convenience that can enhance your flying experience.
Throughout this article, we will provide step-by-step instructions and valuable insights to ensure a smooth and successful transition to phone control. We’ll cover the basics of connecting your phone to the drone, understanding the app’s interface, and mastering essential flying techniques.
So, if you’re ready to take your drone flying to the next level and experience the thrill of controlling a drone with your phone, let’s dive in and get started!
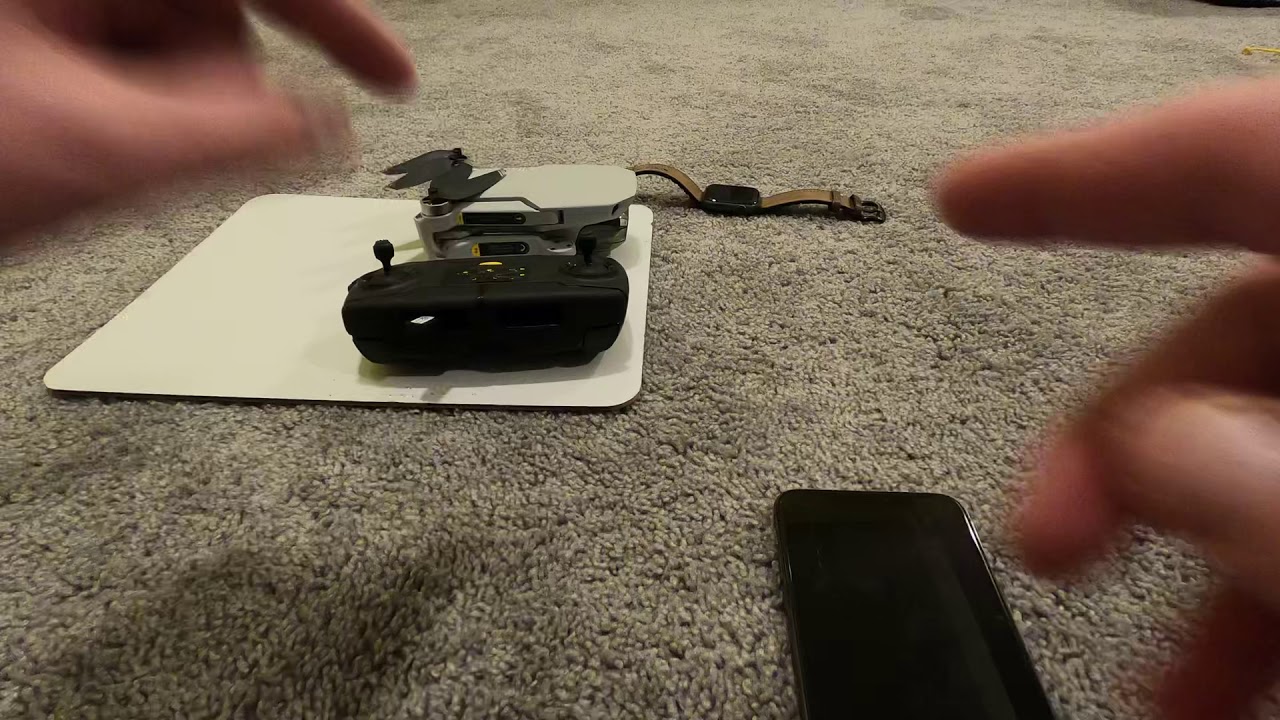
What You Need
Before you can start controlling a drone with your phone, there are a few essential things you’ll need. Here’s a list of items you should gather:
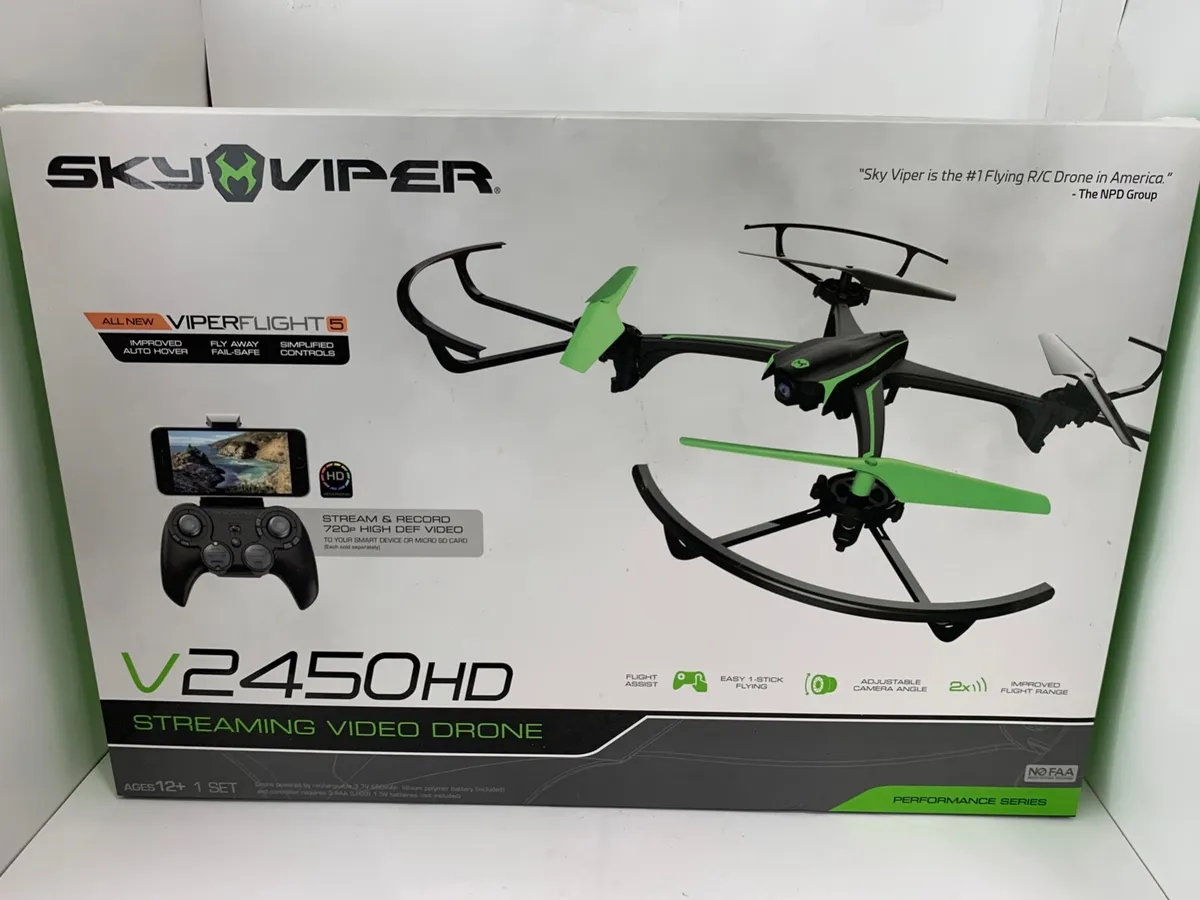
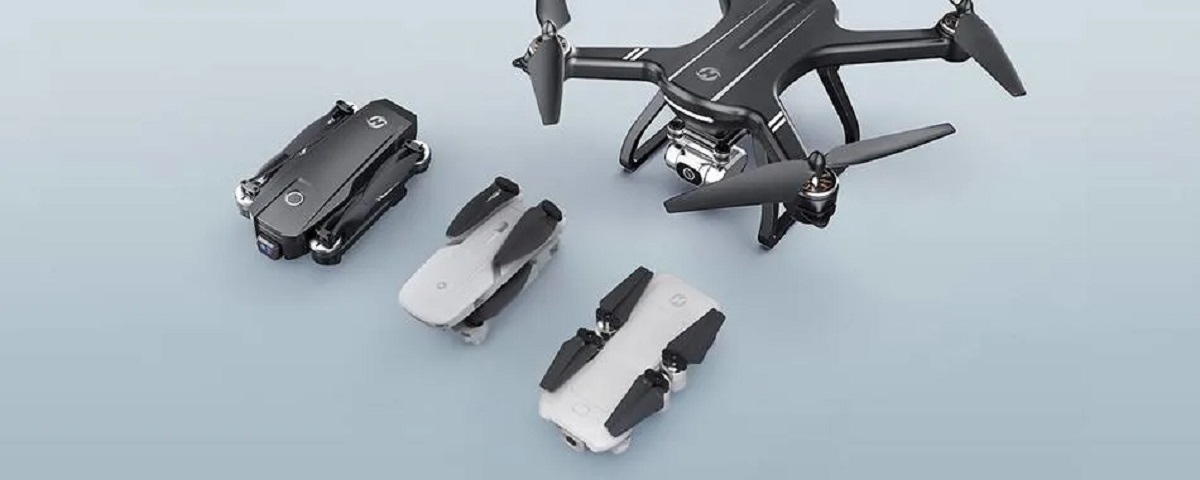
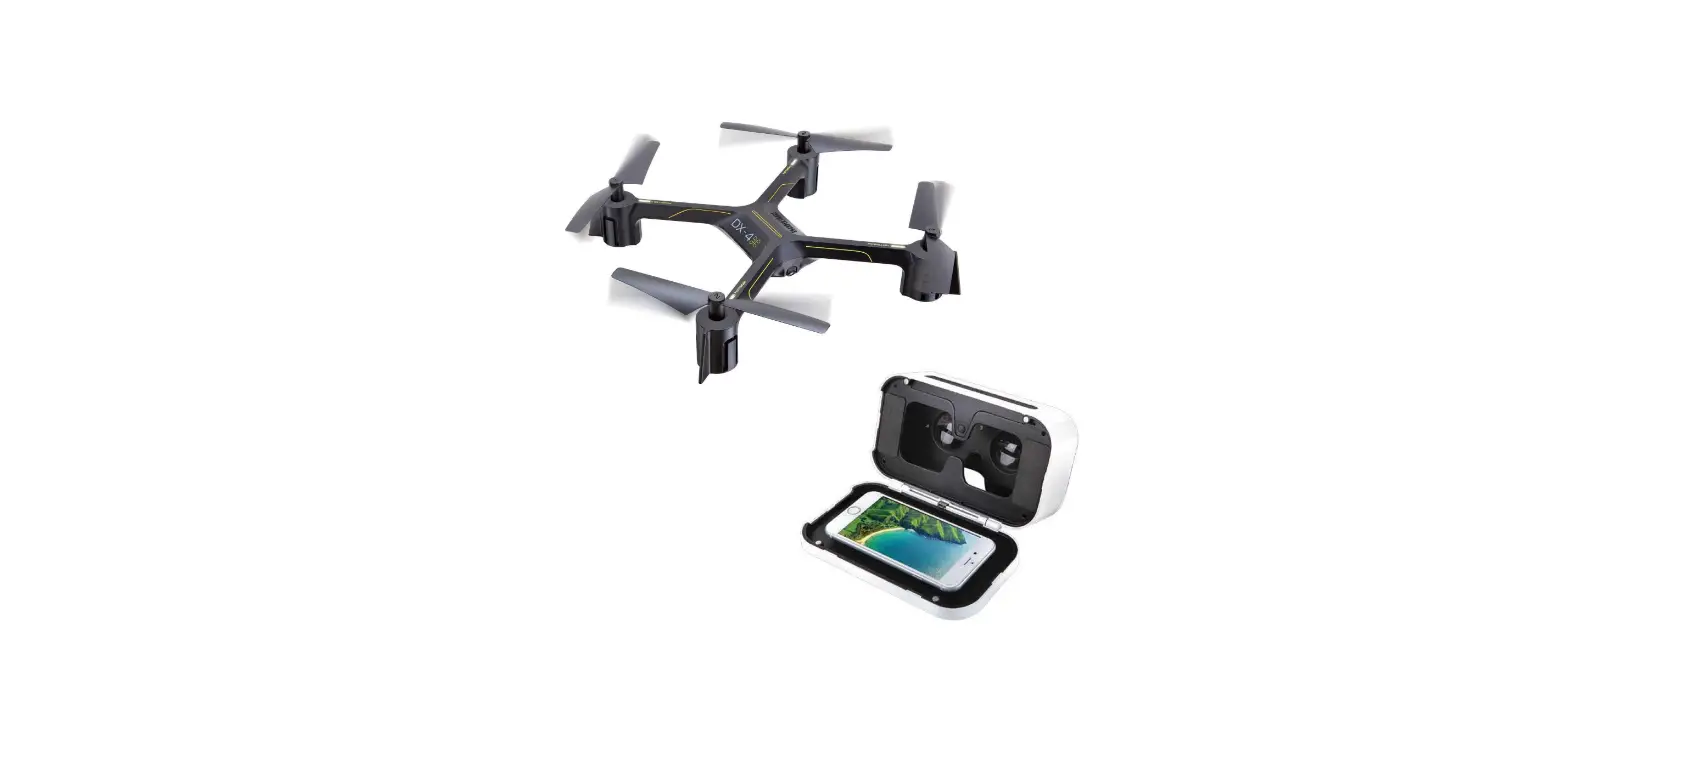
- A compatible drone: Not all drones are equipped with phone control capabilities. Make sure you have a drone that supports this feature. Check the drone’s specifications or consult the manufacturer to ensure compatibility.
- A smartphone: You’ll need a smartphone with the necessary processing power and a compatible operating system. Most drones have apps available for both iOS and Android devices.
- The drone app: Visit the app store on your phone and search for the official app for your specific drone model. Download and install the app onto your phone.
- A fully charged drone battery: Ensure that your drone’s battery is fully charged before attempting to fly. This will give you ample time to practice and enjoy flying without worrying about the battery dying mid-flight.
- A stable internet connection: A stable internet connection is necessary for downloading the app and for some additional features of the app, such as live streaming or accessing flight data.
By having these items ready, you’ll be well-prepared to start controlling your drone with your phone. It’s important to note that different drone models may have specific requirements or additional accessories, so always refer to the manufacturer’s instructions to ensure you have everything you need.
Once you have gathered all the necessary items, you can proceed to the next steps of downloading the drone app and connecting your phone to the drone. These steps will be covered in detail in the following sections.
Step 1: Download the Drone App
The first step in controlling a drone with your phone is to download the drone app onto your smartphone. Follow these steps to ensure a seamless downloading process:
- Open the app store: Launch the app store on your phone. If you have an iPhone, it’s the App Store, and if you have an Android device, it’s the Google Play Store.
- Search for the drone app: In the app store’s search bar, type in the name of the drone model or the drone manufacturer’s name to find the official app for your drone. Make sure to select the correct app for your specific drone model.
- Tap on the app: Once you have located the correct app, tap on it to access the app’s page.
- Download and install the app: On the app’s page, tap the “Download” or “Install” button to initiate the downloading and installation process. Ensure that you are connected to a stable internet connection to avoid any interruptions.
- Wait for the installation to complete: Once the app has finished downloading, it will automatically install on your phone. The installation time may vary depending on your phone’s processing speed.
After the app has been successfully installed, you can proceed to the next step of connecting your phone to the drone. It’s essential to download the official app provided by the drone manufacturer to ensure compatibility and access to all the necessary features and updates.
Remember to launch the app and grant any necessary permissions or access to your phone’s features, such as the camera, location, or Bluetooth. These permissions may vary depending on the app and the drone’s functionalities.
Now that you have the drone app downloaded and installed, you’re ready to move on to the next step of connecting your phone to the drone.
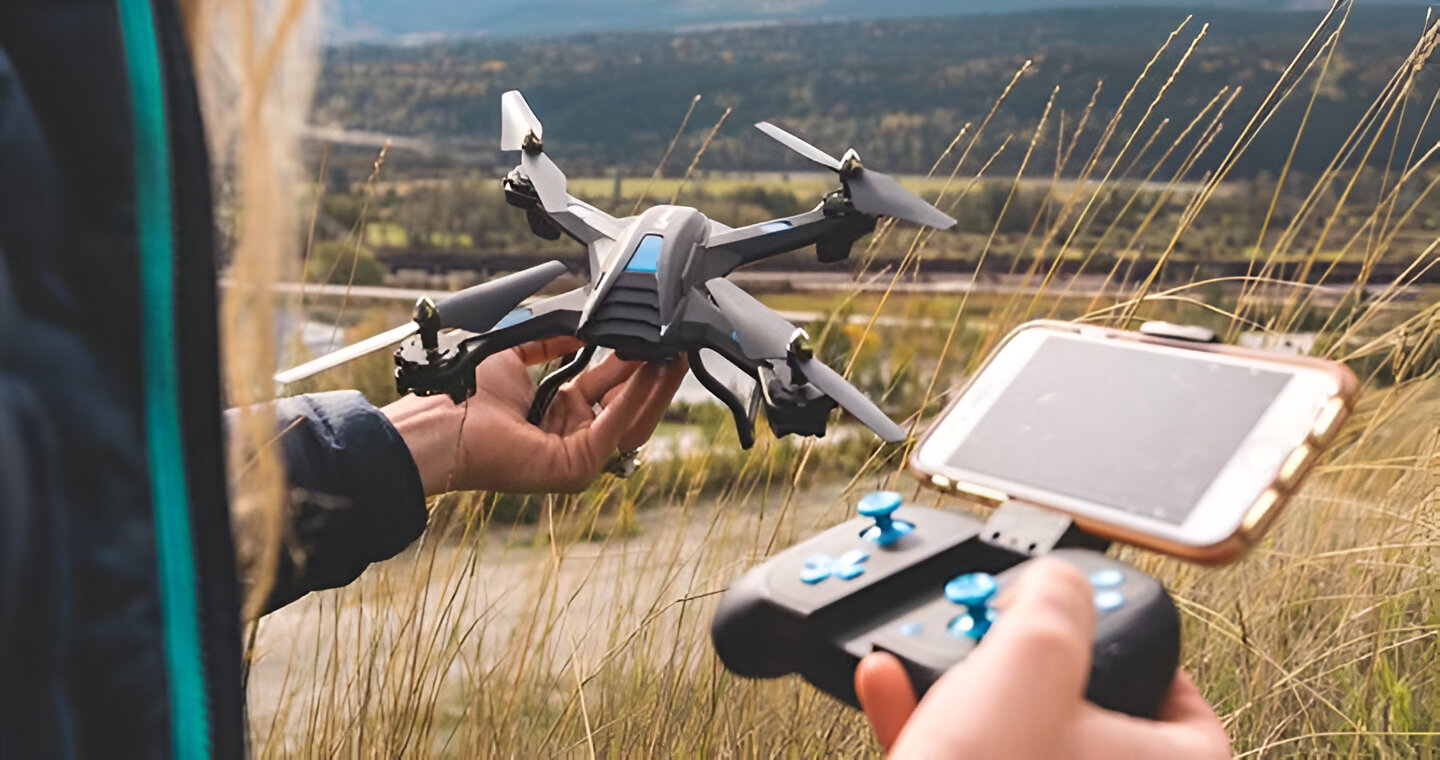
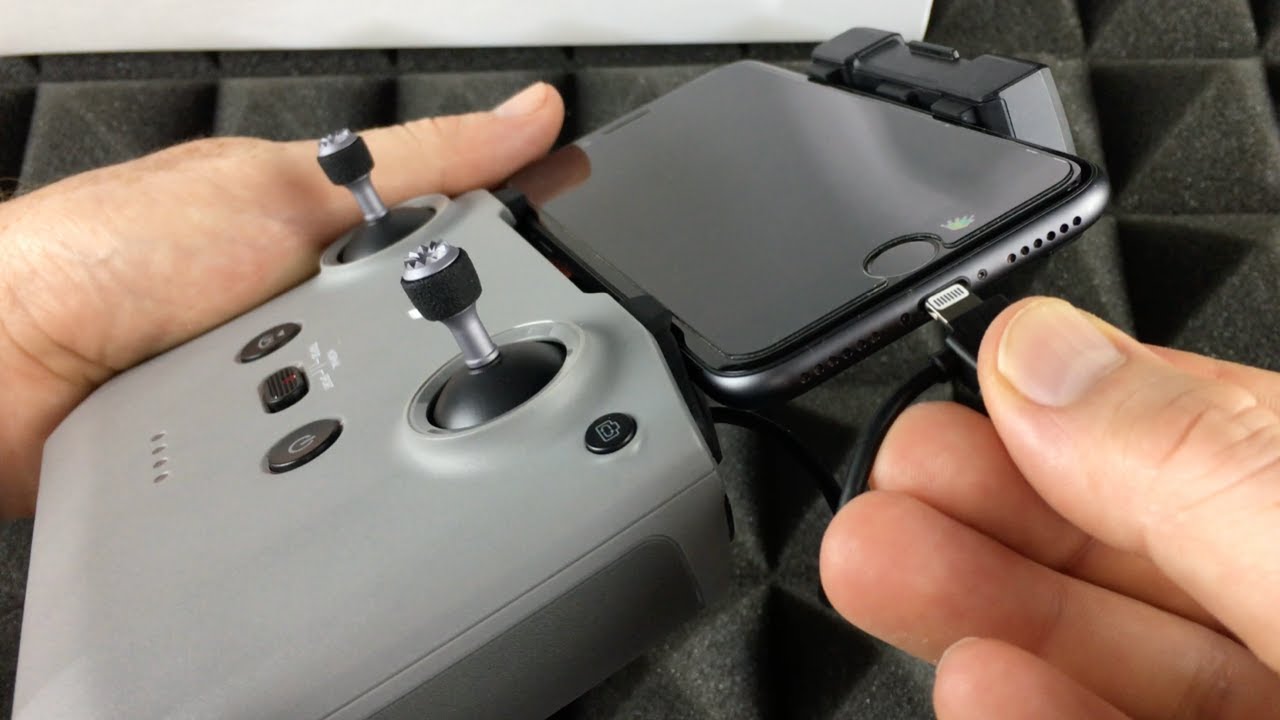
Step 2: Connect the Phone to the Drone
Now that you have the drone app installed on your phone, it’s time to connect your phone to the drone. Follow these steps to establish a connection:
- Power on the drone: Turn on your drone by pressing the power button or flipping the switch. Ensure that the drone’s battery is adequately charged.
- Enable Wi-Fi or Bluetooth: Depending on the drone model, you may need to enable either Wi-Fi or Bluetooth on your phone to establish a connection. Refer to the drone’s instruction manual to determine the correct method for your specific drone.
- Open the drone app: Launch the drone app on your phone. It should automatically detect the drone’s signal if you have enabled the appropriate connectivity option.
- Pair the drone with your phone: Follow the on-screen instructions in the app to pair your phone with the drone. This may involve selecting the drone’s name from a list of available devices or scanning a QR code displayed on the drone.
- Wait for the connection to establish: Once you have initiated the pairing process, it may take a few moments for the connection to establish. Be patient and ensure that you have a stable connection to avoid any disruptions.
Once the connection between your phone and the drone is established, you are ready to explore the features and functionalities of the drone app. Take a moment to familiarize yourself with the app’s interface and navigation options.
It’s worth noting that some drones may require additional steps for connecting your phone, such as using a physical cable or activating a drone-specific accessory. Always refer to the manufacturer’s instructions to ensure the correct procedure.
Now that your phone is successfully connected to the drone, it’s time to move on to the next step and explore the app’s interface and control options.
Step 3: Familiarize Yourself with the App’s Interface
Now that your phone is connected to the drone, it’s important to take some time to familiarize yourself with the app’s interface. Understanding the layout and features of the app will greatly enhance your drone control experience. Follow these steps to get acquainted with the app:
- Explore the home screen: After launching the app, you will typically be greeted with a home screen. This screen may display important drone information, such as battery level, GPS signal strength, or flight mode. Take a moment to study and understand the information provided.
- Navigation menus: Look for navigation menus or icons within the app. These menus will allow you to access different sections and settings of the app. Common menus include “Flight Modes,” “Settings,” or “Camera Controls.” Tap on these menus to explore the available options.
- Flight controls: Locate the flight controls within the app’s interface. These controls will allow you to maneuver the drone, control its altitude, and adjust its speed. Familiarize yourself with the layout and positioning of these controls.
- Camera controls: If your drone is equipped with a camera, there will likely be camera controls within the app. These controls will enable you to capture photos or record videos. Take note of how to access and operate the camera controls.
- Status indicators: Pay attention to the status indicators displayed on the app’s interface. These indicators will provide information about the current state of the drone, such as GPS signal strength, battery level, or flight mode. Understanding these indicators will help you monitor the drone’s performance.
By taking the time to familiarize yourself with the app’s interface, you will gain confidence in navigating through the different sections and utilizing the various controls and features. This knowledge will prove invaluable as you progress to controlling the drone using your phone.
Remember to refer to the app’s user manual or online resources provided by the drone manufacturer for more detailed information about the app’s interface and functionalities.
Now that you are familiar with the app’s interface, you are ready to dive into the next step and explore the available control options for flying the drone.
Step 4: Understand the Control Options
Once you have familiarized yourself with the app’s interface, it’s time to understand the control options available for controlling the drone with your phone. Understanding these options will allow you to confidently maneuver the drone and execute precise movements. Here are the key control options to be aware of:
- Virtual joystick controls: Many drone apps utilize virtual joystick controls that mimic the physical joysticks found on traditional drone controllers. These virtual joysticks allow you to adjust the drone’s flight direction by moving your finger/thumb on the screen. Experiment with the sensitivity settings to find a balance that suits your control preferences.
- Gimbal control: If your drone has a built-in camera with a gimbal, the app may provide controls to adjust the camera’s pitch (upward or downward tilt). Explore the app’s interface for these controls and understand how they affect the camera’s angle.
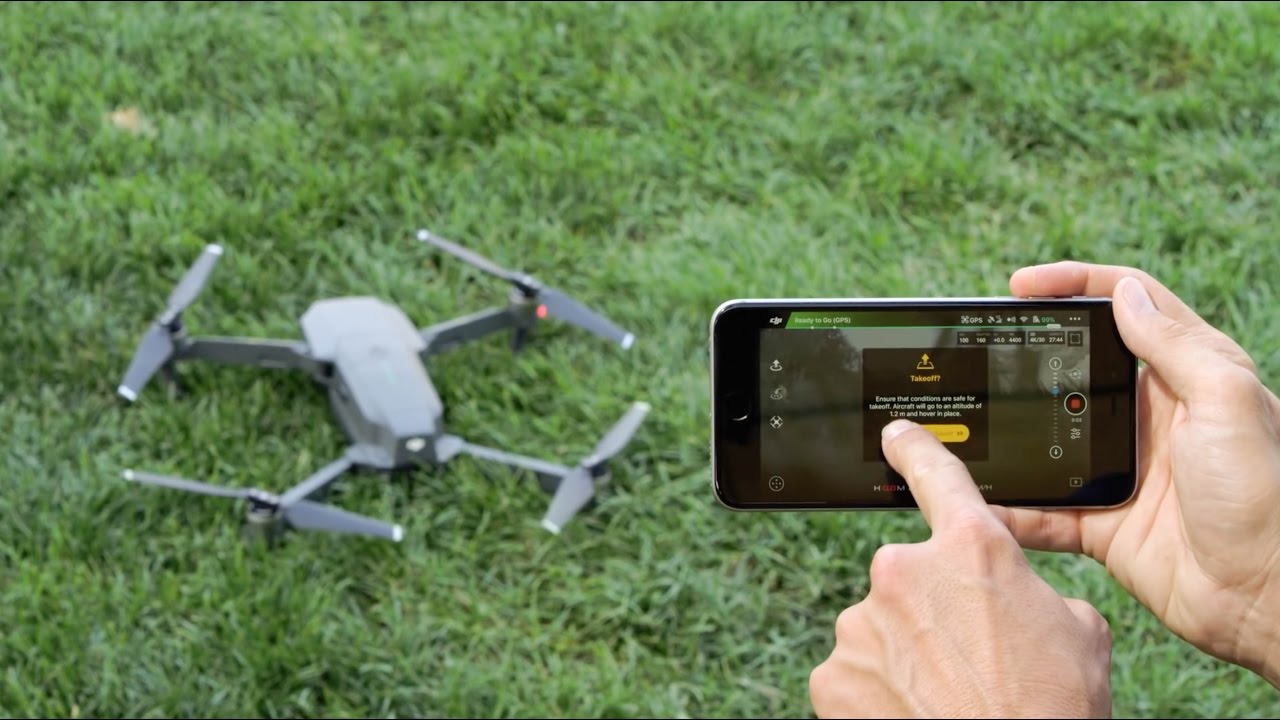
- Auto takeoff and landing: Drone apps often offer the convenience of one-touch auto takeoff and landing. Look for these options within the app to safely launch the drone into the air or bring it down for landing with ease.
- Return to home: Another useful control option is the “Return to Home” feature. If enabled, this function allows the drone to automatically fly back to its takeoff point. Familiarize yourself with the “Return to Home” controls in case you need to quickly bring the drone back during emergencies or when you lose sight of it.
- Flight mode options: Explore the app’s settings or flight mode options to switch between different flying modes. Common modes include GPS mode, which utilizes satellite positioning for more stable flight, and manual mode, which provides complete control over the drone’s movements. Understand the differences between these modes and choose the appropriate one based on your flying preferences and environment.
Remember to refer to the drone app’s user manual or online documentation provided by the manufacturer for specific instructions on using these control options. Additionally, take the time to practice using the controls and familiarize yourself with their responsiveness and sensitivity.
By understanding the available control options, you will gain confidence in maneuvering the drone smoothly and capturing breathtaking footage or enjoying thrilling flight experiences.
Now that you have a grasp of the control options, it’s time to move on to the next step and calibrate your drone for optimal flight performance.
Step 5: Calibrate the Drone
Calibrating your drone is an important step to ensure its flight stability and accuracy. Calibration helps the drone’s internal sensors accurately measure its position and orientation, allowing for more precise control. Follow these steps to calibrate your drone:
- Find a suitable location: Choose an open and flat area away from any tall structures or electromagnetic interference. This ensures that the drone’s sensors can properly calibrate without external disturbances.
- Power on the drone: Turn on your drone and wait for it to establish a stable GPS signal. Most drones require GPS signal lock for accurate calibration.
- Access the drone app: Launch the drone app on your phone and navigate to the settings or calibration section. Look for options related to calibrating the drone’s sensors.
- Follow the app’s instructions: The app will guide you through the specific calibration process for your drone model. This may include rotating the drone along its vertical and horizontal axes or placing it in specific orientations.
- Complete the calibration: Follow the on-screen instructions provided by the app to complete the calibration process. These instructions may vary depending on your drone and its app.
It’s important to note that different drones may have unique calibration requirements. Some drones may have an automatic calibration feature, while others may require manual adjustments. Consult the drone’s user manual or the manufacturer’s online resources for specific instructions on calibrating your drone.
Regularly calibrating your drone is recommended to ensure optimal flight performance. It’s good practice to perform a calibration prior to each flying session, especially if you notice any sudden changes in flight behavior or imprecise controls.
By calibrating your drone, you are ensuring that it is accurately detecting its position and maintaining stability during flight. This calibration process will contribute to a smoother and more enjoyable flying experience.
Now that your drone is calibrated, you’re ready to move on to the next step and practice flying with phone control.
Step 6: Practice Flying with Phone Control
With your drone calibrated and your phone connected, it’s time to take to the skies and practice flying with phone control. This step will help you become comfortable with maneuvering the drone using the app’s control options. Follow these tips to have a successful practice session:
- Start in a safe and open area: Choose a spacious outdoor area with minimal obstacles and people around. This will provide ample space for maneuvering the drone and reduce the risk of accidents.
- Begin with basic maneuvers: Start by practicing basic maneuvers such as hovering in place, moving forward and backward, and rotating the drone. Familiarize yourself with the sensitivity of the controls and how they correspond to the drone’s movements.
- Gradually increase complexity: As you gain confidence, start exploring more advanced maneuvers such as flying in a figure-eight pattern, performing smooth turns, and practicing altitude adjustments. Take your time and progress at a pace that feels comfortable for you.
- Practice camera control: If your drone has a camera, practice adjusting the camera angle using the app’s controls. Experiment with different camera angles to capture unique perspectives and stunning aerial shots.
- Pay attention to battery life: Keep an eye on the drone’s battery level during your practice session. Use this opportunity to familiarize yourself with the app’s battery notifications and make a mental note of how long the drone can stay airborne.
- Be mindful of weather conditions: Take into account wind speed, rain, and other weather conditions that can affect the drone’s flight stability and control. Avoid flying in inclement weather to ensure the safety of your drone.
- Fly within visual range: Keep the drone within your line of sight during the practice session. This will help you maintain control and avoid collisions with objects or people that may not be visible on your phone’s screen.
- Practice emergency procedures: Familiarize yourself with emergency procedures, such as activating the “Return to Home” feature or safely landing the drone in case of unexpected situations.
Remember to exercise patience and take the time to master each maneuver before moving on to the next. Regular practice will enhance your skills and confidence in controlling the drone with your phone.
It’s important to note that different drone models may have unique flight characteristics, so take the time to learn and adapt to your specific drone’s behavior.
Now that you have a good understanding of flying with phone control, let’s explore some advanced features and functions in the next step.
Step 7: Advanced Features and Functions
Once you have mastered the basics of flying with phone control, it’s time to explore the advanced features and functions available in the drone app. These features can enhance your flying experience and open up new possibilities for capturing stunning aerial footage. Here are some advanced features to consider:
- Follow Me mode: Some drone apps offer a Follow Me mode, where the drone tracks your movements using GPS. This feature can be useful for capturing dynamic shots while you are engaged in activities such as hiking, biking, or running.
- Waypoint navigation: Waypoint navigation allows you to predefine a series of specific GPS coordinates for the drone to follow. This feature enables you to create custom flight paths, giving you precise control over the drone’s route and capturing smooth, cinematic footage.
- Intelligent flight modes: Explore the app’s intelligent flight modes, such as Orbit Mode, where the drone circles around a specific target or Point of Interest, and ActiveTrack, which keeps the drone locked onto a moving subject. These modes can add creativity and complexity to your aerial photography or videography.
- Panorama and 360-degree photos: Some drone apps offer panorama and 360-degree photo modes, allowing you to capture breathtaking panoramic views or immersive 360-degree images by automatically stitching together multiple photos.
- Live streaming and sharing: If you enjoy sharing your drone adventures in real-time, look for apps that support live streaming to popular social media platforms. This feature enables you to share your aerial perspective with friends and followers as it happens.
- Post-processing editing: Many drone apps provide basic editing capabilities, allowing you to trim and adjust your captured footage or photos directly from the app. Some apps even offer more advanced editing features, such as adding filters, transitions, or music.
Depending on your drone model and the app you are using, there may be additional advanced features unique to your specific setup. Take the time to explore the app’s settings, documentation, and online resources to fully utilize these features.
Remember to practice using these advanced features in a controlled environment before attempting to use them in more challenging situations.
Now that you’re familiar with the advanced features and functions, you can maximize your drone’s capabilities and unlock your creativity in capturing stunning aerial footage.
Conclusion
Congratulations! You have now learned how to control a drone with your phone. By following the steps outlined in this guide, you have gained the knowledge and skills necessary to take to the skies and enjoy the exciting world of drone flying.
We began by discussing the importance of having a compatible drone and smartphone, as well as downloading the official drone app from the app store. We then walked through the process of connecting your phone to the drone and familiarizing yourself with the app’s interface and control options.
Next, we covered the crucial step of calibrating the drone to ensure optimal flight performance. We emphasized the importance of practicing flying with phone control in a safe and open area, gradually building your skills and confidence in maneuvering the drone.
We also explored advanced features and functions, including waypoint navigation, follow me mode, intelligent flight modes, and post-processing editing. These features allow you to capture breathtaking footage and unleash your creativity in aerial photography and videography.
As you continue your drone flying journey, remember to always prioritize safety, adhere to local regulations, and respect privacy. Regular practice and familiarization with your drone’s capabilities will help you become a skilled pilot and consistently capture stunning aerial imagery.
Now, it’s time to grab your drone, power up your phone, and experience the thrill of controlling a drone with your fingertips. Embark on new adventures, capture inspiring aerial shots, and enjoy the limitless possibilities that drone flying has to offer. Happy flying!