Introduction
Welcome to the world of drones! As a drone owner, you’re probably familiar with the exhilaration of taking flight and capturing stunning aerial footage. However, it’s important to remember that owning a drone also comes with the responsibility of regular maintenance and cleaning.
Keeping your drone clean is not only crucial for its longevity but also for ensuring a safe and optimal flying experience. Dust, dirt, and debris can accumulate on the body, propellers, camera lens, and other crucial components, affecting their performance and potentially causing malfunctions.
In this article, we will guide you through the step-by-step process of cleaning your drone, covering everything from the tools and materials you’ll need to the specific techniques required for each component. By following these instructions, you can keep your drone in top shape, extend its lifespan, and enjoy uninterrupted flights.
Before we dive into the cleaning process, let’s briefly discuss the importance of regular maintenance and identify some safety precautions you should keep in mind.
Why Regular Cleaning is Important
Regular cleaning of your drone is essential for several reasons. Firstly, it helps to maintain the performance and functionality of the various components. Dust and debris can accumulate on the body, propellers, and motor vents, which can hinder airflow and cause overheating. By keeping these areas clean, you can prevent potential damage and ensure that your drone operates at its peak performance.
Cleaning also helps to protect the camera and lens. Drones are often used to capture high-quality aerial footage, and any dirt or smudges on the lens can significantly impact the clarity and quality of the images or videos. Regular cleaning ensures that your camera captures crystal-clear shots and avoids any unwanted artifacts in your footage.
Another crucial reason for cleaning your drone is to prevent damage to sensitive electronic components. Dust and debris can find their way into the motors, circuit boards, and other internal parts, causing potential malfunctions or even permanent damage. By removing any build-up, you reduce the risk of electrical shorts and other issues that can affect the flight performance and safety of your drone.
Additionally, cleaning your drone is an opportunity to inspect it for any signs of wear and tear. Regular inspection allows you to identify any loose screws, damaged propellers, or other issues that may require immediate attention. By catching and addressing these problems early on, you can avoid potential accidents or damage during future flights.
Lastly, regular cleaning helps to prolong the lifespan of your drone. Just like any piece of equipment, proper maintenance and care can significantly extend its longevity. By keeping your drone clean and in good condition, you’ll be able to enjoy countless hours of flying and filming without worrying about premature failure or costly repairs.
Now that we understand the importance of regular cleaning, let’s move on to the next section, where we’ll explore some safety precautions to keep in mind throughout the cleaning process.
Safety Precautions
When cleaning your drone, it’s crucial to prioritize safety to avoid accidents or damage to yourself or the drone. Here are some essential safety precautions to keep in mind:
1. Power off: Before starting the cleaning process, make sure your drone is powered off and disconnected from any power sources. This eliminates the risk of accidental startup or electrical shock during cleaning.
2. Remove battery: For an added layer of safety, remove the battery from the drone before cleaning. This prevents any accidental power-on and reduces the risk of electrical hazards.
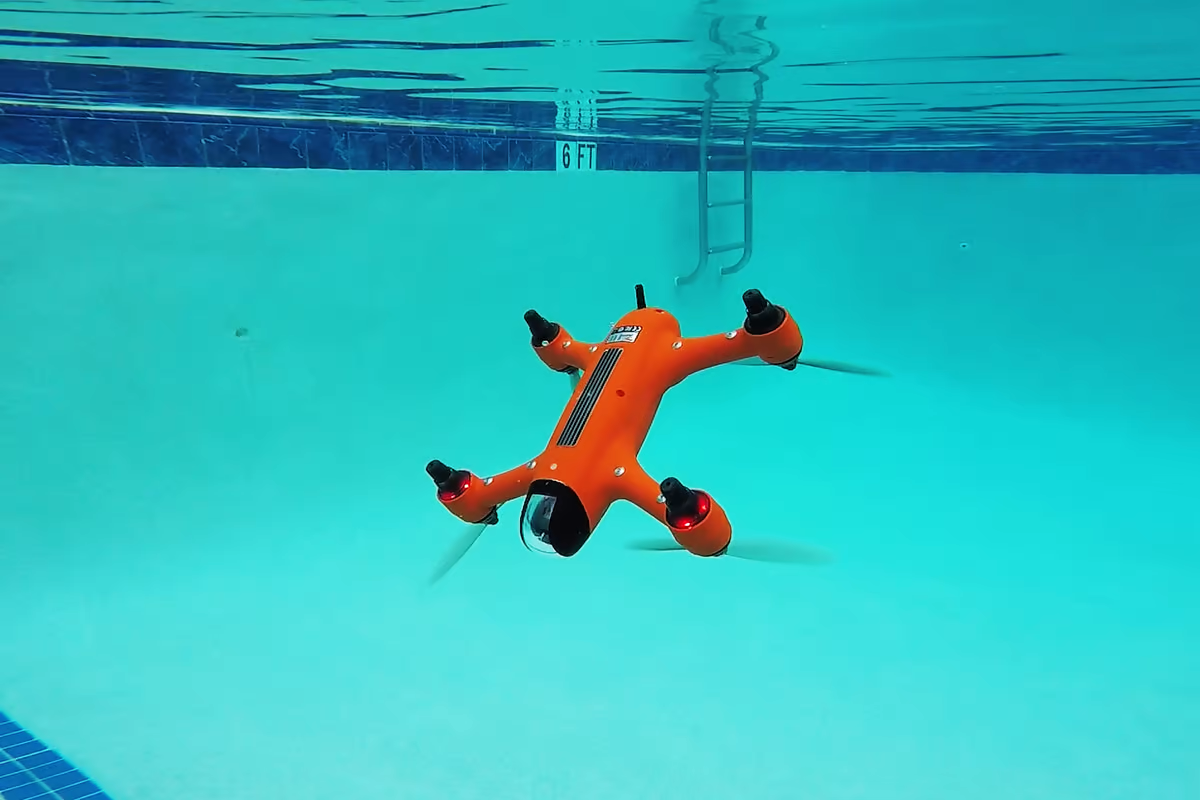
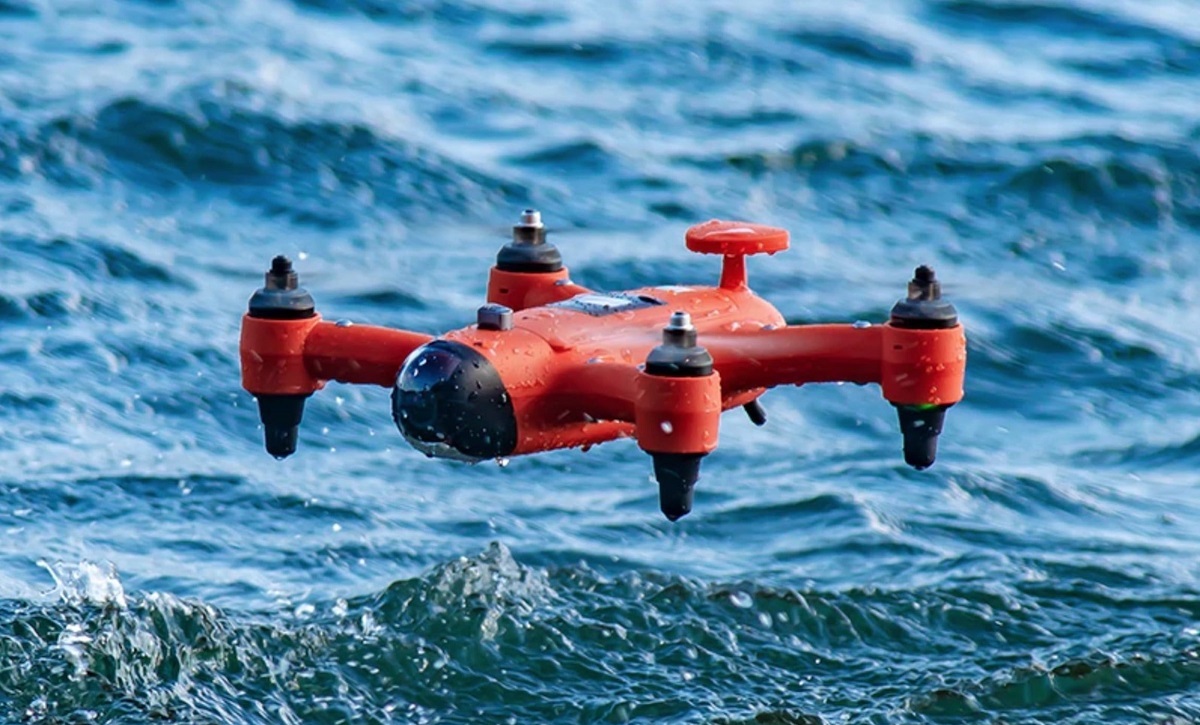
3. Choose a suitable location: Find a clean and well-ventilated area to clean your drone. Avoid areas with excessive wind or large bodies of water to prevent any unintended damage or loss of control during cleaning.
4. Wear protective gear: Put on a pair of gloves to protect your hands from any potentially sharp edges or chemical exposure. Additionally, consider wearing safety glasses to shield your eyes from debris or cleaning agents.
5. Use the right tools: Ensure that you have the necessary tools and materials for cleaning your drone. This may include a small brush, microfiber cloth, compressed air canister, cotton swabs, and a mild cleaning solution. Avoid using harsh chemicals or solvents that could damage the drone’s components.
6. Be gentle: When cleaning the drone, handle it with care and be gentle with the sensitive parts. Avoid applying excess pressure that could damage the propellers, camera, or other delicate components.
7. Follow manufacturer’s guidelines: Refer to the drone’s user manual or manufacturer’s guidelines for specific cleaning instructions and any recommended products. Different drones may have unique cleaning requirements, and it’s important to follow these guidelines to maintain warranty coverage.
By adhering to these safety precautions, you can ensure a safe and effective cleaning process for your drone. Now that we’ve covered the safety aspect, let’s move on to the tools and materials needed for cleaning your drone.
Tools and Materials Needed
Before you begin cleaning your drone, gather the necessary tools and materials to ensure a thorough and effective cleaning process. Here’s a list of items you’ll need:
1. Small brush: A soft-bristled brush is essential for removing dust, dirt, and debris from the body, propellers, and hard-to-reach areas of the drone. Choose a brush that won’t damage or scratch the surface of the drone.
2. Microfiber cloth: Use a microfiber cloth to wipe down the drone’s surfaces, including the body and camera lens. Microfiber cloths are excellent at removing smudges, fingerprints, and other marks without leaving lint behind.
3. Compressed air canister: Compressed air canisters are ideal for blowing away dust and debris from delicate components like the motors and circuit boards. Ensure that the canister is low-pressure, specifically designed for electronics cleaning to avoid causing any damage.
4. Cotton swabs: Cotton swabs or Q-tips are useful for cleaning small and intricate parts of the drone, such as the motor vents or other hard-to-reach areas. They can be dipped in a mild cleaning solution or used dry to remove dirt and grime.
5. Mild cleaning solution: Prepare a mild cleaning solution by mixing a small amount of gentle dish soap or isopropyl alcohol with water. This solution can be used to clean the body, propellers, and other non-electronic parts of the drone. Avoid using harsh chemicals that could damage the drone’s components.
6. Screwdriver set: Depending on the type of drone you have, you may need a screwdriver set to remove and reattach certain components for thorough cleaning. Ensure that the screwdriver size matches the screws on your drone to avoid damaging them.
7. Storage case or bag: Having a proper storage case or bag for your drone is essential for keeping it protected and dust-free when not in use. Look for a case that provides adequate cushioning and protection from external elements.
Remember, it’s important to refer to your drone’s user manual or manufacturer’s guidelines for any specific tools or cleaning recommendations. Different drones may have unique requirements, and it’s essential to follow these guidelines to maintain your drone’s warranty and ensure safe cleaning.
With the tools and materials ready, we can now move on to the step-by-step process of cleaning various components of your drone, starting with the drone body.
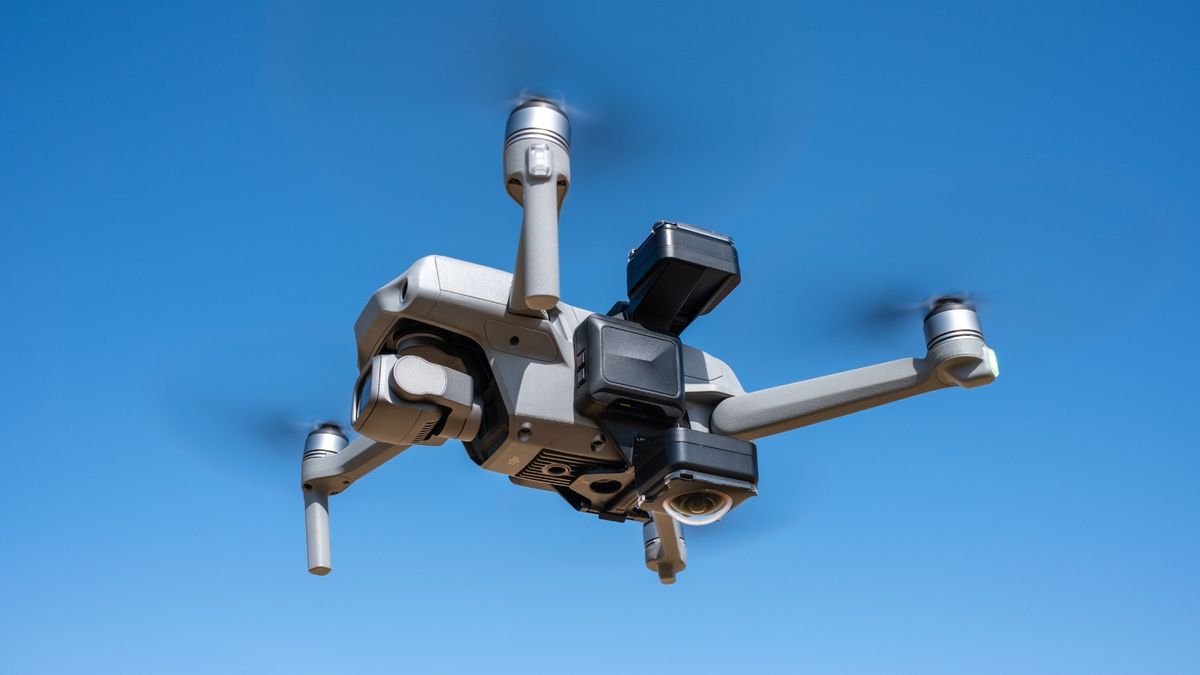
Cleaning the Drone Body
The drone body is susceptible to accumulating dust, dirt, and smudges, especially after outdoor flights. Cleaning the drone body not only keeps it looking clean and presentable but also helps to maintain its overall performance. Here’s a step-by-step guide to cleaning the drone body:
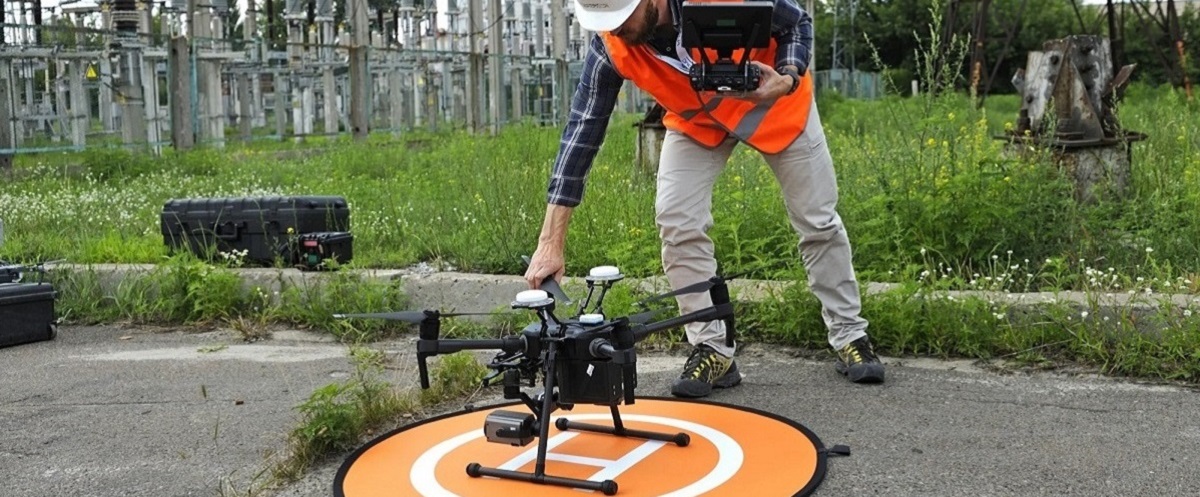
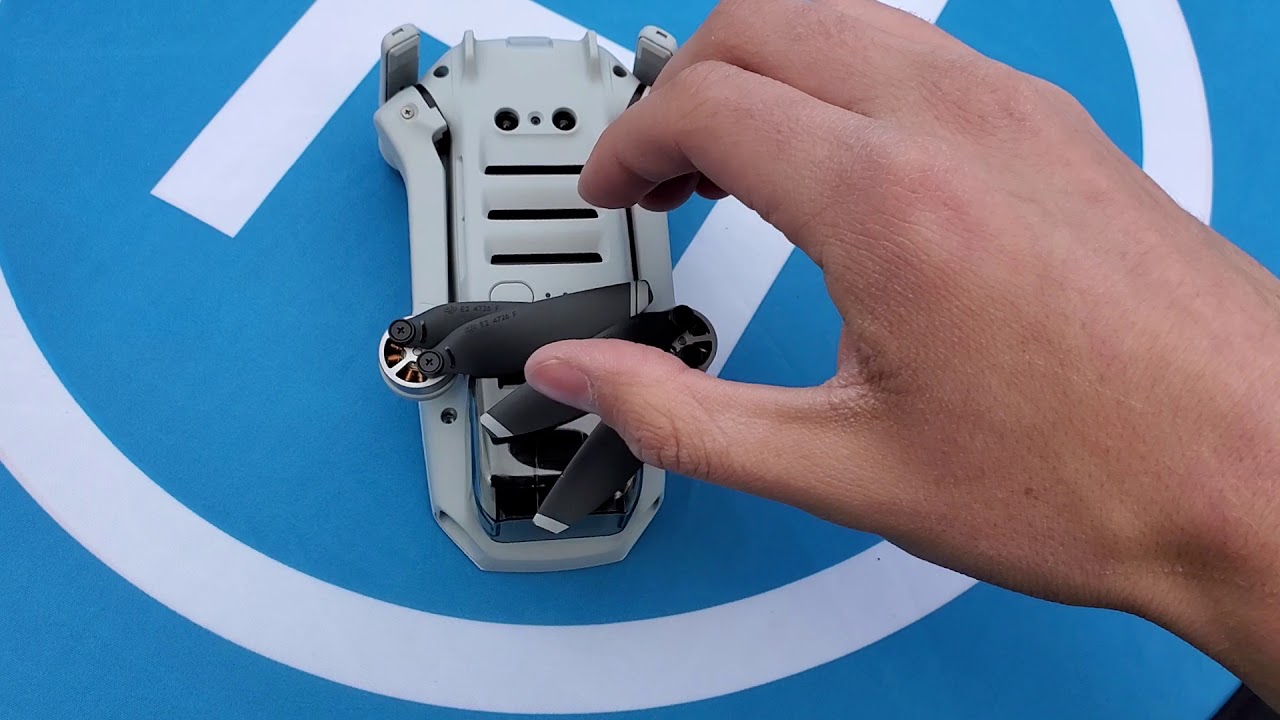
1. Remove propellers: Start by removing the propellers from the drone. This will make it easier to access and clean the body without any obstructions.
2. Dust off: Use a small brush or compressed air canister to gently remove any loose dust or debris from the drone body. Pay attention to all areas, including crevices, corners, and the motor vents.
3. Wipe down: Dampen a microfiber cloth with a mild cleaning solution, and gently wipe down the entire surface of the drone body. For tougher stains or smudges, you can moisten the cloth slightly and apply slight pressure while wiping. Avoid getting excessive moisture into the electronic components or connectors.
4. Dry thoroughly: After wiping down, use a dry microfiber cloth to remove any remaining moisture from the drone body. Ensure that there is no moisture left before moving on to reattaching the propellers or continuing with the cleaning process.
5. Clean the landing gear: If your drone has landing gear, don’t forget to clean them as well. Use a brush or cloth to remove any dirt or debris from the landing gear area. You can also dampen the cloth with a mild cleaning solution to remove any stubborn marks.
6. Inspect for damages: While cleaning the drone body, take the opportunity to inspect for any damages or loose components. Check the screws, connectors, and any other visible parts for signs of wear or damage. If you notice any issues, consult the user manual or contact the manufacturer for further guidance.
By following these steps, you can maintain a clean and well-maintained drone body. With the body clean, let’s move on to the next section, where we’ll discuss cleaning the propellers.
Cleaning the Propellers
The propellers of your drone are crucial for flight stability and control, and it’s important to keep them clean and free from any dirt or debris. Cleaning the propellers ensures optimal performance and reduces the risk of imbalance during flight. Here’s how you can clean the propellers:
1. Remove the propellers: Start by carefully removing the propellers from the drone. Most propellers are designed to be easily detachable, either by twisting or unscrewing them. Follow the manufacturer’s instructions for your specific drone model.
2. Inspect for damages: Before cleaning, carefully inspect each propeller for any signs of damage, such as cracks or chips. If you notice any damage, it’s essential to replace the propeller before using the drone again to maintain flight safety.
3. Dust off: Use a small brush or compressed air canister to gently remove any dust or debris stuck on the propellers. Pay close attention to the edges and surfaces of the propellers, as this is where dirt and small particles tend to accumulate.
4. Soak in mild cleaning solution: Prepare a bowl of mild cleaning solution using a mixture of gentle dish soap or isopropyl alcohol and water. Place the propellers in the bowl and let them soak for a few minutes. This will help to loosen any stubborn dirt or grime.
5. Scrub gently: After soaking, use a soft brush or cloth to gently scrub the propellers, removing any remaining dirt or residue. Be careful not to apply excessive pressure, as it may damage the propellers. If necessary, dip the brush or cloth into the cleaning solution to aid in the cleaning process.
6. Rinse and dry: Rinse the propellers thoroughly with clean water to remove any soap or cleaning solution. Ensure that there is no residual moisture left on the propellers by patting them dry with a clean cloth or allowing them to air dry completely.
7. Reattach the propellers: Once the propellers are completely dry, carefully reattach them to the drone. Make sure they are properly aligned and securely attached according to the manufacturer’s instructions.
By regularly cleaning the propellers, you can maintain their performance and flight stability. With the propellers clean, let’s move on to the next section, where we’ll discuss cleaning the camera and lens of your drone.
Cleaning the Camera and Lens
The camera and lens of your drone are essential for capturing high-quality aerial footage. Regular cleaning of these components is necessary to ensure clear and pristine images or videos. Here’s how you can clean the camera and lens of your drone:
1. Inspect for dust and smudges: Start by inspecting the camera and lens for any visible dust particles or smudges. Use a clean microfiber cloth to gently remove any loose dust by wiping in a circular motion.
2. Use a lens cleaning solution: For tougher smudges or fingerprints, apply a small amount of lens cleaning solution to a microfiber cloth specifically designed for lenses. Avoid using harsh chemicals or excessive moisture that could damage the lens coating or electronics.
3. Gently clean the lens surface: With the cleaning solution applied to the cloth, gently wipe the camera lens in a circular motion, working from the center toward the edges. Be careful to avoid applying too much pressure or rubbing too aggressively to prevent scratching the lens surface.
4. Dry with a clean microfiber cloth: After cleaning, use a dry microfiber cloth to remove any leftover cleaning solution or moisture from the lens. Ensure that the lens is completely dry before using the drone to avoid any blurry or distorted images due to remaining liquid residue.
5. Check camera settings: Take a moment to verify that the camera settings are properly adjusted for optimal image quality and stability. This includes ensuring that the lens is correctly focused and that the ISO, aperture, and shutter speed are set according to your preferences and lighting conditions.
6. Protect the lens: When not in use, it’s important to keep the lens protected to prevent dust or scratches. Consider using a lens cap or filter to shield the lens from dust, debris, and accidental contact.
Regularly cleaning the camera and lens of your drone will ensure that you capture the best possible aerial footage. Now that the camera and lens are clean, let’s proceed to the next section, where we’ll focus on cleaning the motors and circuit boards.
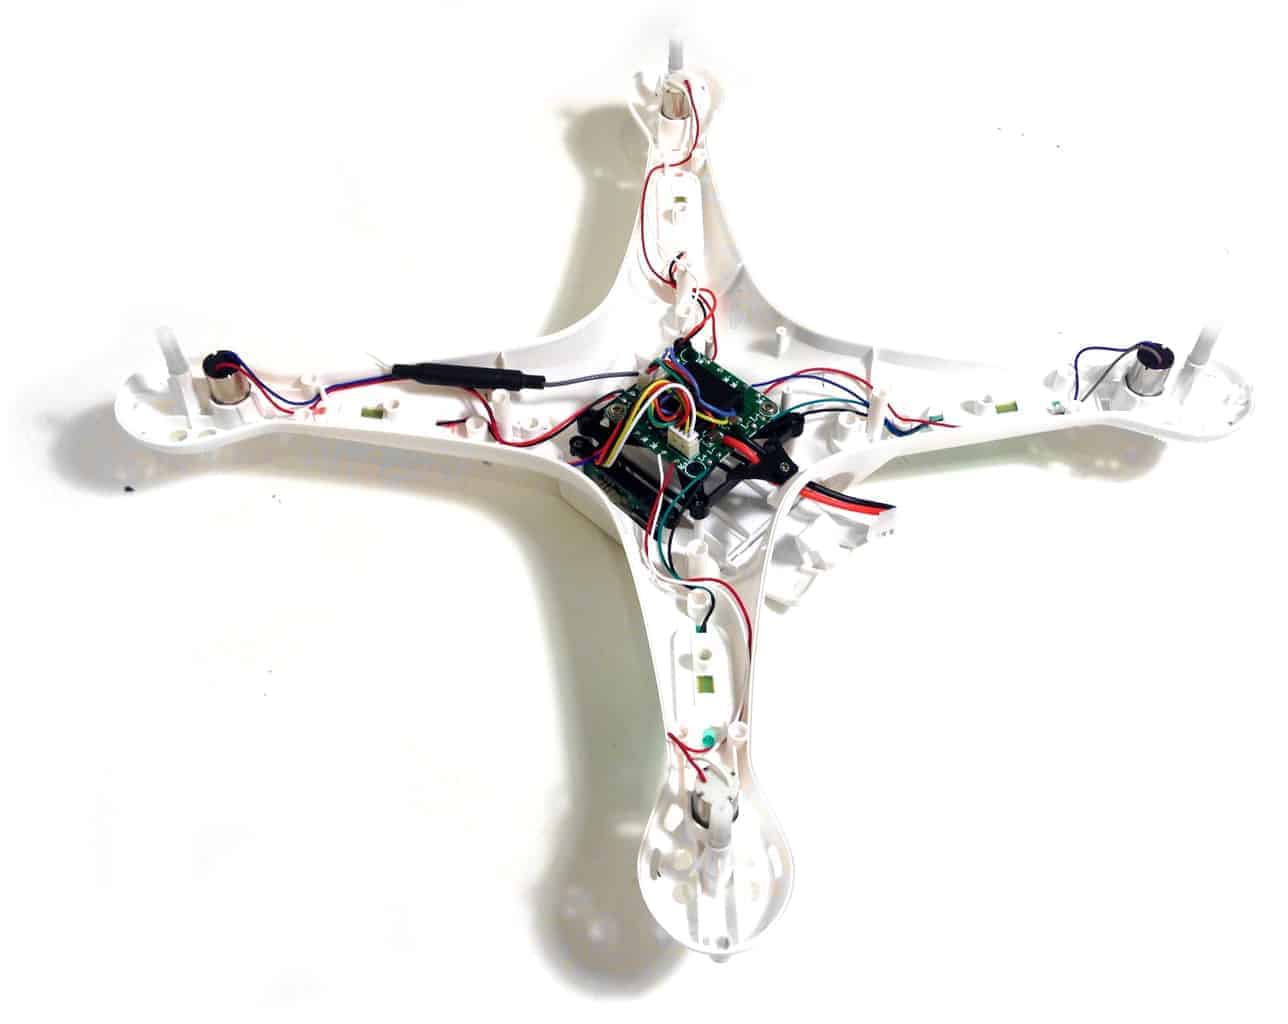
Cleaning the Motors and Circuit Boards
The motors and circuit boards are vital components of your drone that require proper cleaning to ensure optimal performance and longevity. Regular maintenance and cleaning of these parts will help prevent dust buildup and potential malfunctions. Here’s how you can clean the motors and circuit boards:
1. Power off and disconnect: Before cleaning the motors and circuit boards, make sure the drone is powered off and disconnected from any power source. This is crucial to avoid electrical shock or accidental startup during the cleaning process.
2. Dust off: Use a small brush or compressed air canister to carefully remove any dust or debris from the motors and circuit boards. Pay close attention to the motor vents and other areas where dust tends to accumulate.
3. Inspect for debris: Check for any visible debris or foreign objects that may have gotten lodged in the motors or circuit boards. Use tweezers or a soft brush to gently remove any lodged debris, being careful not to damage any delicate components.
4. Clean with compressed air: Use a low-pressure compressed air canister to blow away any remaining dust or particle buildup. Direct the airflow towards the motors and circuit boards, ensuring that you cover all areas thoroughly. This step helps remove any loose dirt that the brush or cloth may have missed.
5. Wipe down the circuit boards: Moisten a cotton swab with a small amount of isopropyl alcohol or a mild cleaning solution. Gently and lightly wipe the circuit boards to remove any grime or residue. Avoid applying excessive pressure or saturating the swab with too much liquid to prevent damage to the delicate electronic components.
6. Dry thoroughly: After cleaning, allow the motors and circuit boards to air dry completely. Avoid using a heat source to speed up the drying process, as this can cause damage. Patience is key to ensuring that all moisture evaporates before reassembling or using the drone.
7. Reassemble and test: Once all the components are dry, reassemble the drone and conduct a test flight in a controlled environment to verify that all motors and circuitry are functioning correctly. Monitor the drone’s performance to ensure everything is operating smoothly.
By regularly cleaning the motors and circuit boards, you can prevent dust buildup, reduce the risk of malfunctions, and extend the lifespan of your drone. With these crucial components cleaned, let’s move on to the next section, where we’ll discuss cleaning the remote controller.
Cleaning the Remote Controller
The remote controller of your drone is the command center that allows you to control its movements and functions. Keeping the remote controller clean and well-maintained is essential for a seamless and reliable flying experience. Here’s how you can clean the remote controller:
1. Power off and disconnect: Before cleaning the remote controller, make sure it is powered off and disconnected from any power sources or connected drones. This eliminates the risk of accidental button presses or interference during the cleaning process.
2. Dust off: Use a small brush or compressed air canister to gently remove any dust or debris from the surface of the remote controller. Pay attention to the buttons, knobs, switches, and any other crevices where dirt might accumulate.
3. Wipe down: Dampen a microfiber cloth with a mild cleaning solution or isopropyl alcohol. Gently wipe down the entire surface of the remote controller, including the buttons, screen, and grips, to remove any smudges or fingerprints. Avoid getting excessive moisture into any openings or sensitive electronic components.
4. Clean the touchscreen or display (if applicable): If your remote controller has a touchscreen or display, use a microfiber cloth designed for electronic screens to gently remove any smudges or fingerprints. Be mindful of using too much pressure, as excessive force can damage the display.
5. Dry thoroughly: After wiping down the remote controller, use a dry microfiber cloth to remove any remaining moisture. Ensure that the controller is completely dry before turning it on or using it to prevent any electrical damage or malfunction.
6. Check battery compartment: If your remote controller has a removable battery compartment, open it and inspect for any dirt or debris. Use a brush or compressed air canister to carefully remove any particles that may have accumulated. Ensure that the battery contacts are clean and free from any corrosion.
7. Reassemble and test: Once the remote controller is completely dry, reassemble any removable components and conduct a test to ensure all buttons, switches, and functions are working properly. Verify that the remote controller can establish a stable connection with the drone and that all inputs are responsive.
By regularly cleaning the remote controller, you can maintain its functionality, extend its lifespan, and enhance your overall flying experience. With the remote controller clean, let’s move on to the next section, where we’ll discuss cleaning the battery.
Cleaning the Battery
The battery is a crucial component of your drone that powers its flight. Keeping the battery clean and well-maintained not only ensures optimal performance but also contributes to its longevity and safety. Here’s how you can clean the drone battery:
1. Power off and disconnect: Before cleaning the battery, ensure that the drone is powered off and disconnected from any power sources. This eliminates any potential electrical hazards during the cleaning process.
2. Remove the battery: Carefully remove the battery from the drone according to the manufacturer’s instructions. This may involve releasing a latch, sliding it out, or disconnecting a wire connection, depending on your drone model.
3. Inspect for dirt or debris: Examine the battery for any visible dirt, dust, or debris. Pay close attention to the contact points and any vents or openings where particles may collect.
4. Dust off: Use a small brush or compressed air canister to gently remove any loose dust or debris from the battery. Be particularly careful around the contact points to avoid damaging them.
5. Wipe down the surfaces: Dampen a cloth with a mild cleaning solution or isopropyl alcohol. Gently wipe down the surfaces of the battery, including the contact points and the outer casing, to remove any smudges or dirt. Avoid using excessive moisture that could potentially damage the battery’s internal components.
6. Dry thoroughly: After wiping down the battery, use a clean, dry cloth to remove any remaining moisture. Ensure that the battery is completely dry before reinserting it into the drone or storing it to prevent any damage or corrosion.
7. Reinstall the battery: Once the battery is completely dry, carefully reinstall it into the drone, following the manufacturer’s instructions. Ensure that it is securely connected or latched in place to avoid any issues during flight.
8. Battery storage: If not using the drone for an extended period, it’s important to store the battery properly. Check the manufacturer’s guidelines for storing the battery at the recommended temperature and charge levels to maintain its lifespan and performance.
By cleaning the battery regularly, you can ensure its optimal performance, longevity, and safe operation of your drone. With the battery clean and well-maintained, let’s move on to the next section, where we’ll discuss storing the cleaned drone.
Storing the Cleaned Drone
Proper storage of your cleaned drone is essential for its protection and longevity. Whether you’re storing it for a short period or during the off-season, following these guidelines will help maintain its condition. Here’s what you need to do when storing your cleaned drone:
1. Find a suitable storage location: Choose a cool, dry, and well-ventilated area to store your drone. Avoid areas with high humidity or extreme temperature fluctuations, as these conditions can affect the drone’s components and battery.
2. Remove the battery: If you’re storing the drone for an extended period, it’s advisable to remove the battery. Make sure to store the battery separately in a cool, dry place following the manufacturer’s guidelines to maintain its health and prevent discharge.
3. Use a protective case or bag: Invest in a high-quality storage case or bag specifically designed for drones. Look for one with adequate padding and compartments to protect the drone, accessories, and other components from potential damage during storage or transportation.
4. Secure all loose components: Before placing the drone in the storage case, ensure that all loose components, such as propellers or landing gear, are secured or properly stored within the case. This prevents them from moving around and potentially causing damage to other parts of the drone.
5. Clean and prepare the remote controller: If storing the remote controller along with the drone, make sure it is clean and dry. Place it in a protective case or wrap it in a soft cloth to prevent any accidental damage or wear during storage.
6. Maintain firmware and software updates: Before storing the drone, ensure that the firmware and software are up to date. This ensures that your drone is equipped with the latest features, bug fixes, and safety enhancements when you take it out of storage.
7. Periodically check and rotate stored components: During the storage period, periodically check the drone and its components for any signs of damage or degradation. This includes inspecting the battery for any swelling or corrosion. Rotate the position of the drone in the storage case to ensure even exposure to air circulation.
By following these guidelines, you can ensure that your drone remains in top condition while stored, ready for your next flying adventure. With the drone properly stored, let’s wrap up this article.
Conclusion
Cleaning your drone is not only important for its visual appeal but also for its performance, longevity, and safety. Regular maintenance and cleaning of various components such as the body, propellers, camera, motors, circuit boards, remote controller, and battery help to ensure optimal functionality and a seamless flying experience.
Throughout this article, we have discussed the step-by-step process of cleaning each component, emphasizing the importance of safety precautions and using the right tools and materials. From dusting off the drone body to cleaning the sensitive camera lens, from caring for the motors and circuit boards to maintaining a clean remote controller and battery, each step plays a vital role in keeping your drone in top shape.
By taking the time to clean and maintain your drone regularly, you can prevent dust and debris buildup, achieve better performance, capture high-quality footage, and extend the overall lifespan of your beloved drone. Additionally, proper storage in a suitable case or bag further safeguards your drone from damage during transportation or during periods of non-use.
Remember to consult your drone’s user manual or manufacturer’s guidelines for any specific cleaning instructions or recommended products. Each drone model may have its own unique cleaning requirements, and it’s essential to follow these instructions to maintain warranty coverage and prevent any potential damage.
Now that you’re equipped with the knowledge and understanding of the importance of regular cleaning and maintenance, it’s time to grab your tools, follow the steps outlined in this article, and give your drone the care it deserves. Enjoy flying your clean and well-maintained drone to capture breathtaking aerial footage, while ensuring a safe and optimal flight experience!